How to adjust Mac display settings
There's plenty of reasons you might want to adjust your Mac display settings. From making text look bigger to switching to Night Shift or changing the resolution on your Mac — System Preferences has it all.
For some reason, whenever I get a new Mac, I really enjoy the process of adjusting my display settings; getting them just perfect, to my liking, is so satisfying.
If you have eye issues, the display settings will help you set your Mac up so it's easier to use.
Let's take a look at how to adjust the brightness on your Mac and some other helpful settings waiting to be discovered in Accessibility and Display.
Here's how to find your Mac Display settings:
Select the Apple Menu> System Preferences> Display
If you're here because your Mac is experiencing weird screen issues, like flickering or buzzing lines, you might want to troubleshoot by changing the resolution on your Mac.
How to change the resolution on your Mac
Your display's resolution decides the size of icons and text on your screen.
By default, your Mac will show the sharpest text and the most detailed images suited to your Mac, but it is possible to adjust.
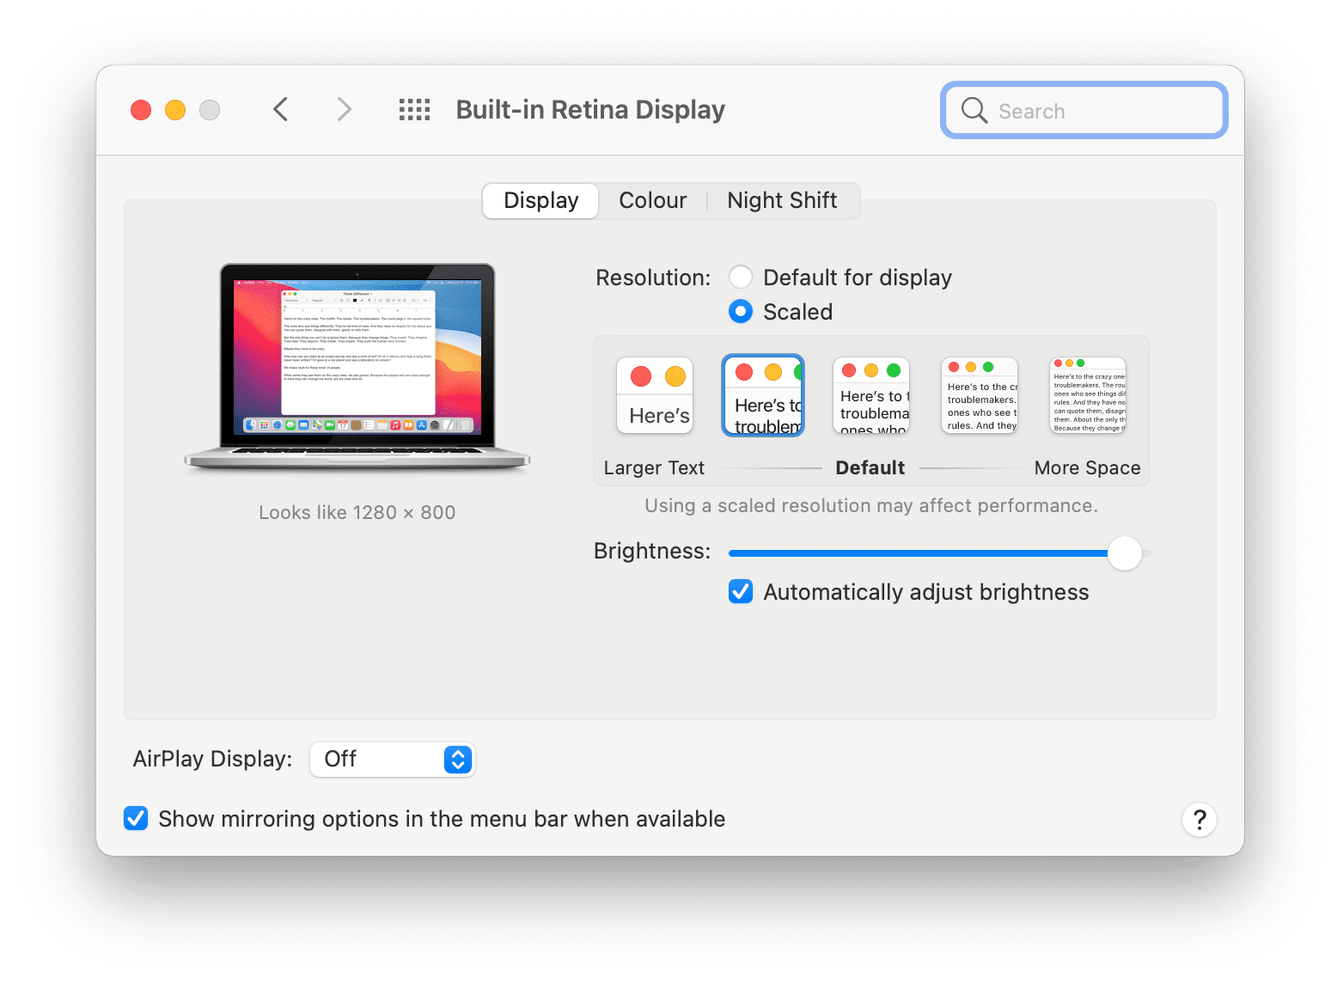
If your Mac has a Retina display, you might have noticed that you can't select a specific resolution. Instead, Retina displays provide "scaled resolutions," which means Apple gives you the best screen resolution options for your Mac so you can maintain sharpness and text legibility.
Here's how to use scaled resolutions:
-
Open your display settings using the above instructions.
-
Select the Displays tab.
-
Select Scaled.
-
To make text and icons look bigger, select an option from the Larger Text. To make text and icons look smaller, choose an option from More Space.
New Macs have a feature to automatically adjust brightness — just tick that checkbox under Brightness.
Tip: If you want to increase or decrease font size within an app, or perhaps on a browser window, but not entirely across your whole Mac, press the Command Key and + to increase or - to decrease.
If your Mac doesn't have a retina display, you can still change the text size within each app. This is usually found within the General settings for each app.
How to optimize the rest of your Mac
If your goal is to get the perfect display performance, why stop there? One of the ways to make your Mac shine is to optimize its memory usage and storage. Have you heard of CleanMyMac? This is the most famous optimization kit for Mac.
For example, when your Mac slows down, it has a tool to “Run Mac maintenance scripts.” That and other tools from its collection could slightly improve the performance of your Mac.

-
Open CleanMyMac — download the free version here.
-
Select Maintenance from the left sidebar and press View All Tasks.
-
Choose Run Maintenance Scripts and press Run.
Running maintenance scripts is an excellent way of quickly solving issues on your Mac. It removes temporary files, rotates logs, and runs optimizations to solve many problems.
How to change Desktop icons
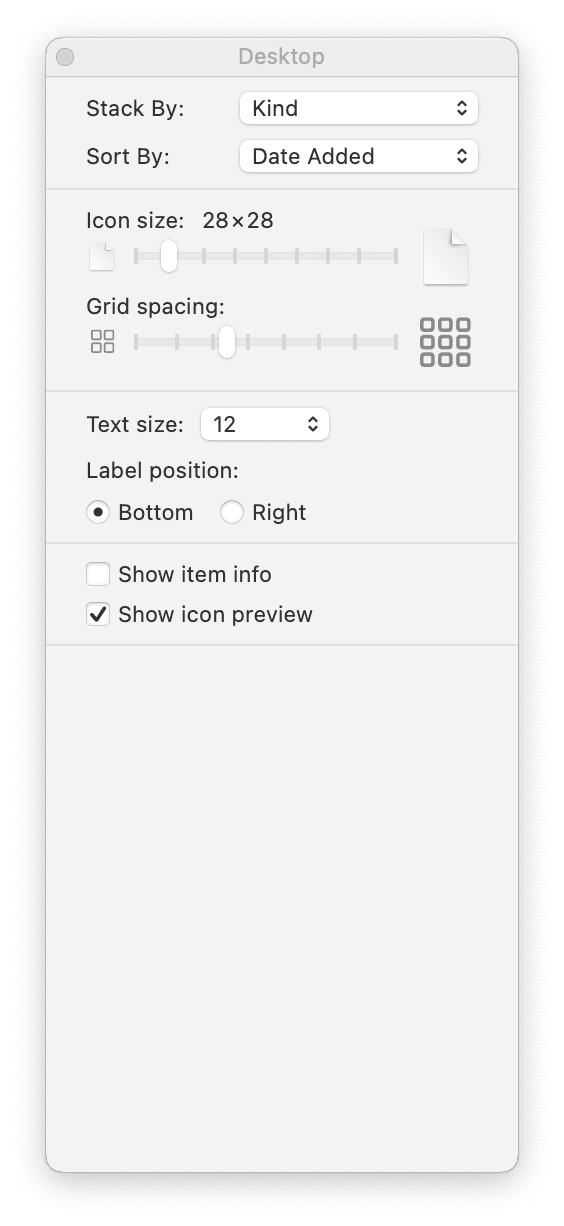
If, after using scaled resolution, you find that your Desktop icons are just a bit on the small side, you can change this independently while keeping all the other scaled settings; here's how:
-
Right-click on your Desktop.
-
Select Show View Options.
-
Increase icon and spacing size using the sliders.
-
You can also increase icon description text size and placement here.
If you're wondering, hmm, well, now my screen and icon sizes are great, but what about my pointer? Jump to the next step.
How to change pointer size
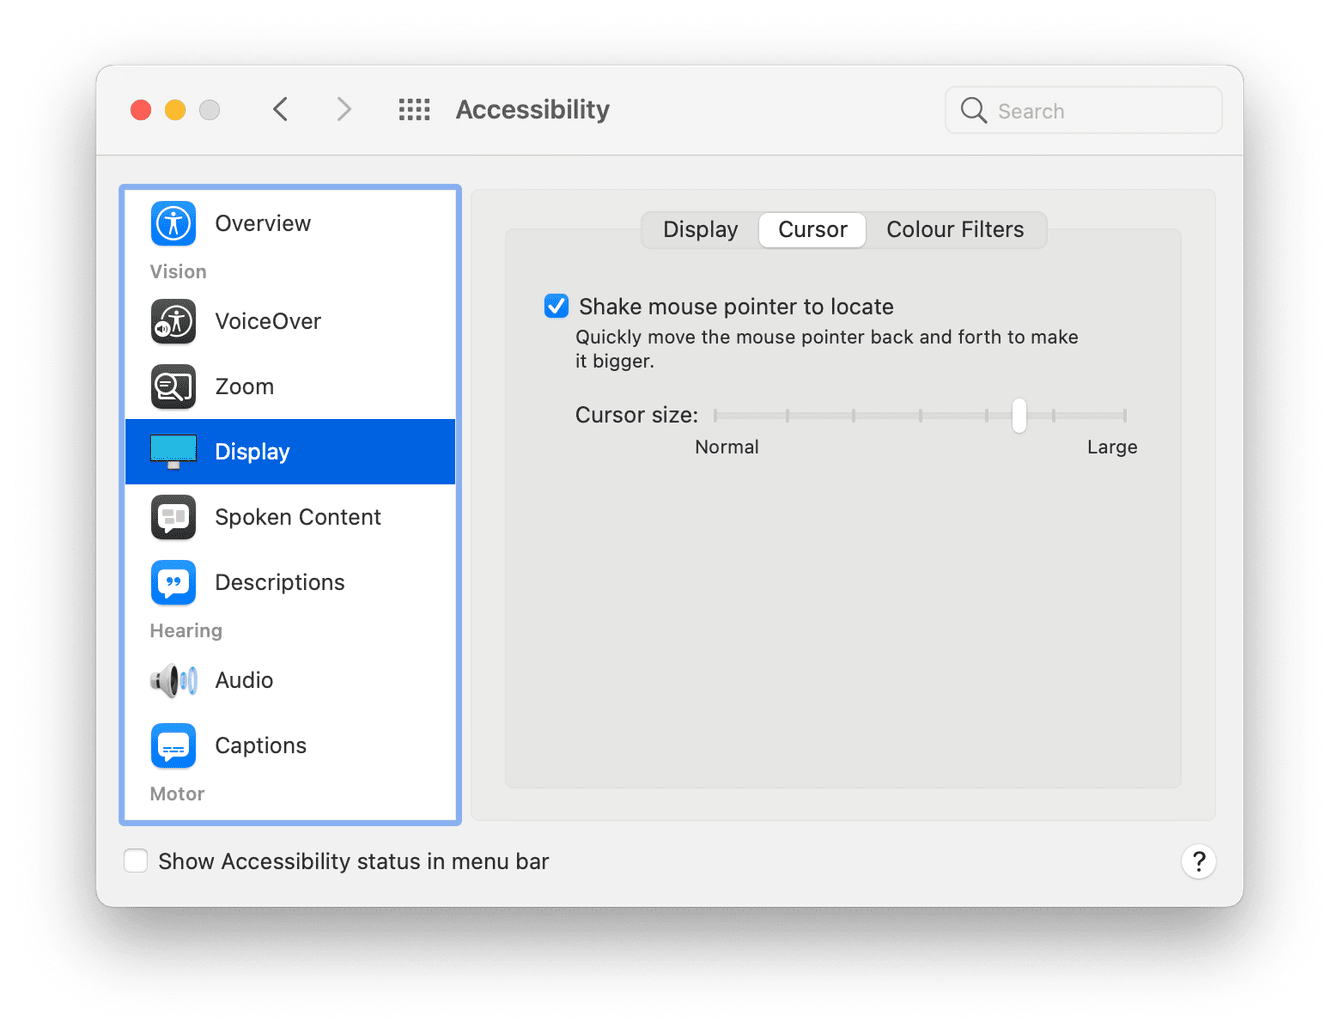
You might want to increase or reduce the size of your pointer to match your new screen resolution. Your pointer settings are located somewhere different; here's how to access and adjust:
-
Select the Apple icon> System Preferences> Accessibility> Display.
-
Now select the cursor tab, use the slider to adjust your cursor size.
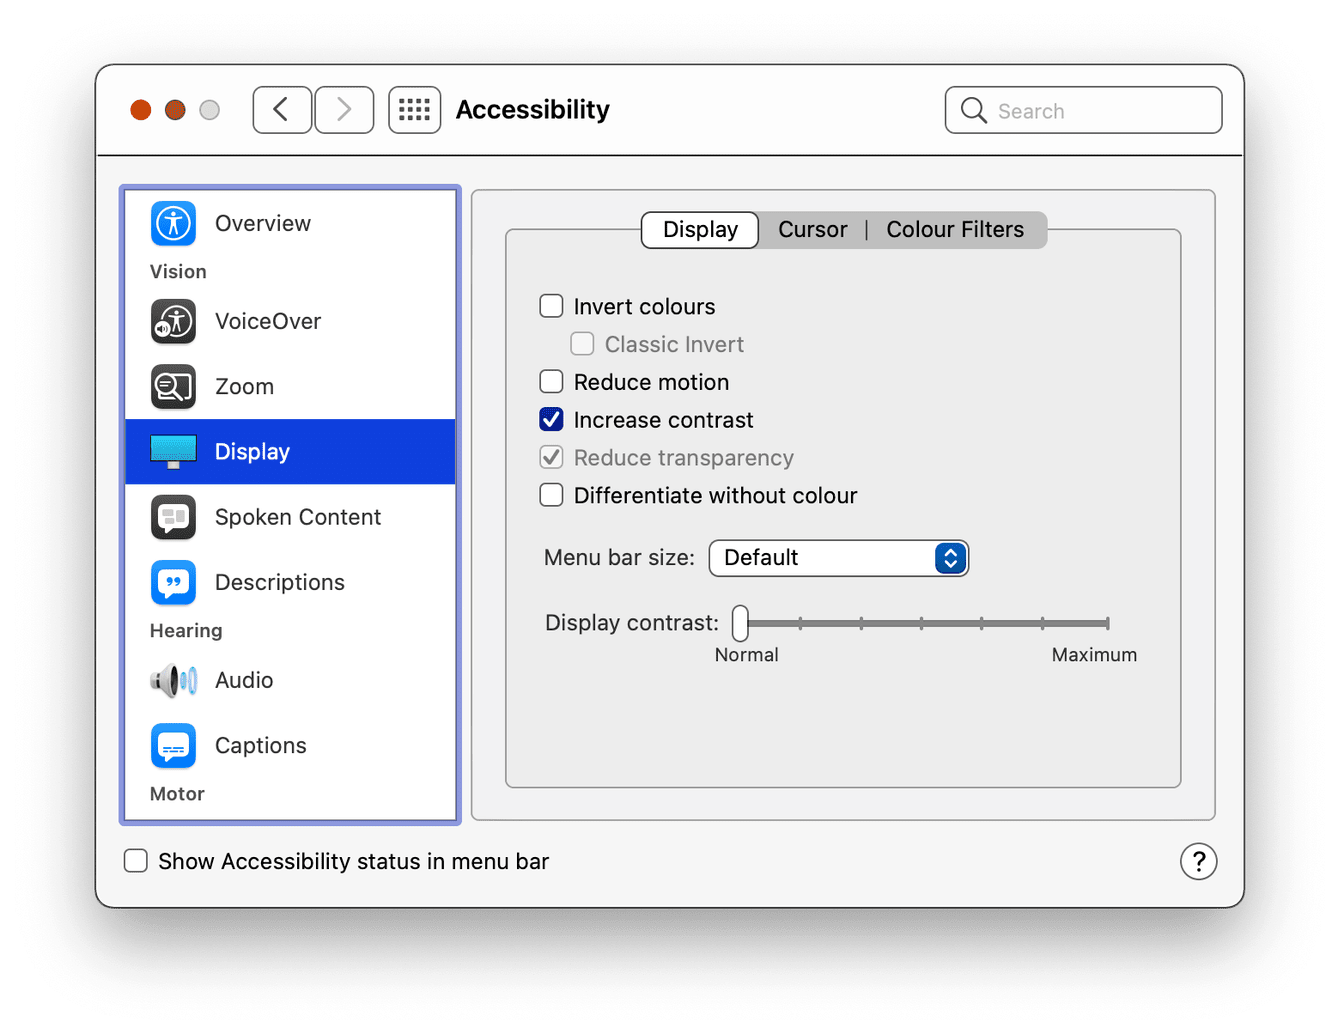
How to adjust contrast and transparency
If you've played around with your brightness, but you're still not satisfied, you can always adjust your contrast; here's how:
-
Select the Apple icon> System Preferences> Accessibility> Display
-
Now check increase contrast; you can also use the slider below.
This option will add a border to tabs, buttons and many more items, making them easier to see. But, it's not for everyone, so instead, try reducing transparency. Here's how:
-
Follow the exact steps from above, except this time, check Reduce transparency.
This makes all semi-transparent headers a solid gray color.
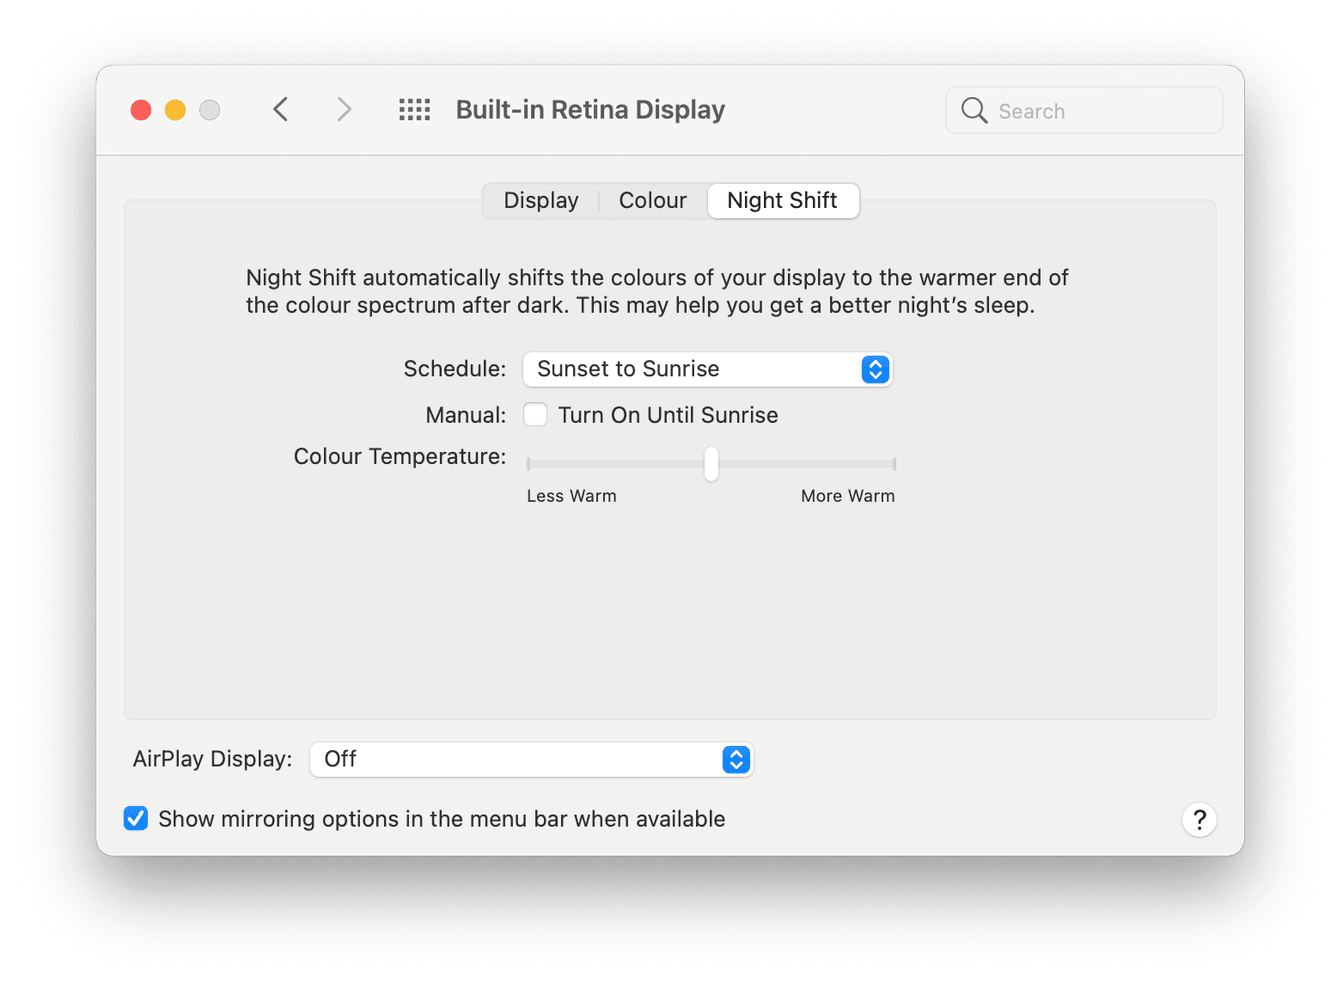
How to activate Night Shift
Enabling Night Shift means that your Mac will automatically shift the colors of your display after dark to warmer tones. This is to reduce exposure to blue light in the evening.
Night Shift uses your Mac's built-in clock and geolocation and will automatically change display colors depending on the sunset in your location; in the morning, your regular settings will resume. Here's how to enable it:
-
Reaccess your display settings.
-
Select the Night Shift tab.
-
From the drop-down, select Sunset to Sunrise or custom to create specific times.
-
Select from the scale how warm you want the color temperature.
So here we are at the end; we've looked at changing the resolution on your Mac and a few other tricks in your Mac display settings. Don't forget, if you're having issues with a slow, overheating, cluttered Mac, etc., check out CleanMyMac — this is a swiss-army knife app for Mac.