Google Drive backup: secure your files
If you're looking for tips on how to back up your Mac to Google Drive, the good news is it isn't as complicated as you might think.
If you're trying to safeguard your personal files or sync up your work folders, having a cloud backup in 2025 isn't just smart; it's essential. I use Google Drive every day, and there are a few different methods out there for syncing your data, but before I send a single file to the cloud, there's something I always do first — tidy up my Mac.
Let's get started, and I'll walk you through all the options.
Prepare to back up your MacBook to Google Drive
Before syncing anything, or anything new to your Google Drive, take the time to prep your cloud storage and your MacBook.
I always start with CleanMyMac's Cloud Cleanup feature. It connects directly to my Google Drive (and iCloud or OneDrive if I want), and shows me instantly what's taking up space, frees up precious cloud storage, and reduces long sync times; here's how:
-
Get your free CleanMyMac trial — check out how all tools work for 7 days free.
-
Open > Cloud Cleanup and connect your drive.
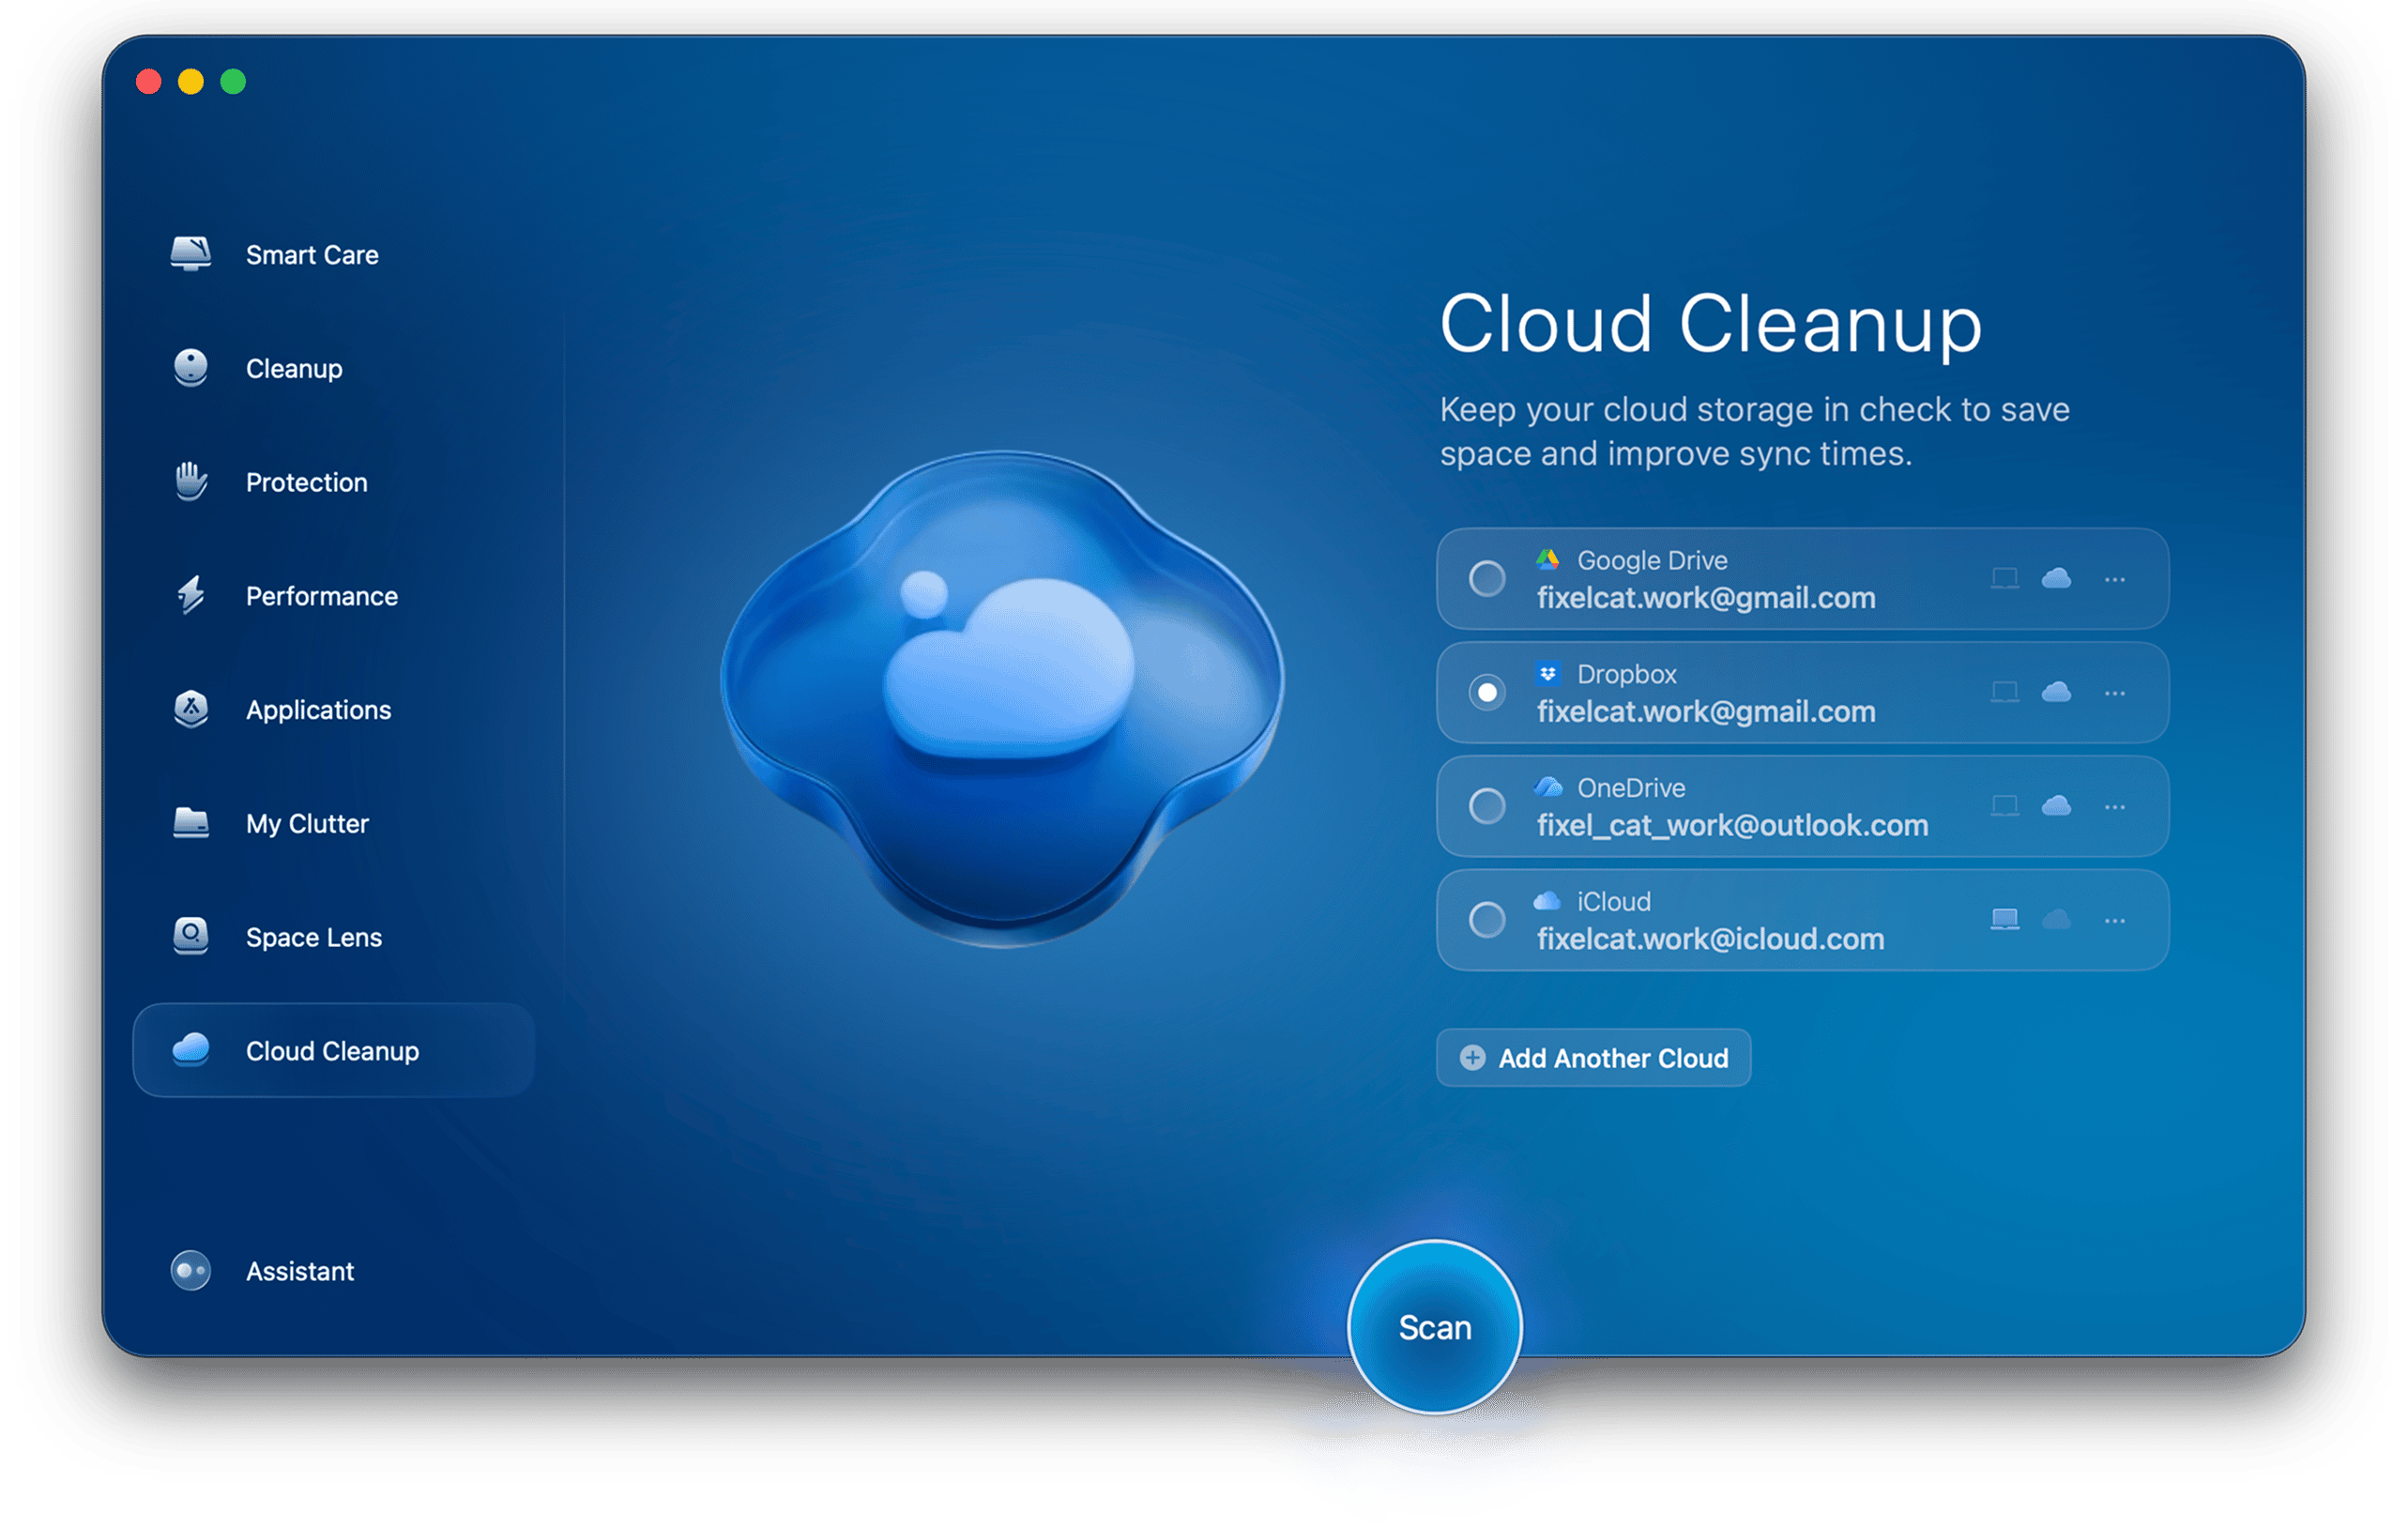
- Click Scan.
- Click Review All Files and select items to remove.


Whilst you've got the app open, run a quick My Clutter scan, too, which will help you quickly locate and remove tons of old forgotten files and folders that you might not want to sync; here's how:
-
Click My Clutter > Scan > Review All Files.
-
Sort through your files, selecting items for instant removal.

Now that your Mac and Google Drive are prepped, let's get on to the backup methods.
How to back up MacBook to Google Drive
Method one: automatic sync with Google Drive for Desktop
The easiest set-and-forget method is using Google Drive for Desktop. Once set up, you can sit back and relax, and syncing will happen automatically and be stress-free.
-
Download and install Google Drive for Desktop.
-
Sign in with your Google account.
-
Click the menu bar icon > Preferences > Add folder under My Mac.
-
Choose folders to mirror (keep local copies) or stream (cloud-only files).
-
Your selected files now sync automatically to Drive.

If you want more control, head to the net method.
Method two: manual backup
When it comes to using Google Drive to backup Mac, if you'd rather have a little more control over what syncs and when, this is the method for you.
-
Go to drive.google.com in your browser.
-
Click New > File upload or Folder upload.
-
Pick what you want to back up and upload.
-
Monitor progress. Once uploaded, your files are backed up securely.
Personally, I prefer this method. This way, I'm in control of what is synced and mirrored, I can keep an eye on my remaining storage space too, and avoid issues with files syncing that I don't want to save.
Method three: Automator Script for customized backup
You used to be able to automate your Google Drive backups by running a script in Automator, but changes to the latest macOS versions and Google Drive's file system have made direct backups hit-or-miss. Automator often won't recognize Drive as a reliable destination anymore.
You can create an Automator script that backs up your chosen files to a local folder, and then use Google Drive for Desktop to sync that folder in the background. It's a two-step workaround, but it's consistent and repeatable. Here's how:
-
Open Automator from your Applications folder and select Application > Choose.
-
In the Actions Library, search for Get Specified Finder Items and then drag it to the workflow pane. Click Add and choose the folder or files you want to back up regularly (e.g., Documents, Desktop).
-
Then, search for Copy Finder Items and drag that underneath the first action.
-
In the To: dropdown, select a folder that's already synced to Google Drive, which Google Drive will then upload automatically.
-
Go to File > Save, name it, and save it to your Desktop or Applications folder.
Now, whenever you double-click your new app, it will copy fresh versions of your files into your synced folder, and Google Drive will take care of the cloud part.
Method four: a third-party apps
Third-party apps can also be a smart alternative, as they often come with extra features like encrypted uploads, mounted cloud drives, and background syncing that works without much setup. In my case, I've tested a few when I needed something that didn't require manually dragging folders or scripting Automator.
|
Tool |
Pros |
Cons |
|
CloudMounter |
Mounts Google Drive as a secure, encrypted network drive in Finder; supports multiple accounts and storage types |
Subscription required; mounting large folders can feel slower |
|
ExpanDrive |
Mounts cloud storage like a local disk; broad service support; free for personal use |
Subscription needed for teams; paid model limits support |
|
rclone |
Powerful, scriptable, open-source tool with sync, mount, encryption, and automation support |
Command-line only; steep learning curve for non-technical users |
So now you know how to use Google Drive to backup your MacBook.