iCloud storage full? Learn how to free it up
Discovering your iCloud storage is full might be frustrating, but there's no need to descend into panic mode. Before committing to a paid upgrade, it's surprising how much space you can reclaim and save if you manage your storage wisely.
It's no secret that Apple's free 5GB of storage won't get you far if you don't get smart about how you use it. So join me for the ultimate space-saving iCloud storage walkthrough; I'll share some clever tips for managing your account on your Mac and iPhone.
How to manage iCloud storage
When you run out of iCloud storage, your connected Apple devices will no longer back up. Think photos, videos, messages, apps, and mail; all of these will stop syncing.
The first step in managing your iCloud storage is knowing how to check it. This way, you can get ahead before you run out of space.
Check your iCloud storage on a Mac
-
Select the main Apple menu > System Settings.
-
Select your name from the top left sidebar.
-
Click iCloud to view how much storage is taken.

Another way to check your iCloud storage on your Mac or any other device is by signing into iCloud.com. Here's how:

-
Open your browser and visit icloud.com.
-
Sign in to your account and select the More menu top right.
-
Select Your iCloud Storage.
-
Like the method above, you'll see a graphical breakdown and below a list of apps using and connected to iCloud.
Check your iCloud storage on an iPhone
-
Open the Settings app.
-
Select your name from the top.
-
Press iCloud to see how much space is left on iCloud.

Why is your iCloud storage full?
Now that you know how to access and check your storage, it's time to review what's eating space; this will help you get smart about where you can reclaim space from.
In both the storage overviews on Mac or iPhone, the graphical breakdown will indicate what items are consuming space. To see it, tap Storage.

For most Apple users, backups, documents, and photos will consume our storage. By clicking the Manage button, you'll get a clearer breakdown of where your storage is occupied.

Once you understand your personal storage usage well, it's time to address how to reduce iCloud storage. Head to the next section to get started.
How to free up iCloud storage on your Mac
It might feel tempting to rush in and start hitting the delete button on apps, videos, and photos, but first, a word of caution. Take the time to back up any data you might want to access again in the future. Preferably, use Time Machine — Apple has a helpful guide on using Time Machine here.
Let's get to it; here's how to delete iCloud storage on your Mac.
How to clear iCloud storage with a click
Did you know that there are two ways to free up iCloud storage? One is to browse System Settings and the Photos app. The second one is way easier, and it is to run a scan with a Mac cleaner app. I recommend CleanMyMac. It now comes with a tool designed for the job. Here's how it works:
-
Open CleanMyMac (get your free trial here).
-
Click Cloud Cleanup in the sidebar and connect your iCloud account.
-
Once done, click scan — CleanMyMac will find the largest files.

-
Click Review All Files, select what you no longer need, and click Review and Remove.
- Review files and delete them.

Easy like that! If you're in the mood for some manual iCloud cleanup, keep on reading.
1. Remove old and unnecessary backups
-
Go to your iCloud storage overview again in System Settings on a Mac.
-
Click Manage.
-
Select Backups from the list (you may need to scroll down).
-
Select any old or historic backups that you simply don't need and click the “—” button to delete them.
-
Once finished, click Done.
If you do not use iCloud to sync other devices, your list will be empty just like mine.
It's also a good idea to manage which apps back up to your iCloud storage; this will help to reduce the size of future backups; here's how:
In the iCloud storage overview, under the graphical breakdown, click See All and turn off apps you don't want to back up to your iCloud storage.

2. Manage your photos
There are a couple of options here; you can choose to entirely stop syncing your photos and videos to iCloud, which would, of course, free up masses of space, or you can tidy up your library and permanently delete items you no longer need. Let's break this down.
Stop syncing your photos:
- From the main iCloud storage overview on your Mac, click Manage.
- Select iCloud Photos from.
- Click Turn Off and Delete and confirm.

You will now have 30 days to download all your files; you'll most likely need to store these on an external device to save space on your Mac.
If this option feels too drastic, why not spring clean your Photos library instead?
Tidy up your Photo Library
-
Open the Photos app on your Mac
-
Sort through your images and videos.
-
Select multiple items for removal by holding down the shift key and selecting items.
-
Right-click with the items selected and click Delete Photos.

3. Delete iCloud Mail attachments and other unneeded stuff
Another thing you can do in iCloud settings is remove unnecessary Mail attachments and items. In System Settings > Apple Account > iCloud, click Drive. Disable Desktop & Documents Folders. Once you do, the items are removed from iCloud, but are still stored locally.
Now, click Apps syncing to iCloud Drive and disable Mail.
Note: You might not want to disable the option if you use Mail across several devices.
If that is your case, jump to the next section and see how to run the Cleanup feature in CleanMyMac. Among all, it finds and lets you delete email attachments from the Mail app. Once they are removed, you will reclaim some iCloud storage.
While in the iCloud Drive settings, check out which other apps sync to it. Disable unnecessary ones so that they do not eat up the storage. I recommend paying specific attention to apps allowing you to work with music, videos, and photos (like GarageBand, Photoshop, or iCloud Drive) as well as documents (like Pages or Numbers). They usually hog too much space. But, like with the Mail app, only disable them if you do not use them on other Apple devices.

How to free up space on Mac drive
If you decide to download all your old iCloud photos and videos to your Mac, then be careful not to encounter similar full drive issues on your MacBook. These tips will help you stay on top of your Mac storage.
1. Remove useless system junk
Our Macs can get quickly bogged down with useless digital clutter, like cache, system logs, and temporary and even broken files. The best way to handle this, free up space, and optimize performance is by using the Cleanup feature from CleanMyMac.
Here's how it works:
- Open the application (get your free trial here).
- Select Cleanup and click Scan.

- Once finished, click Clean.


2. Remove old apps
Another great space-saving idea is to remove old, unused applications. There's a bit more to removing apps than simply dragging icons to the Trash; check out this comprehensive how-to article and discover how to remove applications completely and safely.
3. Enable Optimize Mac Storage for Photos
Did you know that your macOS comes with the built-in Optimize Storage feature that allows to keep originals in the iCloud and store low-resolution photos on your Mac? This way, you will reclaim some disk storage, but it won't affect the iCloud storage.
Here's how it works:
- Open the Photos app.
- Press Command + comma to go to Photos Settings and choose iCloud.
- Select iCloud Photos > Optimize Mac Storage.

4. Remove large unnecessary files
Duplicate, large, or even forgotten files will consume vast amounts of valuable disk space; check these common hiding spots:
-
Desktop
-
Downloads folder
-
Documents
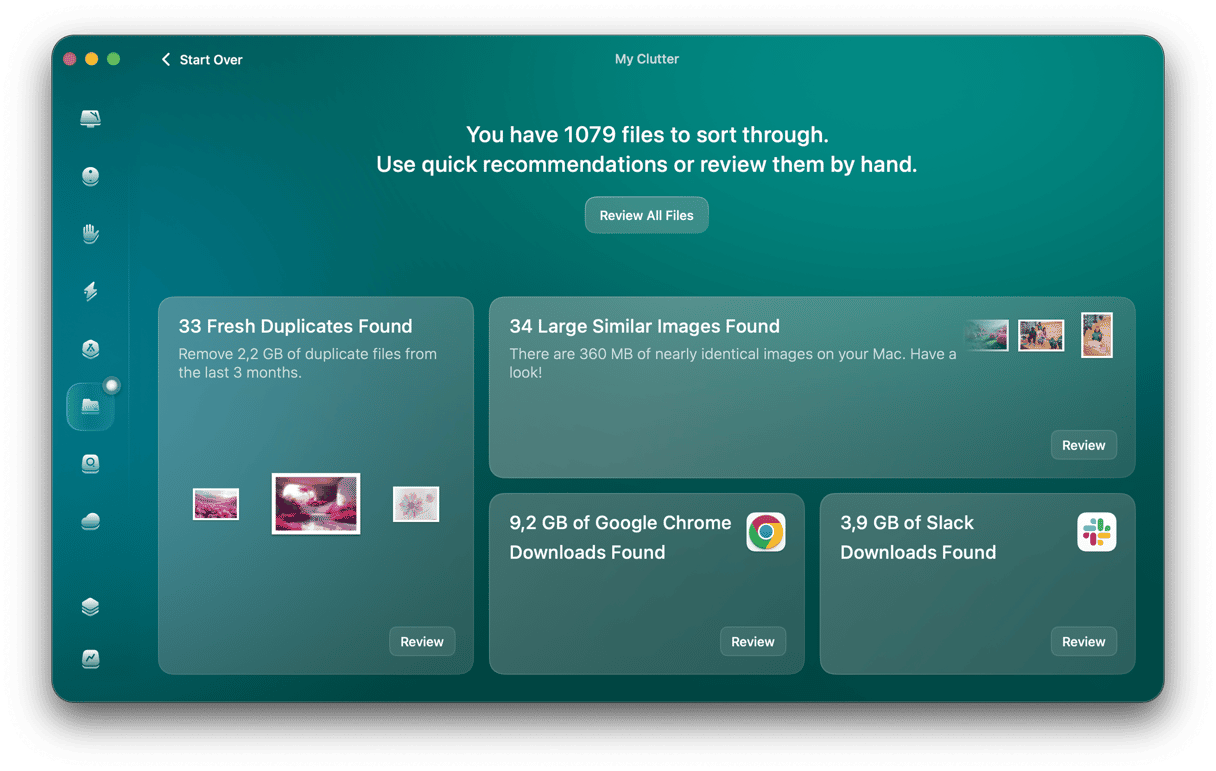
Another smart way to take back control of files and folders is by using the My Clutter from CleanMyMac. This tool quickly categorizes the contents of your Mac, making it easy for you to see what's hanging out, consuming space by size, type and last accessed date. It also finds duplicates and similar images.
Here's how to run a scan:
-
Open CleanMyMac.
-
Click My Clutter > Scan > Review All Files.
-
Select files for removal and click Remove.


These quick tips will seriously help to save space on your Mac. If you're looking for more advice, check out this article called 9 easy ways to free up disk space on Mac.
Now i'll show you how to empty iCloud storage on your iPhone.
How to clean up iCloud storage on your iPhone
So now you know how to save iCloud storage and disk space on your Mac, but what about your iPhone? Well, let’s try these ideas.
1. Remove backups
It's also possible to remove old backups from your iPhone; here's how:
- On your iPhone, go to Settings > Your Apple Account > iCloud.
- Tap Storage and choose Backups.
- Select your device and a backup you want to remove.
- Press Turn Off and Delete from iCloud.

2. Remove old messages
You can also delete messages to save iCloud storage space or even stop syncing them completely. Here's how:
- Go to iCloud settings again.
- Select Messages > Manage Storage.
- Press Turn Off and Delete from iCloud.

3. Clean up your iCloud Drive
iCloud Drive is where Apple stockpiles documents, application folders and PDFs. Cleaning it out can save space; here's how:
- From the main iPhone iCloud storage overview, tap Storage.
- Press Drive > Manage Storage.
- Either manually sort and erase files you no longer need or tap the Delete Data from iCloud button to remove everything.

How to cancel iCloud storage
Here are a few common reasons why people want to know how to unsubscribe from iCloud storage:
-
Apple provides only 5GB of free space.
-
It's not the cheapest cloud service.
-
iCloud is not wholly reliable with non-Apple products.
No matter what your reason for canceling is, it's easy to do. Just follow the tips below to get started.

-
Select the Apple menu, then System Preferences.
-
Select Apple ID > iCloud > Manage > Change Storage Plan.
-
Now, select Downgrade Options. Here, you'll be prompted to enter your Apple ID Password.
-
Press the Free plan option and hit Done.
It's important to mention that when you cancel your iCloud storage subscription, you should still have access to all the features until your current billing period ends.
However, after this, you'll lose access to features until you've reduced your storage to less than 5GB. You'll have 30 days to move your stored data before it gets removed by Apple — once Apple deletes it, you won't be able to restore it.
Thanks for joining us; now you know how to clear iCloud storage on your Mac and iPhone, how to check it, and how to cancel iCloud subscription should you need it.