How to change where screenshots are saved on a Mac
If you’ve been making a lot of screenshots, but don’t know where to find them on your Mac, you’ve landed on the right page.
We're going to uncover all the screenshot tips and answer these questions:
-
Where are screenshots saved on Mac?
-
How to change screenshot location?
-
How to remove unneeded screenshots?
Before we go on, let's take a quick look at how to take a screenshot.
How to take a screenshot on macOS
Taking a screenshot is pretty simple and a daily part of Mac life. If you're running the latest macOS version, press down Command-Shift-5 to bring up the screen capture menu or Command-Shift-4 to capture a selected area.
The problem is, once you've taken the screenshot, many beginners don't know where the Mac screenshot location is.
Well, that's what we're here for, so let's get started right away.
Where are screenshots saved on Mac?
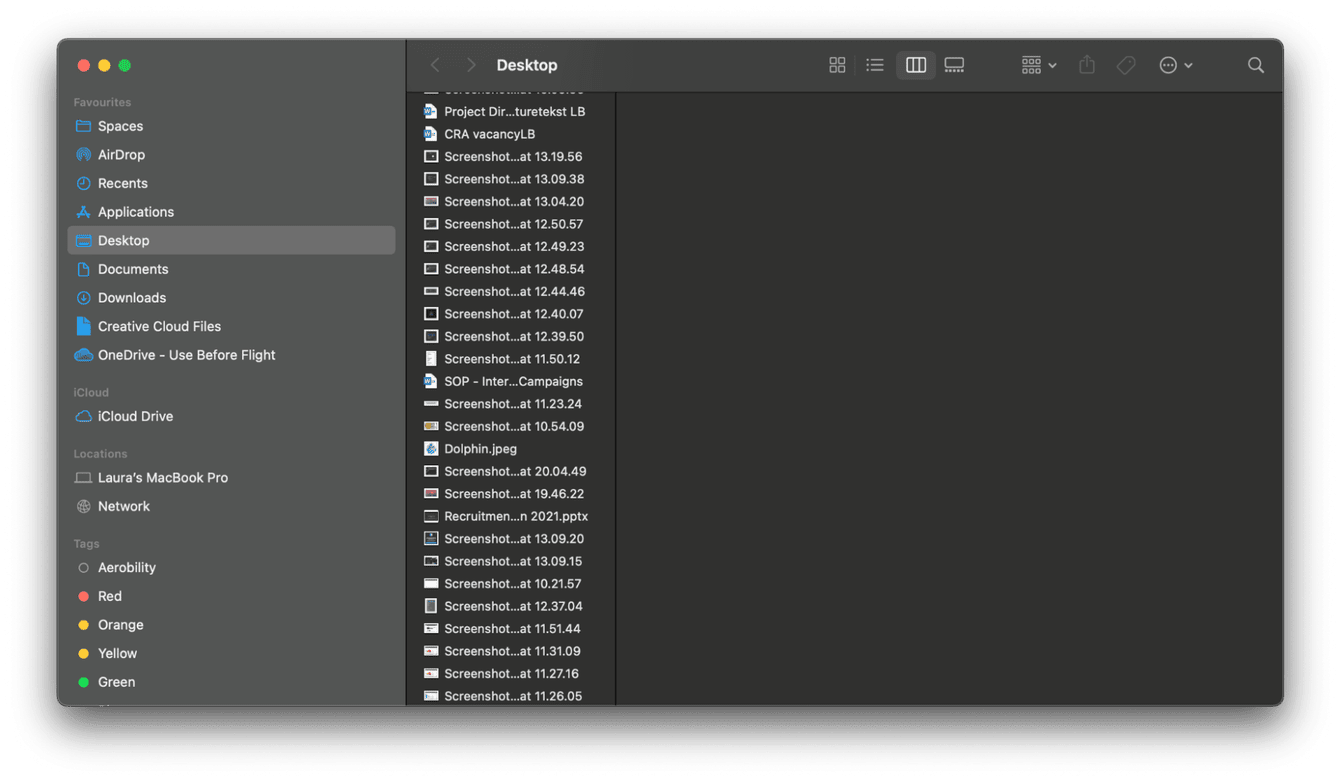
So, where are screenshots saved? Well, by default, screenshots are set to save to your Desktop; they will be named 'Screenshot 2021-09-23 at 08.15.35', which indicates the date and time they were captured.

If you're running macOS prior to Mojave, your screenshot app is called Grab. The Grab app default save location is your Documents folder, and they are saved as 'Untitled.'
Now you know where your screenshots are saved, but what if you want to change the location? Jump to the next step.
Change where screenshots are saved Mac
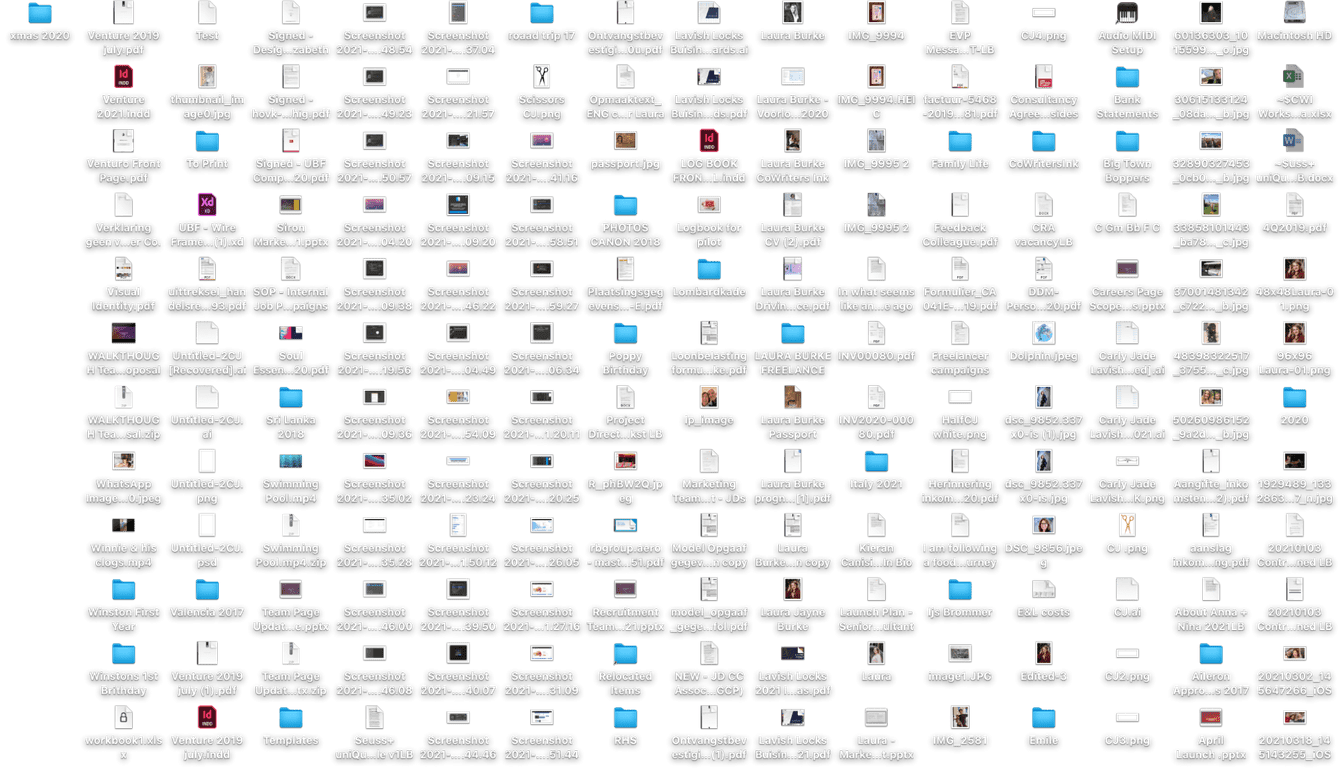
It's pretty easy for your Desktop to become a file dumping ground. I use the Stacks feature, and I often forget what is on my Desktop because everything is nicely stored away; take a look at my Desktop when I disable Stacks.

The majority of those icons are screenshots! So sometimes it's a good idea to change the location.
Thankfully it's pretty easy to do; if you're running Mojave, Catalina, Big Sur, or Monterey, here's how:
-
Press Command-Shift-5 to open the Screenshot app.
-
Select Options.
-
From the Save to section, select your preferred location.
-
If you select Other Location, you can choose a different folder of choice or create a new folder.
That's it; once you've selected a new location, all your new screenshots will be saved there until you change it again. Simple.
How to get rid of unneeded screenshots
As you've already seen from my example above, screenshots can pile up if you let them.
They can surprisingly take up a lot of valuable room, so it's worth regularly checking how many you've got hanging around before they start to weigh your Mac down.
If space is running low on your Mac, cleaning up your screenshot files will help to relieve some pressure, but you'll need to clear some other system junk, like cache, temporary and broken files, to keep your Mac optimized and running smoothly.
You can do this manually, but it takes patience and a bit of free time; that's why I use CleanMyMac: it has a System Junk module, which quickly clears all system junk in just a few clicks, leaving your Mac purring like new, with plenty of free space.

How to run a system junk scan with CleanMyMac:
-
Launch the app — download the free version here.
-
From the sidebar, press System Junk and then Scan.
-
Wait for the scan to complete and finally press Clean.
How amazing is that! All your system junk is cleared up in just a matter of minutes.
How to change screenshot location on earlier macOS versions
If you're running older macOS anything prior to Mojave, it's not as simple to change the default save location; you'll need to run a command in Terminal, but don't worry, we've got the tips you need to get you started.
The first step is to create a new folder with a recognizable name in a location of your choice; once you've done this, let's move on to the Terminal steps.

-
Open Terminal by Spotlight search (Command-Space).
-
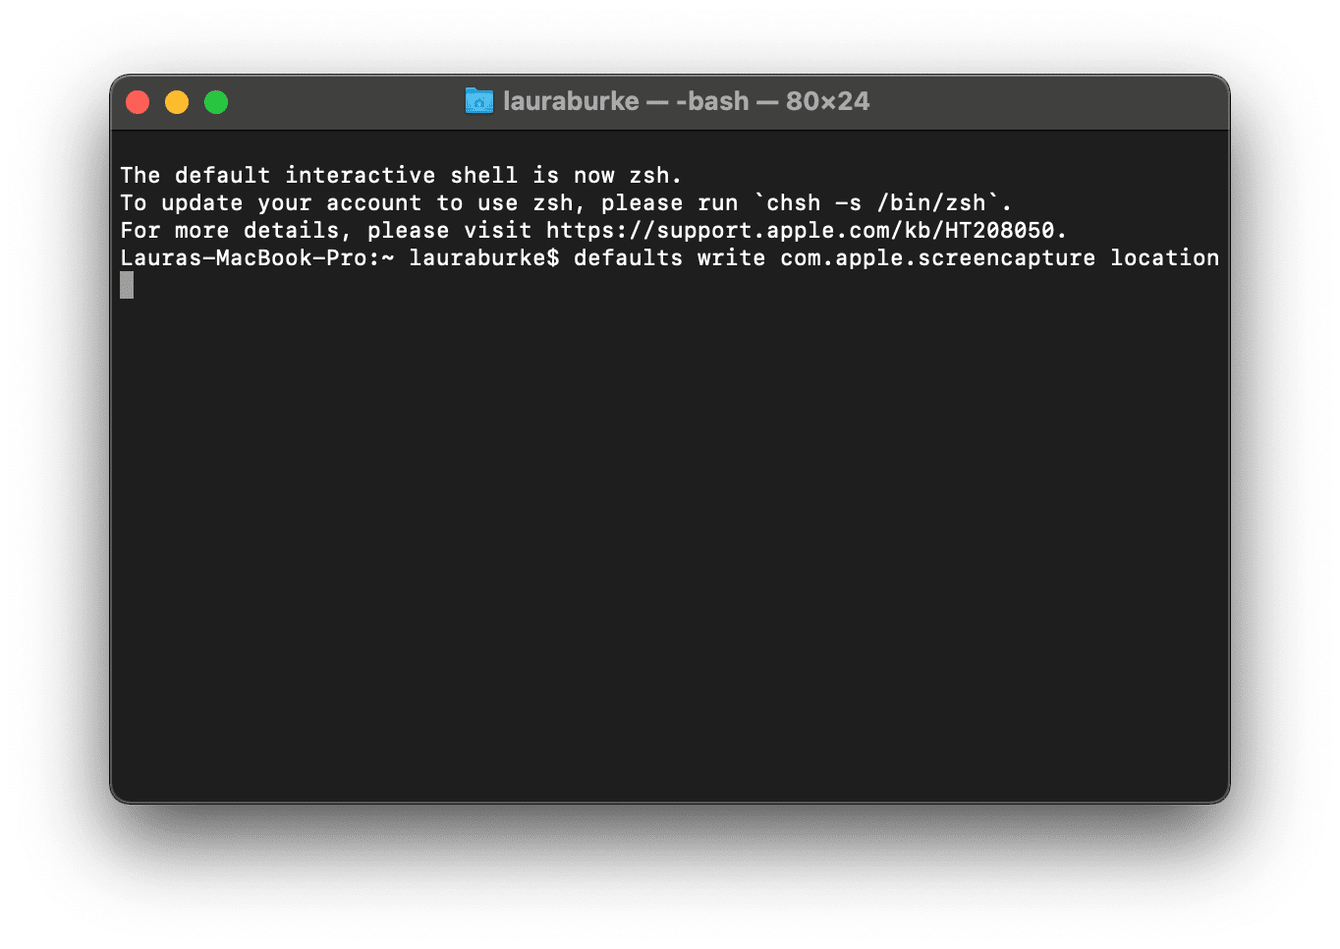
Now enter the following command:
defaults write com.apple.screencapture location
(Notice the space after location, if you don't include it, the command won't work).
-
Now drag and drop your newly created screenshots folder directly on top of the Terminal window; this will automatically fill in the directory path and press Enter.
-
Type the following command to enable to change:
killall SystemUIServer
That's it, your default save location has been changed. If at some point you want to revert to the default screenshot location, you'll need to go back into Terminal and run a different command, here's how:
-
Launch Terminal.
-
Type the following command, pressing Enter after:
defaults write com.apple.screencapture location ~/Desktop
-
Now copy and paste this command:
killall SystemUIServer
Done!
Well, there we are; we've covered just about everything you need to know about screenshots on your Mac.
Don't forget, don't let those screenshot files build up; they'll eat away at your free space in no time.
Join us again soon for more Mac tips.

