How to check iCloud storage on Mac
Knowing how to check your iCloud storage can be useful if you're looking for smarter ways to manage your stored data.
If you max out your iCloud storage, you'll start to encounter the following issues:
-
Your device won't back up.
-
Videos and Photos won't be uploaded to iCloud.
-
Messages won't sync across devices.
-
You can't send or receive emails from an iCloud email account.
-
App data won't sync.
That 5GB of free iCloud storage may feel like it'll last forever, but it's surprising how quickly it runs out when you don't keep on top of your files.
iCloud has become a part of everyday life for Mac users. Being able to store your data and seamlessly sync across multiple Apple devices is a valuable feature and one that many of us simply couldn't live without.
So if you've reached your 5GB limit and want to avoid paying to upgrade, we've got some great tips in this article to help you regain control, see what's eating space, and clean up your iCloud contents. So, let's get straight to it!
How to carry out an iCloud storage check
On a MacBook, there are two ways to check iCloud storage. I'll show you them both below.

-
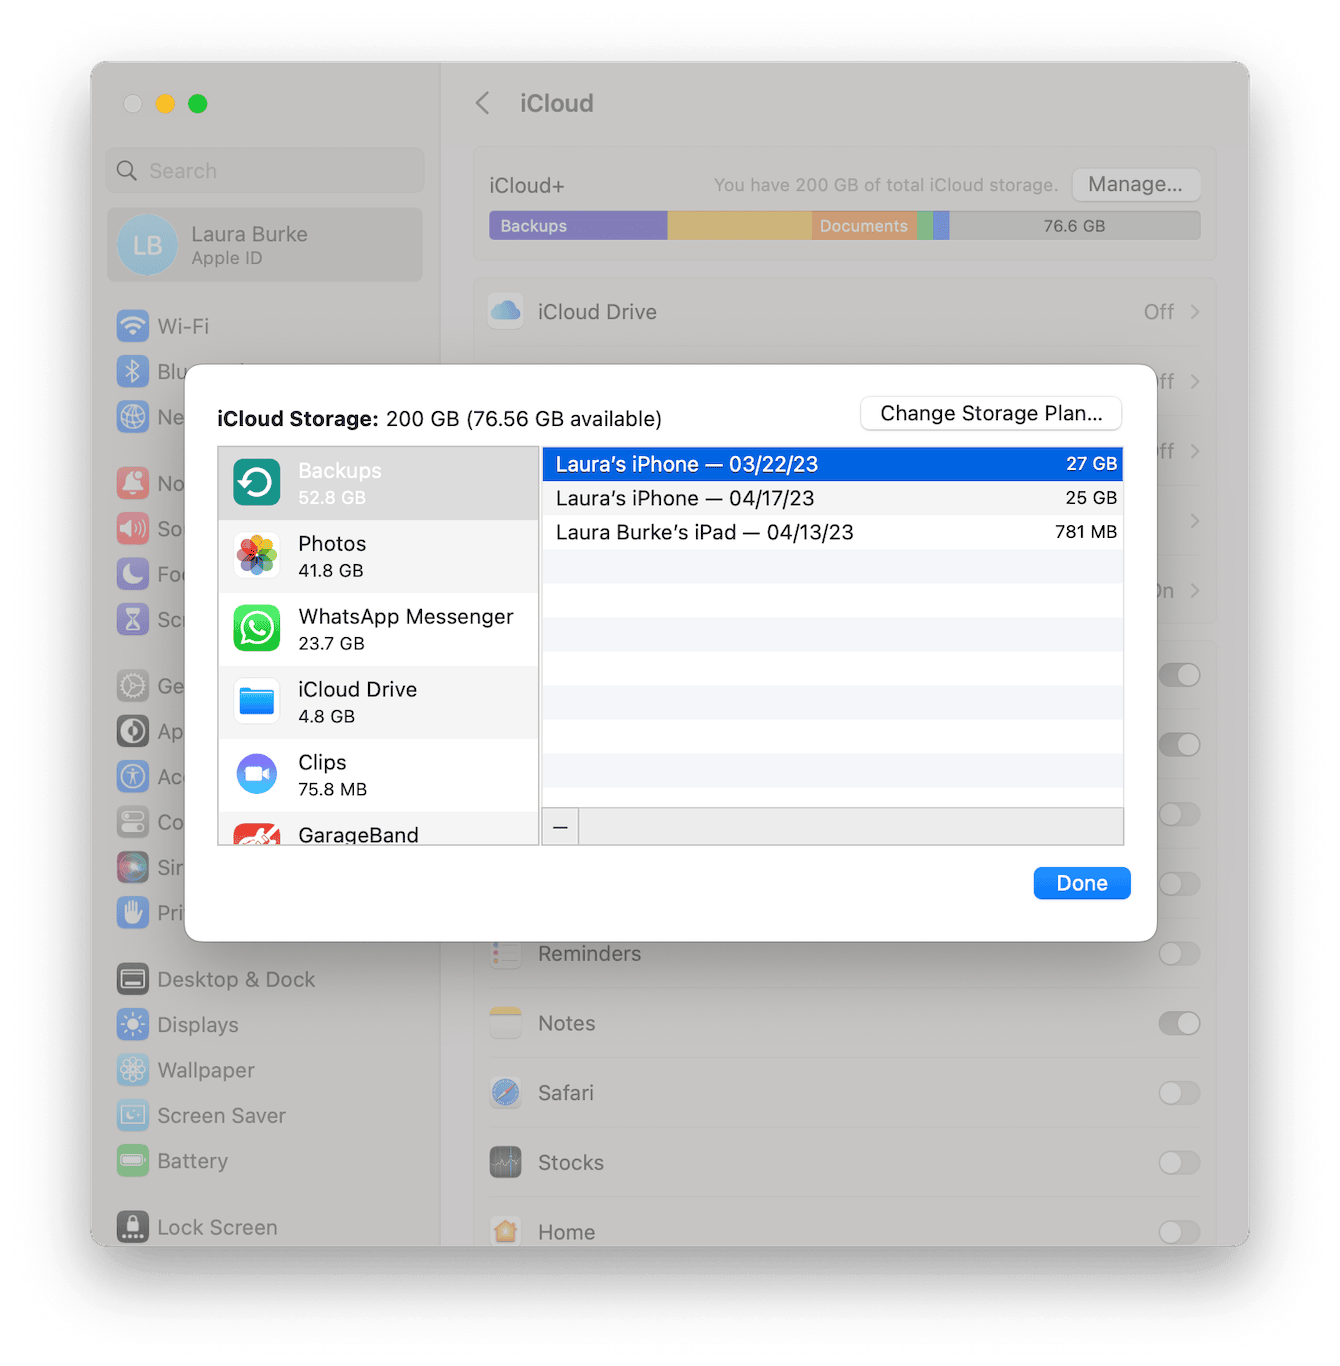
Go to the main Apple menu > System Settings > Select your Apple ID > iCloud.
-
The colorful storage bar indicates your overall storage usage. Hover your mouse over each color to see the breakdown.
-
Below the graph, you'll see a list of current applications and features using your iCloud storage; here, you can choose to toggle items on and off.
-
Click Manage for further options. You can select each app and choose to disable it or remove the data.
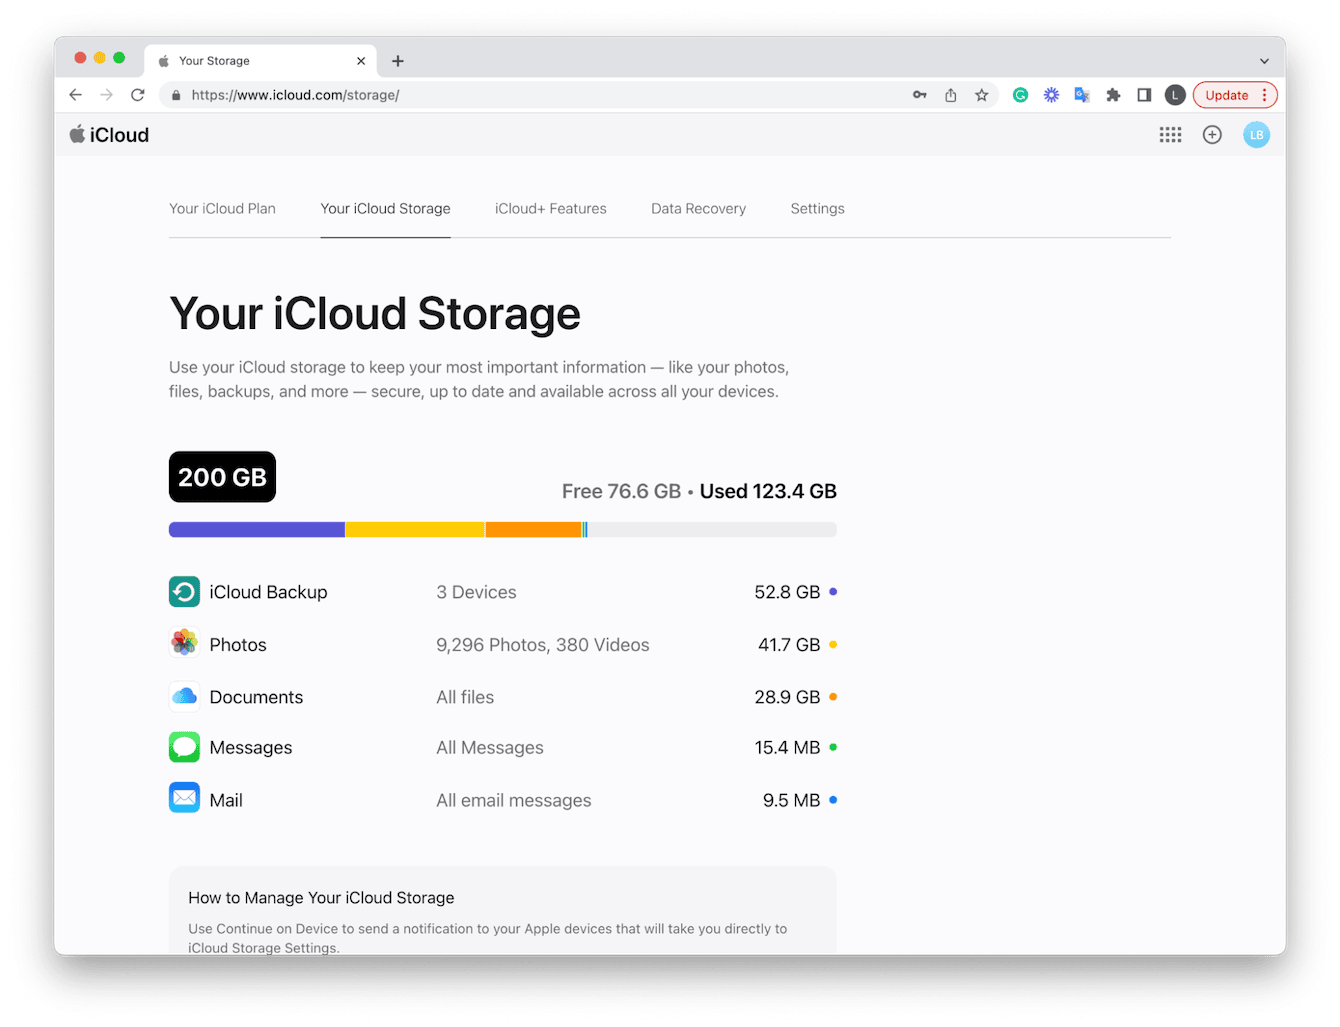
Another way to check your iCloud storage on your Mac or any other device is by signing into iCloud.com. Here's how:

-
Open your browser and visit icloud.com.
-
Sign in to your account and select the More menu top right.
-
Select Your iCloud Storage.
-
Like the method above, you'll see a graphical breakdown and below a list of apps using and connected to iCloud.
Knowing how to view iCloud storage is one thing; let's take a look at some tips on how to clean it below.
Clean up and check iCloud storage
OK, now you know how to see iCloud storage, but what about managing your stored data?
Cleaning up the contents of your iCloud and getting smart about what data you store can help you avoid paid plan upgrades.
Try these four big-impact tips and save valuable iCloud storage space.
1. Use a Mac cleaner tool
There’s a lot you can do to clear iCloud storage, and the quickest solution is to use a dedicated cleaner app. I like CleanMyMac and its new feature named Cloud Cleanup. It can scan iCloud Drive and other connected cloud storages and show you what is exactly eating up space.
Here’s how it works:
-
Open CleanMyMac (get your free trial here).
-
Click Cloud Cleanup and connect your cloud.
-
Run a scan and, once it’s finished, select what you no longer need.
-
Review files before deletion and remove them.

By cleaning up files regularly, you will forget about the lack of space. The best part? You can even downgrade your storage plan and cut some costs.
2. Reduce your iCloud backup size
Backups take up a large amount of iCloud storage space, so a great way to free up space is by reducing the size of your backup.
Control which apps are synced and delete old and unnecessary iCloud backups; here's how:

- Go to the main Apple menu > System Settings > Select your Apple ID > iCloud.
- Select the Manage button.
- Under Backups, remove and delete old historical backups by selecting them from the list and pressing the '-' key.
- Now, work your way through the rest of the list and see what data each app is storing; you can choose to either disable or delete the data.
- When you're finished, click Done, back in the main iCloud menu under the graph, and toggle off apps that you no longer want to sync with your iCloud.
3. Delete old photos and videos
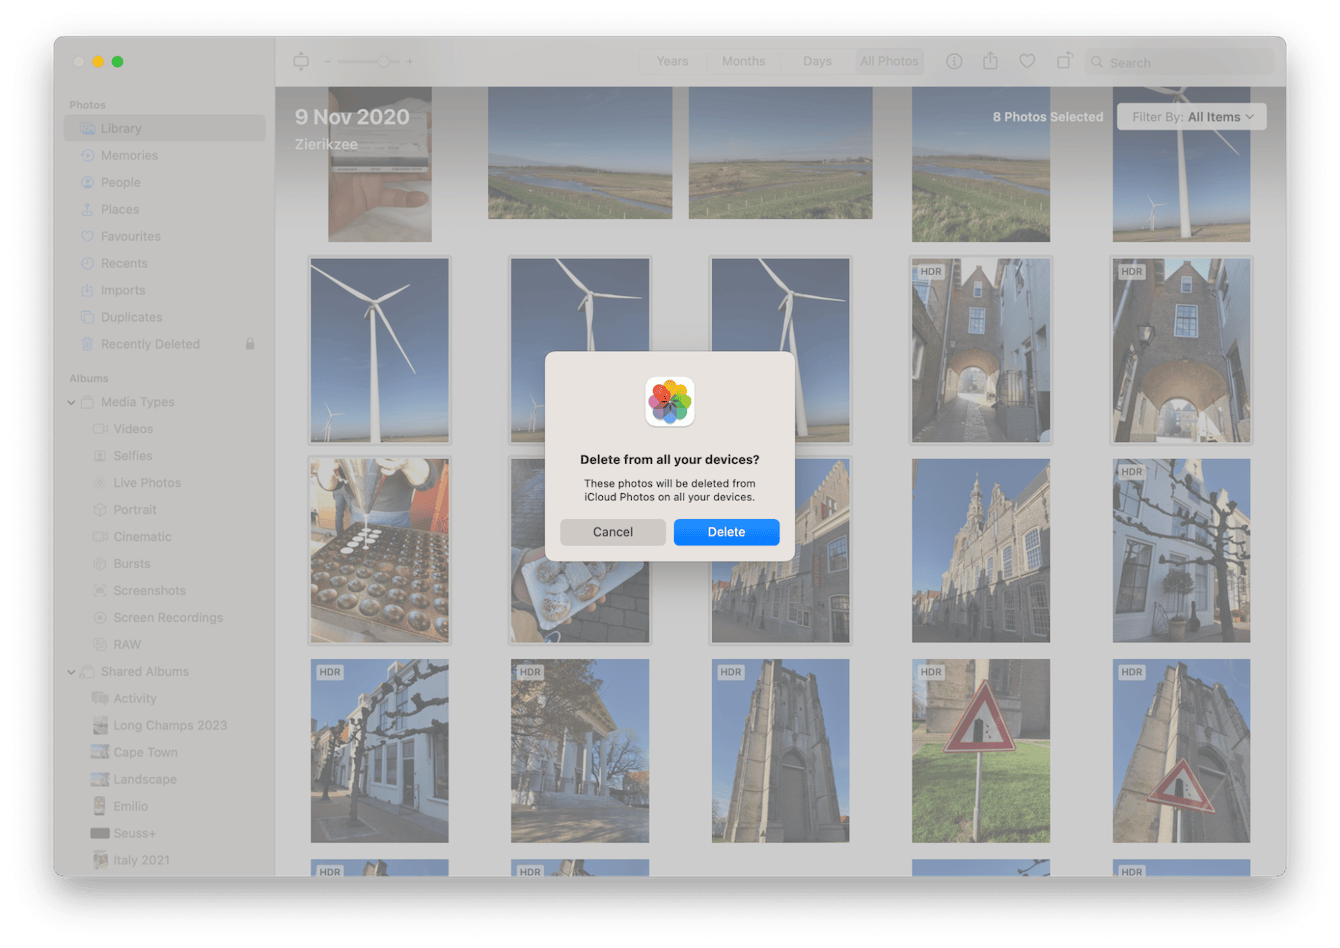
Another simple way to claim back iCloud storage space is by deleting old photos and videos; here's how:

- Open the Photos application on your Mac.
- Select any videos or images you no longer want.
- On your keyboard, press the delete key.
4. Remove unnecessary files
Having multiple synced devices is great, but over time, it's easy to lose track of what data is saved and stored and from which device. It's a good idea to regularly check for unnecessary files and folders in your iCloud storage since removing items you no longer need can save a considerable amount of space; here's how:
-
Open a Finder window, and from the sidebar, select the iCloud Drive folder.
-
Sort through your files, dragging items you no longer want to the Trash or a different location on your MacBook.
-
Once you're finished, don't forget to empty your Trash.
It's pretty common for users to dump iCloud files or folders on their Macs in an effort to save iCloud space. But don't forget our Macs get easily clogged down, too; if you start to fill up your MacBook's hard drive, you'll encounter many annoying performance-related issues; check the extra bonus tips below on how to free up Mac storage quickly and effectively.
How to clean up storage on Mac
1. Get rid of system junk
Regularly removing system junk is a must. Think about useless cache, system and user logs, unnecessary language files, and broken and temporary files and folders.
It can be challenging to remove this kind of digital waste manually; that's why I prefer to use the Cleanup feature from CleanMyMac.
This powerful app makes light work of removing junk and keeping your Mac in shape; here's how to use it:

- Open the app — get your free trial here.
- Select Cleanup and click Scan.
- Once the scan is complete, click Clean.
2. Check your Desktop
If you use Stacks, it's easy to forget the amount of clutter we have saved to our desktops; screenshots, downloads, files, and folders can consume valuable space, so take a moment to review what's sitting around.
3. Remove large files and other clutter
You can save gigabytes of space on a MacBook by removing large, forgotten, or duplicate files and folders. Instead of spending hours locating these items, use the app I mentioned earlier. CleanMyMac has an awesome Large & Old Files tool within the My Clutter feature built exactly for the task; here's how to use it:

-
Open the app and select My Clutter from the sidebar.
-
Click Scan > Review All Files.
-
Sort through your files (including duplicates and similar images).
-
Select what you no longer want and click Remove.
So we've reached the end; you now know how to manage your iCloud storage usage and save space on your Mac.

