How to connect Mac to a monitor step by step
Looking for tips on how to connect Mac to monitor without going down a rabbit hole of advice? Let me walk you through what actually works today, not what used to work five OS versions ago.
Apple's continued push into Apple Silicon has changed the game. With each new chip, display support evolves, and macOS Sequoia has also quietly tweaked how external monitors are handled under the hood. That means old tricks might not cut it anymore.
Join me as I break it all down simply with tested solutions, personal setups, and insights that reflect what's working right now.
How to connect Mac to monitor
If you're setting up a dual-screen workstation or just trying to get a second display running for a presentation, knowing how to connect your Mac to a monitor is pretty important and surprisingly not as straightforward as it should be.
I've tested this setup across multiple Macs and monitors, from 4K displays to portable USB-C screens, and I'll walk you through what actually works. No tech jargon, no guessing games, just clear steps based on real-world experience, plus a few pro-level tricks I've picked up along the way.
Let's get into it.
Check your Mac's ports and monitor compatibility
First things first, what ports are you working with? Newer MacBook Pro and Air models (especially post-2023 releases) typically come with:
-
Thunderbolt 4 / USB-C (backward compatible with USB 3 and DisplayPort)
-
HDMI 2.1 on higher-end MacBook Pros (from 2023 onward)
-
Some even support dual external displays natively now, finally
Knowing both sides of the connection upfront means you can grab the right cable on the first try and avoid blurry resolution issues or the dreaded "no signal" screen. So, make sure you know your setup, for example.
-
My Mac model: MacBook Pro M1 Pro, 16-inch (HDMI and 3x USB-C/Thunderbolt)
-
Monitor port: HDMI and DisplayPort

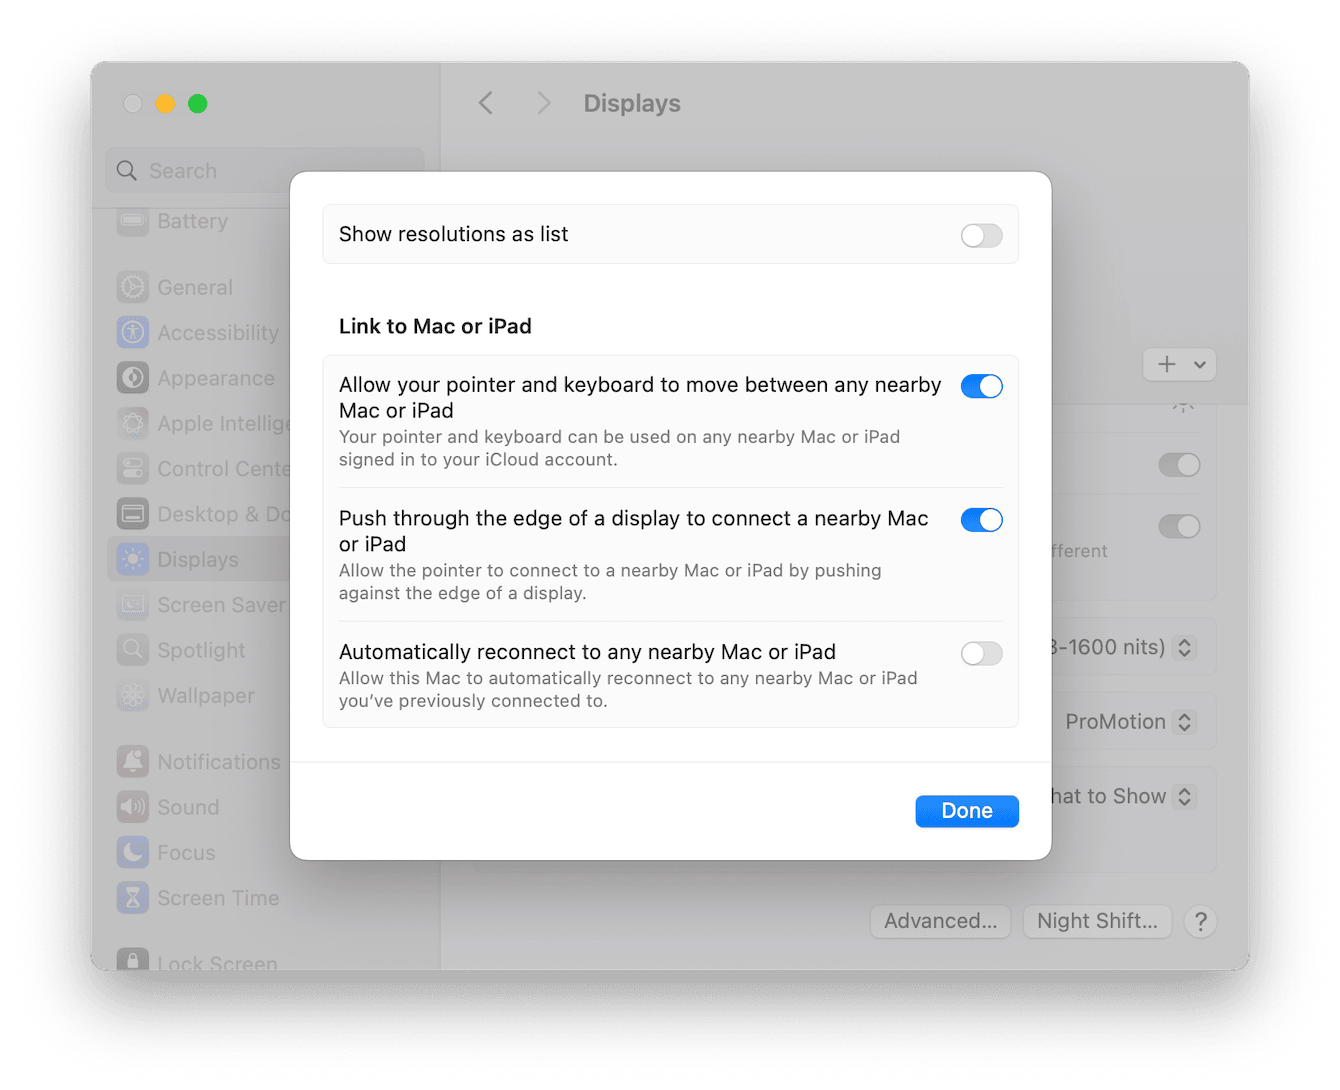
Tip: In macOS Sequoia, connecting an external monitor reveals available resolutions and refresh rates right in System Settings > Displays. Just select the display and then click the resolution dropdown. If your monitor supports 60Hz or higher, it will show up automatically. If you cannot see Resolutions, click Advanced and enable the option there.

Choose the right cable or adapter
Here's where most connection issues start and how to avoid them. Feels obvious, but it's worth mentioning that Macs don't use HDMI as their primary port anymore. Most modern models rely on USB-C ports that support Thunderbolt 3/4 and DisplayPort. But your monitor might only offer HDMI or DisplayPort. That mismatch is what causes problems like low refresh rates, blank screens, or poor resolution.
Here's what I've learned through testing multiple setups.
Best for 4K or high-refresh displays
-
Use a USB-C to DisplayPort cable or USB-C to HDMI 2.1 adapter. These preserve full resolution (3840x2160) at 60Hz or even 120Hz if your monitor supports it.
-
Don't settle for random Amazon cables; look for certified HDMI 2.1 or DisplayPort 1.4 branding.
A basic USB-C to HDMI adapter might limit you to 30Hz, which feels slow for most users. I ran into this with an ASUS monitor until I upgraded to a proper 4K60-certified cable.
For older monitors (1080p or VGA-only)
-
Use a USB-C hub or multiport adapter with HDMI or VGA output.
-
Just know: VGA maxes out at 1080p and isn't ideal for color accuracy.
For dual monitor setups
-
Skip daisy-chaining unless your monitors specifically support DisplayPort MST (most don't).
-
CalDigit TS4 docks are getting rave reviews; they let you connect two 4K monitors over DisplayPort with zero performance issues.
-
OWC and Anker also make reliable Thunderbolt docks if you need more USB-A, Ethernet, or SD card slots, too.
OK, we've covered all the essentials and basics; it's time to move on to the important how to connect Mac to monitor steps.
How to connect your Mac to a monitor: step-by-step
Let me walk you through the process I use every time I set up a new workspace.
Step one: Connections
-
Connect the cable to your monitor first.
-
Make sure the monitor is turned off and plug the cable (HDMI, DisplayPort, or USB-C) into the monitor.
-
Plug the other end into your Mac.
-
For USB-C/Thunderbolt ports, just plug it directly in or use a certified adapter.
-
Turn on the monitor and wait 5-10 seconds; your macOS should detect it automatically.
Step two: Configuration
-
Open System Settings > Displays.
-
If your screen didn't connect automatically, press the + button to try and connect it.
-
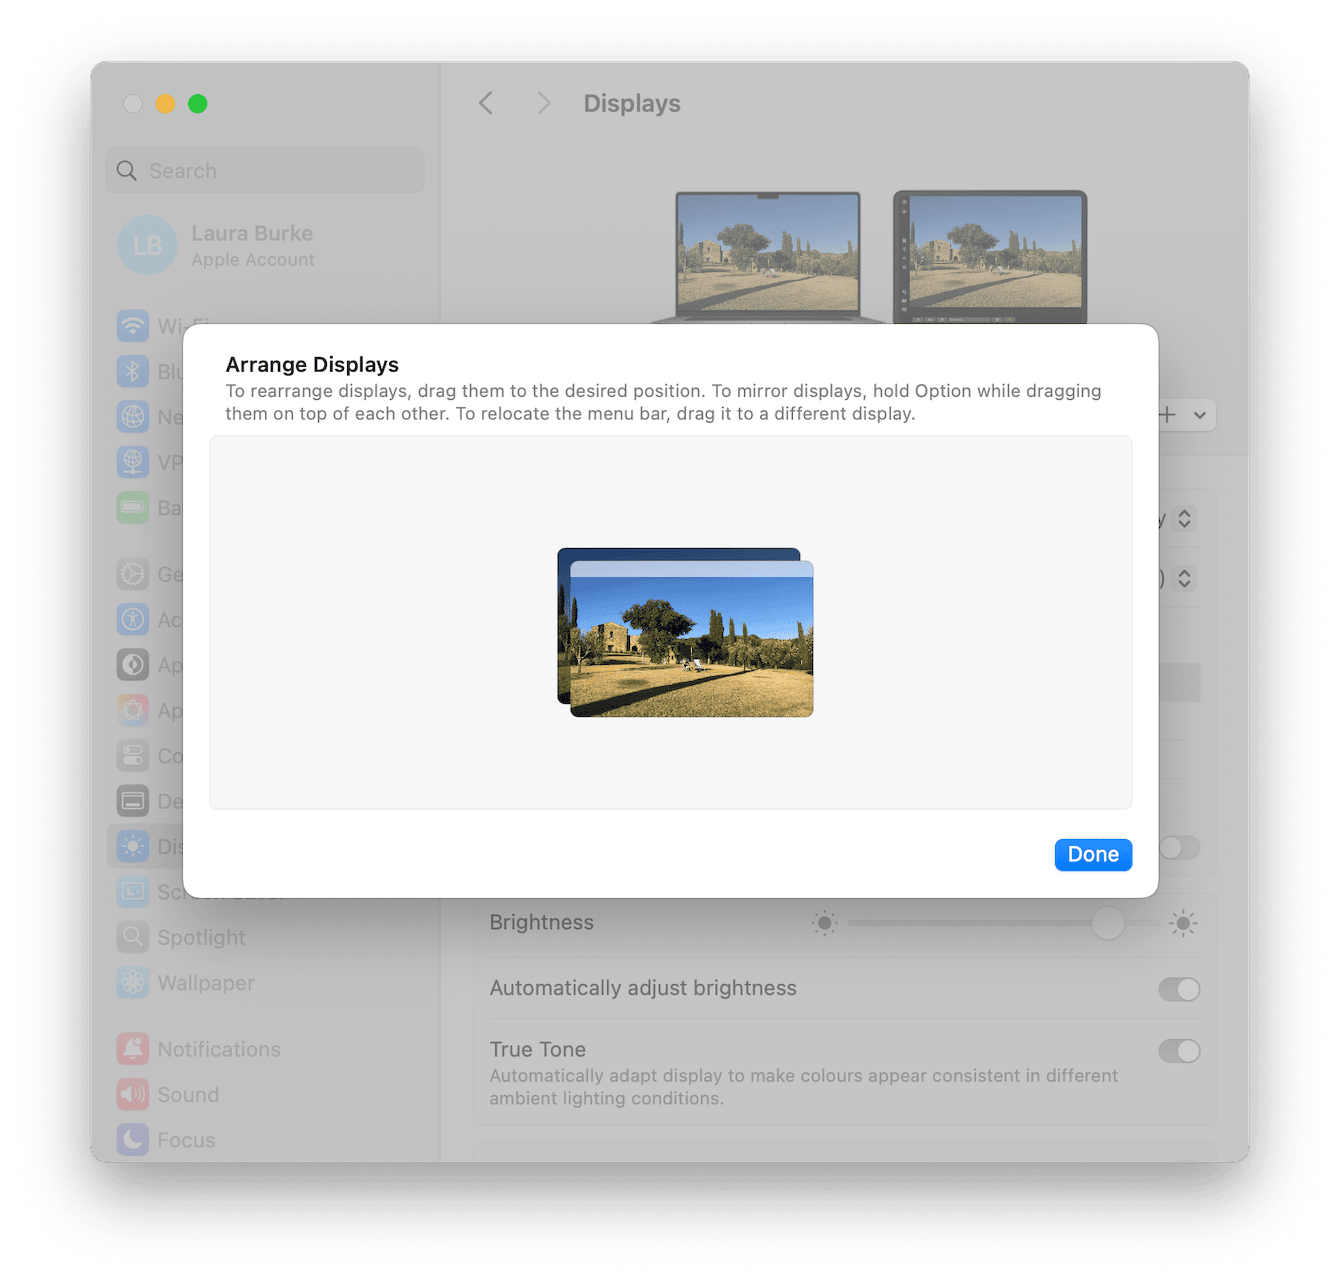
Click the Arrange button:
-
To mirror displays, hold Option and drag one display on top of the other.
-
To extend displays, drag them side by side in the arrangement window. This creates a continuous workspace.
-
You can reposition screens to match your physical layout (left/right/above).

Step three: Resolution
Your macOS now auto-detects the best resolution, but you can still play around. You'll see preset options like Larger Text and More Space; click these to preview the visual immediately.
If you want HiDPI or full 4K60 scaling, click the Advanced button at the bottom.
Pro tip: How to connect multiple monitors with a Mac
Multi-monitor support on Macs depends entirely on the chip inside your machine. It's not just about the number of ports anymore; some models physically won't output to more than one screen without workarounds, and that often comes as a surprise to users. If you're planning a multi-display setup, knowing your Mac's limits upfront can save you hours of frustration. Here's the simplified breakdown.
M1 MacBook Air and M1 MacBook Pro (13-inch)
Supports only one external display natively. To add more, you'll need a DisplayLink dock and the DisplayLink Manager app from Synaptics.
M1 Pro and M1 Max MacBook Pro
M1 Pro supports up to two external displays, while the M1 Max supports up to four. No DisplayLink is required.
M2 and M3 MacBook Air and MacBook Pro
M2 Air supports one display natively. M3 Pro supports two. M3 Max supports up to four. Base models may still need DisplayLink for dual setups.
Mac mini, Mac Studio, Mac Pro (2023 and newer)
Supports up to five displays depending on configuration. Ideal for professional multi-screen workflows.
One more way to boost your setup
Ever plugged in an extra external monitor, and your Mac suddenly felt sluggish? I had that happen often, especially when running dual displays and memory-hungry apps like Final Cut or Chrome with 20+ tabs open.
That's when I started using the Performance feature from CleanMyMac. This powerful set of tools is all about optimizing how macOS allocates resources.
-
Get your free CleanMyMac trial — test the app for 7 days at zero cost.
-
Go to Performance and click Scan.

- Next up, click Run Tasks. For more control, click the View All Tasks button.

- Select items and click Run.

It's a subtle task to add to your flow, but it makes screen mirroring smoother and reduces lag when switching spaces.
So, that's all there is on how to connect a Mac to a monitor. When it comes to external monitors, there's no one-size-fits-all perfect setup. We've all got our unique needs, and if you're juggling multiple monitors or legacy gear, that changes things too; but the good news is Apple has finally made multi-monitor support more consistent across its ecosystem.

