How to copy screenshots to a clipboard on Mac
Looking for ways to copy screenshots to clipboard on a Mac? You've landed in the right spot.
Screenshots are sometimes underrated; they're so versatile and handy and such a great visual way to capture information that you might need later, but what's surprising is that lots of users don't realize you can copy them to your clipboard for even easier sharing or editing.
Here are just a few reasons to love screenshots:
- Capture error notifications
- Create tutorials
- Visual note-taking
- Design collaboration
The list could go on; whatever you use them for, adding screenshots to your emails, messages, or documents is a great way to boost your communication. We'll walk you through all the tips you need, so let's get started.
How to copy screenshots to clipboard on Mac
Before we dive into the tips on how to copy a screenshot, here's a super quick reminder on how to take a screenshot using quick keyboard commands.
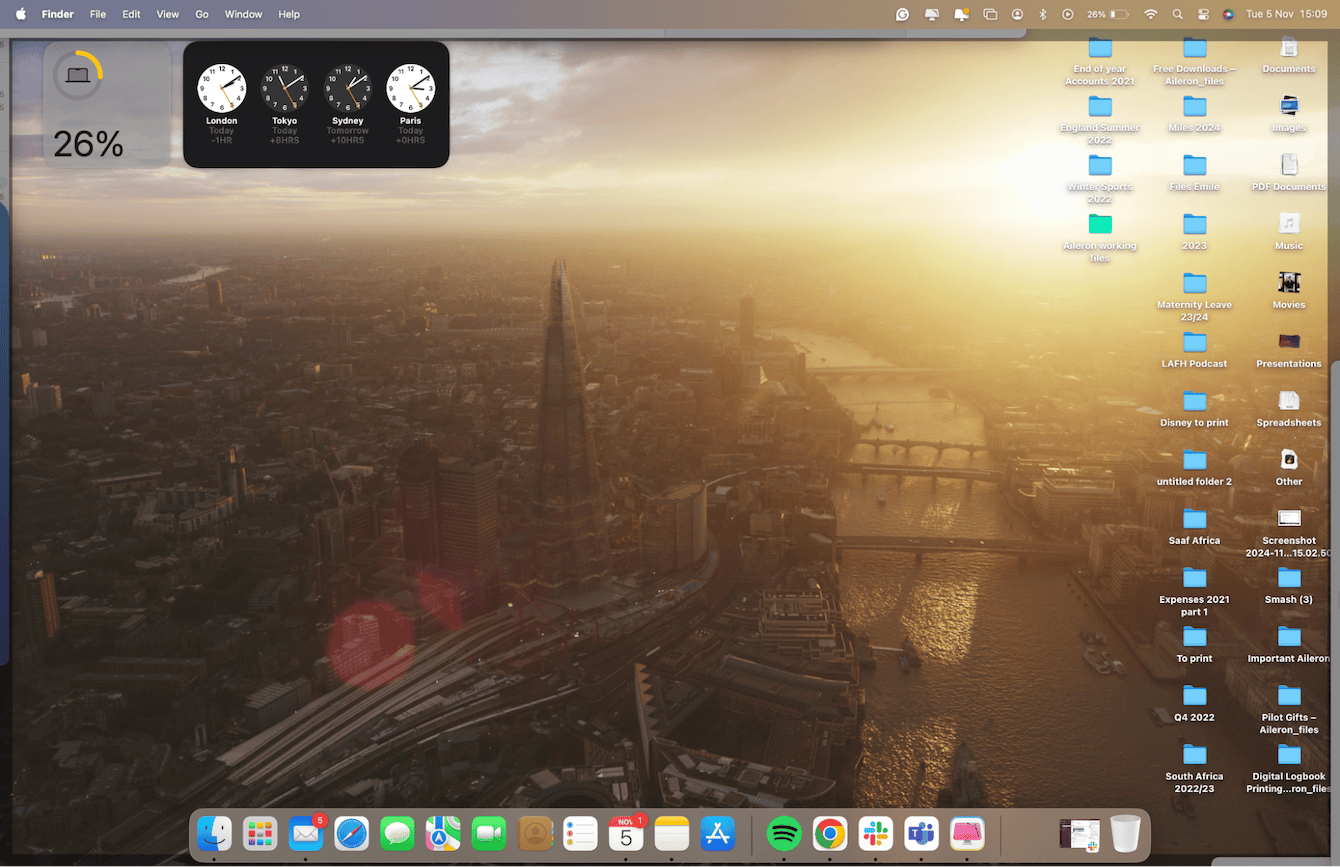
For a full-screen screenshot:
Press Command - Shift - 3
For a partial screen screenshot:
- Press Command - Shift - 4
- Then, use the crosshair to select the area of your screen you want to capture.
Specific window screenshot:
-
Shift - Command - 4 and press the Spacebar
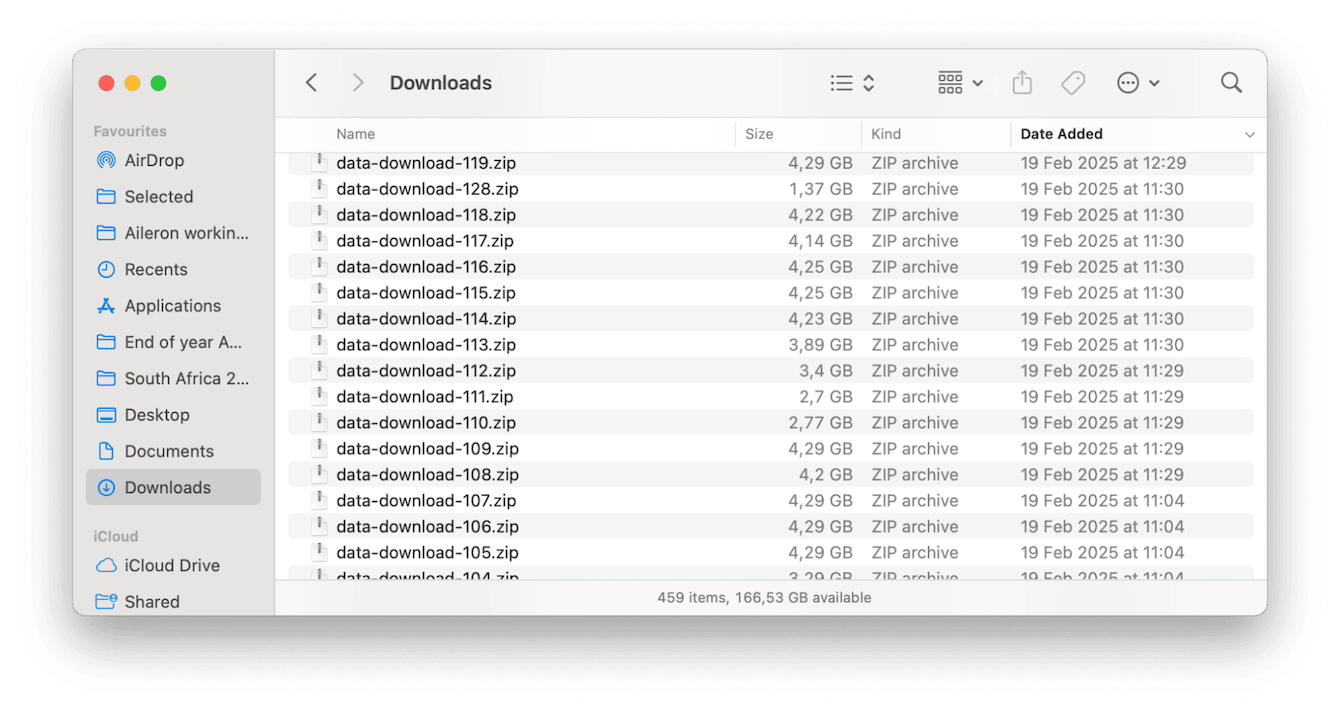
The cursor turns into a camera, letting you click any open window. It even adds a subtle drop shadow; this looks really good in documentation or presentation decks.
When it comes to knowing how to copy a screenshot on Mac, if you use the commands above, your screenshots are by default saved to your desktop.
If you want to automatically copy them to your Mac's keyboard, simply add the control key, so here's how the full-screen screenshot command looks:
- Command - Control - Shift - 3
- Now, with your screenshot copied to your clipboard, paste it where you want it using Command - V.
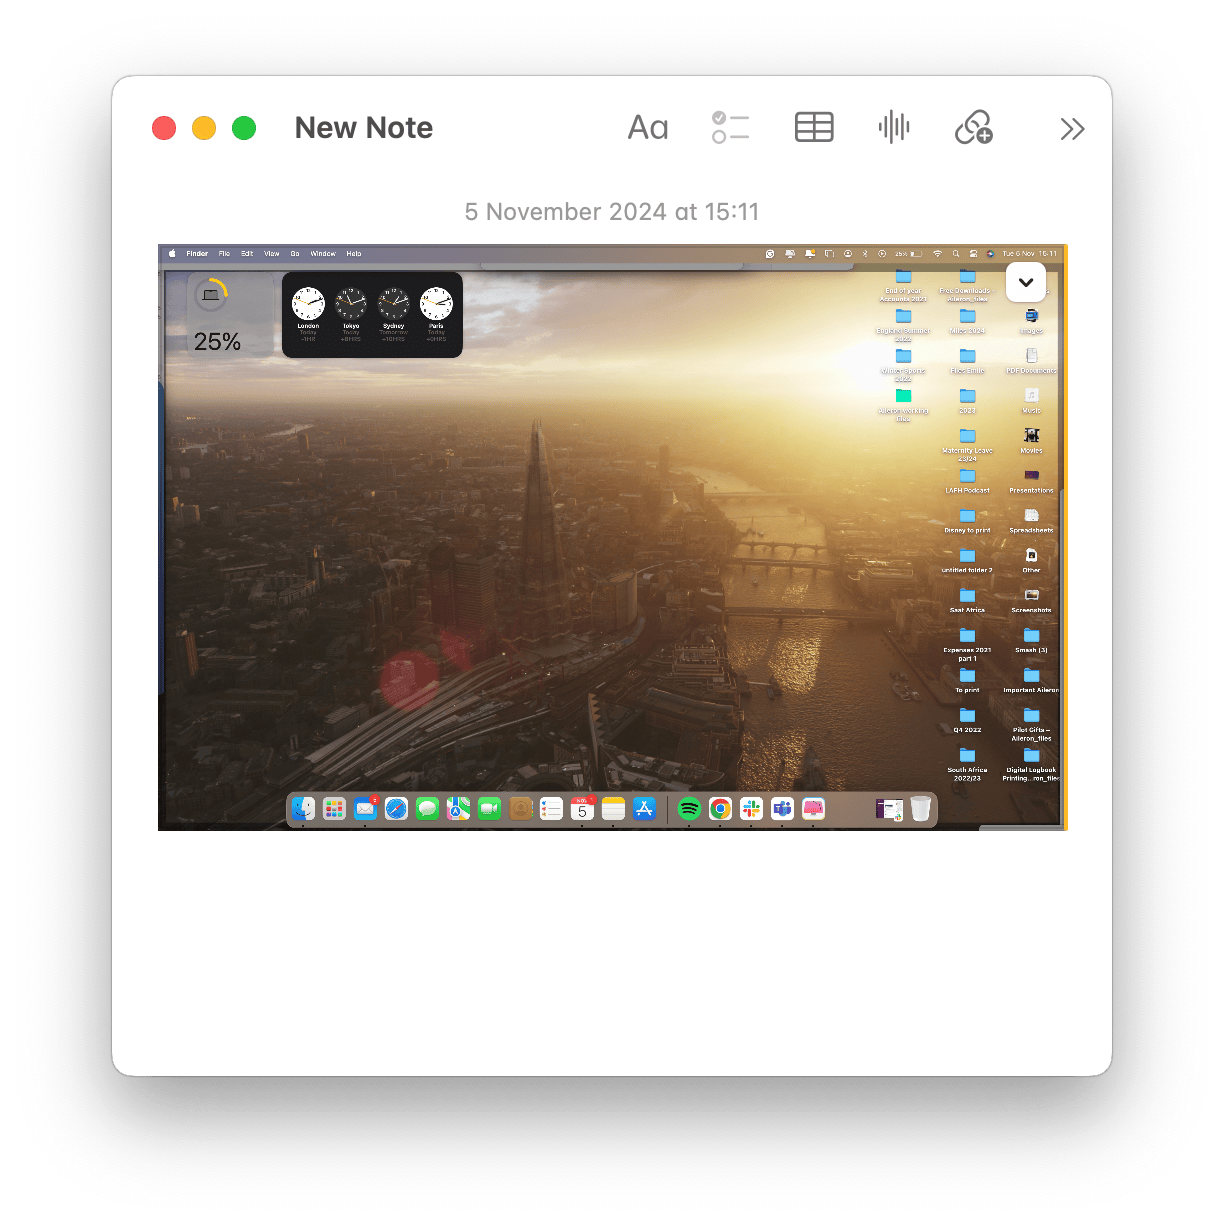
You can paste your screenshots inside notes, emails, documents, messages, and more.
So, that's it. Pretty simple, right? Screenshots have a tendency to build up, and if your Macs are already a little low on space, they'll quickly clutter up your device; we've got an extra tip for you below.
How to remove unneeded images on Mac
It's easy to forget that screenshots are images, and they can consume space, especially if you take hundreds and never clean them up.
Instead of spending hours trying to find all your unwanted, duplicate, or similar-looking images and screenshots, use a purpose-built Mac cleaner like CleanMyMac to do all the hard work for you.
This tool has a great My Clutter tool designed to find all your unwanted screenshots; here's how to use it:
- Open CleanMyMac get your free trial here (free for 7 days).
- Click My Clutter > Scan.
- Once the scan is complete, choose to review all files or select the suggestions like Similar images.
- Now, choose and select all the items you want to delete and click Remove.

Mac screenshot to clipboard history
So, once you've copied a screenshot, it's temporarily saved on your Mac's system memory (the clipboard). Loads of people ask how you can view the clipboard's history, and it's a really good question.
Unfortunately, it's only built to hold one image at a time, so it's overwritten as soon as you take a new screenshot, and there's no way of viewing the history. There are a couple of third-party tools that claim that they can; just be careful and read reviews; if the tool takes the screenshots for you, then it's possible they store your history.
How to save screenshot on Mac
Now, to different ways to save your screenshots.
How to save screenshots as PDFs on Mac
This used to be a multistep thing, but here's how I do it now without opening Preview every single time.
-
Take your screenshot (using any method above).
-
Double-click the image to open it in Preview.
-
From the menu bar, press File > Export as PDF.
-
Save it wherever you want.
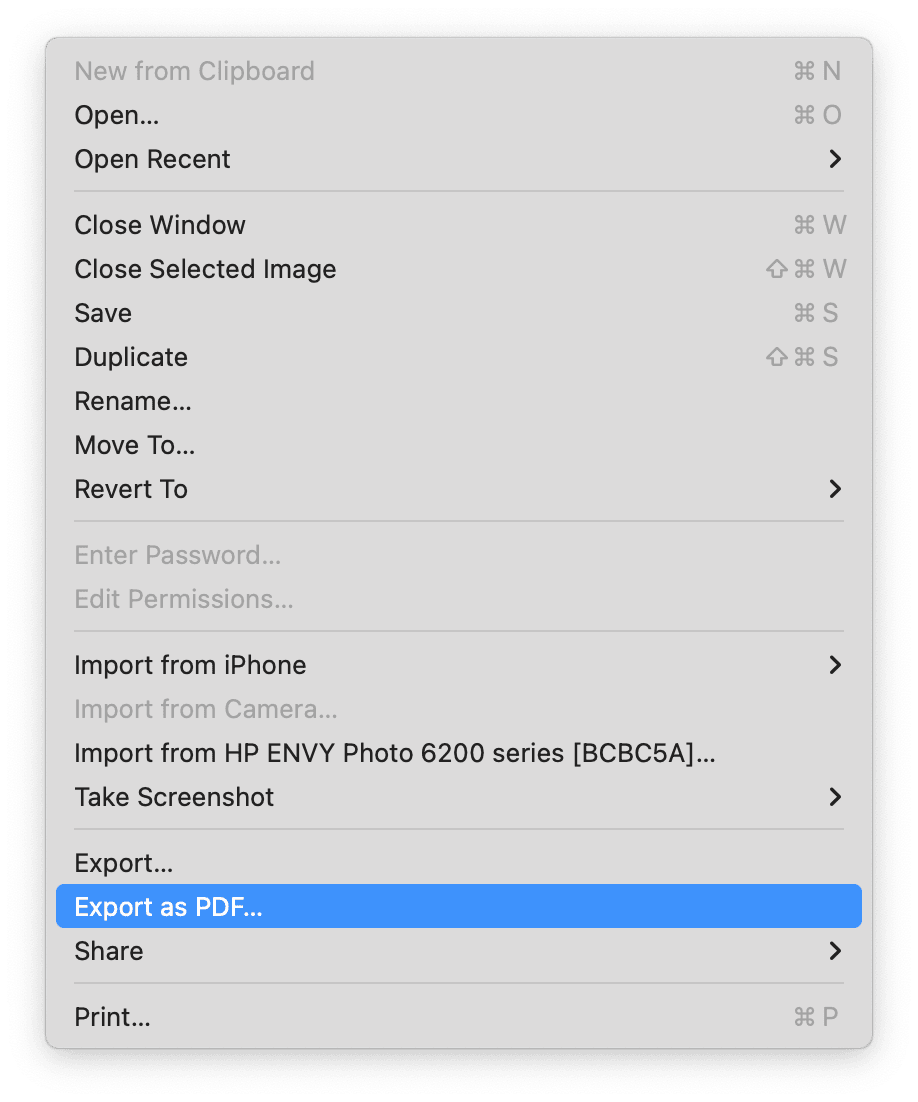
Pro tip: If you press Command - P inside Preview, it opens the Print window, but here's the hidden gem: look in the bottom-left corner; there's a small PDF dropdown menu. Click that, and choose: "Save as PDF."
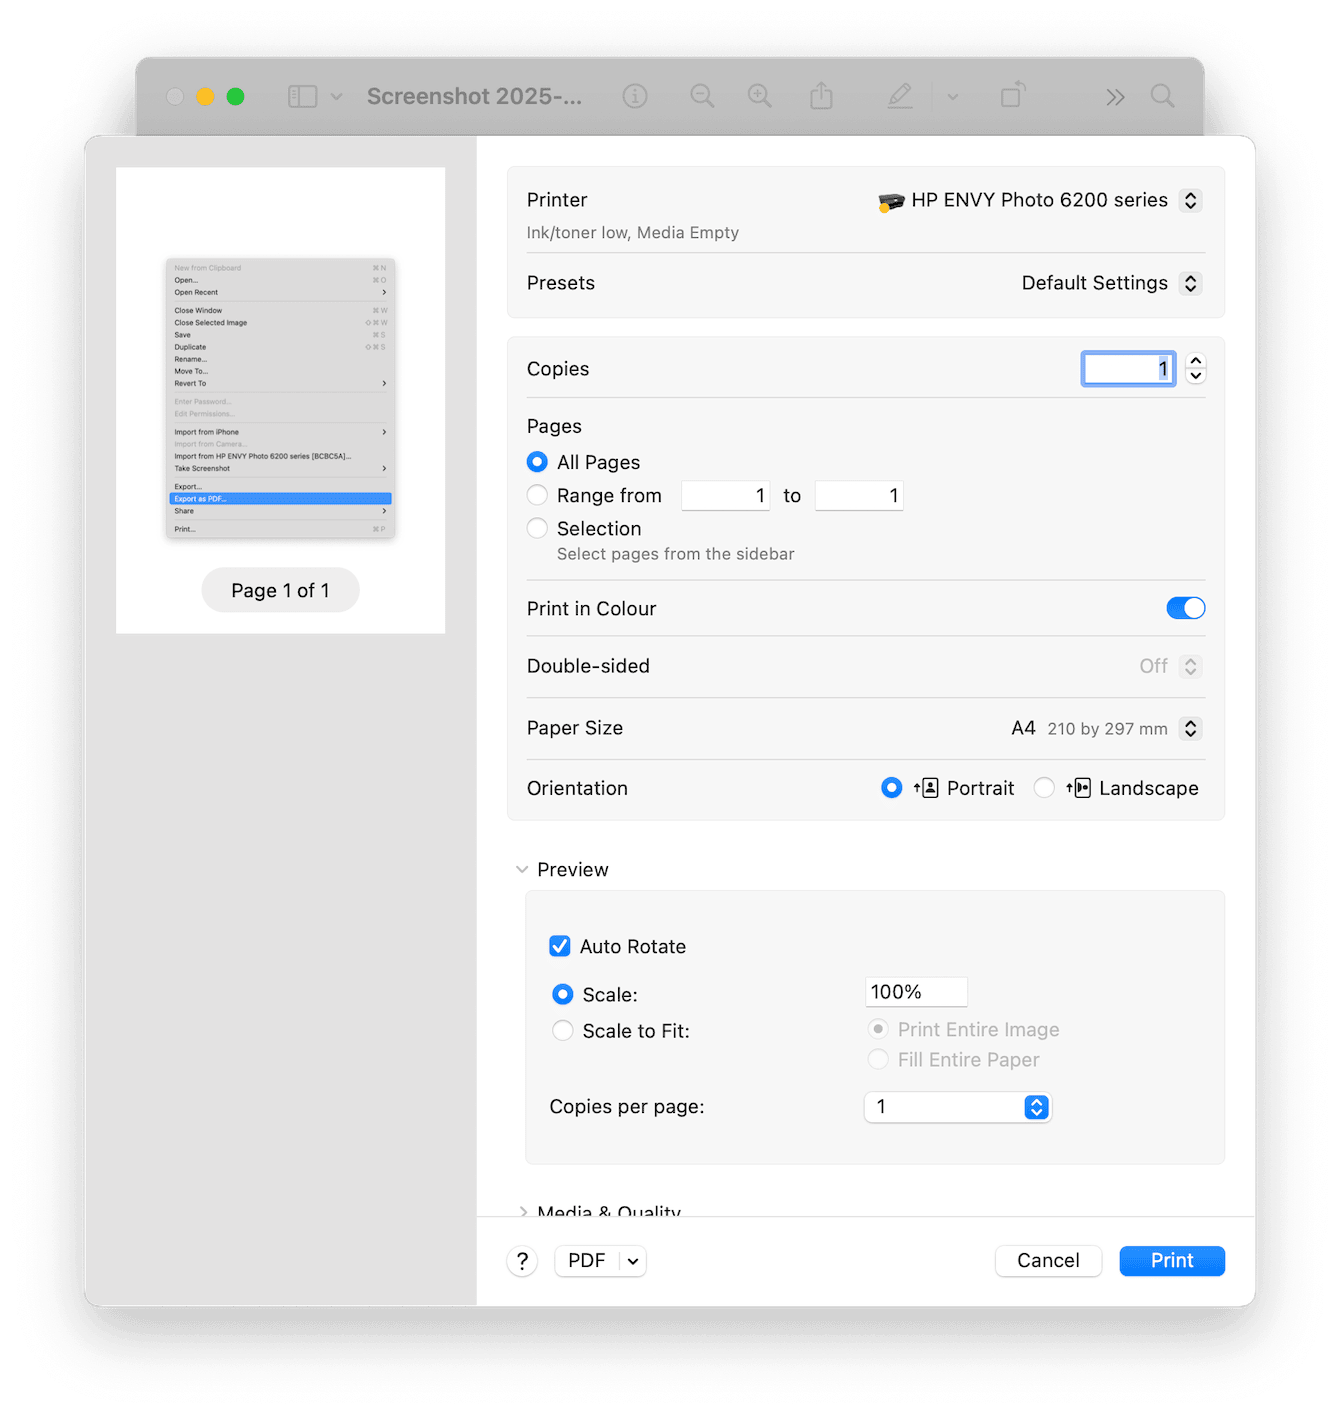
That's the Apple-approved way to convert any image into a full-res PDF; no export function is needed.
How to save screenshot to Mac Desktop
This is the default behavior, but it's customizable. If you want your screenshots always to land on your Desktop:
-
Open the Screenshot app.
-
Click Options at the bottom and under Save to select Desktop.
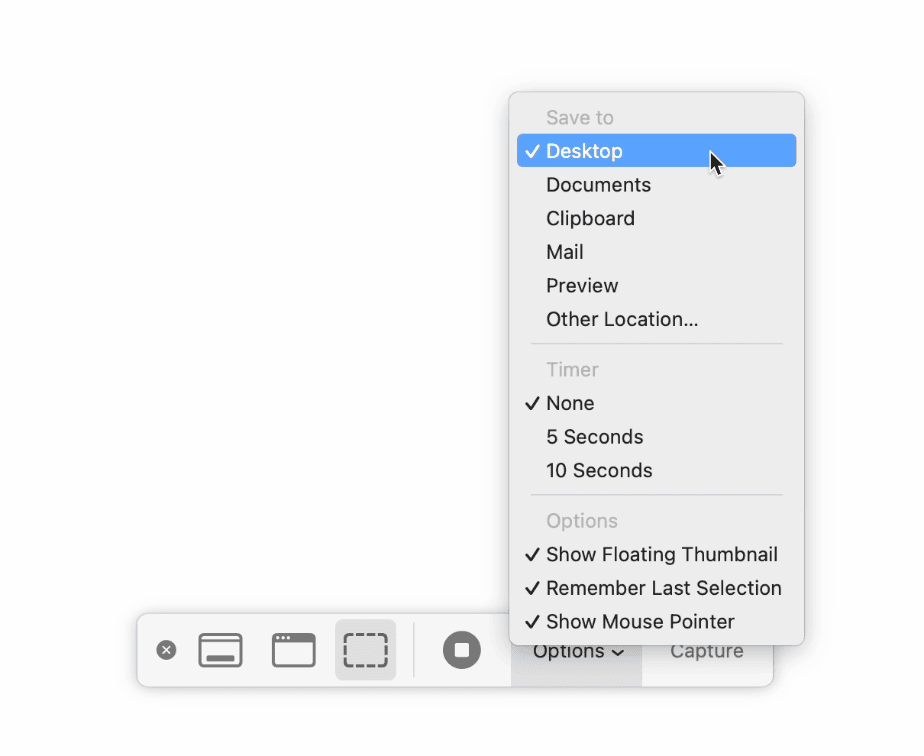
You can also choose Documents, Clipboard, or even open them directly in Mail or Messages. But for most workflows, the Desktop is clean and fast. Just know your Desktop will get messy fast.
Pro Tip: I've created a smart folder on my Desktop that filters all screenshots automatically. Super helpful for keeping track of them without losing files in the clutter; here's how:
-
Open a new Finder window and press Command + F to start a new Smart Folder search.
-
Set the first filter to: Kind to Image
-
Add a second filter: Name, then Contains, then Screenshot.
-
Click Save (top-right), name it something like Screenshots, and choose Desktop as the location.
-
(Optional) Check "Add to Sidebar" for quick access — then, click Save.
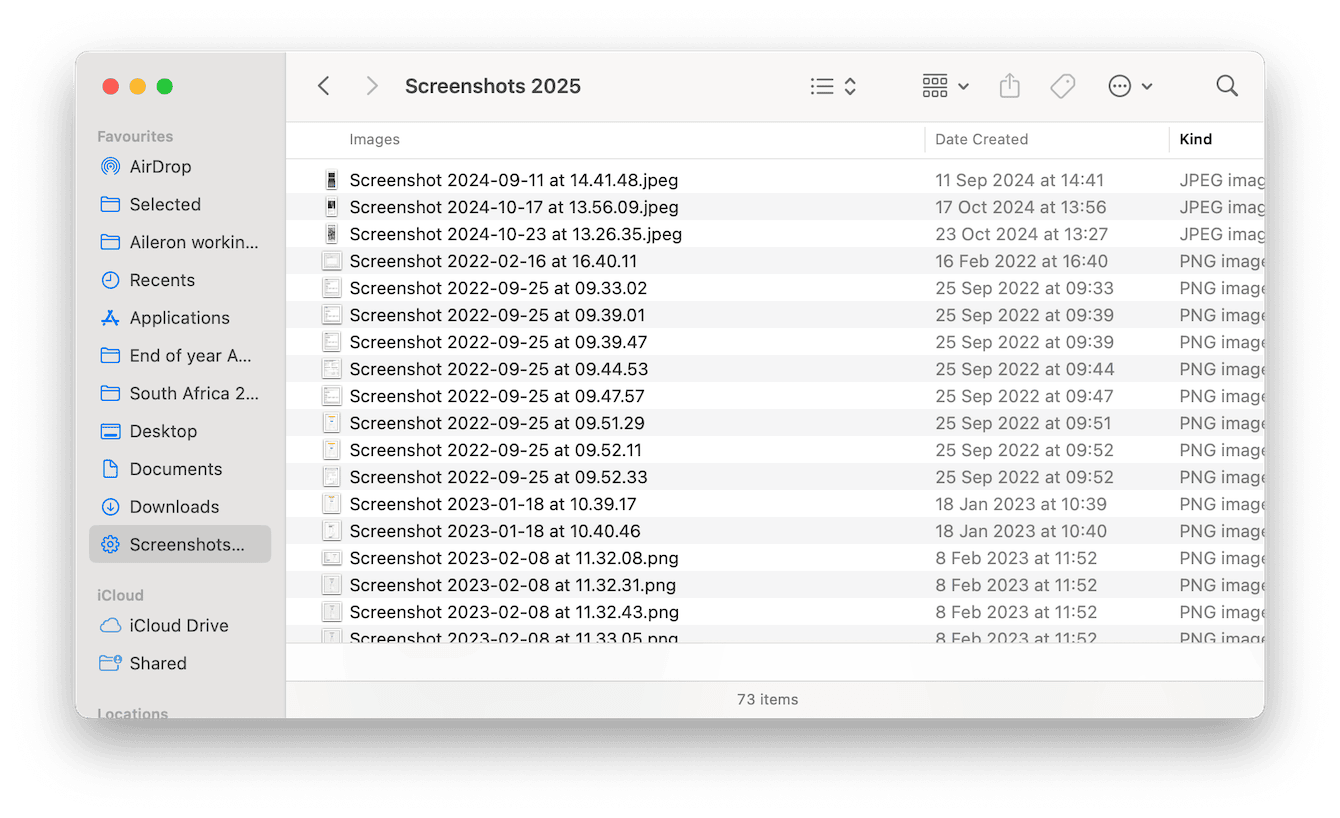
This Smart Folder will now autoupdate with every new screenshot, no matter where it's saved. Great way to declutter visually without deleting anything.
So, thanks for sticking around to the end; we hope you found these tips on how to copy a screenshot on Mac and how to save them useful. Don't forget to keep your Mac in tip-top shape by regularly removing unwanted screenshots.
Frequently asked questions
Do screenshots take up loads of space on a Mac?
This depends; they can be anywhere from a few K to four megabytes; like normal images, it's important to regularly clean them up.
How do you delete screenshots on your Mac?
Just like a regular photo, you can move them to your Trash; you'll just need to remember to empty it afterward.
Are screenshots made with an app on your Mac?
Yes, you'll find the Screenshot app in your Applications folder. If you're used to making screenshots with keyboard commands, then it's not unusual that you've never opened the actual app itself.

