How to create macOS Monterey installer
Curious about how to create a bootable installer for macOS? It might sound like a lot of manual work, but It's not as daunting as it sounds. In this article, we'll take a closer look at all the necessary steps, plus some bonus tips.
Knowing how to create a bootable installer for macOS is handy if you want to install macOS Monterey across multiple Macs or carry out a clean install.
All you need is a macOS formatted USB, HDD, or SSD. So let's get started.
What is a bootable USB Mac?
To put it simply, a bootable USB for Mac is a portable device that contains all the required installation files for a particular version of macOS. It will enable you to boot your Mac from the file system within the flash drive instead of your hard drive.
How to create a bootable macOS Monterey installer
First things first, before we go any further, let's take a look at what you need to create a bootable macOS Monterey installer:
-
USB, HDD, or SSD with at least 16GB of available memory.
-
Make sure the portable device is formatted for macOS.
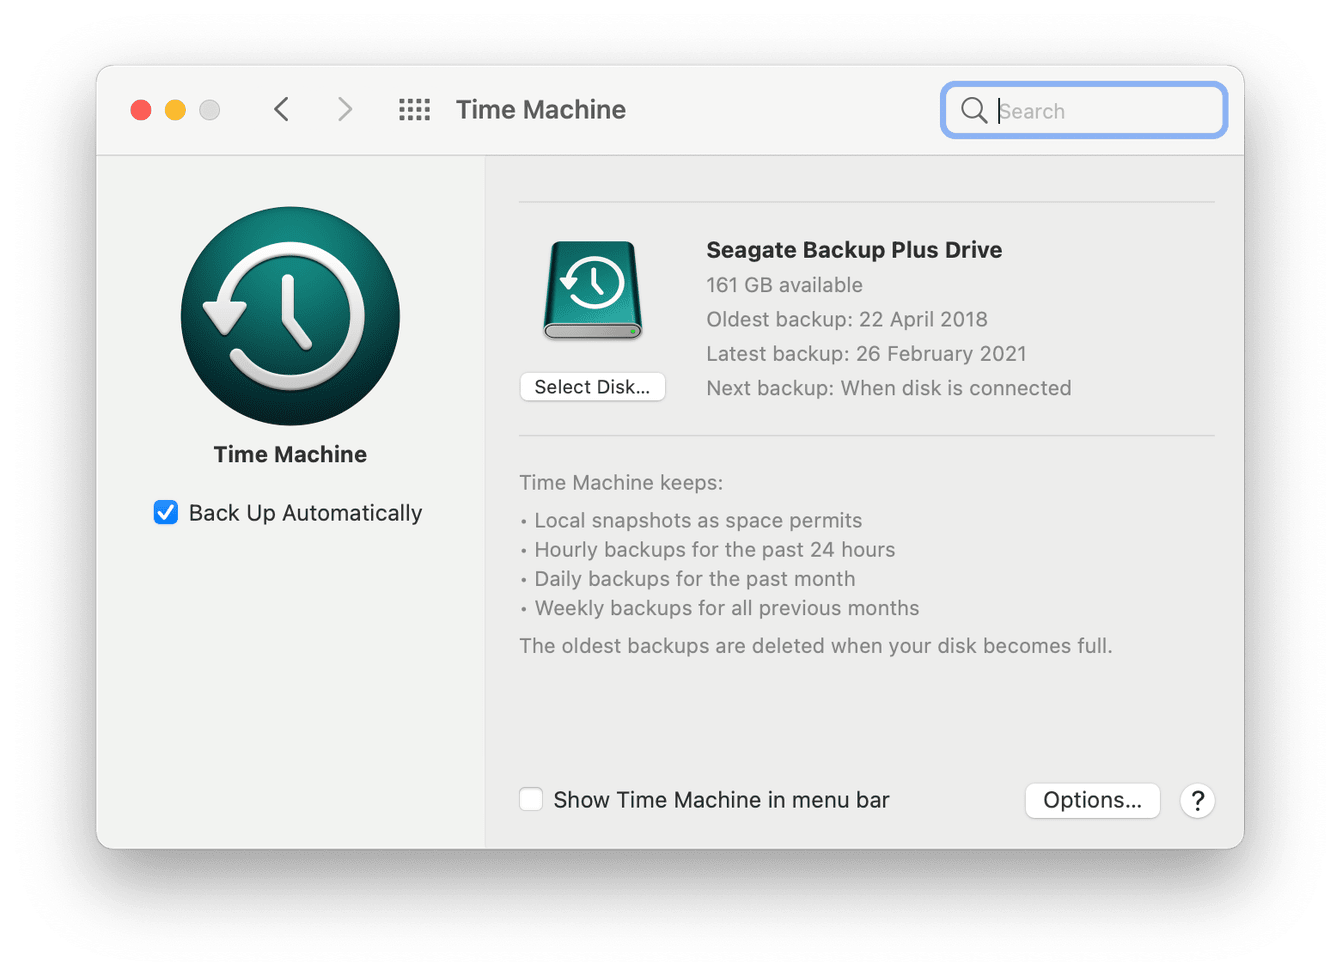
Before you start reformatting and erasing disks, it's worth doing a backup to protect all of your files, just if something happens, goes wrong, or you want to revert back. Here's how to back up your Mac with Time Machine:
-
Open the Apple Menu > System Preferences > Time Machine.
-
Click Select Disk and locate your preferred location; select Use Disk.
-
Time Machine will now begin making a backup.
Before you create a bootable installer, it’s wise to give your machine a quick cleanup so it's fully optimized and running its best before you upgrade its system.
You could spend time clearing out cache, junk and locating all of your temporary system logs manually, or you could save valuable time with a tool like CleanMyMac. That's what I like to do: it's quick, easy, and notarized by Apple.

-
Launch the app — download the free version here.
-
Select System Junk from the sidebar.
-
Press Scan.
-
Once complete, press Clean.
Now you're finally ready to start, let's create a bootable USB mac.
Create a bootable installer for macOS
-
Download macOS Monterey installer from the official Apple support site.
-
Once complete, the installer will launch, do not select the Continue button. Instead, quit by pressing Command-Q.
-
Open your Applications folder and locate the "Install macOS Monterey" app.
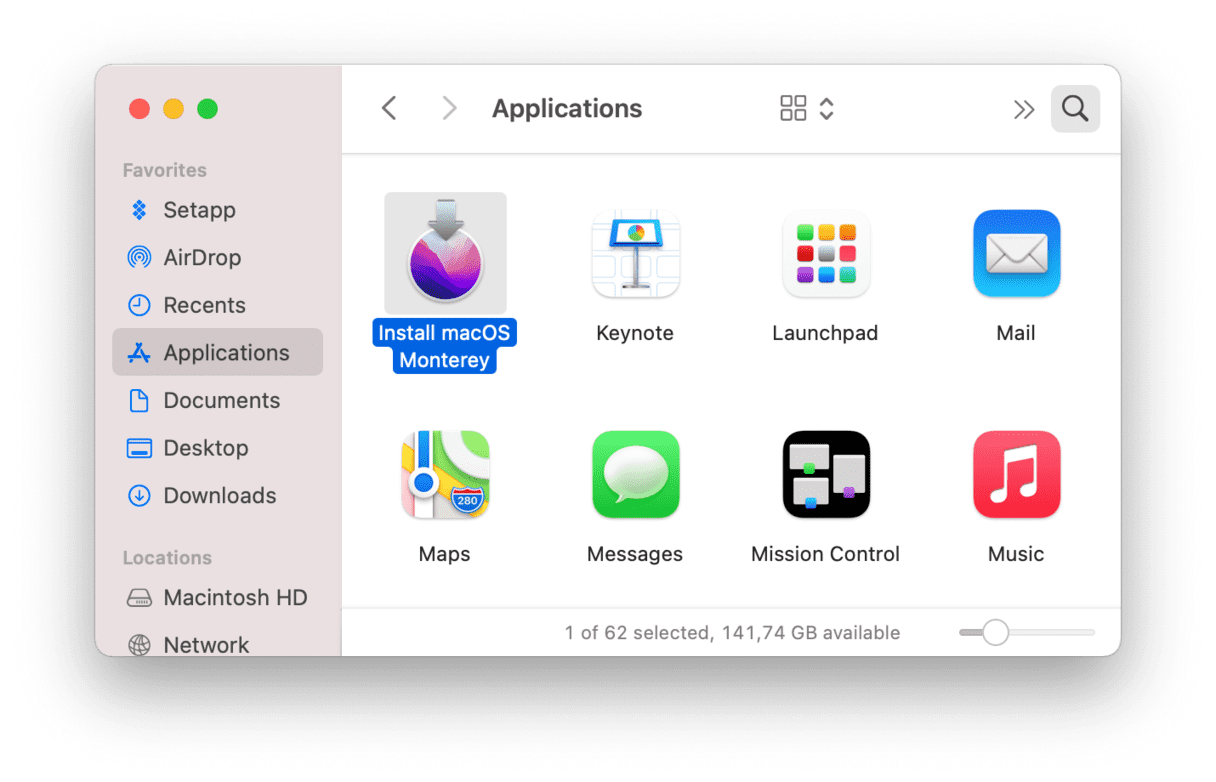
Confirm that the installer is located in your Applications folder. If it's not, use Finder to search for it and move it to the Applications. This is an essential step for the setup a little later.
Now let's create a bootable installer for macOS. Here's how:
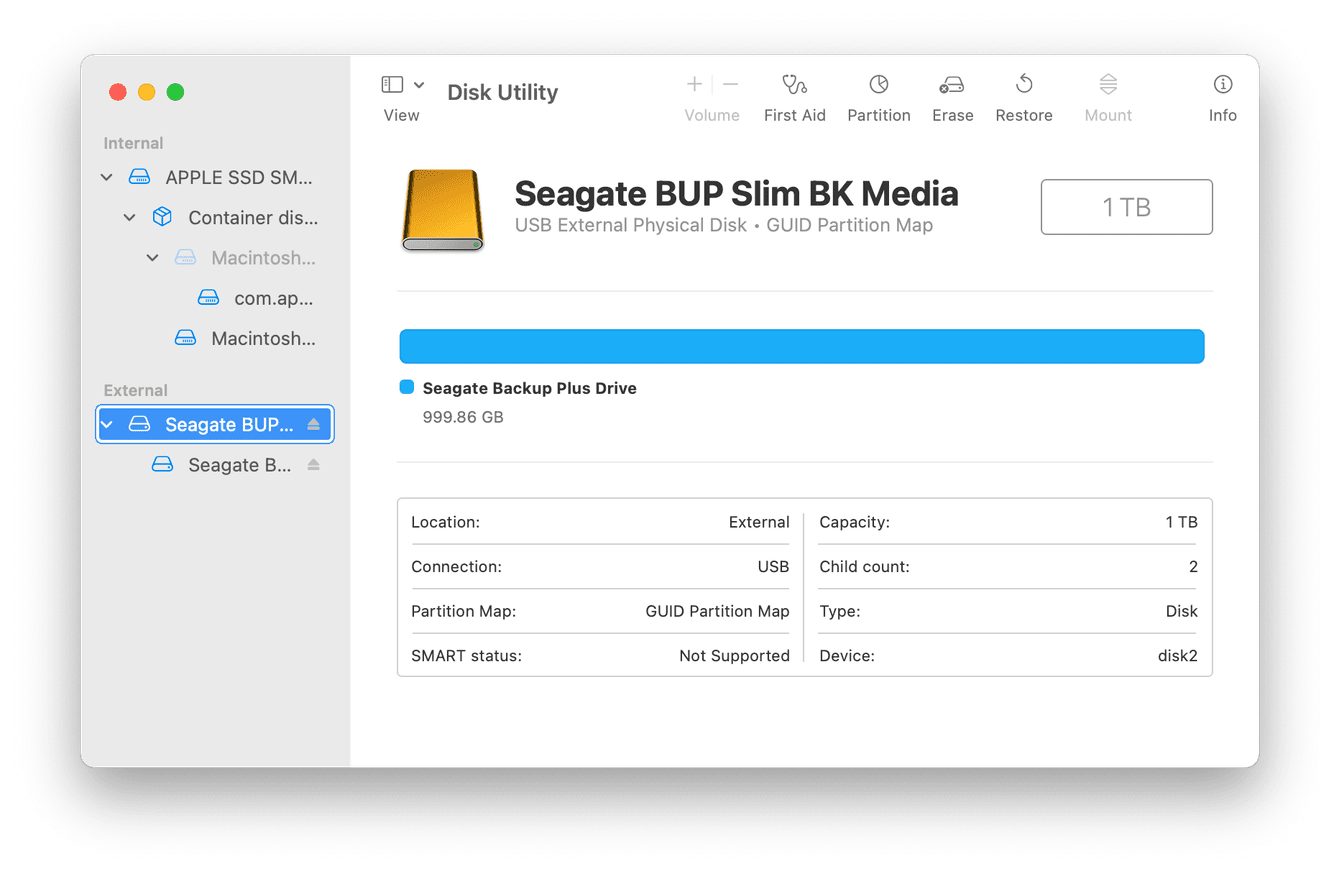
The first phase is to erase your USB Drive ready for the Monterey installer.
-
Plug in your external drive.
-
Launch Disk Utility (press Command-Space, then type Disk Utility).
-
From the left sidebar, select the root drive of your external device and press Erase.
-
Be sure to choose the following: Name - MyVolume; Scheme - GUID Partition Map; Format - Mac OS Extended (Journaled).
-
Select Erase, and wait for the setup to complete, and press Done.
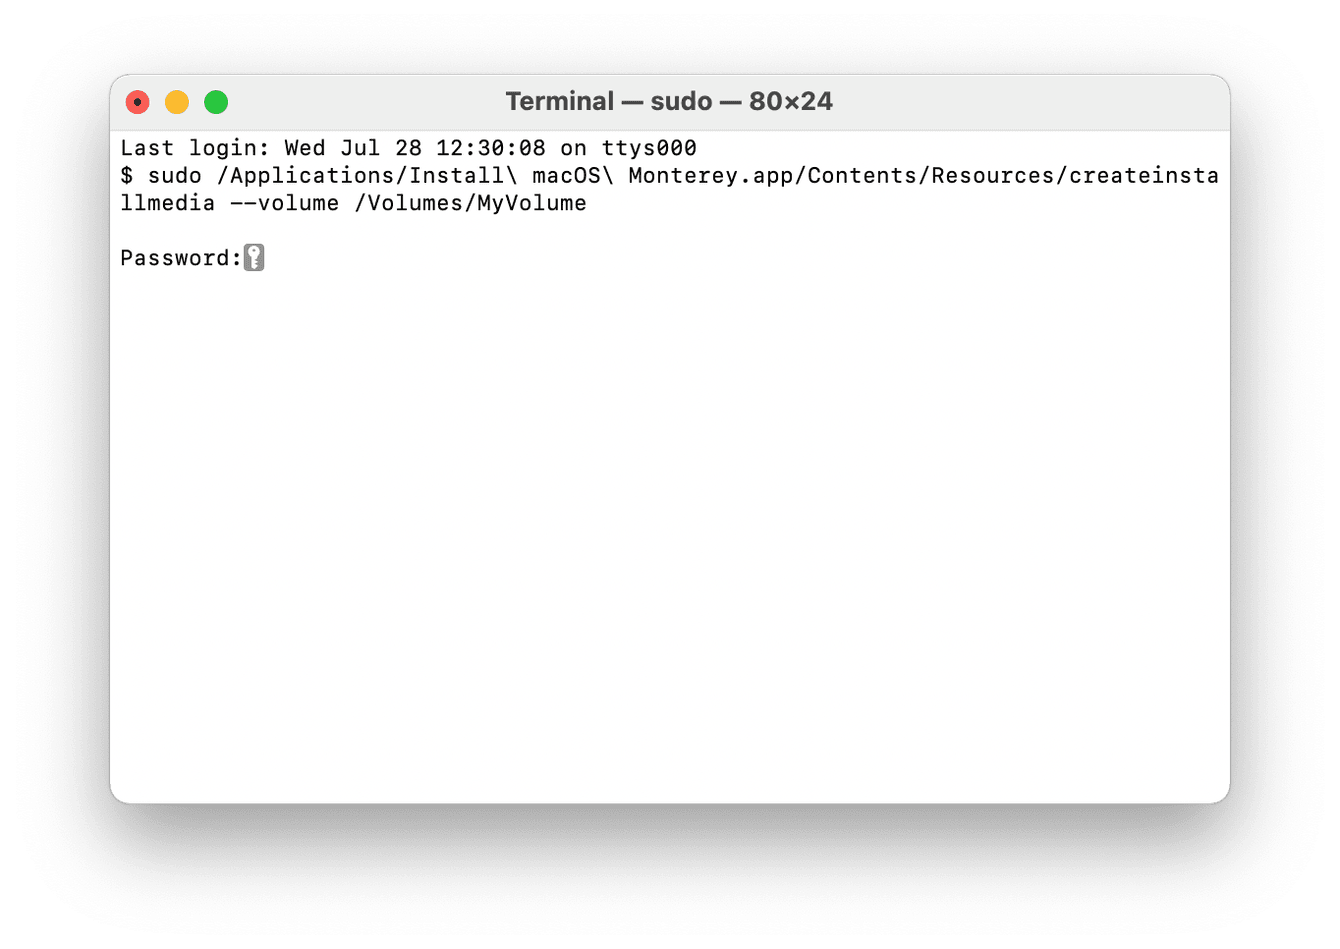
The second phase is to install the Monterey installer onto your external drive using the 'createinstallmedia' command in Terminal; here's how:
-
Ensure that your external drive is connected, and open Terminal (press Command-Space and type Terminal).
-
Paste the below command and press Enter.
sudo /Applications/Install\ macOS\ Monterey.app/Contents/Resources/createinstallmedia --volume /Volumes/MyVolume
(This command assumes that the installer is in your Applications folder like we checked for earlier and that MyVolume is the name of the USB drive like we entered in the previous steps.)
-
If prompted, type your admin password, then press Enter again. (Terminal doesn't show characters when you type your password)
-
Type Y to confirm volume erase, press Enter, wait for this to complete, and press OK to enable the copy.
-
When Terminal says that it's done, notice that the volume has the same name as the installer, quit Terminal, and eject the volume.
How to boot Mac from USB
So now you've made your USB bootable installer, you can use it on multiple compatible devices to install macOS; here's how:
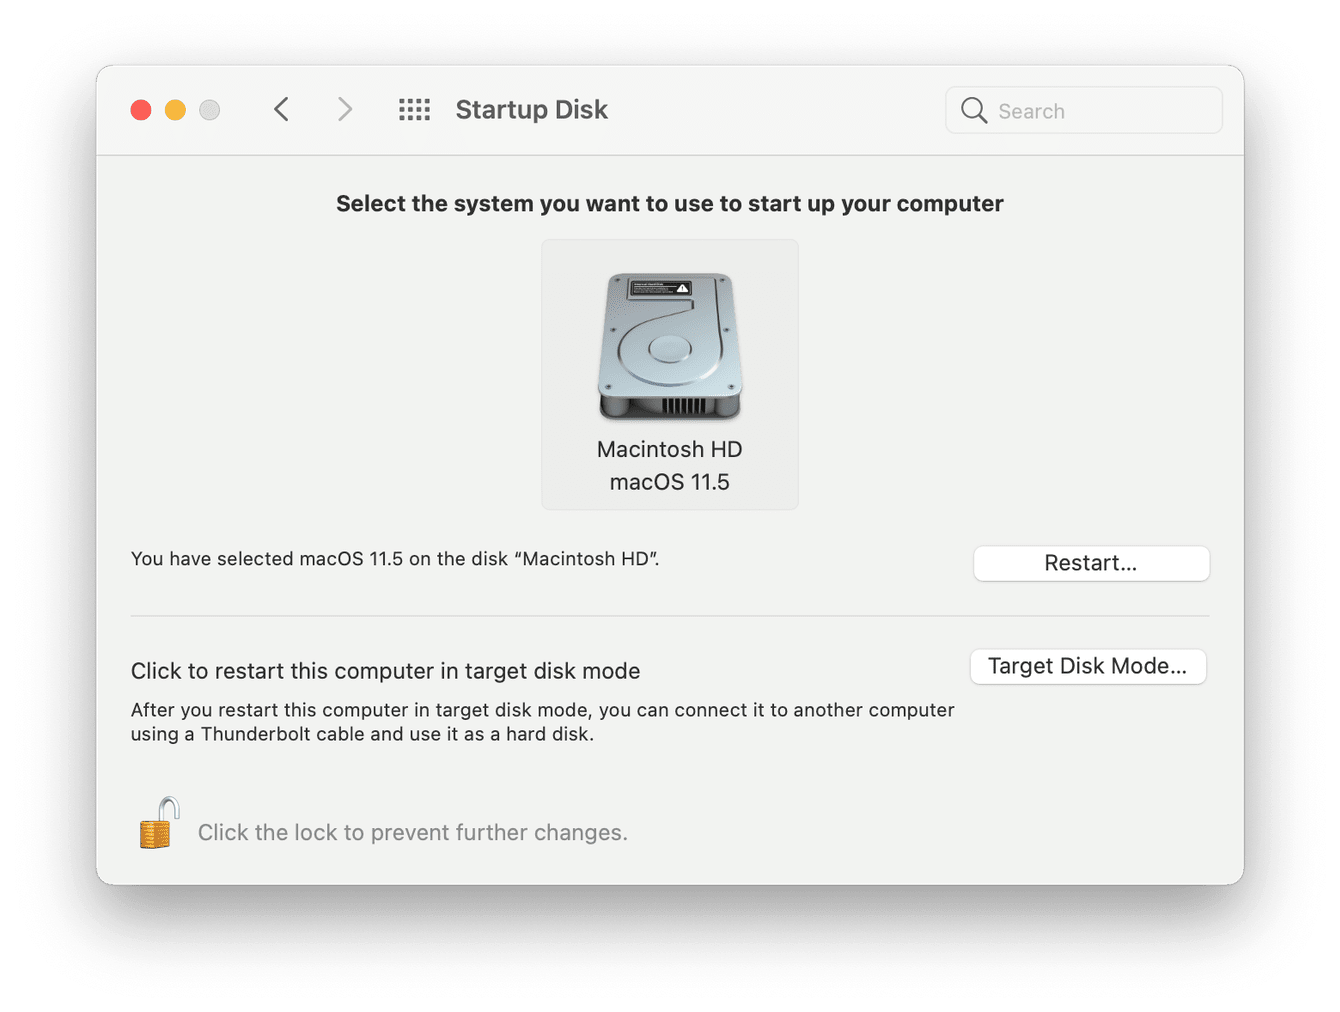
- Connect the USB to the device you want to install the Monterey macOS. Make sure you have Wi-Fi available. Apple silicon Mac: Restart your Mac by holding down the power button during the boot process. Intel Mac: Restart your Mac by holding down the Option key during the boot process.
- Your Mac should display the Startup Manager, showing you the available boot drives. Select your external drive and press Enter.
- When the macOS installer opens, follow the onscreen instructions.
When the installation is complete, your Mac will reboot with the new macOS version. Congratulations, you just successfully did a MacBook boot from USB.
So we've reached the end of this article; now you know how to create a macOS Monterey installer along with how to get your Mac prepared and what you'll need to create a bootable installer for macOS. Come back soon for more useful tips and tricks!

