Capturing screenshots on a Mac is simple, but what if you need to fine-tune them by cropping out unwanted elements? Whether you're removing a menu bar, focusing on key details, or refining an image for presentation, Mac provides several built-in tools and third-party apps to help.
Follow this guide to explore the quickest and most effective ways to crop screenshots, so your images always look polished.
How to take a cropped screenshot on Mac
Let's have a quick reminder of how to take a screenshot in the first place.
Apple likes to give us multiple options, and with screenshots, there's more than one way too, but below is by far the easiest, fastest way.
Take a look at these helpful keyboard commands.
Whole screen screenshot: Shift-Command-3
Window or menu capture: Shift-Command-4-Space bar
Partial screen capture: Shift-Command-4
With screenshots, another helpful tip is to manage where they get saved; by default, screenshots are automatically saved on your desktop. Here's how you can modify this:
Press Command-Shift-5.
From the bottom menu bar, select Options.
Under Save To, select your preferred location or select Other Location to choose somewhere not listed.
Whichever location you select, your Screenshots will automatically be saved there from now on.
How to crop an existing screenshot on Mac
1. Crop a screenshot on Mac with the Photos app
When it comes to taking screenshots, the built-in Photos app is an excellent tool for managing images and carrying out basic photo editing on your MacBook. It's a great way to crop screenshots on a Mac; here's how:
Launch the Photos app from within Finder > Applications.
Once open, from the top menu, select File > Import.
Now locate the screenshot you want to crop and double-click it to import.
Now open the screenshot from your Libary, press Edit top right and press Crop.
Drag the proportions to the required size and press Done.
The Photos app isn't the only built-in method; jump to the next tip for another way.
2. Crop a screenshot on Mac with the Preview app
Another easy option to crop a screenshot on a Mac is using the Preview app. The native Preview app will open by default when you double-click to open any image on your MacBook. Many people don't realize that you can also use this app to resize your screenshots; here's how:
Open your screenshot by double-clicking it.
From the top menu bar, select View > Show Markup Toolbar.
Now click and drag on your screenshot to select the area you want to keep.
The crop icon will now appear. Click it to crop the selection.
Get rid of unneeded images with ease
If you frequently take screenshots, don't forget to delete them regularly; over time, they can build up and clutter your valuable storage space. I like to use the My Clutter feature from CleanMyMac to manage and delete my duplicates and similar images. Here's how:
Go through Duplicates and Similar Images and select the unneeded ones.
Click Remove.
It's amazing what builds up over time, so this is a great way to get a birdseye view of all your system clutter.
3. Crop images with online third-party tools
There's more than one way to crop a screenshot on a Mac, and instead of using Apple's built-in applications, another option is to use a third-party tool.
To save you time, I've done a round-up of some of the three of the best tools out there, so let's take a closer look.
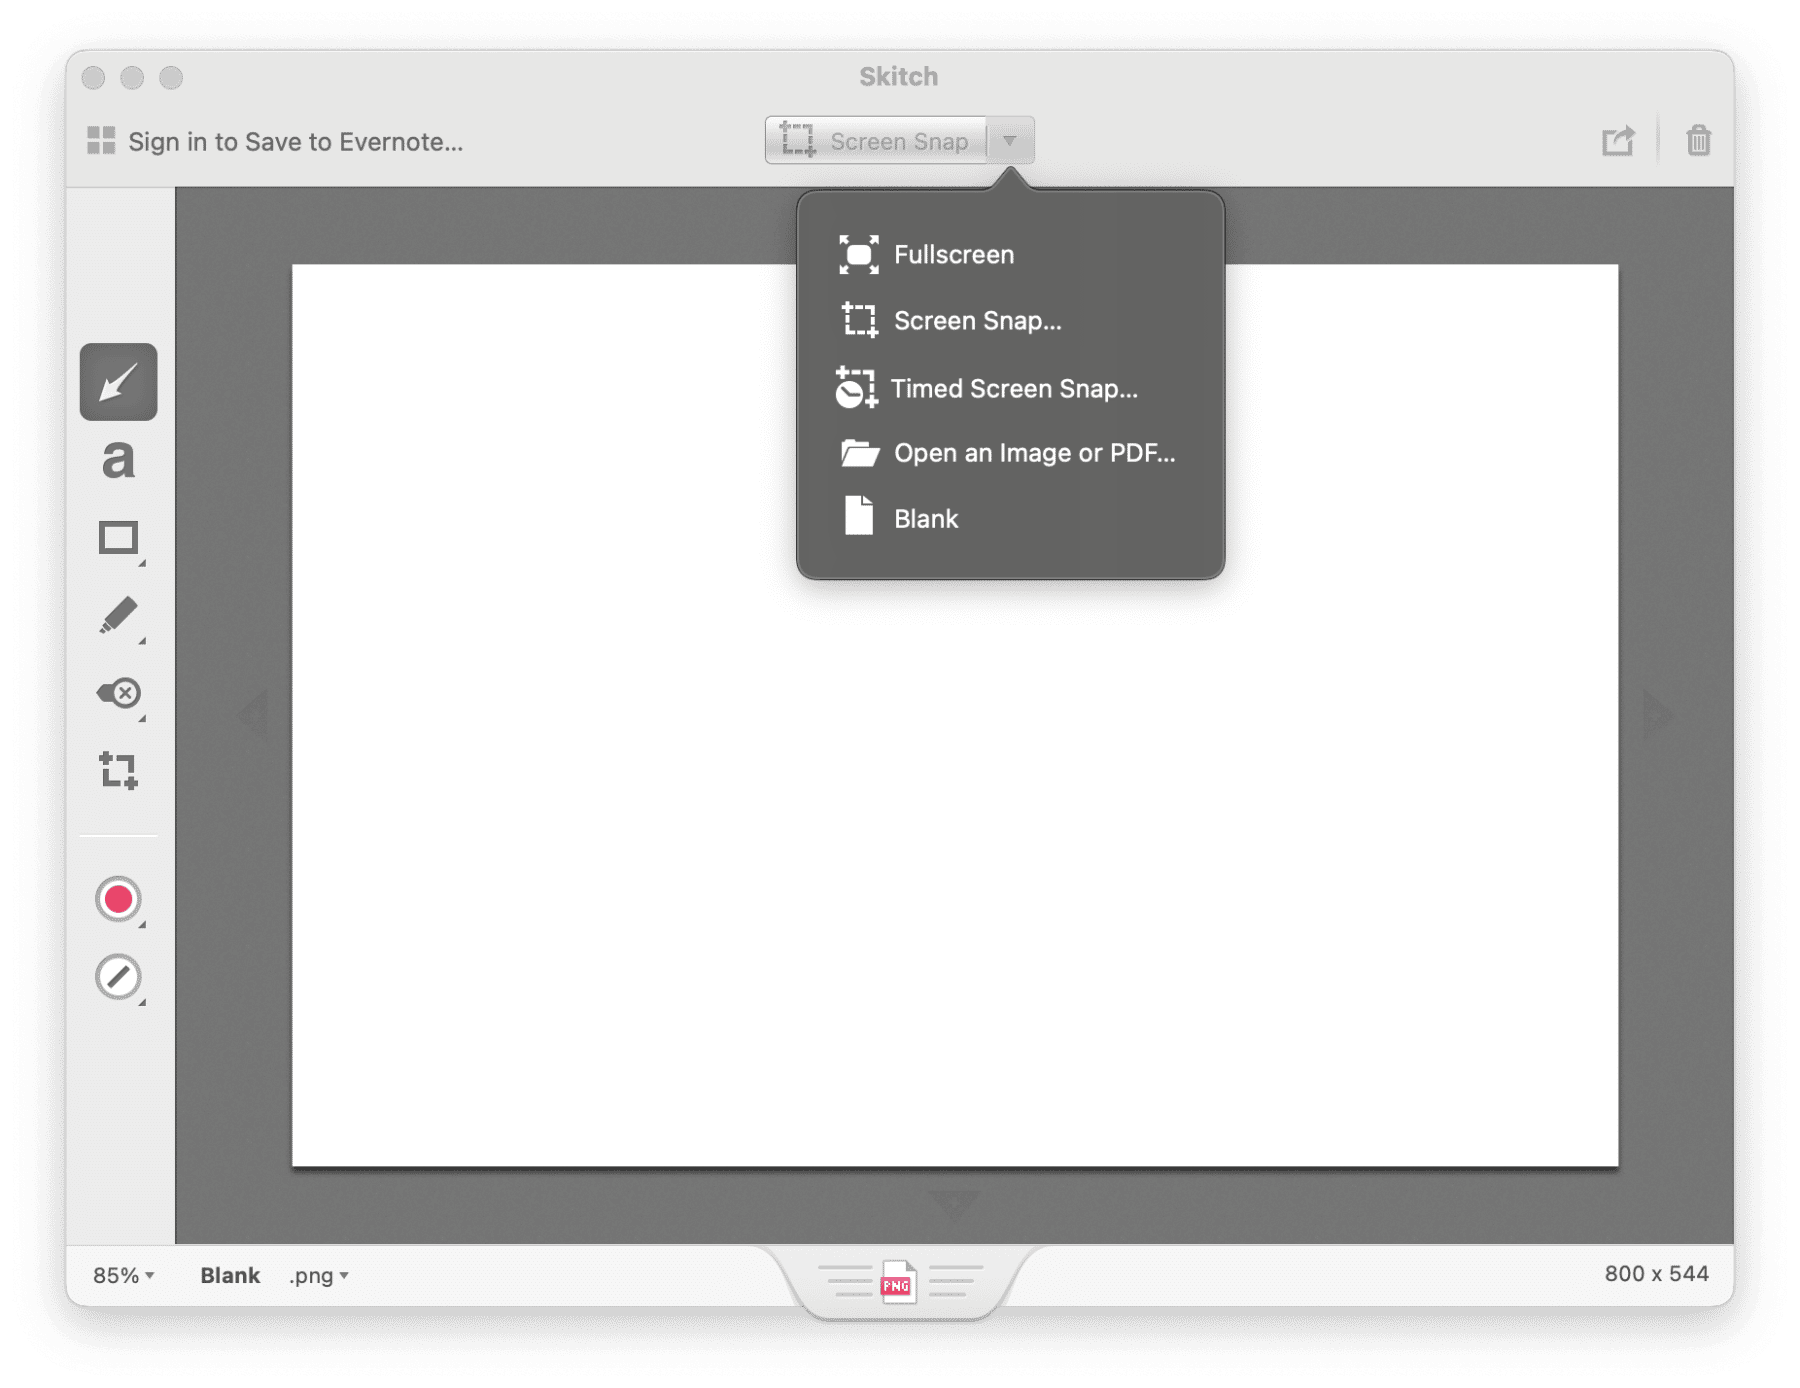
Skitch by Evernote
Part of the Evernote family, Skitch is a clever multi-purpose, free editing tool that makes it easy to resize and crop screen captures, with loads of doodling capabilities and fun features, including image annotation and watermarking.
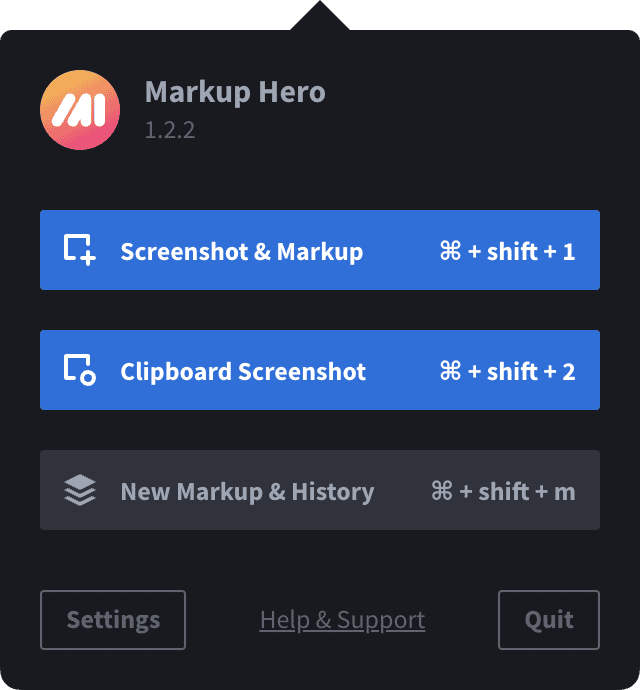
Markup Hero
Another favorite is Markup Hero. It's free to use, no signup required, and it has a sleek interface that allows you to make easily editable screen captures with ease. Markup Hero has a free version and different pricing tiers depending on your needs.
AirSketch
AirSketch is fast and simple screen capture app alongside various annotation options. The free version provides everything you need for basic screen capturing and editing. It also has a pro version with an array of extra features, but this comes at a price.
We've come to the end of this article! Now you know exactly how to crop a screenshot on a Mac and what some of the best tools for the job are.
Join us again very soon for more Mac tricks and tips.