How to downgrade from macOS Sequoia
Looking to downgrade macOS Sequoia to Sonoma — the previous macOS version? Look no further; whatever your reason for the downgrade, we've got the tips you need.
New shiny updates from Apple are tempting, but the upgrade has many negative side effects for many of us with older devices.
If you've been struggling with slow performance, erratic or strange application behavior, or just plain and simple — you prefer the previous macOS Sonoma, we've put together some simple tips to help you downgrade your OS. Let's jump in and get started.
Reasons to downgrade from Sequoia to Sonoma or earlier macOS
So why would you want to know how to downgrade Sequoia to Sonoma? Well, preference is the obvious one: sometimes, new updates are just not what we expected, but there are other reasons to downgrade:
- Reliability
- Better tools and feature interfaces
- App stability
- Better performance and output
Regardless of your reason for downgrading, the good news is it's possible you don't have to get stuck with an OS you just don't like.
We've put together a few different downgrade options that will help you get back to your preferred macOS.
Before you downgrade Mac Sequoia to Sonoma
If the main reason you want to downgrade is your Mac's performance has been impacted since you installed Sequoia (crashing, freezing, or painfully slow output), then we do have a tip that could fix that for you, saving you the task of downgrading.
By running some basic maintenance and optimization tasks, you could actually drastically improve your Mac's output, removing the entire need of shifting back to a previous macOS.
Tasks like freeing up RAM, reindexing your Spotlight Search, fixing problematic disk permissions, and removing unneeded launch agents could boost your Mac's performance.
Luckily, it's not a long-winded manual task, thanks to the Maintenance and Optimization modules from CleanMyMac. If you haven't got this tool installed, get the seven-day free trial here and follow the steps:
How to run basic Mac maintenance:
- Open the app and click Maintenance > View All Tasks.
- Select the various tasks you'd like to run.
- Click Run.

How to keep your Mac optimized:
- Now, select Optimization from the sidebar.
- View All Items.
- Select various items from the list and click Remove.

This should give your Mac a noticeable boost, but if you'd still like to roll your macOS back, that's no problem. Head to the next section.
How to downgrade macOS Sequoia to Sonoma with Time Machine
If you made a Time Machine backup of your system before you installed macOS Sequoia, then you can really easily downgrade; here's how:
- Connect your backup disk to your Mac (the one that contains the Time Machine backup).
- Restart your device in recovery mode:
- Hold Command - R for Intel-based Macs until the Apple logo appears.
- Hold down your power button for Macs with Apple silicon until the startup options window appears. - Select Options > Continue.
- From the macOS Utilities window, select Restore from Time Machine Backup > Continue > Continue.
- Select your Time Machine disk, find the backup you want to restore it to, and click Restore.
If you didn't make a Time Machine backup, no worries; there are other ways, but you will lose any changes, so back up important files or folders you've created since you installed macOS Sequoia.
Use Internet Recovery to go back to previous macOS
If you're operating an older MacBook (Intel-based), then there's a possibility you can use Internet Recovery Mode to downgrade your operating system to the original one it came with. It's not a given; this method only works for some models, but it's worth a try.
Before you do this, again, a friendly reminder to back up any important documents, files, or folders, you'll also need to ensure you have a stable Wi-Fi connection.
- Shut your MacBook down from the main Apple menu.
- Hold down:
Shift - Option - Command - R - Power button. - Release when the Apple logo shows up.
- It's possible you're asked to select a Wi-Fi network, do so, and also enter admin credentials if requested.
- Select Reinstall macOS > Continue.
How to uninstall macOS Sequoia with a bootable installer
Once again, take a moment to back up any important data before you try this. You'll also need a USB or external disk with plenty of available space. To jump back to macOS Sonoma, follow these steps; we'll break them down into steps.
1. Download Sonoma
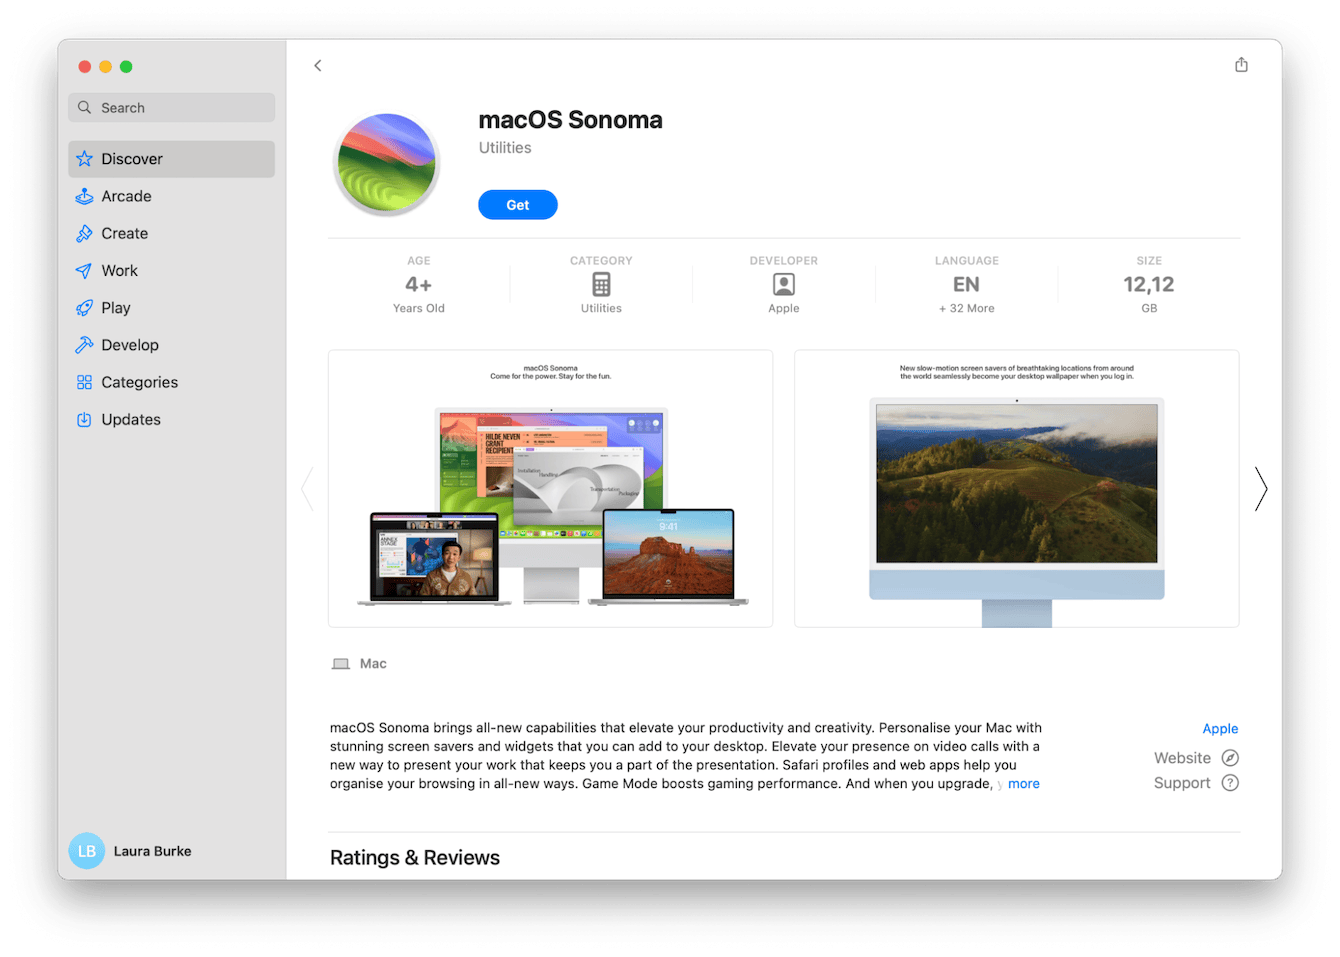
- Download Sonoma from the App Store.
- When it completes, it's downloaded. Don't open it just yet, and if it automatically starts, quit it.
- Next, connect your USB stick or external drive and name it Sonoma Installer.

2. Create a bootable installer
- Open Terminal from Finder > Applications > Utilities.
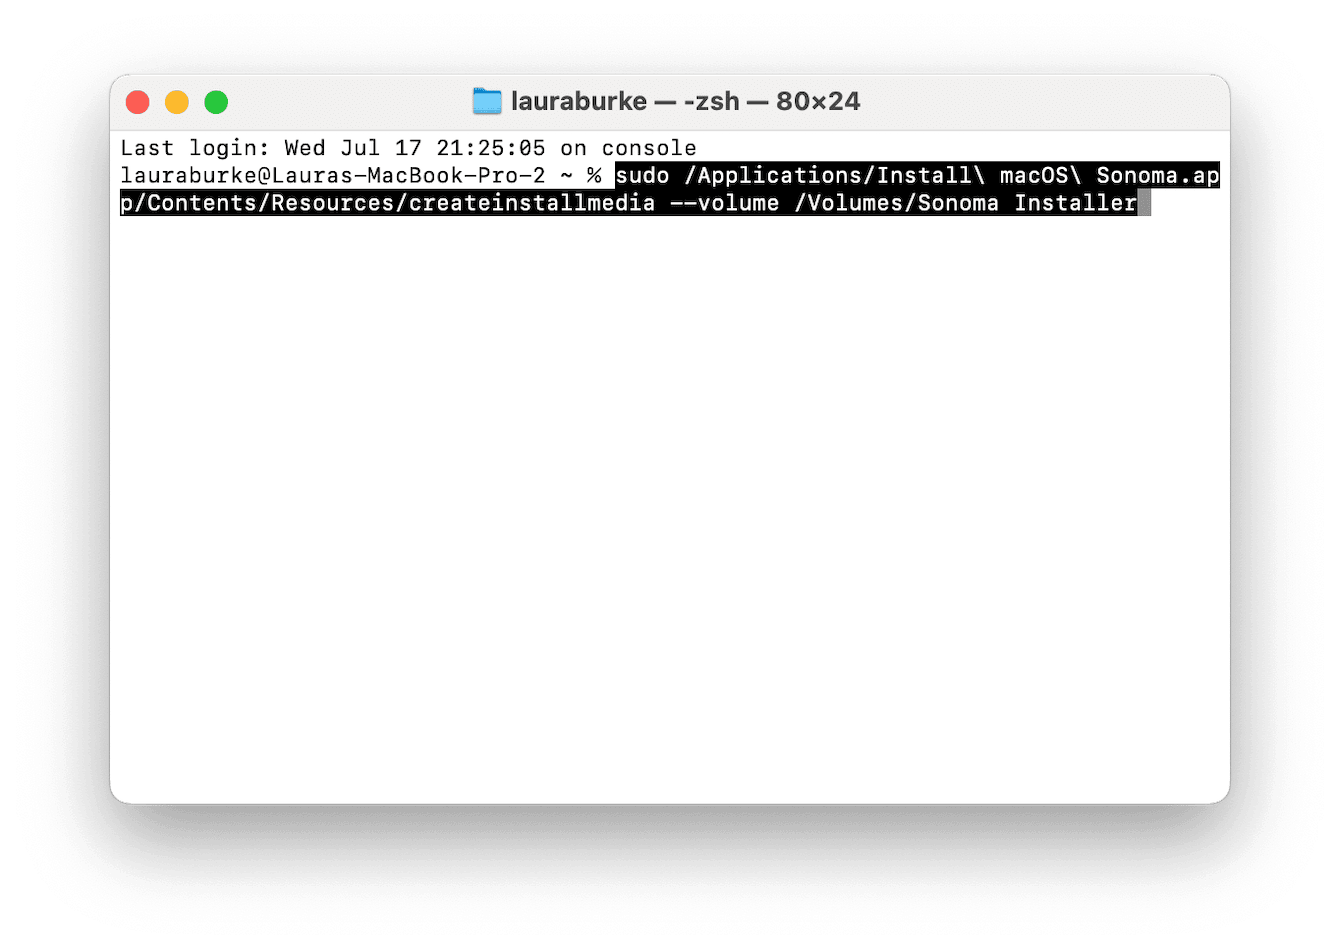
- Enter this command, but where you see MyVolume, replace that with the exact name you just gave your USB or External Drive.
sudo /Applications/Install\ macOS\ Sonoma.app/Contents/Resources/createinstallmedia --volume /Volumes/Sonoma Installer - Press Return and fill in your admin password.
- Once complete, quit Terminal.

3. Enter recovery mode
- From the main Apple menu, go to System Settings > General > Startup Disk and select the Sonoma Installer.
- Next, shut your Mac down and boot back up into recovery mode following the steps above.
- Click Disk Utility.
- Select your startup disk and click Erase.
- Exit Disk Utility and click Reinstall macOS Sonoma from the menu.

Well, now you know how to uninstall macOS Sequoia. No matter which option you decide to go with, as we've mentioned throughout the document, back up your data before you attempt downgrading operating systems or erasing any disks. Hopefully, one of these methods will help you roll back the clock and get back to your favorite operating system.

