How to downgrade from macOS Sonoma in 3 different ways
So, you want to know how to downgrade from Sonoma? If you dived too quickly into the installation without weighing the pros and cons, can't get used to new Sonoma features, or simply prefer macOS Ventura, we've got the tips you need to revert back to an older macOS version safely.
When it comes to downgrading your macOS, you have a few options, but data loss is always a threat. So before you do anything, use Time Machine to back up your Mac or store files externally or via a cloud storage tool.
Now, let's dive straight in and get started.
Reasons to downgrade to Ventura
It's surprisingly common for users to regret installing new operating system updates or rush in hastily without considering the implications.
There's always a period of settling in and getting used to new features and appearances. But if you want to downgrade your macOS because Sonoma feels super slow since you upgraded, it might be worth considering running a few maintenance and optimization tasks to see if you can boost performance.
This could end up saving you a considerable amount of time, especially if you use a dedicated Apple notarized tool like CleanMyMac — its Maintenance module can perform numerous tasks that can instantly enhance your Mac's output, meaning there is no need to downgrade at all. Here's how to use this smart tool:
-
Install the free version or open the app on your Mac.
-
Select Maintenance > View All Tasks.
-
Select the items you want to run, we suggest:
- Free Up RAM
- Run Maintenance Scripts
- Repair Corrupt Disk Permissions
- Free Up Purgeable Space
-
Click Run.

You can then also run the Optimization module, which is built to enhance performance and increase output by putting you back in control of what is running on your Mac; here's how:
-
Select Optimization and click View All Items.
-
Select apps under Login Items that you don't need to launch each time to turn your Mac on.
-
Under Launch Agents, remove any unnecessary items to boost performance.
-
Then, click Remove.

These options might eradicate the need to downgrade your macOS completely. But if this isn't for you, or you just want to downgrade immediately, then head to the section below.
Ways to downgrade from Sonoma to Ventura
When it comes to downgrading from Sonoma, there are essentially three methods. We'll break them down for you here.
1. How to downgrade macOS using Time Machine
Hopefully, you made a recommended Time Machine backup before you installed and upgraded to macOS Sonoma. If so, then the process of downgrading is very straightforward:
-
Connect your Time Machine external backup disk to your device.
-
Next, you'll need to restart your MacBook in recovery mode:
- Intel-based Mac: hold down Command - R wait for the Apple logo.
- Apple silicon: press and hold your Mac's power button until the startup option screen appears.
-
Now, select Options > Continue. From the Utilities menu, choose Restore from Time Machine Backup and click Continue.
-
Select your backup disk, and pick the correct backup from the list before you install Sonoma.
-
Click Restore.
So, what if you didn't create a Time Machine backup? Keep reading; there are more methods coming up.
2. Use macOS Recovery
For Intel-based Macs, if you didn't back up your Mac using Time Machine before you installed Sonoma, then you could use macOS Internet Recovery to revert back to the original macOS that came with your Mac when you first bought it.
You'll need a stable internet connection to do this, and as a warning, you will lose any recent data. So now is the time to make a backup or extract any files and folders to your Cloud or external storage device.
Here's a super quick reminder how to use Time Machine to backup your device:
- Connect an external storage device to your Mac.
- From the main Apple menu > System Settings > General > Time Machine.
- Select Add Backup Disk and select your external drive.
- Follow the on-screen instructions.

Now, let's get back to how to boot into Internet Recovery:
-
Shut your MacBook down.
-
Press the following keys together:
- Shift - Option - Command - R and the power button.
-
Let go when the Apple logo appears.
-
Click Reinstall macOS.
This may take some time to complete. Once completed, your Mac will be operating the original macOS that came installed on your device.
3. How to uninstall macOS Sonoma using a bootable installer
The final option is to make a bootable installer on either an external disk or a USB stick. From this, you'll then be able to boot up your device and reinstall macOS.
Again, another reminder: back up your data now before you do this. This is a somewhat complex process and not for the Apple novice, so we'll break this down into steps to make it easier to follow.
Step one: Download your desired macOS
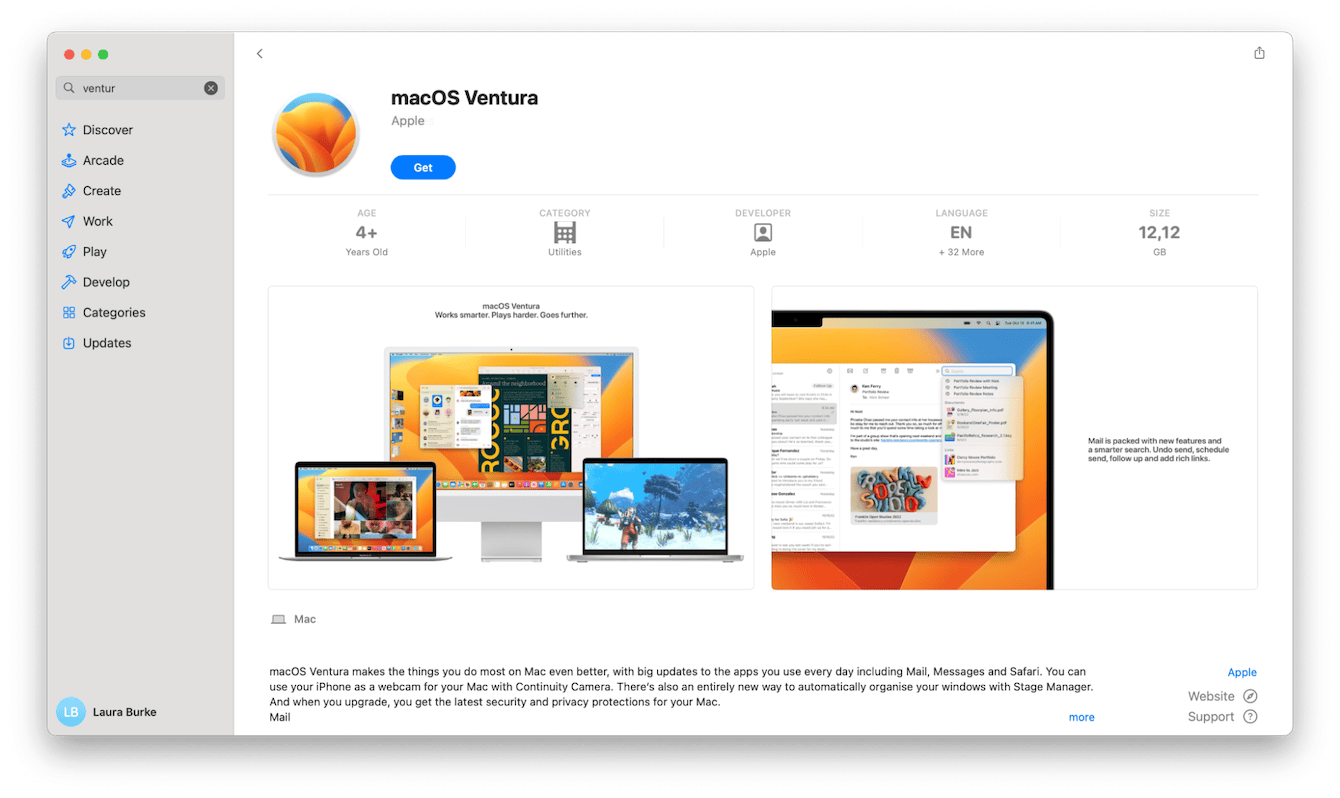
- Open the App Store app on your Mac and download the macOS you want to revert back to. In this example, I'm using Ventura, but you can use another version.
- Locate the macOS installer from your Applications folder.
- Connect your disk or USB stick and name it macOS Installer.
Step two: Create the bootable disk
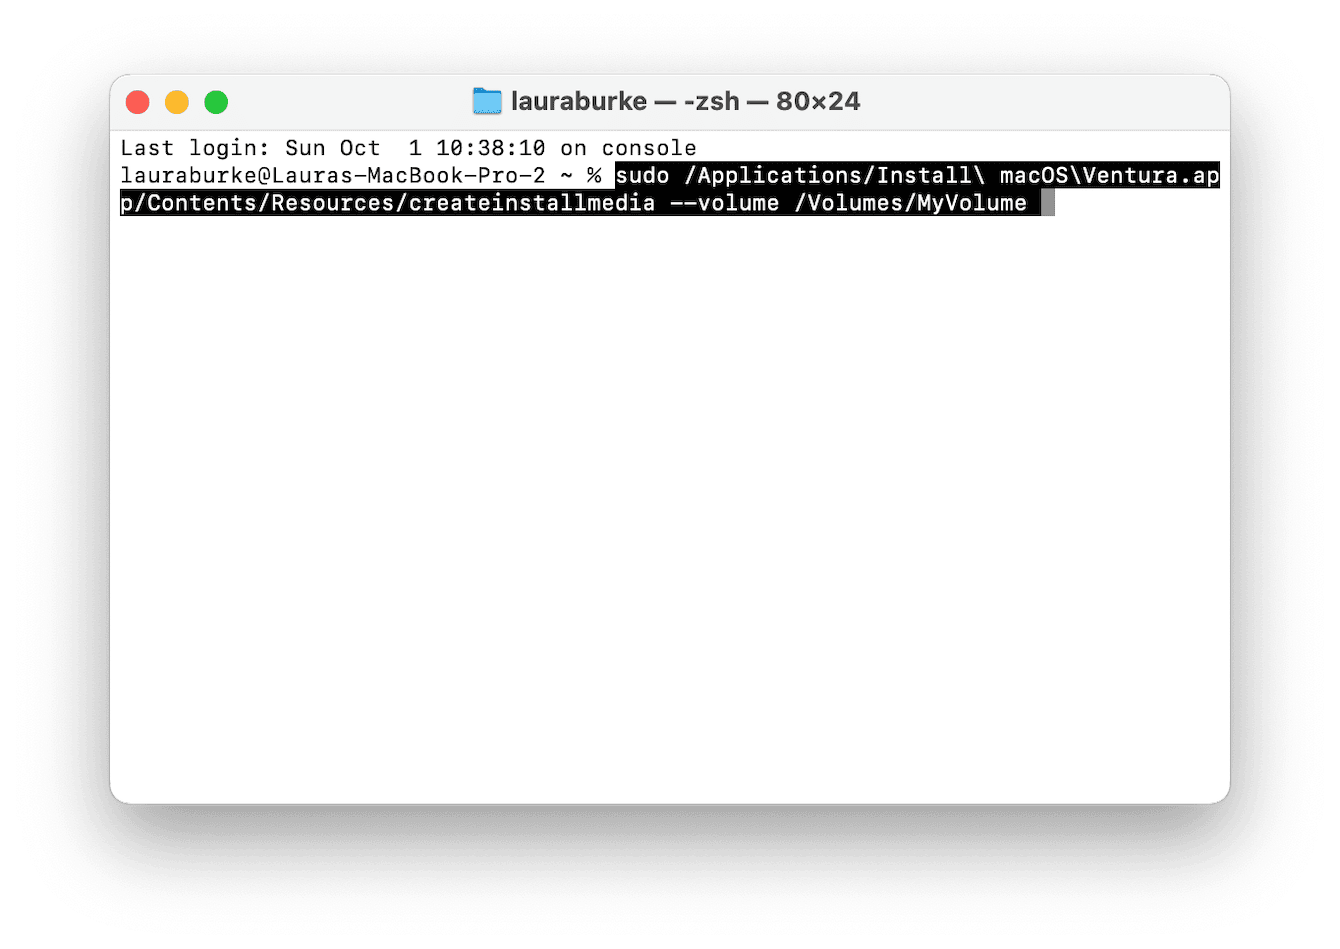
- Now, you'll need to open Terminal from Applications > Utilities.
- Insert the following command (replacing the MyVolume part with the name you just gave your USB or Disk):
sudo /Applications/Install\ macOS\Ventura.app/Contents/Resources/createinstallmedia --volume /Volumes/MyVolume
Commands for other macOS versions can be found here. - Press Return to run this command. Wait for Terminal to notify you that the installer has been created successfully before you quit Terminal.
Step three: Erase and reinstall macOS
- From the main Apple menu, select System Settings > General > Startup Disk.
- Select your newly created bootable disk, then shut down your Mac.
- Reboot into recovery mode following the steps above, and from the macOS Utilities window, select Disk Utility.
- Click your Mac's startup disk and select Erase.
- Choose Reinstall macOS Ventura from the menu.
So now you know how to go back to a previous macOS. Remember, whenever you install a new major macOS update, always back up your Mac first with Time Machine. This will make downgrading in the future much easier and reduce the chance of data loss significantly.