The only legit way to download old macOS versions
Last month, I had to download an older macOS version after hitting a frustrating wall with Final Cut Pro.
I’ve been running macOS Sequoia for a while and didn’t want to downgrade, unless there was no other choice. Turns out, there wasn’t. Once I started digging, it became painfully clear: Apple doesn’t make this easy.
What follows is everything I learned and tested during that process: what worked, what didn’t, where the weird error messages popped up, and the workarounds that finally got me through it.
Reasons to download an older macOS version
Not everything needs to be the latest and greatest. Sometimes, older means still work or less hassle, especially if running legacy apps. Here are a couple of reasons I (and many others) still need older versions:
-
App compatibility
-
Hardware stability
-
Testing environments
-
Personal preference
Whatever your reason, if you’ve been wondering where to start, I hope these tips make the process easier. I’ve kept things as simple as possible.
How to get old versions of macOS
Here's what I tested personally to download and install older macOS versions.
1. Step one: Prep work, clean before you downgrade
Before you think about downgrading macOS, do yourself a favor and clean up your system first. When I started prepping for the downgrade, I realized something: if I backed up my current setup as-is, I'd be dragging along a ton of clutter, logs, leftover developer junk, and temp files I didn't even know I had.
That's not what you want when you're trying to make a clean move to an older system. So I ran a scan with Cleanup in CleanMyMac, and it turned up over 13GB of unnecessary files, the kind of stuff that slows down your Mac over time. It might seem like a small step, but honestly, it saved me hours later. Here’s how:

-
Launch the app, go to Cleanup and click Scan.
-
Click Clean to remove junk files instantly or Review All Junk to see what items will be deleted.
If you skip this part, you just copy a mess from one macOS version to another.
2. Step two: Back up everything you care about
Now that your Mac is cleaned up, this is the time to create a backup.
I’ve seen plenty of people treat this step like it’s optional—it’s not. If something goes wrong during the downgrade or the older macOS version doesn’t play well with your hardware, you returned a reliable way to roll back without losing everything.
Fortunately, you’ve got a few solid backup options:

-
Time Machine: The easiest, most reliable option, built right into macOS. Just plug in an external drive, start a backup, and let macOS handle the rest.
-
iCloud + Manual File Copy: Great for quick access to personal files across devices, but keep in mind — it’s not a full system restore.
I used Time Machine to back up my entire system and also copied my most important files to an external SSD. That way, if I wanted to manually transfer files without doing a full restore, I had the flexibility.
3. Step three: Find and download the older macOS version
Apple still hosts full installers for many older macOS versions — but finding them isn’t exactly straightforward. You have to dig a bit.
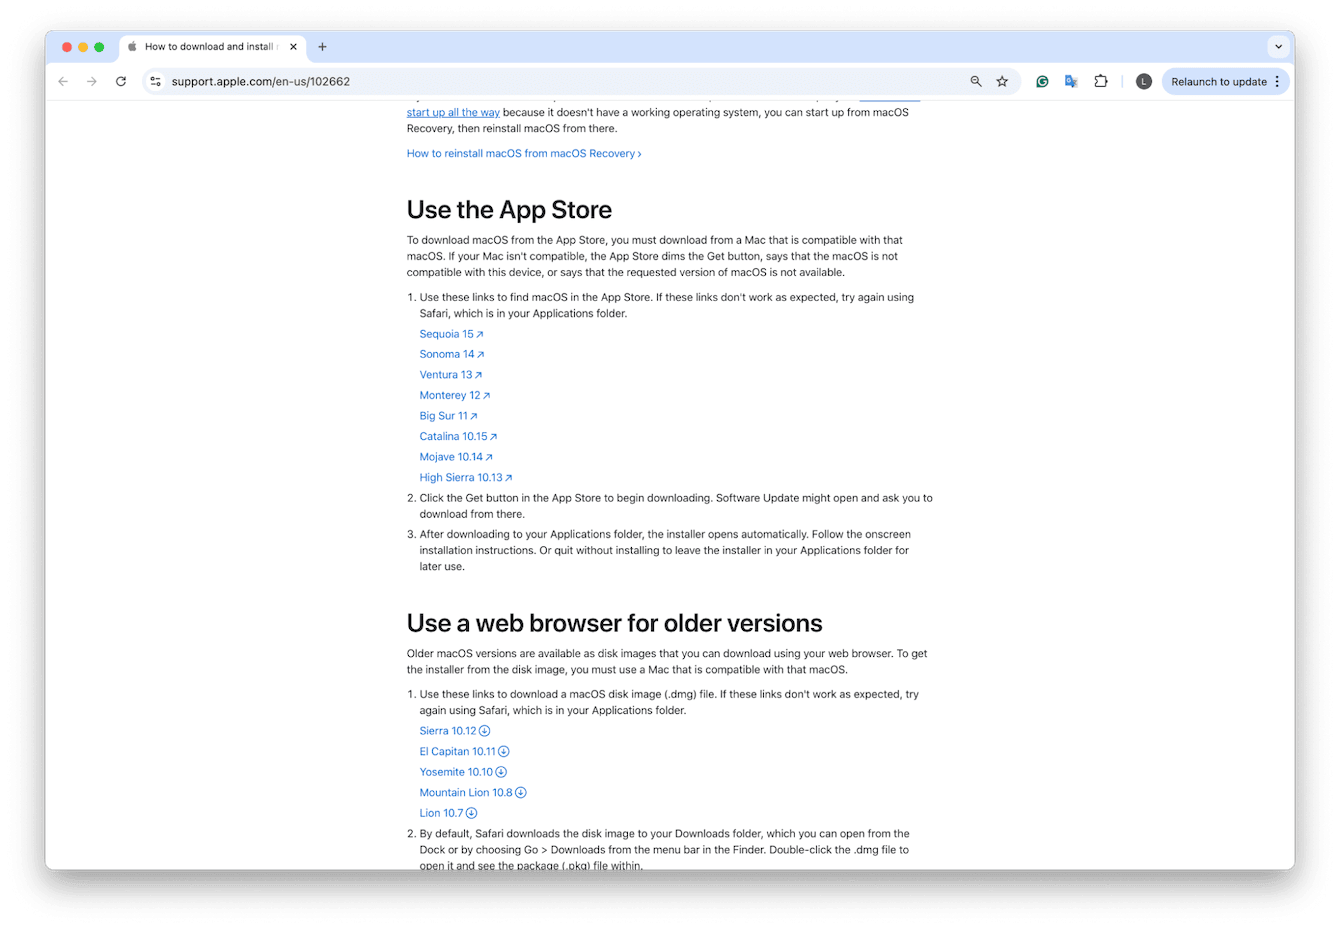
Thankfully, I came across an Apple support page that links directly to the App Store installers for macOS versions ranging from High Sierra (10.13) all the way to Sequoia (15) and everything in between.

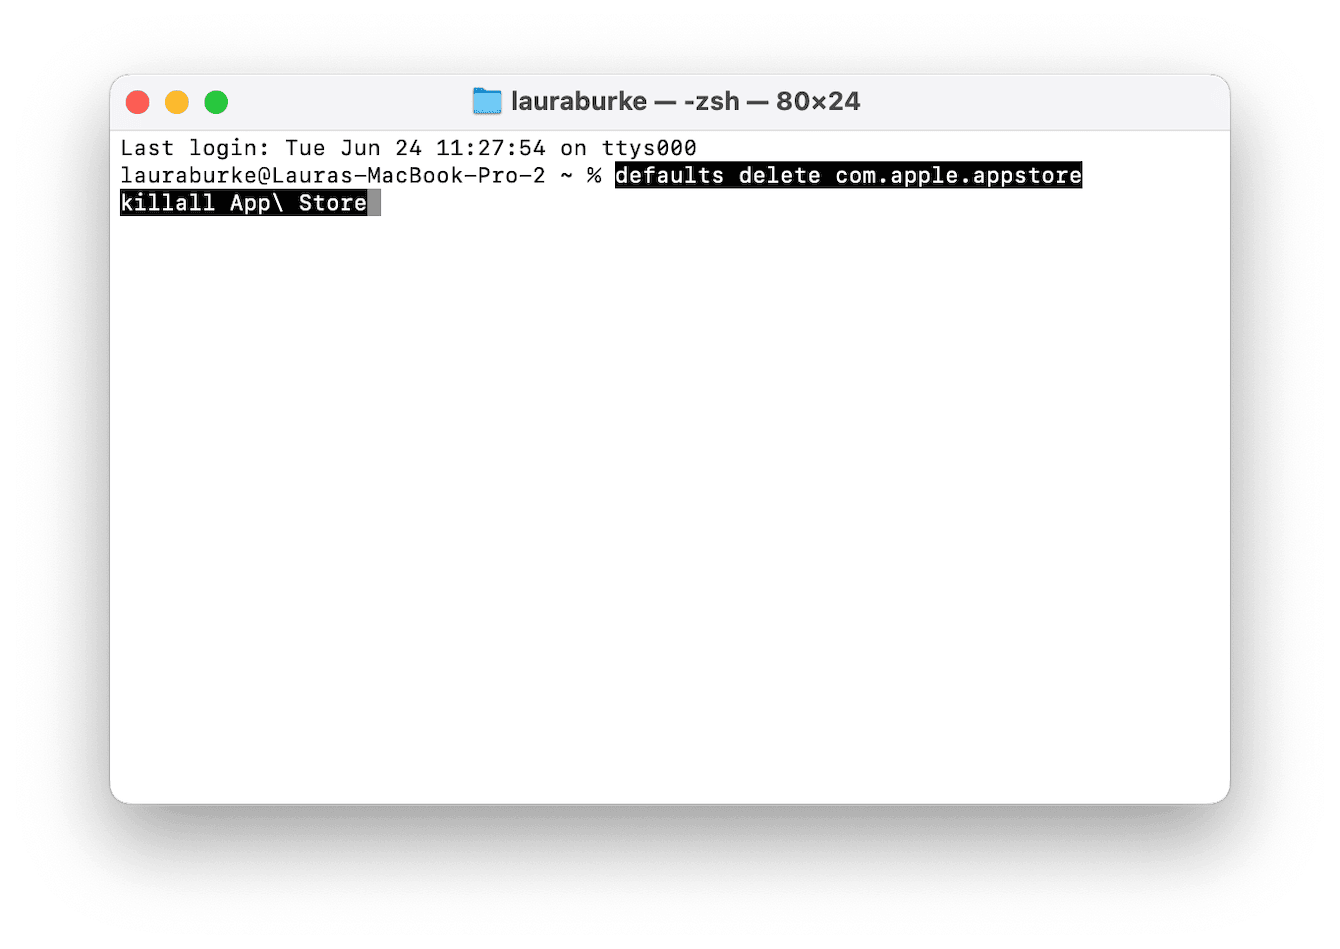
Some users on forums mentioned running into a frustrating message like “Installer is not available in your region.” I saw this myself once. Clearing the App Store cache worked for most people. Here’s how to do it:

-
Open Terminal > Finder > Applications > Utilities.
-
Enter: defaults delete com.apple.appstore killall App\ Store
4. Step four: Create a bootable installer
If you're doing a clean install, you'll need to make a bootable USB drive with the macOS installer you downloaded. You'll need a USB drive (16GB or larger), then:

-
Plug in your USB drive and rename it something simple, like MyUSB. Make sure it’s at least 16GB and formatted as Mac OS Extended (Journaled) with a GUID Partition Map.
-
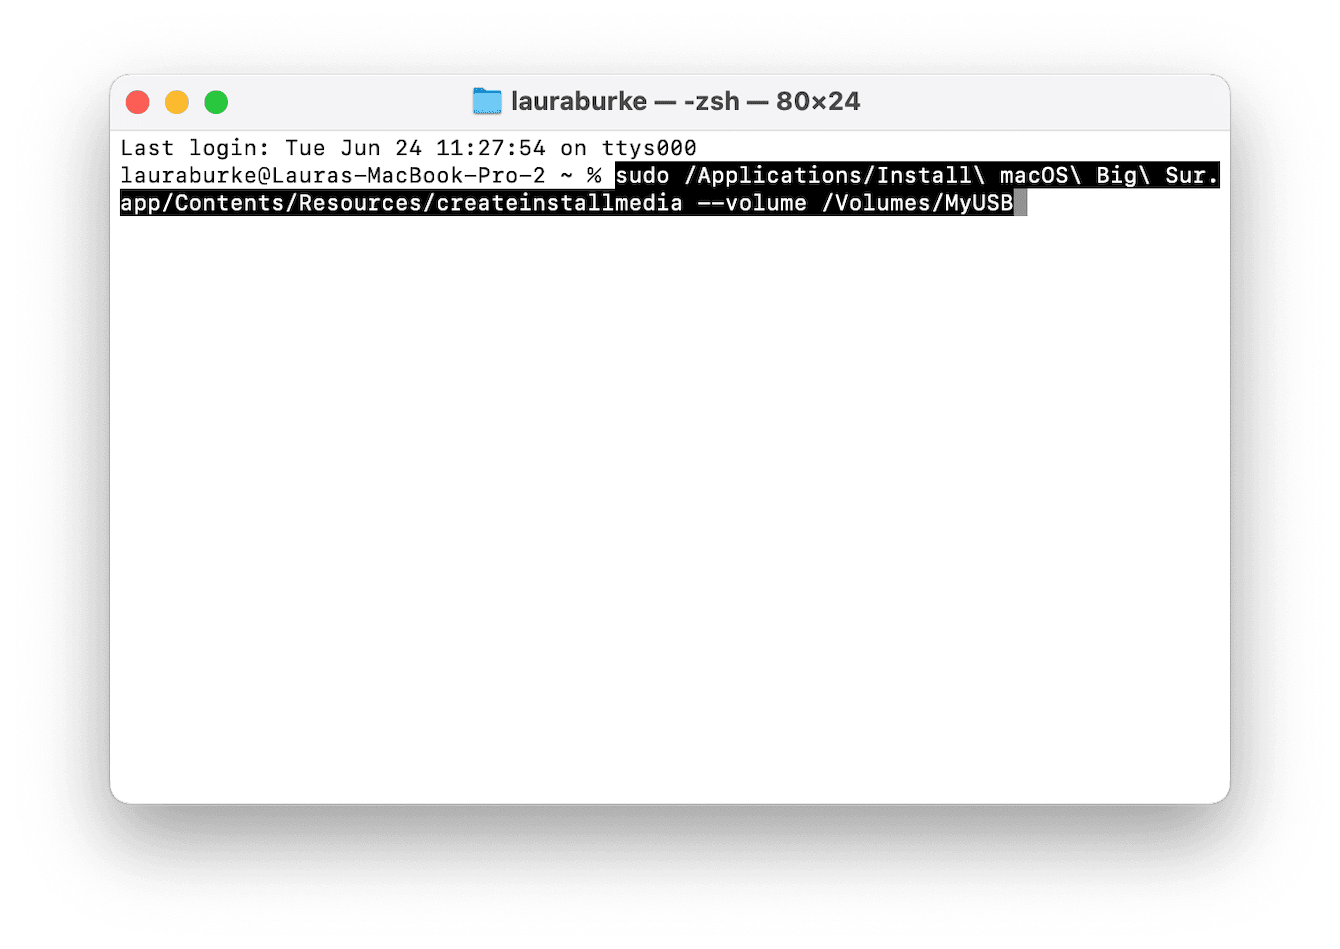
Open Terminal and paste the following command (adjust the macOS version name as needed):
sudo /Applications/Install\ macOS\ Big\ Sur.app/Contents/Resources/createinstallmedia --volume /Volumes/MyUSB -
Hit Return, enter your Mac password when prompted, then type Y to confirm.
That’s it! Once you see the message "Install media now available," your bootable USB is ready to go.
5. Step five: Boot from the installer
Once your bootable USB is ready, it’s time to use it. This step takes you into macOS Utilities, where you’ll erase your current system and get set up for the downgrade.
-
Plug in your USB drive, then restart your Mac.
-
As it restarts: press and hold the Option key on Intel Macs or Press and hold the power button until you see “Loading startup options” on Mac with an Apple silicon.
-
When the startup screen appears, select your bootable USB drive, then press Return.
-
Once the macOS Utilities window loads, click Disk Utility. In the sidebar, select your internal drive (usually named Macintosh HD).
-
Click Erase, and specify the name, format (APFS) and scheme (GUID Partition Map — if prompted).
-
After the erase is complete, close Disk Utility.
You’re now ready to install your chosen version of macOS from the USB installer.
6. Step six: Install and set up the downgraded macOS
Back in the macOS Utilities window, click Install macOS and follow the on-screen prompts. Installation can take some time, especially when running from a USB drive, and your Mac may restart several times during the process.
After setup, I noticed a few leftover glitches: background agents trying to launch, and some apps acting up. Pretty standard after a downgrade, especially if you're coming from a newer OS.
To clean things up, I ran CleanMyMac’s Applications module. It helped identify and remove outdated apps that no longer worked properly on the older system.

-
Open the app and go to Applications > Scan.
-
Select Manage my Applications.
-
Remove anything that doesn't belong on your current macOS version.
It also helped me clear out some Ventura-only apps that were throwing errors. Quick and painless, and my Mac ran noticeably smoother right after.
So, if you're wondering how to get old versions of macOS, it's absolutely possible. But it takes a little prep.

