How to drag and drop on Mac
Are you curious about how to click and drag on your Mac? This handy feature can enhance your computing ease, making it easy and fast to rearrange your items, relocate files, and move existing content from one application to another.
Apple loves to give its users choices, and in true Apple style, there's more than one method. We'll cover them all right here and give you some bonus tips on what to do if drop and drag isn't working.
So, let's get to it!
How to drag and drop on a MacBook
As promised, here are all the methods on how to drag files on a Mac.
1. Use your mouse or Trackpad
You can use your Trackpad or mouse to drag and drop files; the method is the same; here's how: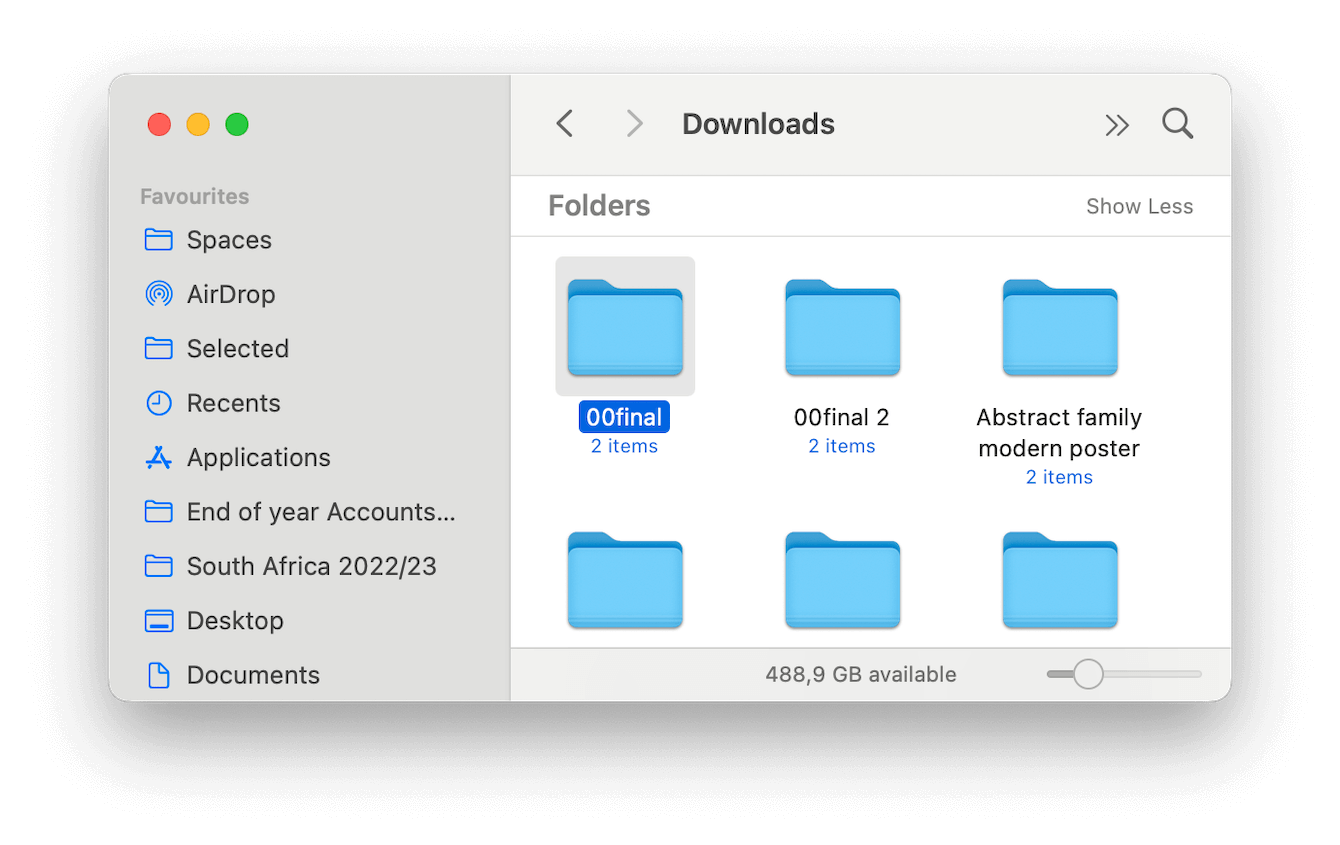
- Locate the item you want to move and select it.
- Simply click and hold your mouse or Trackpad and drag your chosen item to its new location.
- Release when finished.
You can also use this method to move multiple files when you click your Trackpad or mouse to make a selection, drag it over multiple files to create a selection box, then follow the steps above.
2. Use drag lock
You can customize your Trackpad settings and enable something called drag lock; this means when you double tap a chosen item very quickly, you can drag the item without lifting your finger off the Trackpad. Even when you take your finger off the Trackpad, it will still be selected. To place it, you'll need to click on the location where you want it.
Here's how to enable drag lock:
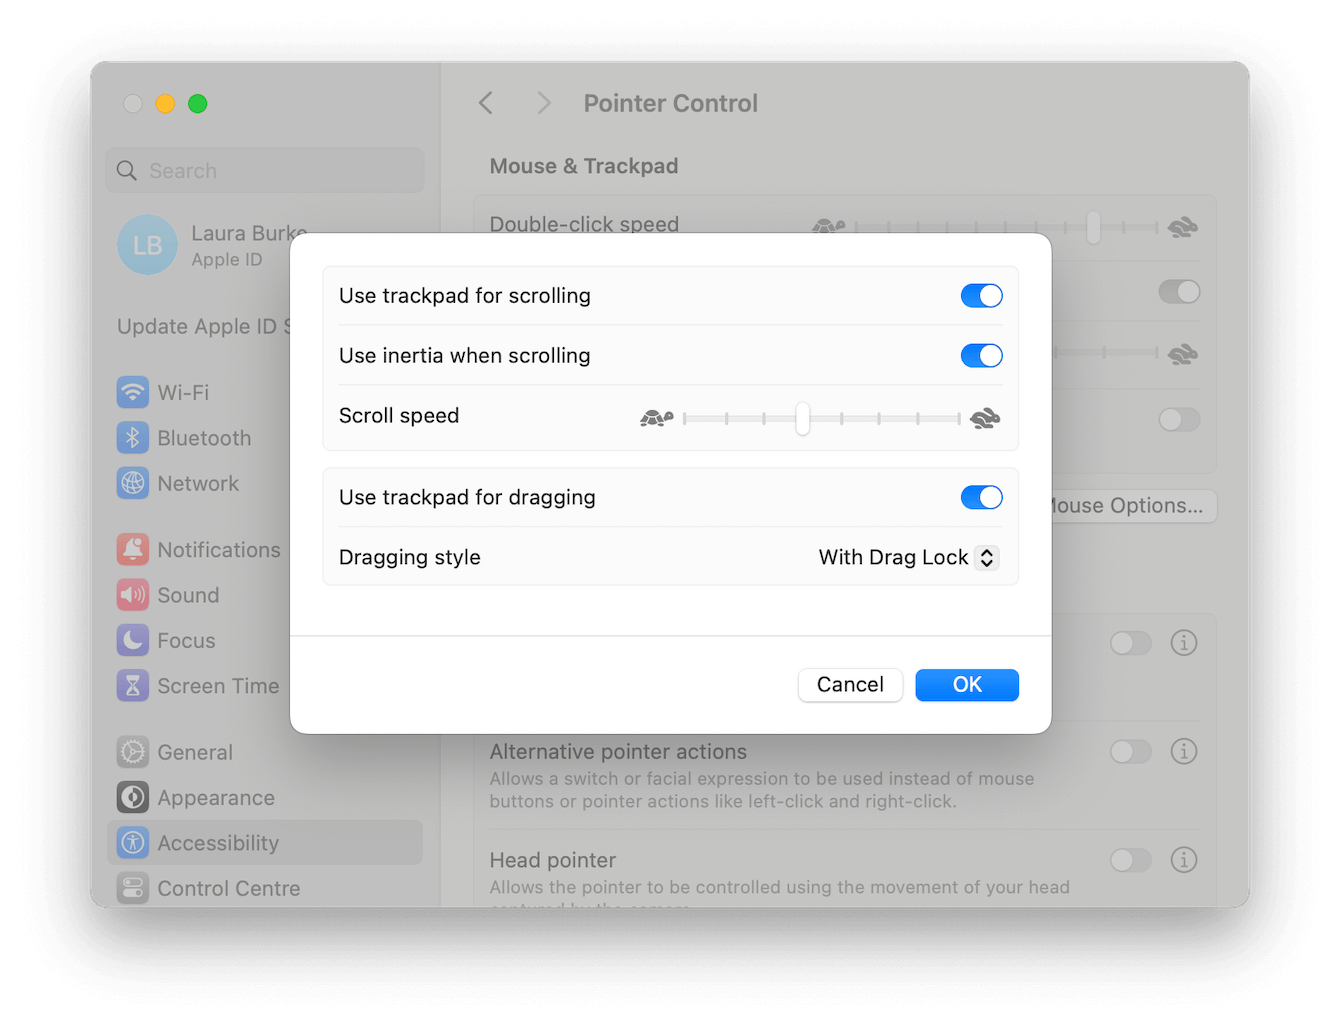
- Select the main Apple menu > System Settings > Accessibility > Pointer Control.
- Now, select the Trackpad Options button.
- Toggle on Use Trackpad for dragging, and from the dropdown, select With drag lock.
3. Three-finger drag
Another popular method is the three-finger drag. Again, you can customize your Trackpad so that when you select an item or multiple items, you simply use three fingers on your Trackpad to move the item. Lift your fingers when you've found the new location.
Here's how to enable three-finger drag:
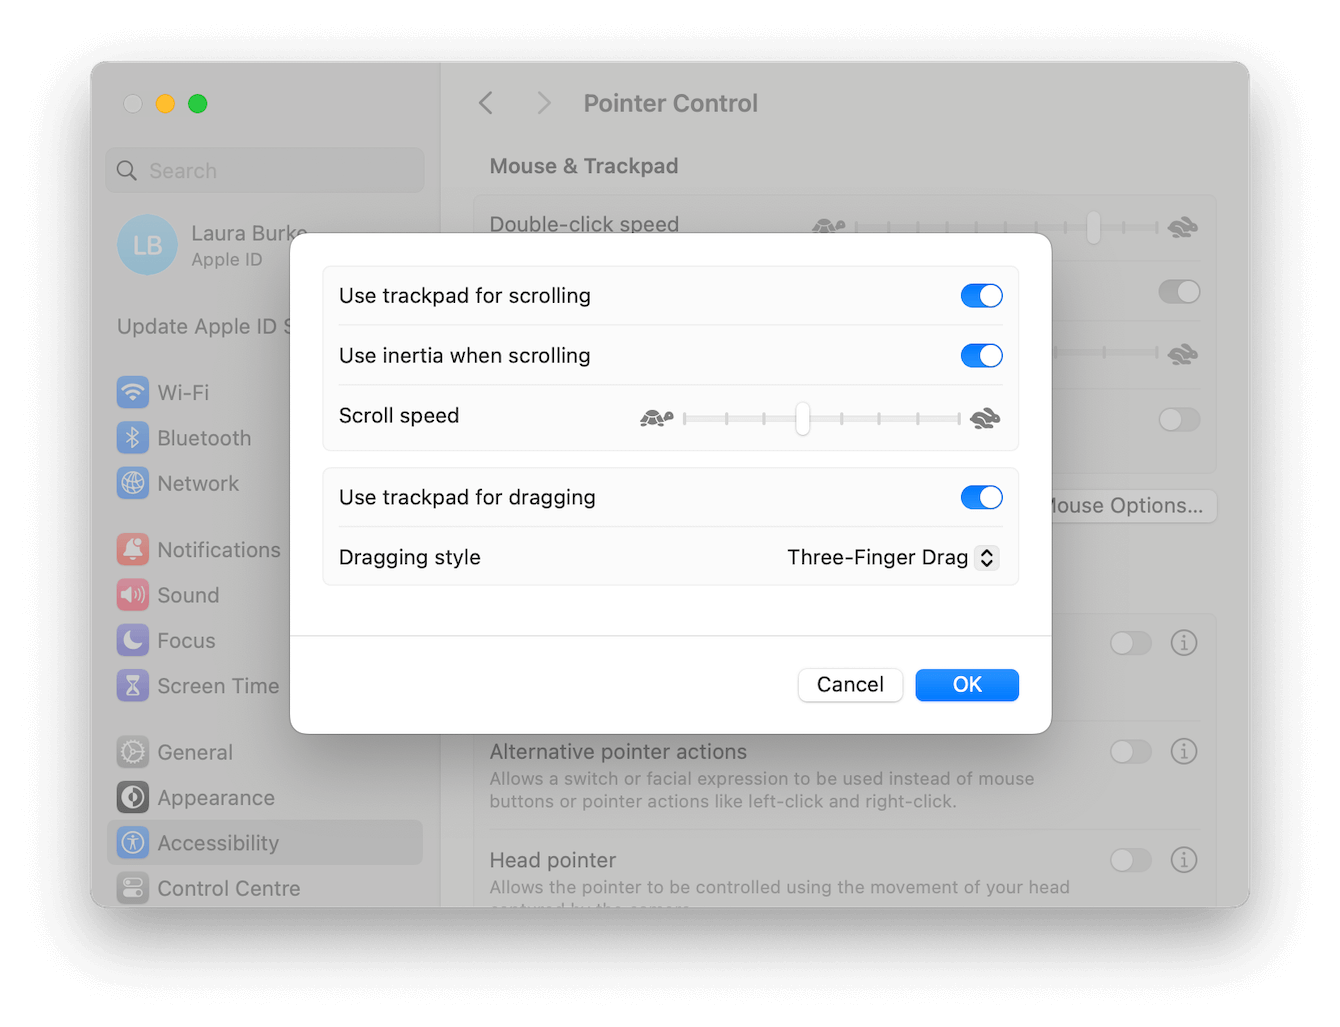
- Select the main Apple menu > System Settings > Accessibility > Pointer Control.
- Now, select the Trackpad Options button.
- Toggle on Use Trackpad for dragging, and from the dropdown, select Three-Finger Drag.
But what if Mac drag and drop is not working? Don't worry; we've got some troubleshooting tips for you below.
Solved: Drag and drop MacBook not working
Occasionally, users run into issues with drag and drop not working. It's annoying but totally fixable; work your way through the tips below.
1. Restart your Mac
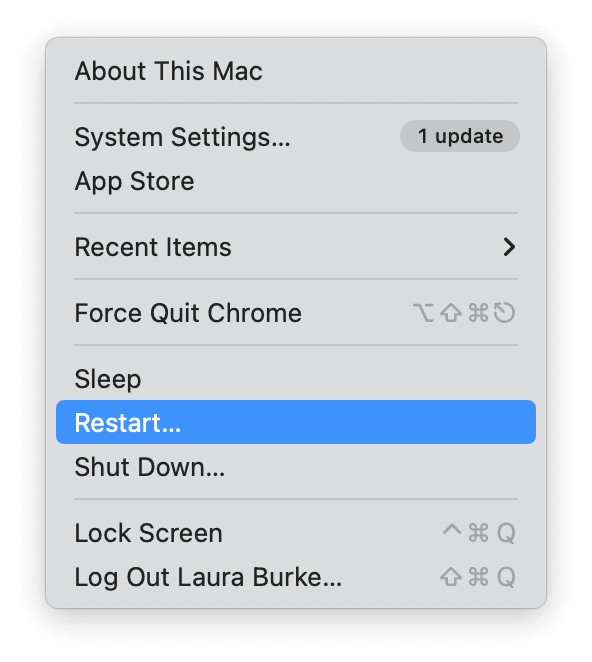
A quick restart can often solve glitches and bugs, so take a moment to restart your device from the main Apple menu.
2. Run Mac maintenance scripts
Running some maintenance scripts is another way to rid your MacBook of annoying bugs. These are usually handled automatically by your Mac, but you can manually start them and force scripts to rotate and fix issues rapidly by using a reliable tool, like the Apple notarized CleanMyMac; here's how:

- Open the CleanMyMac app or test it for free here first.
- Select Maintenance from the sidebar > View All Tasks.
- Select Run Maintenance Scripts > Run.
3. Check your connected devices
If you're using a Bluetooth mouse, you could have a battery or connectivity issue.
First, check that your mouse has sufficient battery supply; if that's not the issue, then check the connection; here's how:

- Select the main Apple menu > System Settings > Bluetooth.
- Disconnect your device by selecting the information icon next to its name and clicking Forget This Device.
- Reconnect the device.
4. Update your Mac's software
Are you running the latest macOS? If not, it's worth updating it. The drag-and-drop function could be experiencing issues because of a software bug. Keeping your software updated ensures you get the latest fixes.
Here's a quick reminder of how:
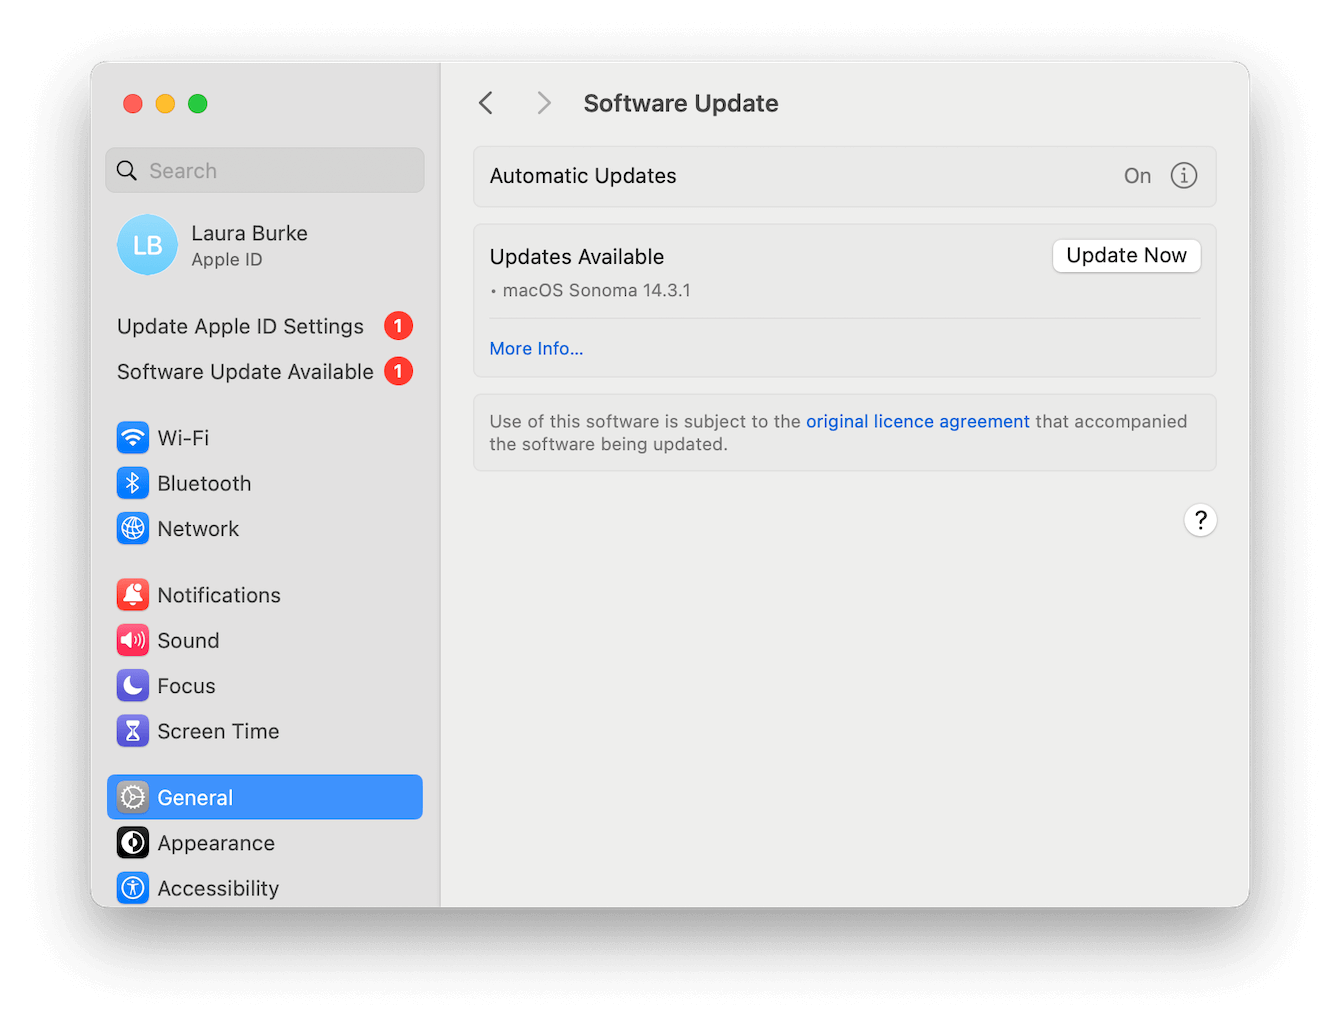
- Select the main Apple menu > System Settings > General > Software Update.
- Click Update Now and follow the on-screen instructions.
FAQs: How to drag and drop on Mac
Let's finish up with a couple of drag-and-drop FAQs.
Can you drag and drop items from Mac to iPad?
Yes! Thanks to Apple's intuitive Universal Control feature, if you're signed into your Apple ID on both devices, you can simply drag and drop items from one device to another.
Here's how to turn on Universal Control on your Mac:
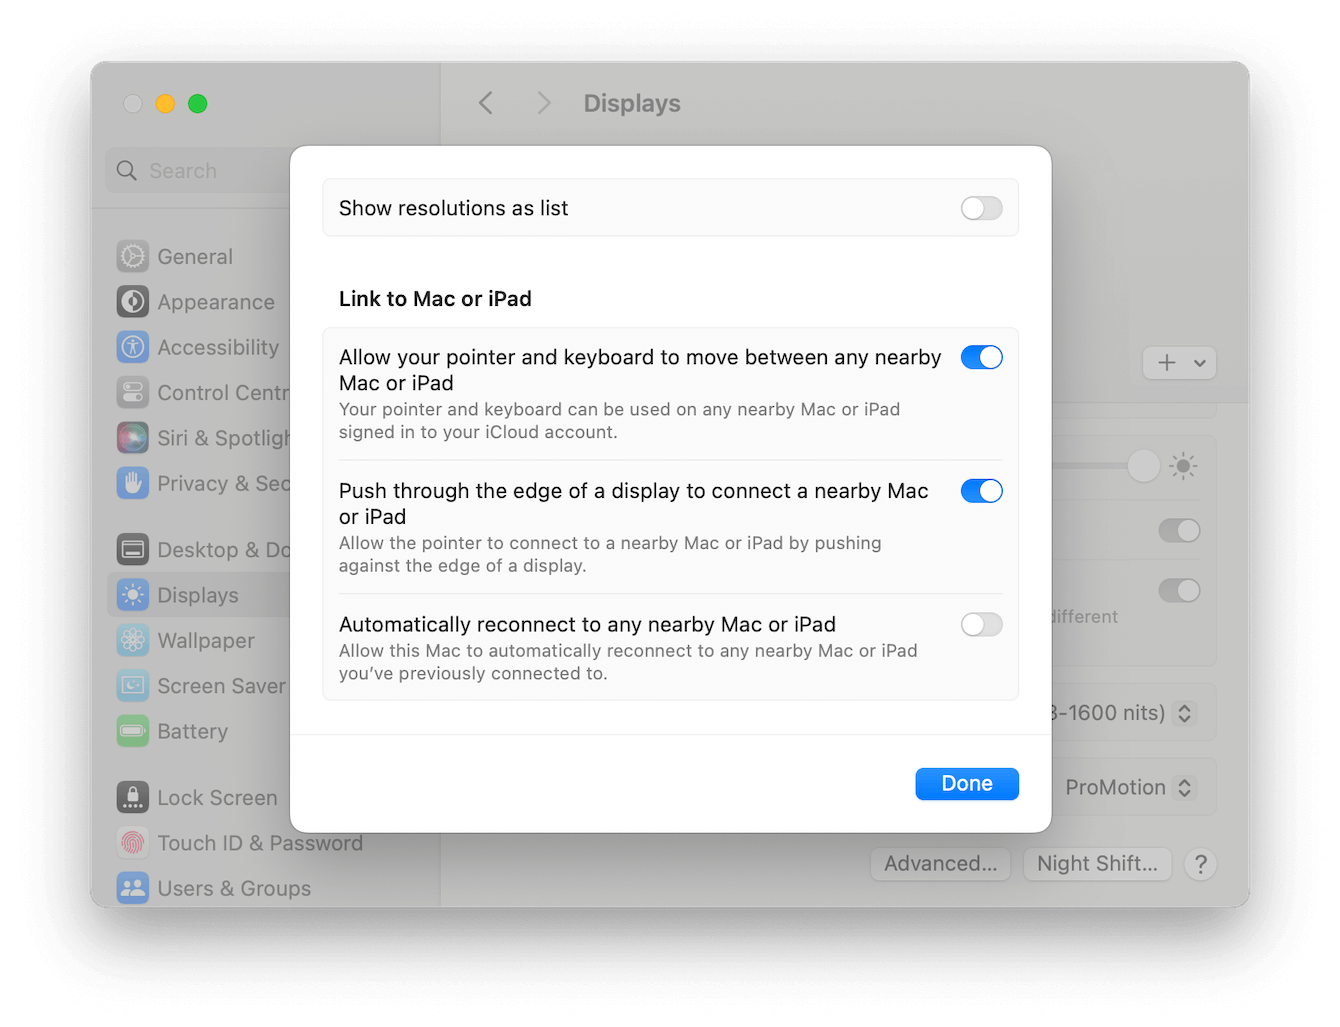
- Apple menu > System Settings > Displays.
- Select the Advanced button and toggle on Allow your pointer and keyboard to move between any nearby devices
- Finally, click Done.
Here's how to turn on Universal Control on iPads:
- Go to your iPad Settings application > General > AirPlay & Handoff.
- Now, toggle on the Cursor and Keyboard option.
For more information and Universal Control compatibility, check out Apple's support page here.
What kind of items can I drag and drop?
You can drag and drop the following:
- Files and folders
- Images and videos
- Text in a document
Can you use drag and drop to copy a file on Mac?
Yes, simply use any of the methods outlined in this article, but at the same time, press the Option key; this will copy the item instead of moving it.
Can you move files without dragging them?
You can theoretically move files by copying and pasting them using keyboard shortcuts. However, they will be duplicated.
- Press Command - C to copy an item.
- Then, press Command - V to paste it in the desired location.
So, when someone asks you how to drag a file on Mac, you've got the answers. Hopefully, you've found a method that suits your computing style.

