How to Edit Photos with AI: Simple Ways to Make Your Pictures Look Amazing
If you're searching for how to edit photos with AI on an iPhone, here's what actually works in 2025 after a month of testing on my everyday camera roll. I leaned on Apple's built-in tools first, then stacked a few lightweight apps when I needed more control.
So, let’s get started.
What Is AI Photo Editing and How It Works
AI is everywhere now, and yes, we can use it to make our iPhone photos look better in seconds. Think of it like a smart helper that looks at your picture and fixes the obvious stuff for you.
Here's what that means in real life:
-
Brighten a dark shot and fix the colors.
-
Cut objects or people out of the background.
-
Style to give the photo a certain mood.
-
Clean up blemishes or imperfections.
On iPhone, you'll see these kind of tools inside the Photos app and in a few popular editors. In Photos, I use Auto Enhance for quick fixes, Clean Up to remove unwanted objects, and press and hold on the subject to lift it from the background. Most days, that's all I need. When I want more control, I open a dedicated photo app and fine-tune the look. So let's take a look at how to edit photos with AI.
5 Easiest AI Photo Editing Actions You Can Do Right Now
Auto Enhance to instantly fix lighting and contrast
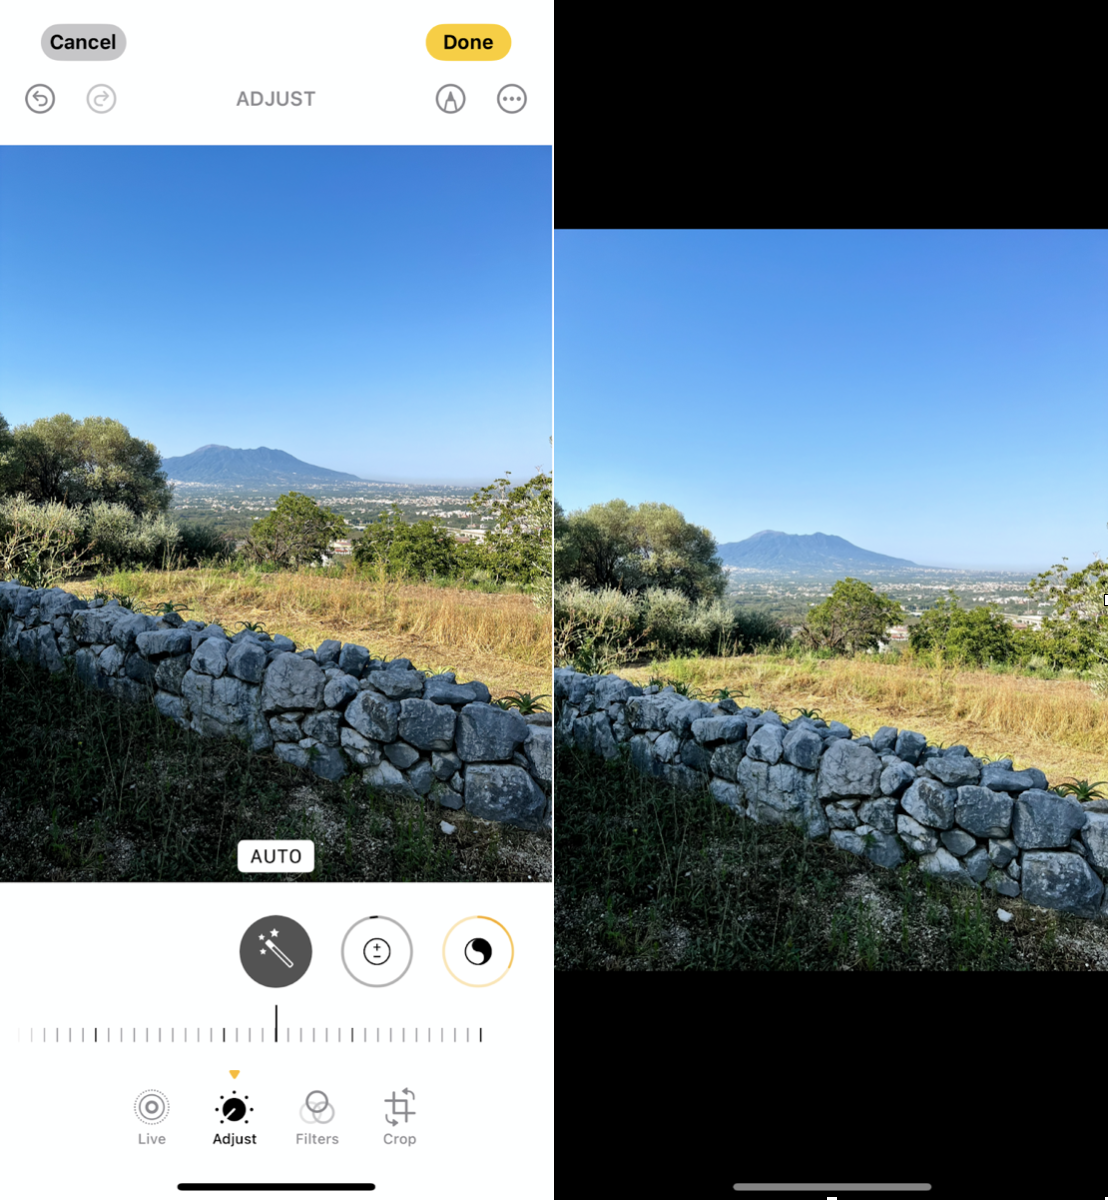
What I do is open a photo in Photos and tap AutoWand. It's boring, and that's the point. It corrects exposure and color cast in a way that rarely looks "edited." If the fix leans warm or cool, I'll slide the Brilliance and Warmth a touch.

-
Photos: open the image.
-
Tap Edit, tap the wand.
-
Nudge Exposure and Brilliance if needed.
-
Save.
Pro tip: If you post the same look across a set, use Photomator's Copy Adjustments to transfer the grade in one tap. It uses machine learning to intelligently match color and tone across images.
Background Removal: Erase or replace backgrounds with one tap
You've got options here, depending on your iOS. You could use Apple's subject isolation. Here's how:

-
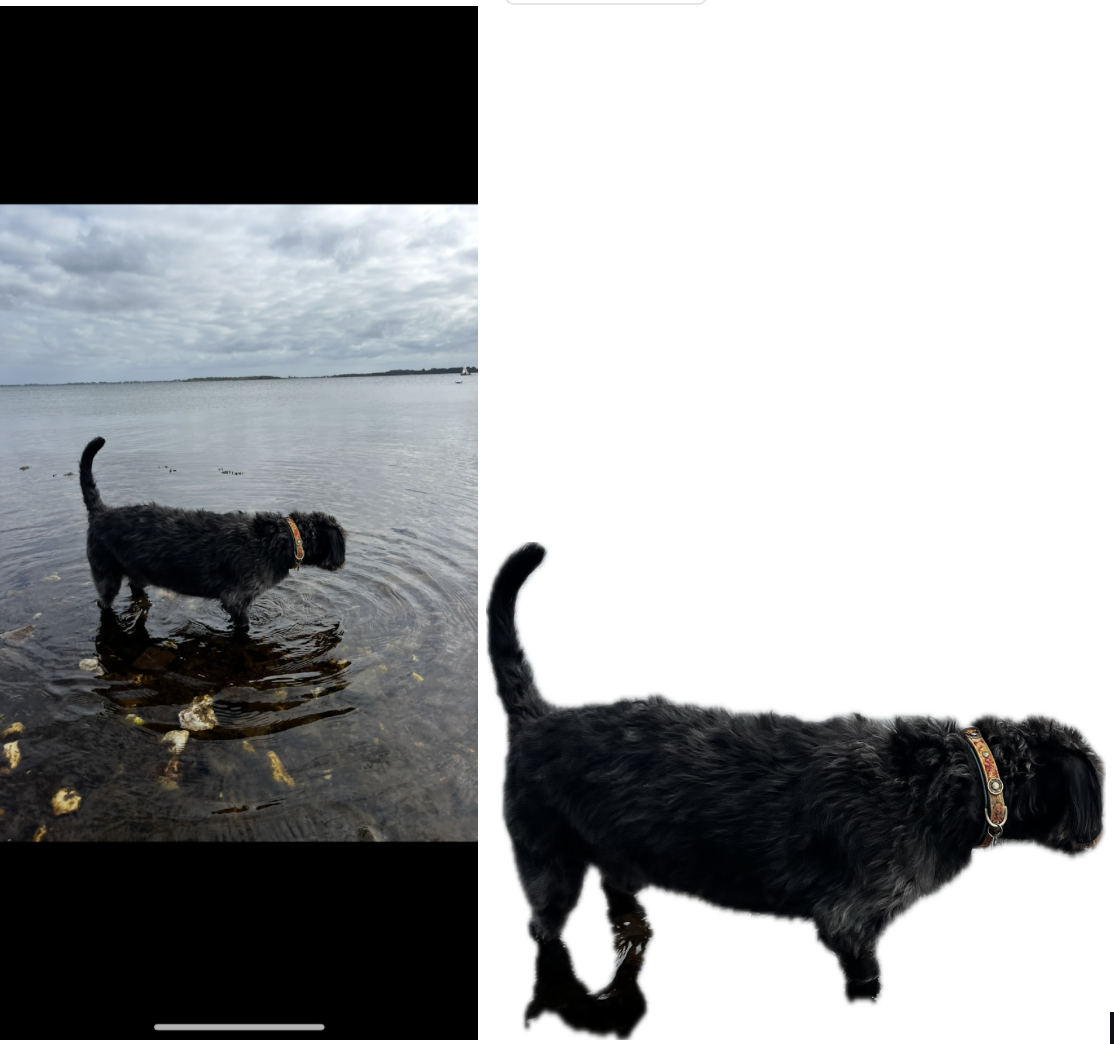
Press and hold on your subject until it "pops," then choose Copy Subject.
-
Share and then Save to files as a PNG.
-
On Apple Intelligence-capable devices, you can then place this on a new background of your choice.
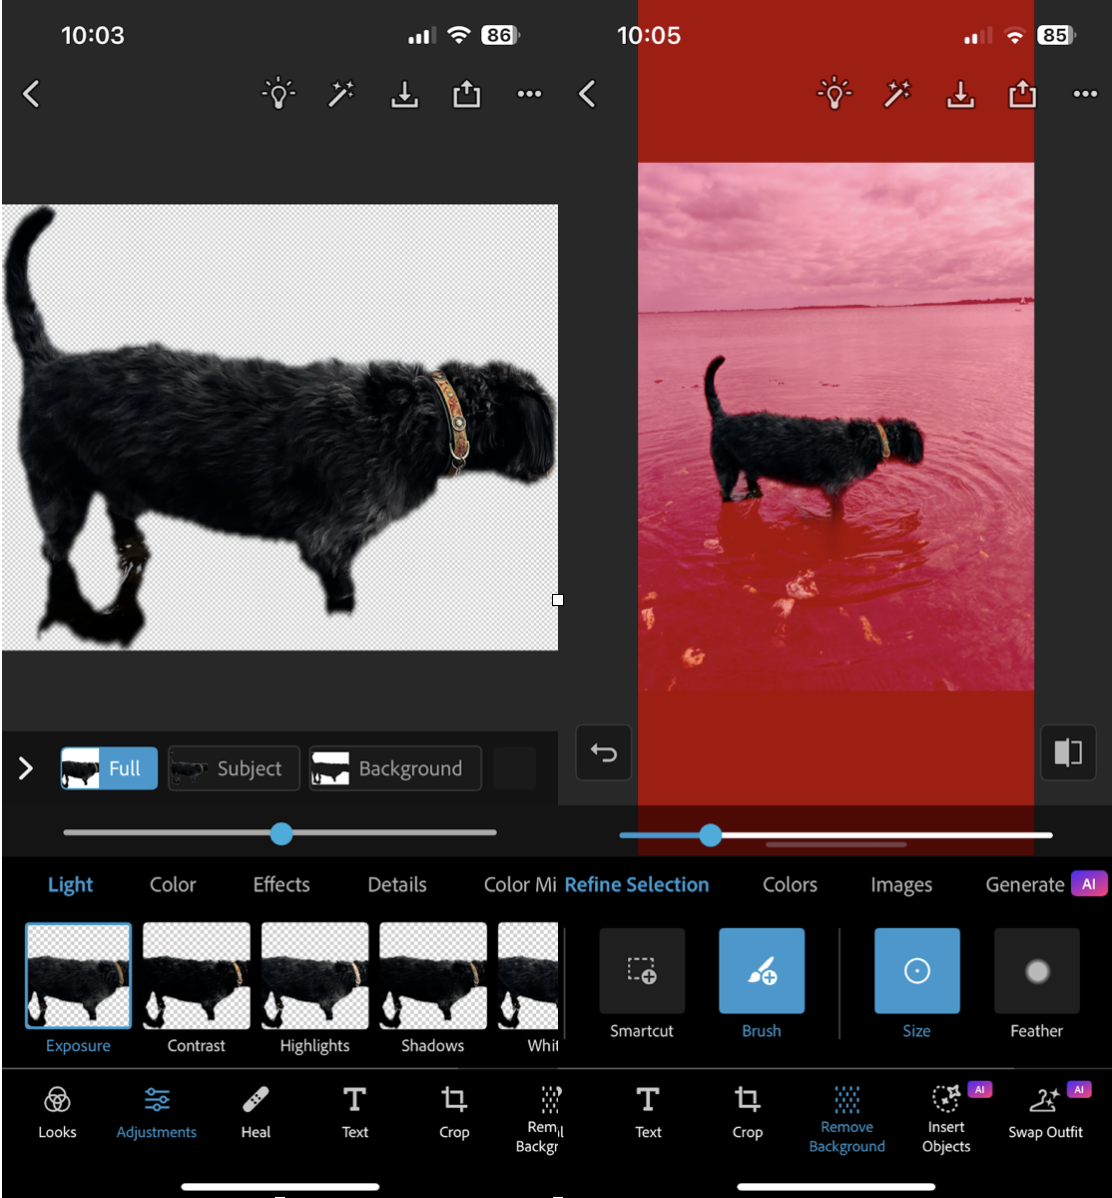
The issue here is that you can't control the isolation selection, so, for instance, in this image, you can see it's far from perfect. It's worth a shot, but for now, I would use a dedicated tool with AI capabilities like iOS Photoshop.

Object Eraser, remove unwanted people or items.
This one replaced my old "crop tighter and pray" habit. Apple's Clean Up removes photobombers, power lines, and trash on the beach, and does better when you zoom in and paint smaller strokes. It's a great tool, but it's only available on iPhone 15 Pro and upwards.
If the first pass smears texture, undo and try two or three smaller passes. On trickier images, Photoshop for iPhone with Firefly-powered generative fill is shockingly good at continuing patterns like brick and waves.
-
Photos: Edit > Clean Up.
-
Pinch to zoom on the object.
-
Brush just inside the edges, release, and review the fill.
-
Repeat in smaller sections if needed.
-
Save and screenshot.
AI Filters & Styles transform photos into artistic looks

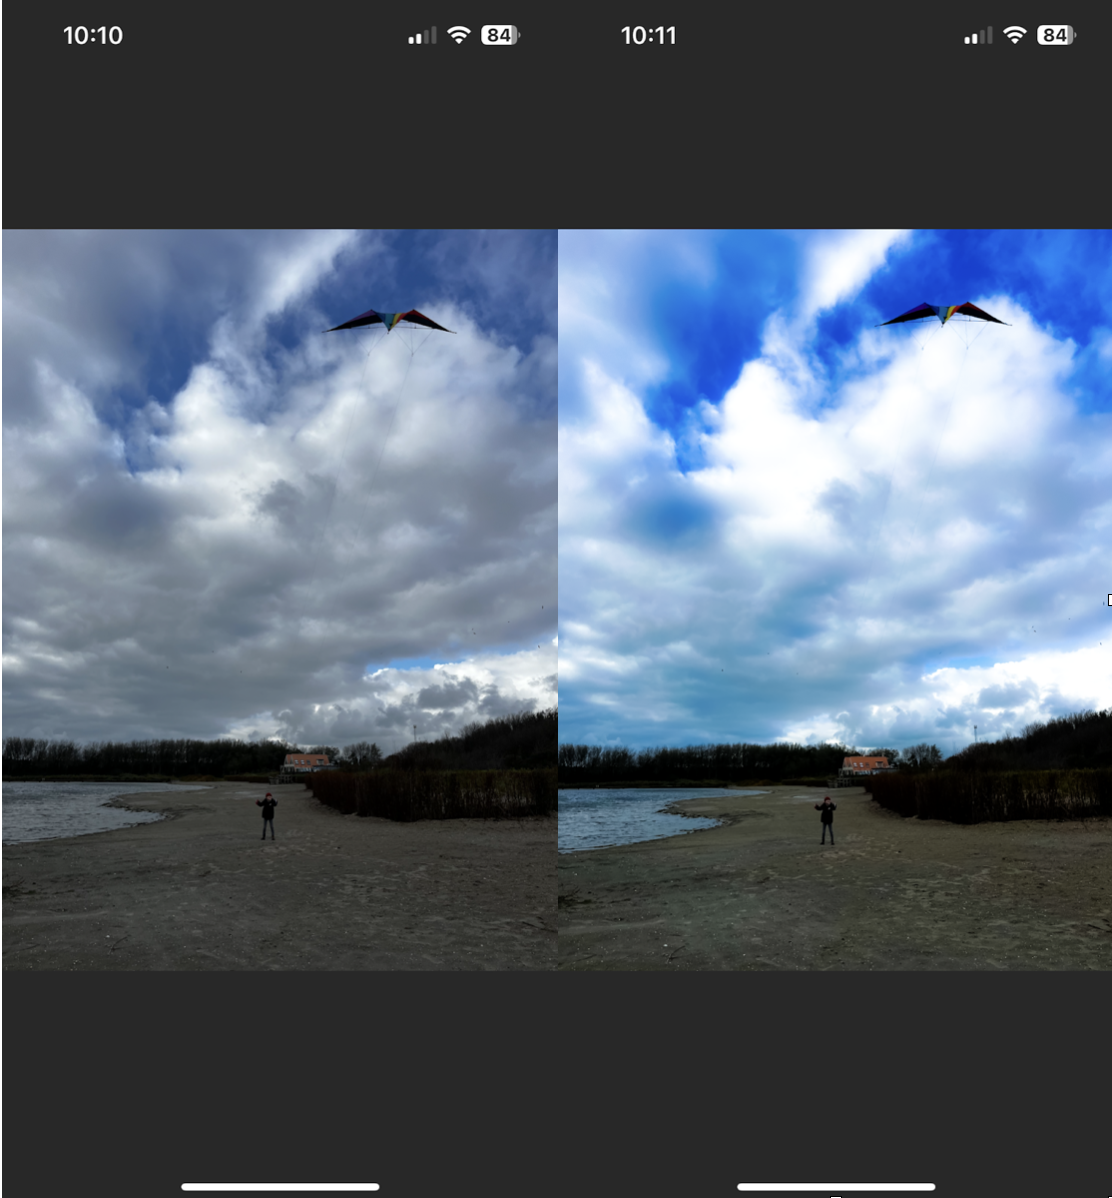
I keep this light. Subtle film profiles beat heavy cartoon filters in most feeds. Photoshop for iOS has some amazing filters, while Lensa's trending styles are better for playful stories or avatars. If you do use heavy looks, reduce intensity to about 40 to avoid halos and banding. Photomator also has Smart Deband to smooth those skies.
Face Retouch & Skin Smoothing for natural beauty enhancement
Rule I follow: preserve real skin texture. Over-smoothing screams filter. Lensa and Photoshop offer face-aware controls that target skin, teeth, and eyes. Use a smaller radius and strength, then add a tiny bit of Clarity back to the lips and eyes so the Edit doesn't look waxy.
Why knowing how to edit photos with AI is changing content
First: speed. Background swaps, object removal, and color matching that used to take layers and masks now finish in one tool with sensible defaults. Second: consistency. Apps like Photoshop on iPhone and Photomator harmonize lighting and color between elements so composites look like they belong together. Great for solo creators, maybe terrifying for retouchers who are billed by the hour. The net effect is that more people can produce professional-looking posts without a studio.
Don't Forget About Your Storage. Keep Your Device Clean
AI edits can seriously improve your media library. After getting caught out a couple of times with low storage, my simple ritual now is to clean up once a week, so my Photos app stays snappy and I don't hit a wall mid-shoot.
CleanMyPhone from MacPaw is an easy iPhone clean up companion. Here's how I use it:

-
Try it here if you don't already have the app.
-
Open Organize and take a look through any of the smart AI categories.
-
Make sure you also have a look at the similar category.
-
Remove any photos you don't need by hitting clean.
Best AI Photo Editors You Can Try
-
Photoshop for iPhone: desktop-grade layers and Firefly generative fill on the go. Perfect when Clean Up misses or I need believable texture synthesis for backgrounds and clothing.
-
Photomator: Great for color work. ML Enhance is subtle, Super Resolution is reliable, and Smart Deband fixes sky banding without wrecking gradients. Great balance of power and speed on iPhone.
-
Lensa: fast face-aware retouch and stylized looks. I keep the strength low for natural results and always check privacy settings before uploading portraits.
-
Picsart: quick background swaps and template-friendly edits for social posts when I don't want to design from scratch. Good one-tap remove and replace.
-
Apple Photos: Auto Enhance, subject lift, and Clean Up now cover a surprising amount of ground for free and keep edits nondestructive. Start here, then escalate only when needed.
So, now you know how to edit photos with AI on your iPhone.


