How to edit a screenshot on Mac
So you want to know how to edit a screenshot on Mac? The good news is, it's easy and there's multiple ways you can do this.
Screenshots have become a much-loved feature for Mac users. They allow you to capture important info for later or for use in presentations and more.
Lots of users think you can't edit a screenshot, but that's not the case. If you're looking to highlight important text, crop the screenshot, or add creativity to a photo, we've put together all the tips you need in this article. Let's get started.
The basics: How to edit screenshots on Mac
Let's first start by covering the basics and ensuring you know how to take a screenshot on your MacBook.
The great thing about screenshots on your Mac is that you have more than one option; you can pick from capturing your entire screen, a selected open window, or just a desired selection; here's how to take a screenshot on Mac:
Capture your whole screen
Simply press Shift - Command - 3
Capture a part or segment of your screen
- Press Shift - Command - 4
- Now, simply move the crosshair pointer across your screen and select the area you want to screen capture.
Capture a window or menu
Simply press Shift - Command - 4 - Space
All your screenshots are saved as PNGs and, by default, will be saved to your Desktop. Ok, so now that you know how to take them, let's get into the more fun aspect of editing screenshots on a Mac.
How do you edit a screenshot on a Mac?
Like many of the tasks we carry out on our devices, there's more than one way and more than one tool available; here's a look at some of the best options out there.
Native tools for editing screenshots
1. Preview app
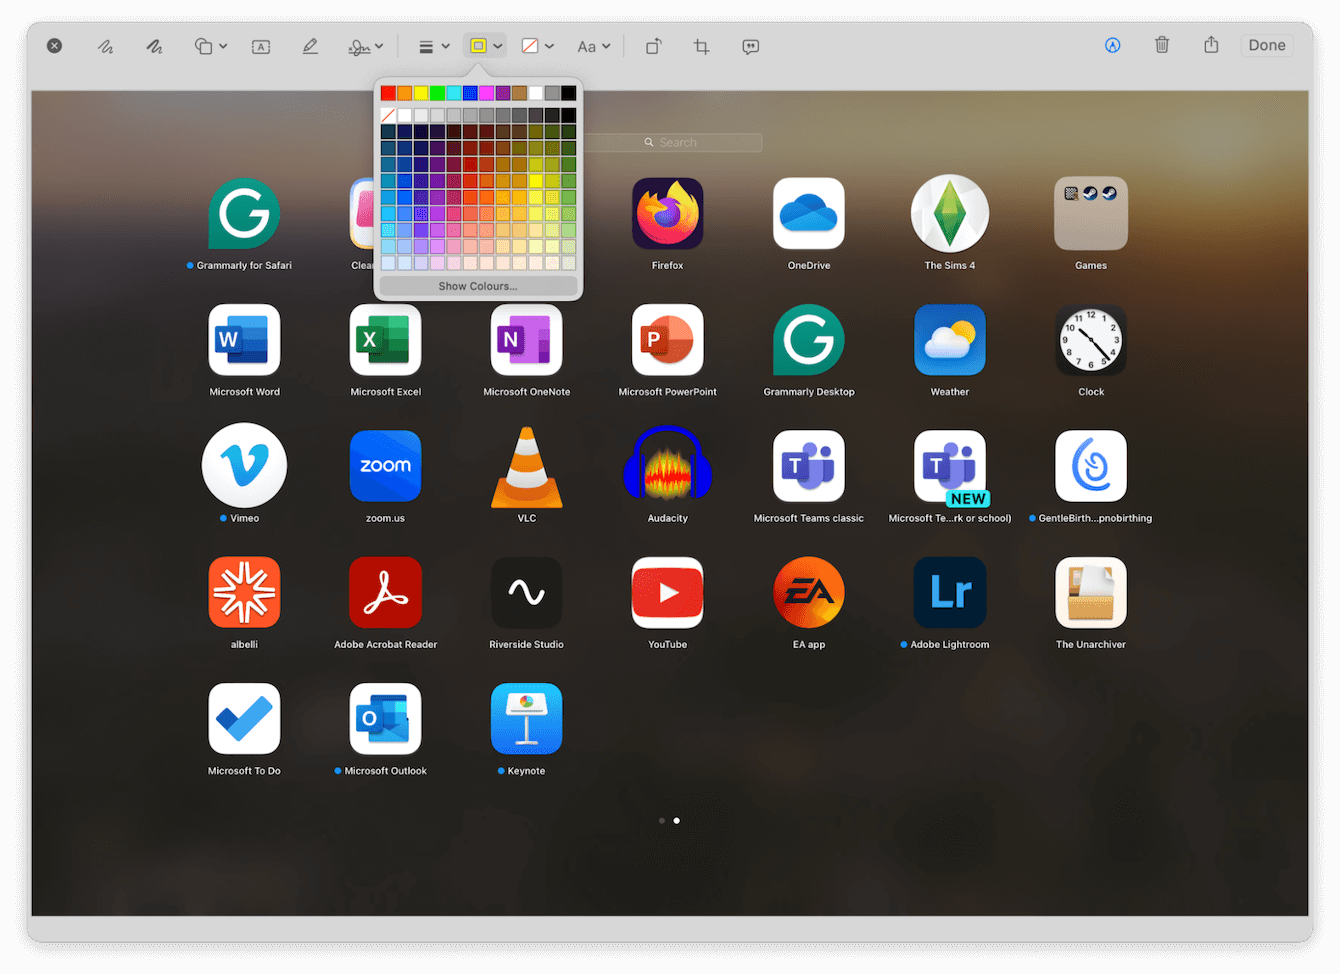
When it comes to native tools, Apple's preview app is not only powerful but versatile, too; it's a great free way to edit your screenshots; let's take a look at how to use it:

-
Double-click the screenshot you want to edit; this should be the default open in Preview.
-
Select the pen icon (top right) to open the editing menu.
-
There are so many options here:
- Selection tools for copying or cropping
- Sketch and pen tools
- Shapes
- Text and signature
- Color adjust and more -
Once you've finished editing your image, select Done to save your changes.
2. Keynote
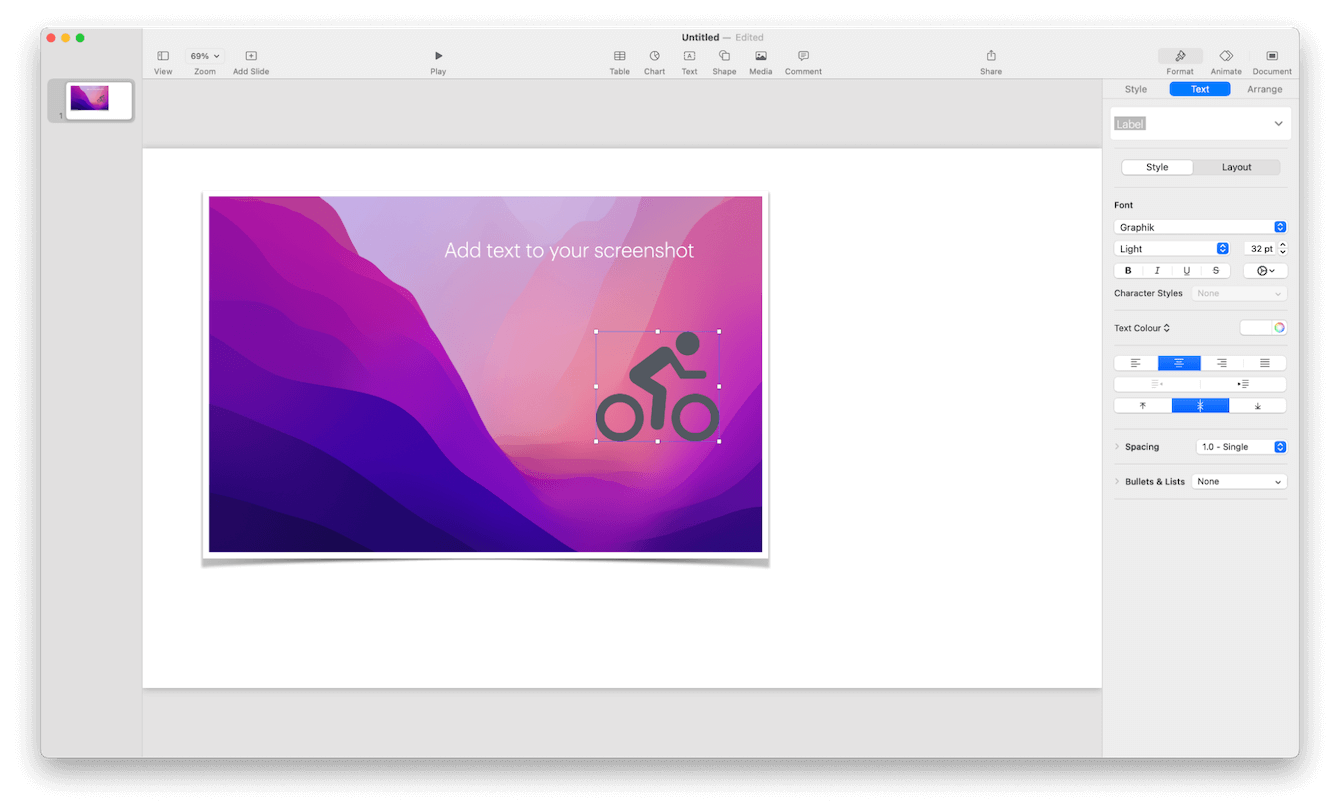
Another free and native way Mac edit screenshots is by using the Keynote app; this is a great option if you're already editing a presentation and want to include screenshots in it; here's how to use it:

- Open the Keynote app from Finder > Applications.
- Open an existing presentation or start a new one.
- From the top menu bar, click Media > Choose, locate your saved screenshot, and click Insert.
- Once inserted, there are lots you can do:
- Drag, resize, and crop your screenshot
- Add text or shapes
- Add more media on top
- Add borders
- Animate your screenshot
- To finish, decide if you just want to save your project as a keynote presentation or export it from the export feature in File to PDF, animated GIF, and more.
Don't forget to keep an eye on your Mac's output and performance; saving tons of screenshots and making media-rich keynote presentations will, over time, gradually begin to take up system space and slow your Mac down. So, what can you do? Keep on reading.
Reduce old files and unneeded clutter on your Mac
One of the quickest ways to free up space and boost your Mac's performance is by removing large and old files. There's no need to spend hours doing this, thanks to the Large & Old Files module from Apple notarized Mac cleaner app — CleanMyMac. Save time and space by getting rid of clutter in a few clicks; here's how to use it:
- Install or open the app (you can test it free for seven days here).
- In the sidebar menu, select Large & Old Files > Scan.
- Sort through the categories (kind, size, and last accessed).
- Select files you don't need and click Remove.

Well, now we've covered native tools and keeping your Mac running smoothly, let's get back to Mac screenshot editing tips.
Third-party screenshot editing tools
We've covered the native options, but if you're looking for something that offers more editing features and tools, you might need to look at a third-party app. Here are a couple of recommended choices.
1. Canva
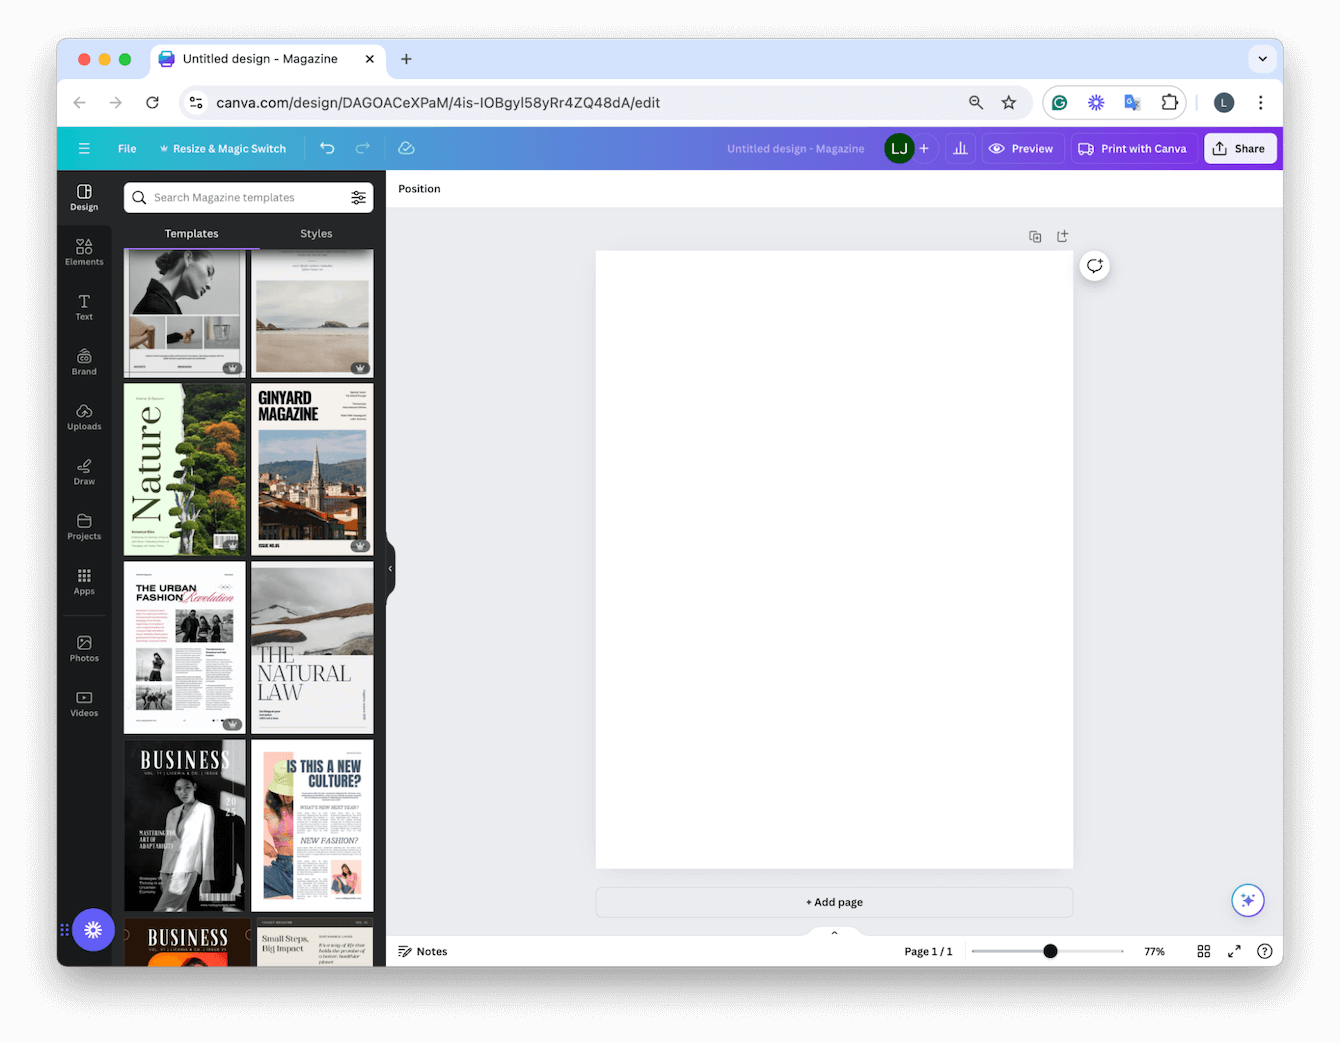
Top of the list is Canva; when it comes to editing and transforming your screenshots, the possibilities are pretty endless. You can not only edit and animate, but there's a host of new AI creative features available, too, and you can pick from literally thousands of pre-made templates to populate with your screenshots.
Canva offers a free version and paid version, so it's up to you, on what you need.

2. Photopea
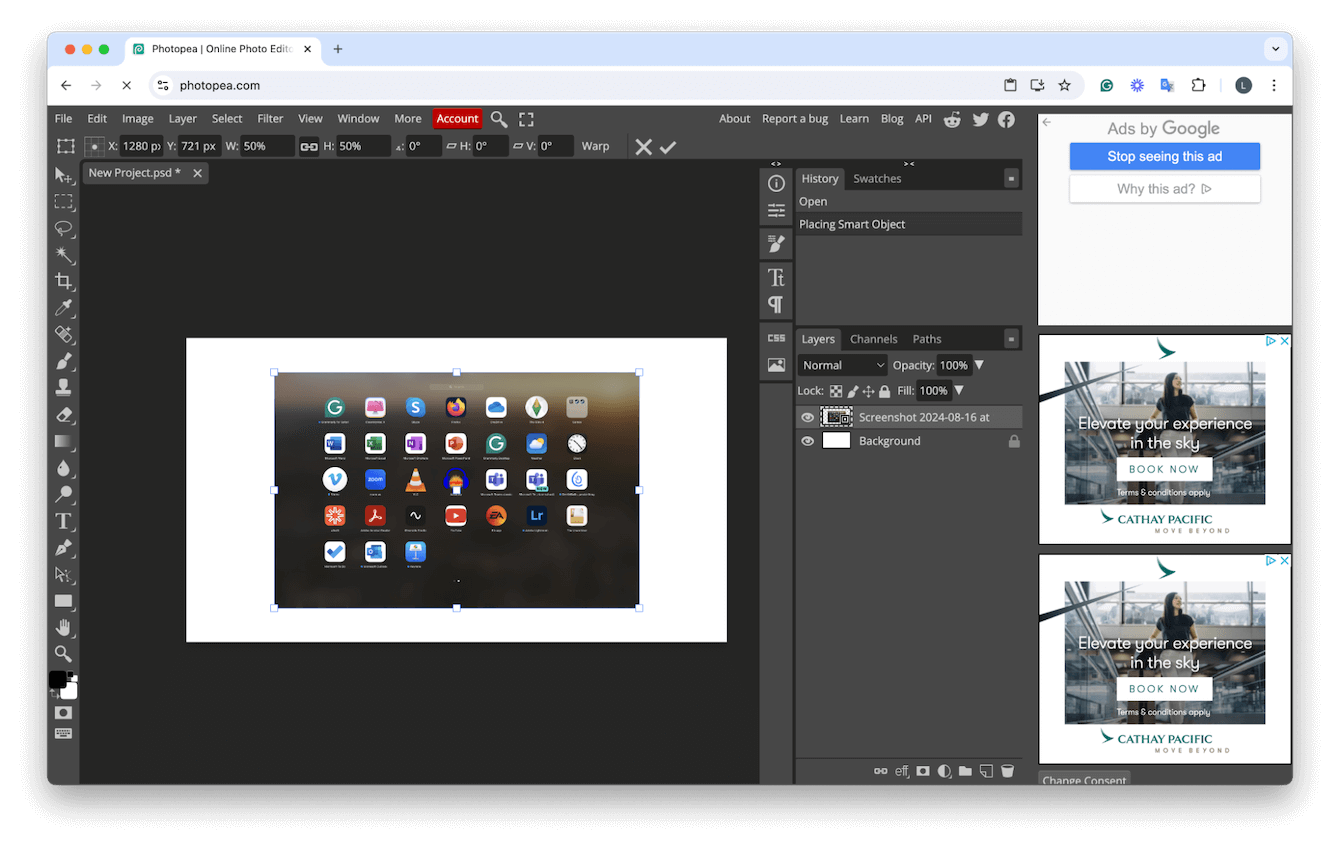
Photopea is a free, well-known online alternative to Photoshop; it has pretty much the same features and capabilities, meaning you can really level up your screenshots. It's not as easy to use as Canva, as a lot of the features require some graphic design knowledge, and there are ads to contest with, but if you're fluent in graphic design, then this is a great free tool.

Well, there we have it. We've reached the end, and now you know how to edit a screenshot on a Mac.
FAQs: How to edit screenshots on Mac
Can I blur parts of a screenshot on my Mac?
If you're looking to conceal private info on a screenshot, the native apps we mentioned above don't offer a blur feature, but a workaround is to add a shape over the parts of text you want to hide.
Can you save screenshots in different formats?
Absolutely, all the tools we've mentioned in this article give you the option to Save As or Export, which provides more formats.

