Where is Trash folder on Mac?
Struggling to locate the Trash folder on your Mac? No worries, we've got you covered.
If you're new to the world of Apple, you might be wondering where the Trash folder — or Bin — is located on your Mac.
We'll show you how to find it, what it's used for, and most importantly, how to empty it and claw back space on your device. Let's get started.
What is the Trash folder (Bin) on Mac?
The Trash or Bin folder is an important feature on our Macs. Think of it as a recycling plant that lets users decide to permanently remove or restore various items added there.
One of the greatest benefits of the Trash folder is that if you do delete something by mistake or change your mind, you can recover and restore your files with ease as long as the Trash folder hasn't been emptied.
Lots of users don't realize, but the contents of your Trash folder still take up valuable storage space on your Mac. If you don't empty or clean up your Trash folder regularly, it can quickly begin to swell and affect your Mac's performance.
That's why knowing how to find the Trash on a Mac is essential.
Where is the Trash folder on macOS?
So, let's start by looking at where your Trash or Bin is located.

Depending on your macOS, this may vary, but most users will find the icon in their Dock bar.
But because Apple loves to give us variety, that's not the only way to find it. Here's another way:
-
Open Finder > Go > Go to folder
-
Type in Trash or Bin and press Return.
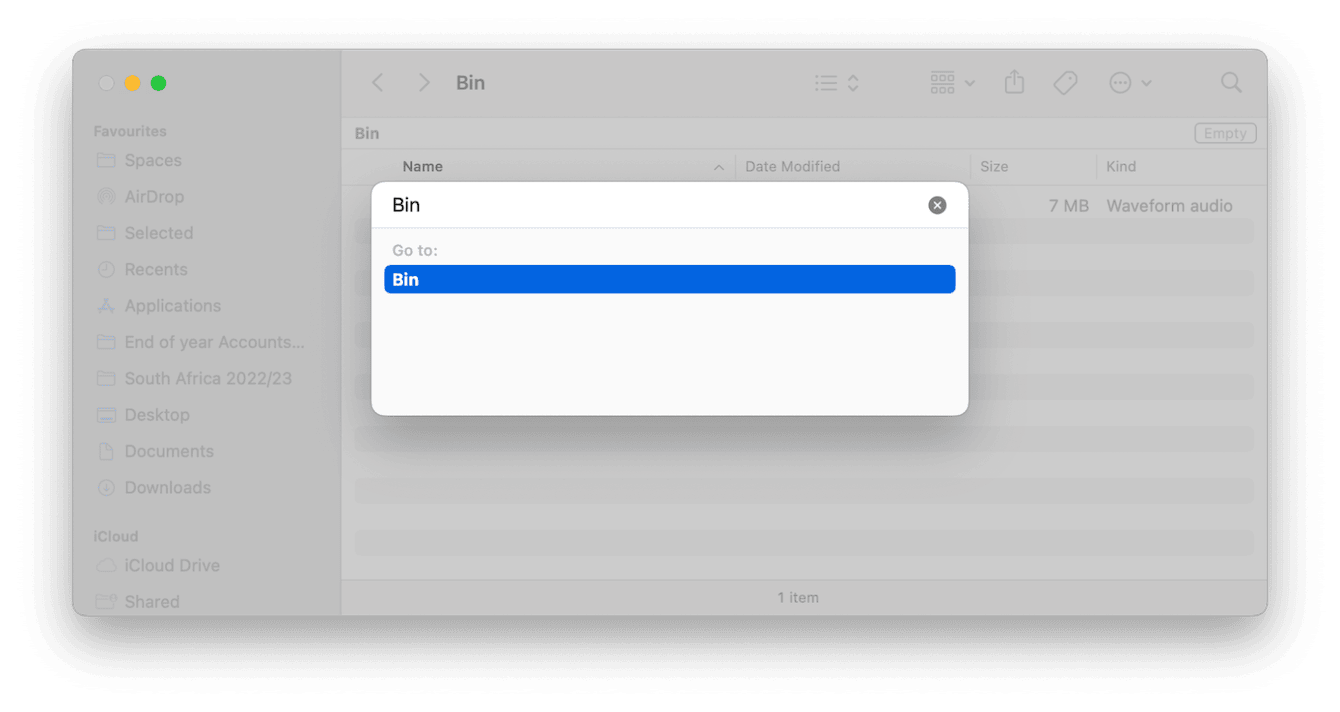
So, now that you know exactly where it's located, let's jump to the next section and take a look at how to open it and see inside.
How to open Trash on Mac
Opening the Trash or Bin folder on your Mac is pretty simple. Simply double-click its icon from the Dock to view what's inside.
Once inside, you can review items; if you spot something that shouldn't be there, here's how to restore it.
-
Select the item you want to recover.
-
Right-click and click Put Back.
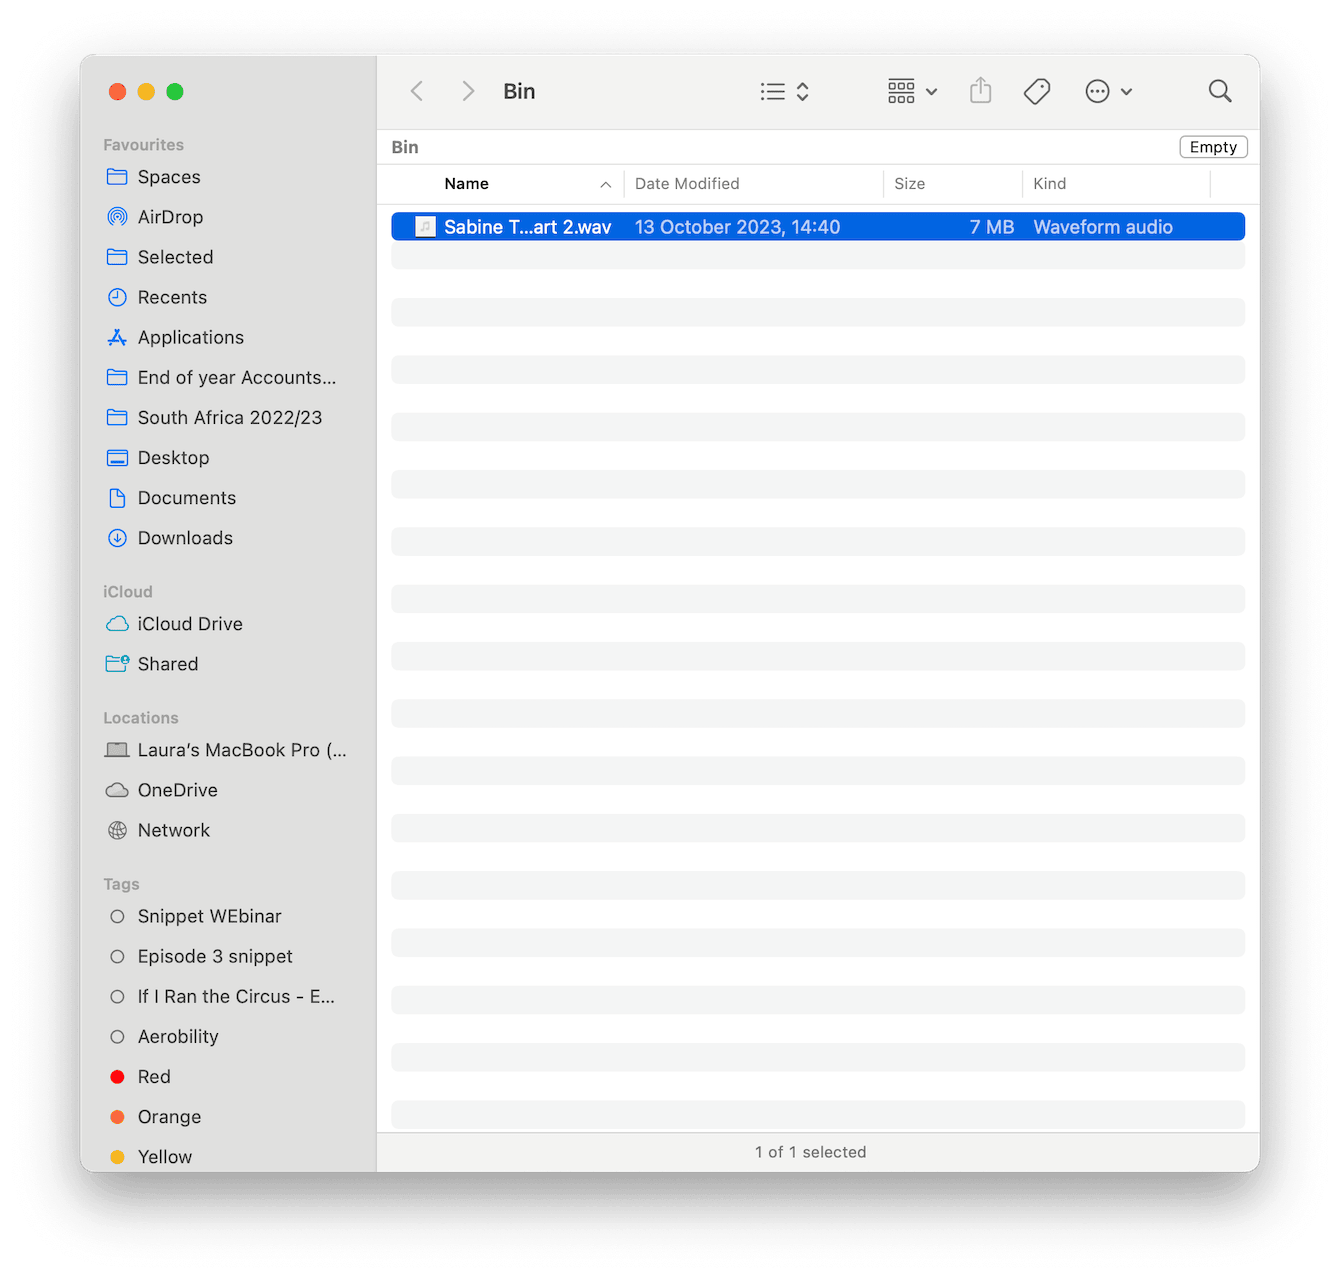
This will reinstate the item back on your Mac in the location it was originally deleted from.
Alternatively, you can simply drag the file from Trash (Bin) and drop it to your preferred location.
How to clear the Trash folder on Mac
There are a couple of methods to empty the Trash; let's take a look.
1. Right-click method
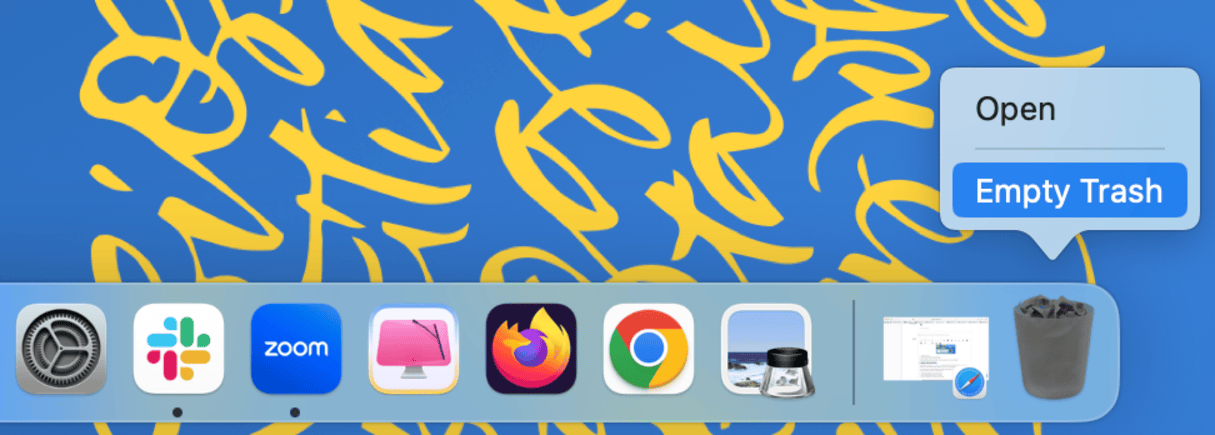
The easiest way to quickly empty your Trash or Bin is to right-click its icon from within your Dock and choose Empty Trash (Empty Bin).
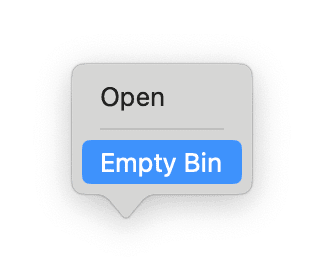
2. Review and delete method
If you'd like to double-check what's in your Trash folder before emptying, here's an alternative method.
- Open your Trash folder from within the Dock.
- Select the items you want to remove from the list.
- Right-click and click Delete Immediately.
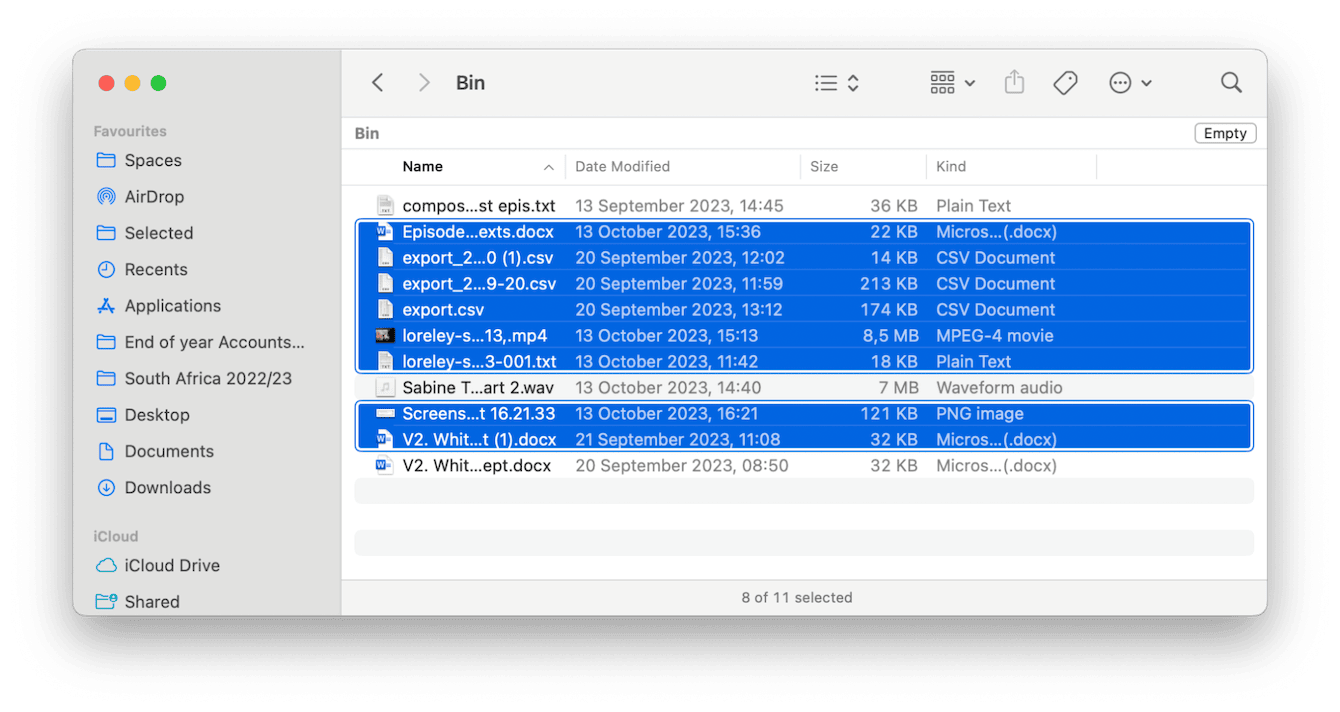
This way, you can use the restore method above to put items that you don't want to delete back.
What is the Move to Trash shortcut on Mac?
Lots of Mac users don't know there's a Mac empty Trash shortcut.
It's pretty simple; all you need to do is press the Command - Shift - Delete keys anywhere on the desktop and confirm your decision by selecting Empty Trash.
This is great for people who are having a big file clear out and want to erase items to free up storage space quickly.
How to delete unneeded files on Mac
Removing unwanted files and junk on your device is one of the quickest and easiest ways to free up space, but did you know when it comes to junk removal, there's no need to spend hours searching through every single folder for cache, broken and temporary files, there's a much quicker and more efficient way.
The Cleanup feature from CleanMyMac is a powerful tool that can perform an instant deep system scan, bringing everything together in one smart overview for removal — saving space and enhancing your Mac's performance; here's how to use it:
-
Start your free trial here — you can test it for 7 days.
-
Then, click Cleanup from the sidebar.
-
Click Scan. Then when complete, review junk files and hit Clean Up.

There's no need to empty your Trash; this tool takes care of everything for you — easy!
This is a great way to ensure your deleted items stay away for good. And you can choose between two deletion options: immediate removal and secure removal.
What to do when the Trash folder on Mac doesn't empty?
So you know where the Trash folder is on your Mac and how to view, restore, and erase it, but sometimes users run into issues and find themselves unable to empty it.
Glitches of this nature are not uncommon, and it's usually a pretty simple fix. Here's what to do if you run into this problem.
1. Restart your Mac
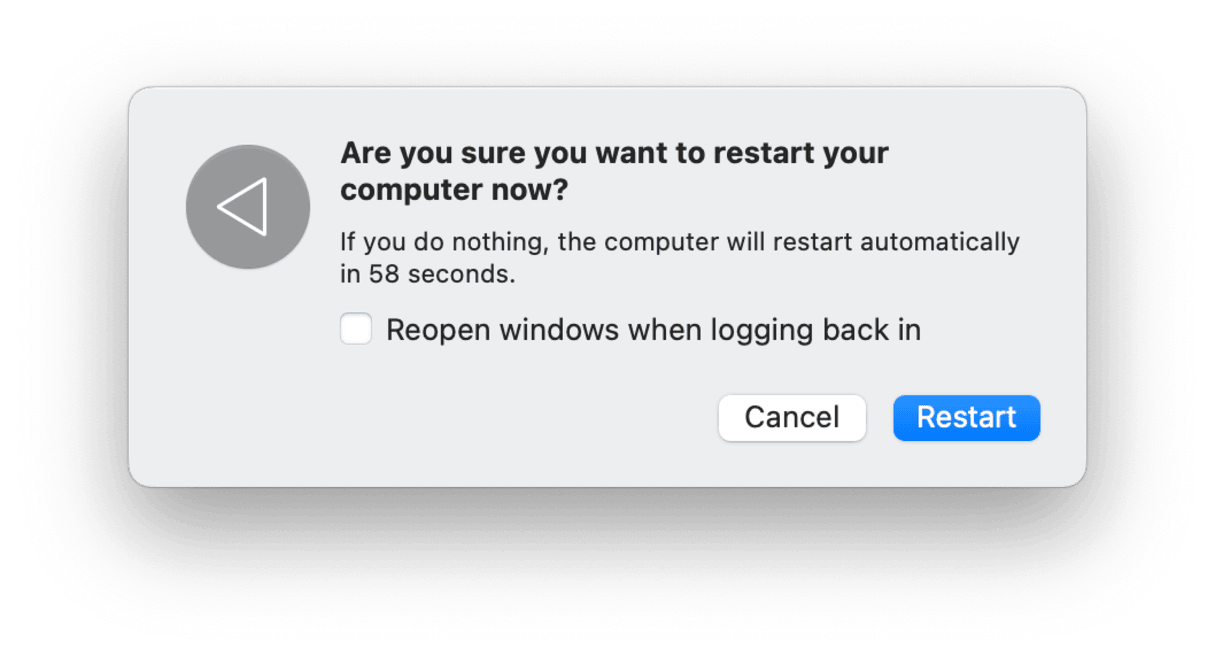
Often, users can't empty their Trash folder because a file is still in use. You can Restart your Mac to eradicate this glitch quickly.
Just click Restart from the main Apple menu.
If that doesn't work, try the next tip.
2. Force empty Trash on Mac
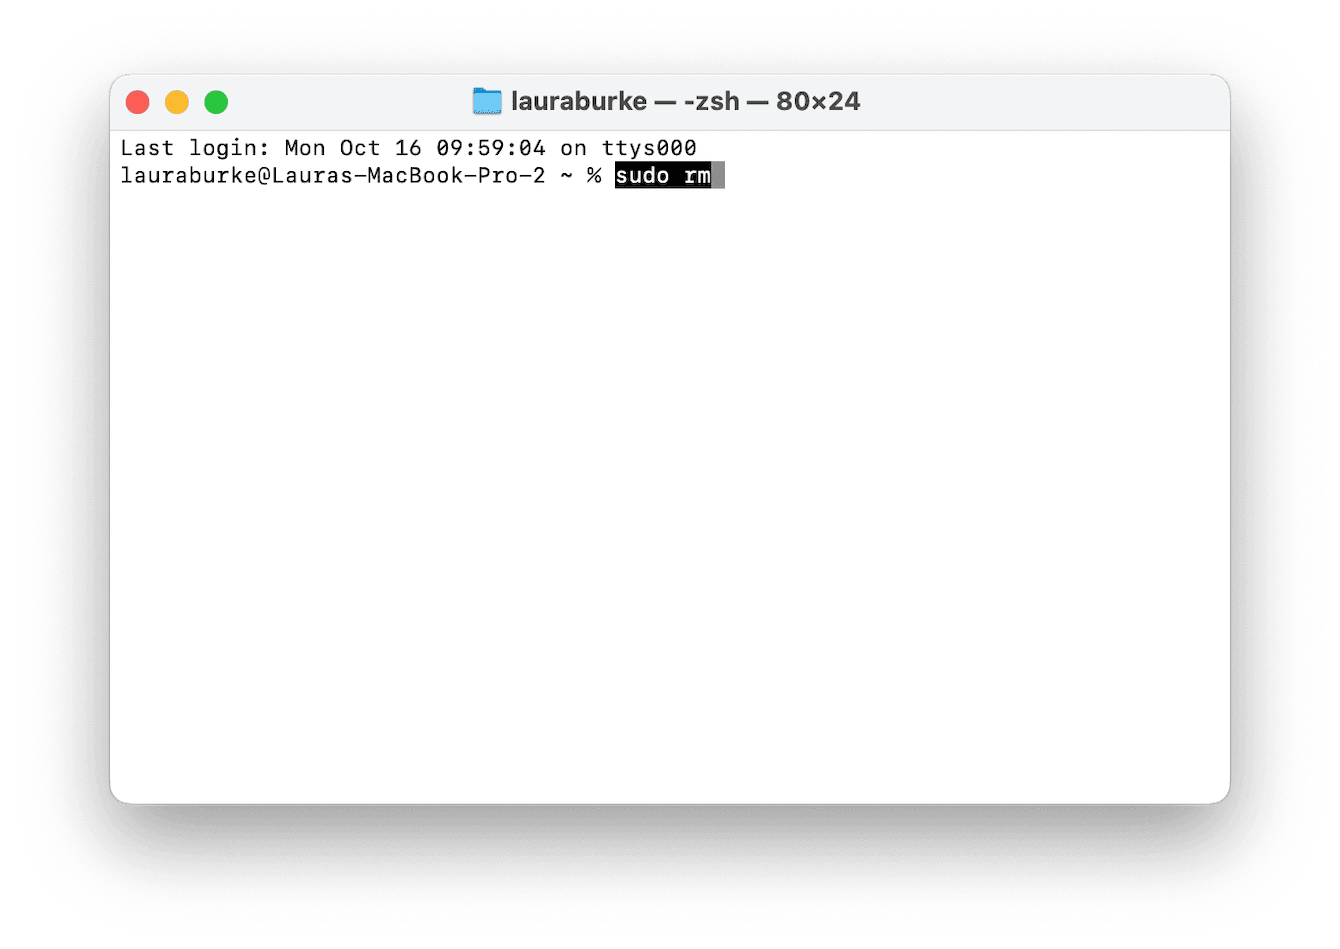
If that doesn't work, then you can use Terminal to force empty your Trash; here's how to do it:
- Open Terminal from Finder > Applications > Utilities.
- Type in the following command, but do not hit Return after entering it:
sudo rm followed by a space - Open your Trash folder from the Dock and then drag all the files from your Trash folder into the Terminal window.
- Finally, you can press Return.
- You might be asked to enter your admin password and confirm the action again.
If you find yourself unable to open your Trash folder, then try the tip below.
Did you know? Terminal is just one of many useful apps that come preinstalled with macOS. All of them rest in the Utilities folder. To learn how to find it and what apps are there, check out this article.
3. Option key
Occasionally, users can't even open their Trash folders. If this is the case, you can use the Option key method instead; here's how:
- Press and hold the Option key (you might also need to try Option - Shift keys), then right-click your Trash icon.
- Click Empty Trash.
Bonus tip: How to set automatic Trash cleanup
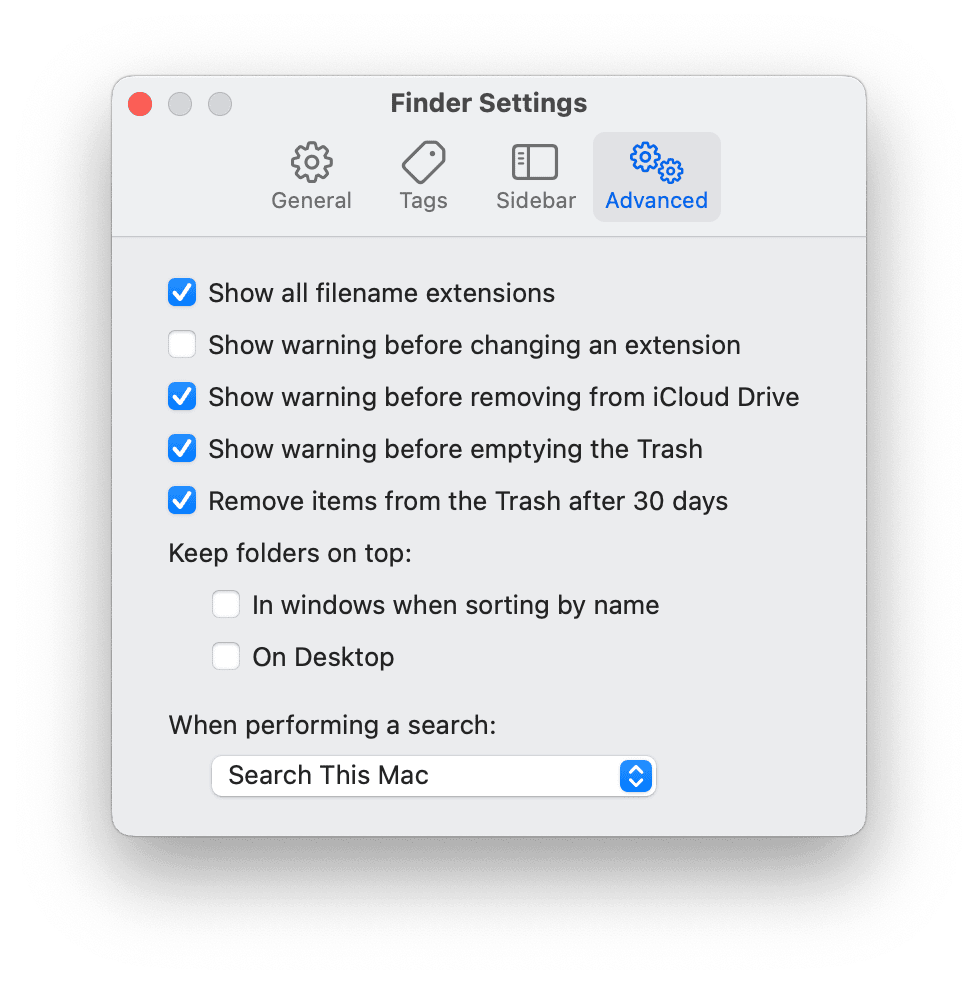
Did you know you can set your Trash to automatically empty every 30 days? This is a really handy feature from Apple and perfect for those who have a habit of letting Trash build-up; here's how:
-
Open Finder and select the main Finder menu.
-
Click Settings > Advanced.
-
Put a check next to Remove items from Trash every 30 days.
Well, we've come to an end, but now you're fully up to date with all the details about where the Trash folder is on your Mac, how to empty it, and what to do if it won't empty.

