Finder not responding on Mac? 16 system fixes & Terminal commands
When Finder is not responding on your Mac, it makes you realize just how much we rely on this critical file management tool. Finder brings navigation and file management to our fingertips, helps us find and launch applications, stay organized, connect to network resources, etc.
So when Finder suddenly refuses to stop working, I bet you get pretty frustrated. But don't sweat it! I'll show you all the troubleshooting tips to get Finder up and running in this article. Let's start!
Did you know? Finder has been around since the dawn of Macintosh and was given its name by the original Apple Macintosh design team member, Bud Tribble.
Before we jump into tips and fixes for Finder, let's first look at some of the common reasons Finder won't open or respond.
Why is Finder not working on Mac?
The Finder may stop working for dozens of reasons, but here are the most common ones:
- Corrupted Finder or System Settings configurations. This can happen after a system update, a conflict with other software, or accidental changes to settings.
- Low storage space on your Mac. Having less than 15% of storage free can cause freezes or crashes, especially when opening folders with a large number of files.
- User profile errors. This typically happens if system files linked to the user account become damaged or if the user profile is not properly configured.
- Spotlight indexing issue. The Finder integrates with Spotlight to search for files, and so if Spotlight is currently indexing or experiencing issues, Finder’s search function might not work properly.
- Outdated macOS version. Running an outdated version of macOS can lead to compatibility issues and system bugs that affect Finder’s performance.
- Cluttered desktop. This one may sound uncommon, but if you have more than 5,000 items on the desktop (even hidden under Stacks), the Finder may stop responding.
- Drive sync issues. Regarless of the drive you use to back up your Mac, any issues with the drive will affect the proper work of the Finder.
Quick diagnostics before troubleshooting
Before diving into fixes, let us first try to understand what's causing the issue.
1. Check Activity Monitor for Finder process
First off, make sure that the Finder is actually not working. To do it, go to Activity Monitor and type Finder in the search bar. Does it say that the Finder is not responding? It is usually in red. If it is, you can quit the process — worry not, it will restart automatically.
All you need to do is just select it and click x in the toolbar. Then, confirm that you want to force quit the Finder.

2. Unplug peripheral devices
External devices connected to your Mac, such as USB drives, external hard drives, or other peripherals, can sometimes interfere with Finder’s functionality. To unplug peripheral devices on Mac safely, follow these steps:

4. Test in safe mode
Safe mode is a special boot mode that performs system checks and may fix some issues.
The steps for booting into safe mode vary for Apple silicon and Intel-based Macs.
Apple silicon:
- Shut down your Mac and wait 10 seconds.
- Press and hold the power button until the startup options window shows up.
- Select a startup disk.
- Press the Shift key and click Continue in Safe Mode.
- Release the Shift key.

Intel:
- Shut down your Mac and wait 10 seconds.
- Restart your Mac and press the Shift key.
- Release the Shift key after the login window shows up.
What to do when Finder is not responding
Now that you know why Finder may not be responding and have done some basic diagnostics, it's time to proceed with the fixes. I've gathered tested-and-tried solutions for you to try.
Quick fixes (try these first)
1. Relaunch the Finder
Let's start with the most obvious tip. If Finder won't work and there is no way you can get it to respond, it could have been stuck in the background. Sometimes, a simple Relaunch can solve the issue. Here’s what you should do:
-
Select the main Apple Menu > Force Quit.
-
From the list, select Finder and click Relaunch.

In addition to the Force Quit menu and Activity Monitor, there are other ways to relaunch the Finder.
- Press and hold the Option key and right-click the Finder icon in the Dock. Choose Relaunch.
- Run this command in Terminal (you can open it from Applications > Utilities): killall Finder
If the Finder is still unresponsive, head to the next tip.
2. Run maintenance tasks
Regular Mac maintenance is essential to keep devices optimized and running smoothly. When we let system logs and temporary pile build up, we lose valuable space, and applications stop working correctly. Finder is no exception. The good news is it can be fixed by simply running some basic maintenance.
Personally, I'm not a huge fan of manually running maintenance tasks, as it involves patience and Terminal. I prefer using the Apple notarized third-party tool CleanMyMac instead. It comes with a powerful Performance module, which can run scripts in just a few clicks. Here's how to use this smart utility:
-
Open the application — start your free 7-day trial here.
-
Select Performance from the sidebar.
-
Run a quick scan.
- Click View All Tasks and select the routines you’d like to run.

If you'd rather not use a third-party tool, check out this great article on running maintenance scripts manually with Terminal.
3. Restart your Mac
Another obvious fix is to restart your Mac. It gives your computer a fresh start by freeing up memory and quitting all apps, which, in turn, may help fix the annoying Finder issue.
So, head over to the main Apple menu and click Restart.
If, for some reason, you cannot perform a simple Restart, try power cycling. A power cycle is another term for a forced restart of your Mac. As simple as it sounds, it can solve many bugs and glitches, such as unresponsive apps, so it's worth a shot. Here's how to do it:
-
Keep the power button pressed down until your Mac shuts down.
-
Continue holding the power button and remove the power adaptor.
-
Hold down for another 10 seconds, then restart your Mac.
4. Delete Finder preferences file
Another way to reset the Finder and fix any issues with it is to delete its preferences file. You do not have to worry; the Finder will re-create it right away. To do it, you'll need to run another command in Terminal:
rm ~/Library/Preferences/com.apple.finder.plist
Even if it returns an error message, the file will still be deleted.

System-level solutions
If none of the quick fixes helped, let us proceed with some system-level fixes.
1. Update your macOS
Sometimes, the Finder is not responding because of a software bug, and the easiest way to eliminate it is to update your Mac. Since Finder is a built-in app, you cannot update it as you would do with other applications. Here's a quick reminder on how to update macOS:
- Open System Settings > General.
- Navigate to Software Update.
- Click Update Now and follow the on-screen instructions to install any updates.

2. Log out and log back in
Logging out and logging back in is another way to solve issues like Finder not responding. This troubleshooting tip essentially force quits all running applications, and when you log back in, it resets the processes.
Here's how to log out and back in:
-
Select the main Apple Manu > Log out.
-
Select Log out in the confirmation box.
-
To log back in, enter your password.

3. Rebuild the Spotlight index
If you're having issues with Finder search not working, a great hack is to reindex Spotlight, which essentially forces the tool to reregister every file on your Mac. It's a no-brainer to do, and here's how:
-
Select the main Apple Menu > System Settings > Spotlight > Search Privacy.
-
Now, open a new Finder window from the sidebar, locate your device, and drag the internal disk folder over to the Search Privacy tab.
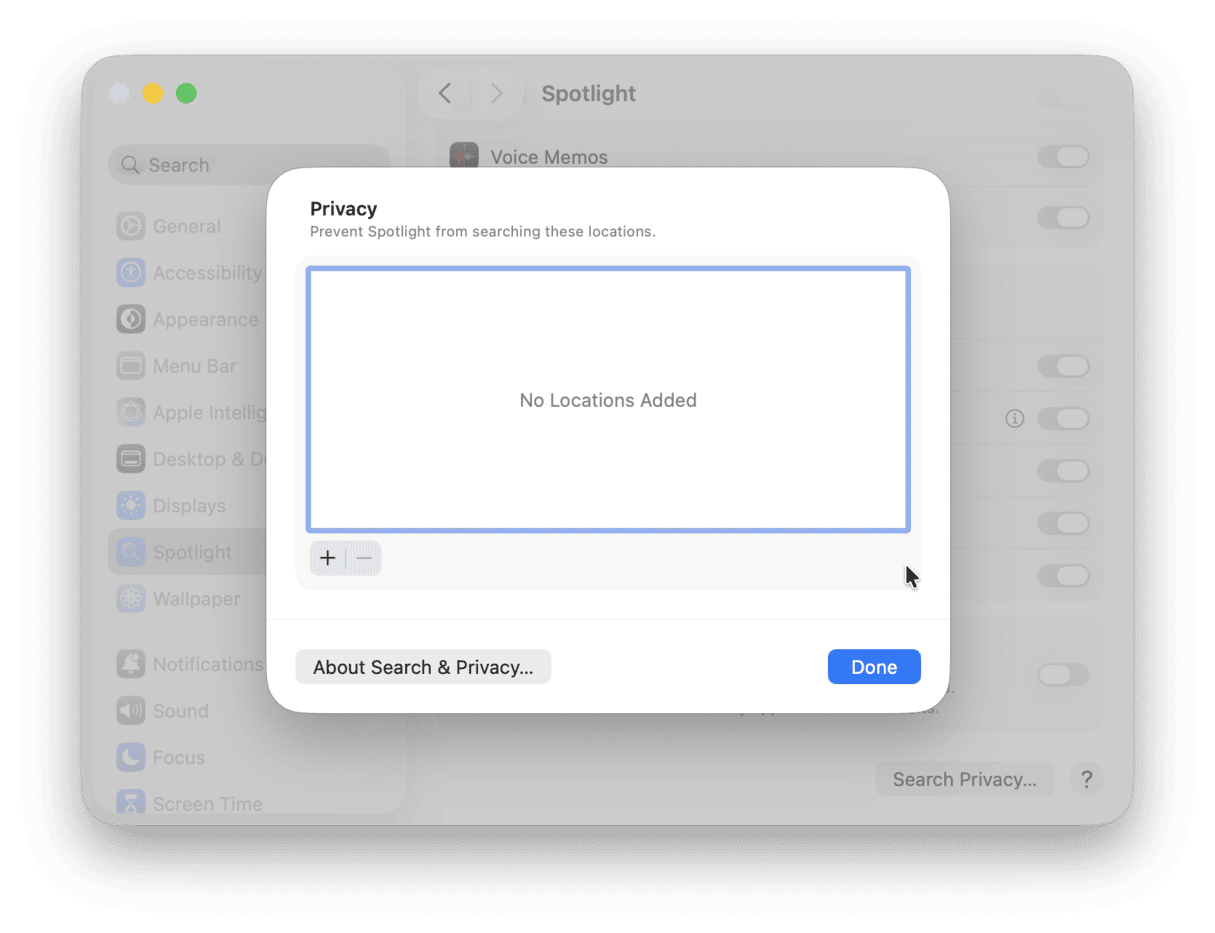
-
Your Mac will now appear on the list. Select it, then click the minus button to remove it.
-
Quit System Settings and the Finder. Wait for Spotlight to reindex.
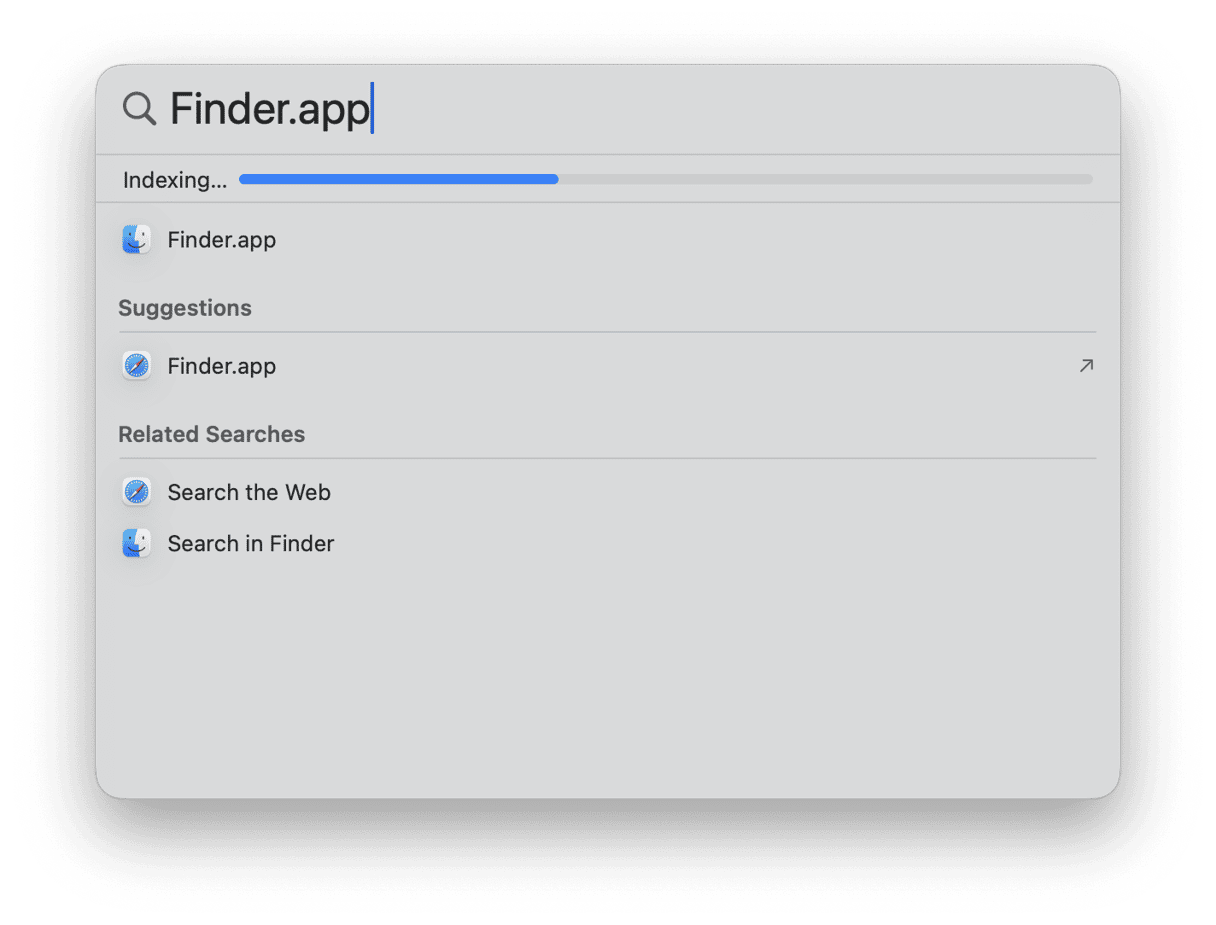


Spotlight can take a while to reindex all your files and folders, so don't panic if it takes too long.
4. Disable iCloud sync
iCloud syncing can sometimes cause Finder to become sluggish or unresponsive, especially if there are large files being synced or if the syncing process is stuck.
To disable iCloud Sync:
- Go to System Settings > Apple Account and click iCloud > Drive.
- Disable iCloud Drive and any other services you want to turn off.
- Restart your Mac and check if Finder starts working normally.

If you use another option for syncing your Mac (like OneDrive or Google Drive), disable those instead of iCloud Drive.
5. Run First Aid
Did you know that macOS comes with a built-in tool that lets you fix any glitches with your Mac's drive? It is Disk Utility and its First Aid feature. Here's how it works:
- Open Disk Utility from Applications > Utilities.
- Select your drive from the sidebar and click First Aid > Run.

6. Clear cache files
In addition to Finder preferences file you should have already removed, there are other files that may cause all kinds of software glitches — caches. If they build up, they may corrupt the proper work of the system, including the Finder.
The easiest way to get rid of all kinds of cache is to run the Cleanup tool in CleanMyMac. Of course, you can try and use Terminal to remove caches, but we do not recommend it unless you are confident with using command-line tools. If that is not your case, CleanMyMac is a preferred option because it removes only safe-to-delete caches.
Here's how to remove cache files with this smart tool:
- Open CleanMyMac — get your free trial here.
- Click Cleanup > Scan > Clean. If you want to select which files to delete, click Review All Junk first.

The benefits of using CleanMyMac
- Comes with a free 7-day trial — you can test all app's tools without any limits
- On average, users clear out over 10 GB of junk files during a trial period
- Finds not only junk files but also duplicates and similar images — on average, users remove around 1,100 duplicates and 476 similar images per month
- Can protect Mac from malware — an average user detects at least 1 malicious app after the first scan
- Cleans over 50,000 Macs daily
Last resort solutions
By now, you should have brought the Finder back to work. However, if none of the above helped, here are a few more things to try.
Important: back up your data first. None of the tips below should delete your files and settings, but it is a good idea to have a backup, just in case.
1. Create a new user
It may be that there is a problem with your current user, so try creating a new one:
- Go to System Settings > Users & Groups.
- Click Add User, enter your password, and fill out all details.
- Once ready, click Create User.
- Log out of your current user, log in to the new one, and test the Finder.

If the Finder works fine, you might want to migrate your data to a new user account. The easiest way to do it is to use a Time Machine backup and restore your Mac from it.
2. Reinstall macOS
This is a final-resort fix. Reinstalling macOS means re-writing it. Once again, back up your Mac before trying it. Although your data should remain intact, it's a good idea to have all your files backed up in case anything goes wrong.
Once ready, follow these steps:
- Boot your Mac into recovery mode.
- Click Reinstall macOS and follow the onscreen instructions.

So now you know what to do if Finder is not responding on your Mac. See you again soon for more stress-free Mac tips and hacks.