How to flush DNS cache on Mac
Curious about flushing DNS on Mac? If you've been wondering what it's for, why it's important, and how it can be done, you've landed in the right spot.
Troubled by website loading, long wait times, error messages, or the inability to access certain websites you use regularly? Flushing your DNS could be the simple answer to all your frustrating issues.
Join us as we uncover all there is to know about how to flush your Domain Name System (DNS). Let's get started.
What is a DNS cache and DNS flush on a Mac?
Imagine your DNS system as a giant phone directory, connecting names (domain names) to numbers (IP addresses).
Each time you open your browser and enter a website name, you are instantaneously taken to the website, but behind the scenes, there are multiple things happening. In fact, it's a multi-step complex process.

Let me try to break it down for you:
-
By entering a domain name in a browser's address bar, you're actually submitting a DNS request. Your device performs a quick check to see if you've visited this website before. If any DNS records are located in your Mac's DNS cache, then you're taken to your chosen website.
-
If your Mac can't locate any DNS records, then a query is sent to your local DNS server (resolving nameserver).
-
If no DNS records are found in the resolving nameserver's cache, then the request is forwarded to the root nameserver to save the DNS records cache on your Mac.
-
Finally, once all of the records are found, a connection to the server will open, and the website you were looking for will appear.
Amazing, right? And to think that this all happens in the blink of an eye. So with all this happening automatically in the background, why are users interested or curious about how to flush DNS on their macOS? Let's head to the next section and find out why.
Why should you flush DNS on macOS?
There are multiple reasons why you should clear DNS cache on your Mac. But the most important reason is that it enhances, improves, and speeds up your browsing experience.
Over time, your DNS cache can become seriously outdated and corrupted, causing multiple connectivity issues, so knowing how to flush it is handy.
Thankfully, there's nothing too complex about flushing your DNS cache, and it's perfectly safe to do so; after all, it's just temporary storage. Let's take a look at how to perform DNS flush on Mac in the sections below.
How to clear DNS on Mac with one click
The quickest and easiest way to clear the DNS cache on your Mac is to use a dedicated tool. I like the Maintenance module from CleanMyMac. It has a really simple Flush DNS feature, which helps eliminate website glitches and improve connectivity. Here's how to use this handy tool:

-
Open the app, or be sure to download the free version first.
-
Click Maintenance in the sidebar and select View All Tasks.
-
Click Flush DNS, and finally, hit Run.
If you'd like to know how to do this manually, jump to the section below.
Flushing DNS cache on Mac manually
For this method, I'll show you how to flush DNS on your macOS using Terminal.
The Terminal command line will vary depending on the model of your MacBook. So you'll need to adjust accordingly.
For macOS, Catalina, Big Sur, Monterey, and Ventura, they will all use the command detailed in this section.
First, make sure you've closed any open browsers before following these steps.
-
Open Terminal from Finder > Applications > Utilities.
-
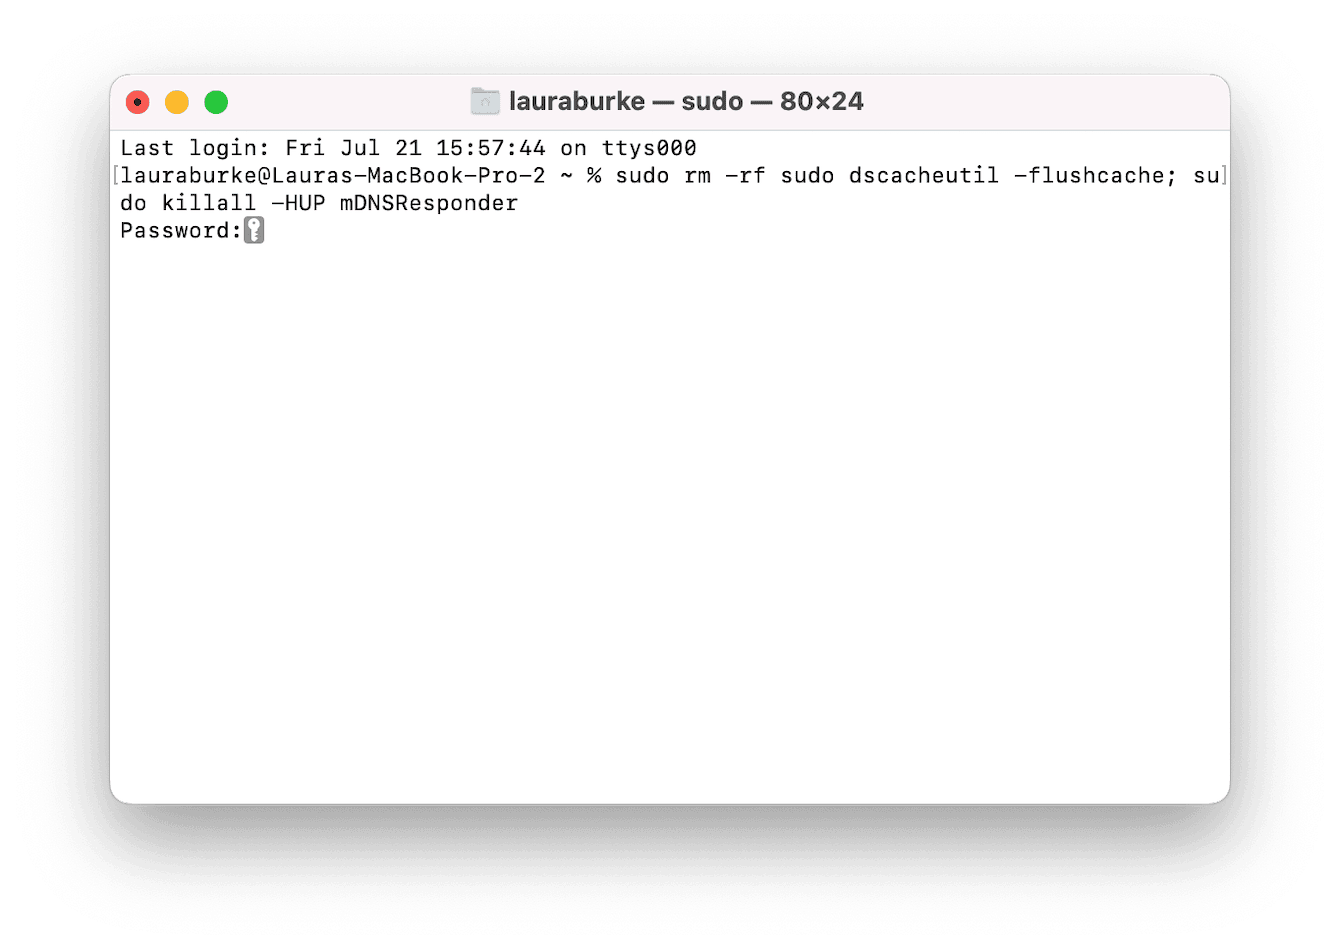
You'll now need to insert the below command, pressing Return to run it:
sudo dscacheutil -flushcache; sudo killall -HUP mDNSResponder -
You'll then be prompted to enter your Admin password, do this and press Return once again.
-
The command will now run. Quit Terminal once you're finished.

Older macOS: Mac flush DNS
If you're operating an older macOS version, no problem; you can still flush your DNS cache using Terminal; you'll just need to make sure you use the right command line:
-
For OS X Lion to Mojave, use: sudo killall -HUP mDNSResponder
-
Mac OS X El Capitan and OS X Mavericks, use: sudo dscacheutil -flushcache; sudo killall -HUP mDNSResponder
So, let's finish up by answering some FAQs.
FAQs: Mac flush DNS
How often should I flush my DNS cache?
There's no set answer here, but if you suddenly can't visit websites you previously could or you discover long load times, that's usually a good prompt to flush your DNS.
Is it safe to clear your DNS cache?
Yes, flushing or clearing your DNS won't cause any harm or damage to your Mac.
What happens if I don't clear my DNS cache?
Well, as I mentioned a little earlier, gradually, over time, stored temporary data will become outdated, meaning searching for DNS records becomes trickier for your Mac and browser. As they run into incorrect data, you'll encounter problems, like the inability to access certain known sites, 404 error messages, and super long loading times — not fun!
Will I lose all my saved forms and website data if I flush my DNS cache?
If you like the ease of pre-saved form data, like usernames and passwords, flushing your DNS cache will not interfere with this type of stored cache; it simply removes stored IP address data and DNS records.
So as you can see, flushing your DNS on a Mac is both easy and necessary. It's a great item to add to your regular MacBook maintenance routine to keep things performing smoothly and at their best. Thanks for reading, and join us again soon.

