How to format USB drive on Mac: top tips
It's easy to safely format a USB drive on a Mac when you know how.
Have you ever attempted to use a USB drive on your MacBook only to discover you couldn't write files to it? Unless you've purchased a specific macOS-compatible USB drive, alarming to many Apple users, Windows still holds the monopoly.
Many USB drives are created with Windows-focused environments, meaning you'll need to reformat them before you can use them on your Mac.
Formatting a USB drive also comes in handy for those looking for a way to completely erase the current contents of a flash drive quickly and safely.
So, don't get lost in the online noise; make your way through the steps in this easy-to-follow guide instead, and we'll show you how to prepare and format a USB drive quickly and efficiently. Let's go.
The basics: How to format flash drive on Mac
Before we get carried away with the steps required to format a flash drive on a Mac, we need to cover the absolute basics.
What does formatting flash drives mean?
In the simplest terms, formatting or reformatting is the technique of preparing a storage device so that you can use it to store or share data correctly.
Why do I need to format my USB disk?
Formatting is not only a quick way to completely eradicate the contents of a USB drive, but it also gives you options to move files between two different operating systems.
When you format a USB, it's important to understand that any data contained on it will be completely wiped clean. That's why any good help article on the topic of formatting USB disks will tell you to first back up your data.
Take a moment to remove any data from the USB disk you wish to keep.
It's also wise to back up your Mac before you erase or format any disks or external drives. This is a precautionary measure to protect you from any kind of potential or accidental data loss, so before we get to the formatting tips, here's a quick reminder on how to back up your Mac using Time Machine.

-
Connect your desired external storage device.
-
Select the main Apple menu and go to System Settings > General > Time Machine.
-
Click the Add Backup Disk button and pick your storage device from the list.
-
Click Set Up Disk and follow further instructions on the screen.
Regular data backups are critical, don't learn the hard way. When Time Machine is so easy to use, there's really no excuse to skip this.
Another quick tip is to remove useless clutter and unneeded files on your Mac regularly. After all, there's no point backing up junk that will only take up valuable space. I like to use the System Junk module from CleanMyMac. This feature saves you time by locating all the unnecessary digital clutter on your Mac, like old cache, system logs, and broken and temporary files, saving space and optimizing your device at the same time. Here's how to get rid of junk files with CleanMyMac:

-
Open the app or first download it for free here and install the app.
-
Select System Junk from the sidebar and click Scan.
-
Once finished, click Clean.
OK, so we've handled the basics. Now, let's head down to the next step to get started on formatting your USB.
Formatting flash drives on Mac
Understanding various formatting options available is also important.
A file system resembles a series of decisions determining how data should be stored. There are multiple different types of file system formats available; it can be challenging to know which one is best, so here's a closer look.
APFS (Apple File System): This is the standard format that newer macOS versions use. If you're planning to use your USB drive across Apple or Mac devices (macOS 10.13 High Sierra or later), then this is a great option.
FAT32: Recognized on both Mac and Windows operating systems, it is a very compatible file system that will work on most devices that have a USB port. The downside is that it provides no security and limits files to 4GB.
exFAT: Often considered the perfect file system for USB flash drives, it is compatible with the majority of Mac and Windows operating systems, making it the ideal cross-platform format. It doesn't have file size constraints.
Mac OS Extended: The native format for Mac users. Only works with Mac operating systems; Windows devices will not be able to detect this format without installing some kind of third-party tool.
NTFS (New Technology File System): This is Windows native environment that will be read-only on Mac.
So now that you know about the various file systems on modern USBs, let's look at how to reformat flash drive on Mac.
Format thumb drive on Mac with Disk Utility
Thanks to Apple's native tool, Disk Utility, formatting or reformatting USBs couldn't be easier.
Disk Utility is pretty powerful and can also be used to format and prepare hard drives, Micro SD cards, and many other items.
It's important to note here, once again, that formatting a USB will erase all its contents, so as I mentioned above, take some time to back up any data you don't want to lose that is on the USB before you proceed with the steps below.
Here's how to reformat a USB on Mac:

-
Connect your USB to your Mac.
-
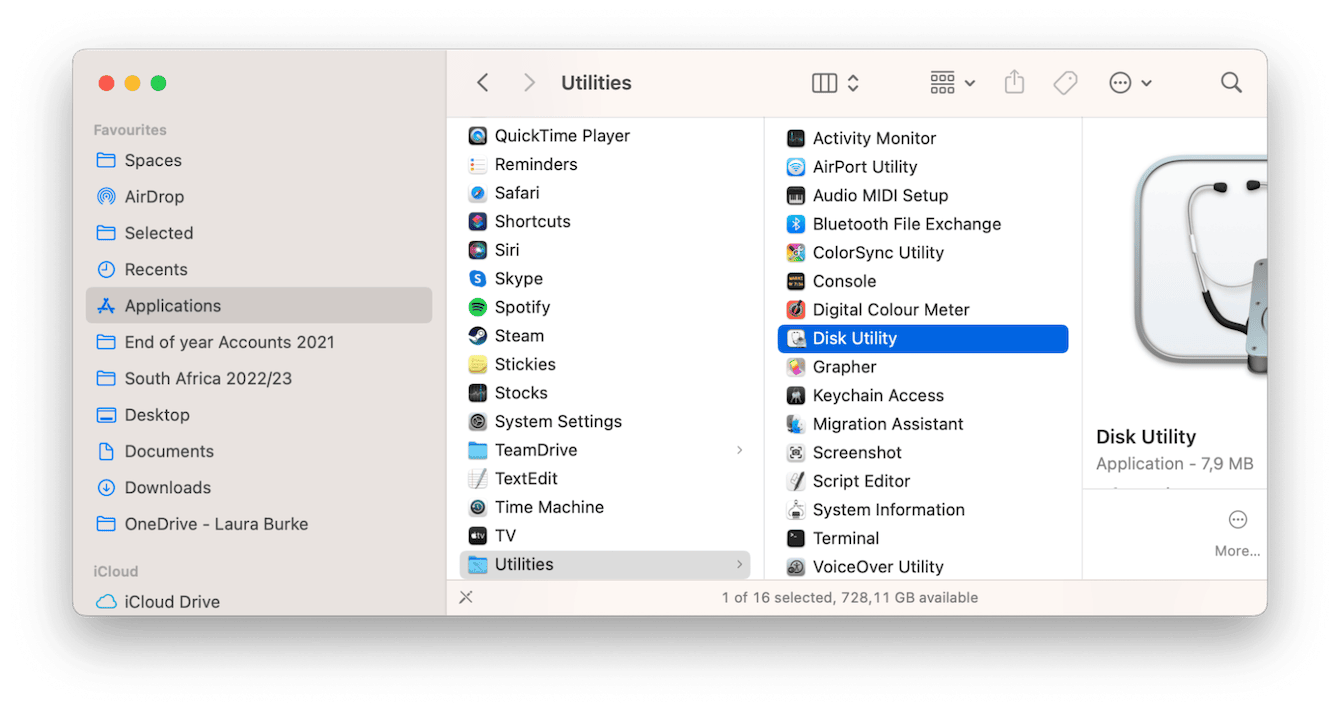
Go to Applications > Utilities and open Disk Utility by double-clicking it.
-
From the sidebar, locate your drive, select it, and click Erase.
-
Name your device and choose the desired format (the section above should help).
-
Click Erase to reformat the USB drive.
That's it! Congrats, your USB is now formatted and ready to use to store your documents, images, videos, and other files.
So thanks to these tips, you now know how to format a USB drive on a Mac. No matter which option or method you decide to use, be sure to take the time to back up your MacBook first. If something does go wrong, and you accidentally delete the wrong drive, recovering data is a much more complicated task than formatting a USB.
Let's finish up by answering some commonly asked formatting questions.
FAQs: Format a USB drive on a Mac
What is the best format for a USB drive on a MacBook?
Because of its compatibility and no limit on file size, exFat is often considered an ideal USB file system.
What USB format works on both Mac and Windows?
Both FAT32 and exFAT are Mac- and Windows-compatible.
Can you recover lost data after you format a USB?
There are multiple third-party tools on the market that claim to be able to quickly recover lost data, just proceed with caution and be sure to read reviews carefully. Often, these types of apps can transfer malware or viruses to your Mac. That's why it's important to back up any data before you format a USB or any other external device.
How to format a USB to NTFS on Mac?
NTFS is simply not available in the format options within Mac Disk Utility.
Can you use Terminal to format a USB?
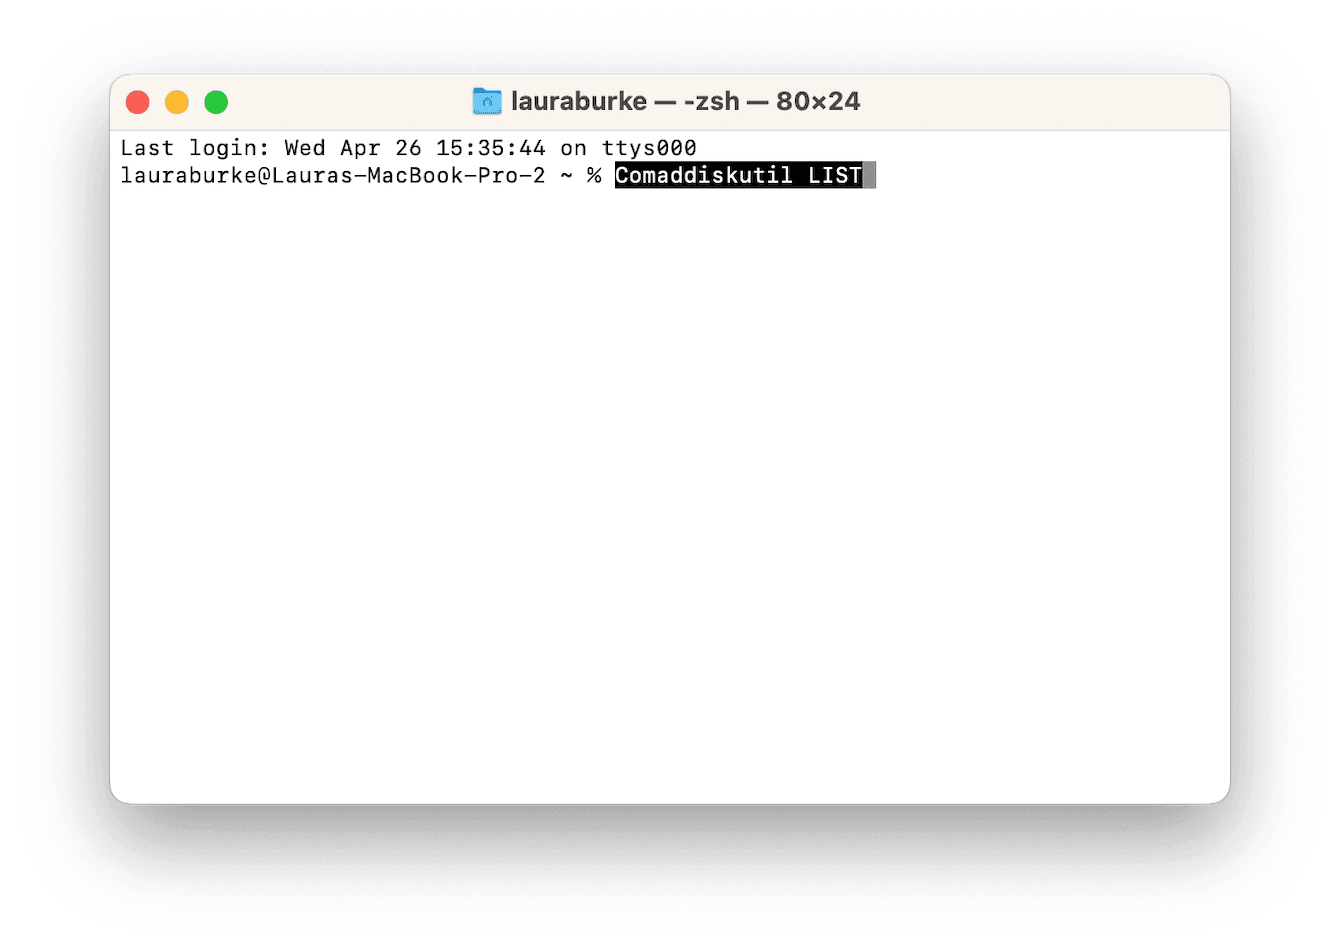
The short answer is yes, but this option is best left to those considered advanced Apple users. Here's how to use Terminal:

-
Connect your USB to your Mac.
-
Press Command and Spacebar and enter Terminal.
-
Type in this command and press Return:
diskutil list -
Connected devices will be listed; enter the below command and press Return:
sudo diskutil eraseDisk FAT32 NAME MBRFormat /dev/disk1 -
Your USB will now be formatted to FAT32 system.
Again, take caution when using Terminal; if you're not comfortable or confident using Syntax commands, use the Disk Utility method instead.

