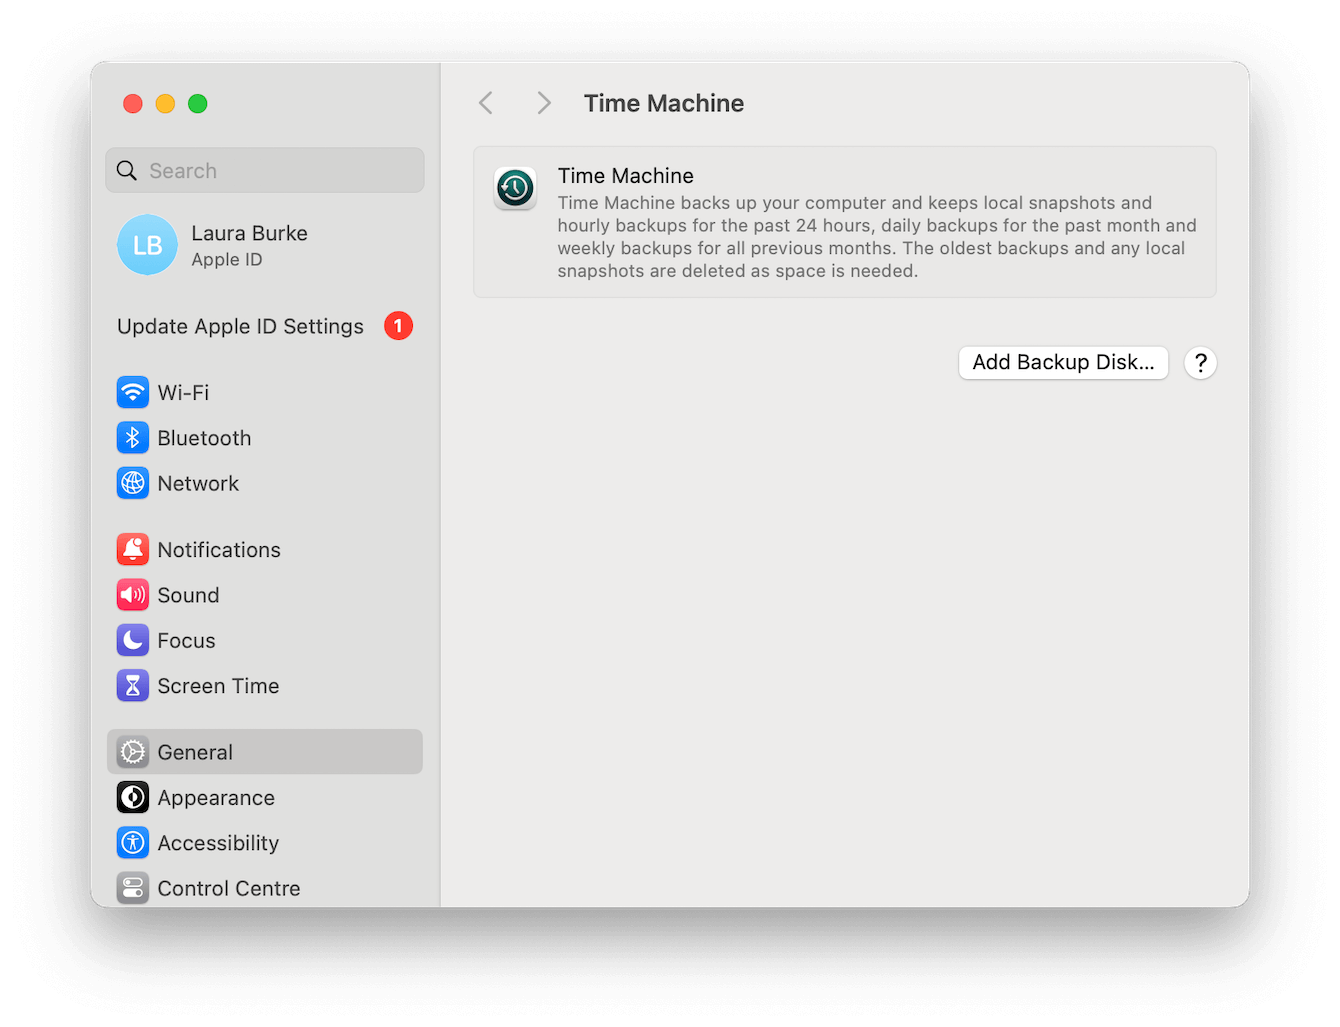
How long does a Time Machine backup take?
Thinking about backing up your MacBook for the first time? Lots of Mac users ask themselves, "How long does a Time Machine backup take?" We've put together everything you need to know right here. So, let's take a look.
If you've ever suffered from data loss, you'll know that prevention is key. When it comes to backing up your personal data, Apple's built-in Time Machine software is one of the best methods available to Apple users.
Not only is it free and incredibly simple to use, but it's a powerful tool that, once enabled, can take regular automatic backups.
If you've done your research, you might have seen conflicting information on how long backups take, especially if it's your very first time using Time Machine, so let's dive in.
How long does a Time Machine backup take?
If you've just started your initial backup, or you're considering using Time Machine for the first time, then it's not unusual to wonder how long Time Machine backup takes. The trouble is, unfortunately, there isn't a set answer.

The duration of your backup will completely depend on your external disk, your MacBook model, and the size of the data you're trying to back up and store.
If you're backing up massive numbers of files, folders, and applications, then first-time, initial backups have been known to take up to 18 hours. So don't be alarmed if you've just started a backup and you feel like it's taking too long.
Although it might be disappointing to some readers that there isn't a set time for a backup, you'll be happy to know there are things you can do to speed them up. Head to the next section to find out.
How to speed up your Time Machine backup
Before you carry out a backup, it's always recommended to give your Mac a spring clean; after all, there's absolutely no point in backing up and storing unnecessary junk.
This is a win-win: removing junk can increase your MacBook performance, free up space, and reduce the size and time of your Time Machine backups. Here are a few tips:
- Tidy up your Desktop
- Clear out your Downloads folder
- Delete unwanted ZIP files
Another useful tip is to remove the hard-to-reach system clutter, like cookies, cache, broken or temporary files, and useless system logs. The MacBook cleaner tool, CleanMyMac, can quickly take care of this with its powerful Smart Scan module; here's how to use it:

- Open CleanMyMac or try it for free first here.
- Select System Scan > Scan.
- Wait for the scan to complete and click Run.
This is a really straightforward way of removing junk and clutter before initiating a Time Machine backup.
Finally, another helpful tip is to consider beginning your backups at night while you go to sleep; that way, you're not waiting around, watching the clock.
FAQs: How long does a Time Machine backup take?
So, let's finish up with some Time Machine FAQs.
How does Time Machine work?
To use Time Machine on your Mac, you'll need a macOS-compatible external device with enough space to store all your files and folders. Once set up, it creates automatic backups and snapshots of your chosen data.
What does Time Machine actually save?
Almost everything. Apple states that Time Machine can back up all files that were not part of your initial macOS installation, which would include items like Music, Photos, Applications, Files, Folders, and Documents.
Time Machine also stores local snapshots without the need for your external storage device.
How do I configure Time Machine on my Mac?
If you've yet to set up Time Machine on your MacBook, then follow the official Apple instructions here.
Can I use my Mac during a Time Machine backup?
Yes, using your Mac while Time Machine is active is no problem. Any new files created during your current backup, however, will not be saved — these will be covered in your next backup.
So, now you know what to say if someone asks you how long a Time Machine backup takes.

