All you need to know about defragmenting MacBook
Many Apple users wonder how to defrag a Mac, especially if they once owned a Windows PC before. Disk defrag on a Windows PC is a sure way to fix issues, such as slow or sluggish performance; however, it's not a common practice on a Mac.
So what are your options if your Mac is lagging? Well, look no further; we'll deep dive into the possibilities and even give you some smarter ways to optimize your Mac as an alternative to disk defrag. But first, let's start with the basics.
What is Mac disk defragmentation?
Disk defragmentation or defrag is a method of reorganizing the data stored on a hard drive. The process takes all the random, little bits of data that are distributed across your hard drive and assembles them back together — all nice and tidy — grouping your data and making it easier to read.
This process is well-known to significantly increase and improve performance on a PC, but for a Mac, there are better ways to enhance output.
So it raises the question, can you defragment a Mac? I'll answer that question in the next section.
Why and when to defrag a Mac disk
Back in 2002, when Apple launched the operating system OS X 10.2, there was no longer any need to defragment a Mac hard drive because these days, all Macs come with SSDs (solid-state drives), and they don't need defragmenting.
macOS doesn't actually come with a native program for disk defragmentation, and no, there's no handy Terminal command either. Instead, Apple has Disk Utility and Apple Diagnostics, which can both troubleshoot and resolve multiple hardware issues.
If you own an older Mac that operates with an HDD (Hard Disk Drive), it is possible to perform a defrag by installing third-party software. It won't harm your Mac, but it won't drastically increase performance either, so is it worth it? I would say no.
If you do decide to go down the defrag path, make sure you back up your device first, just in case anything goes wrong.
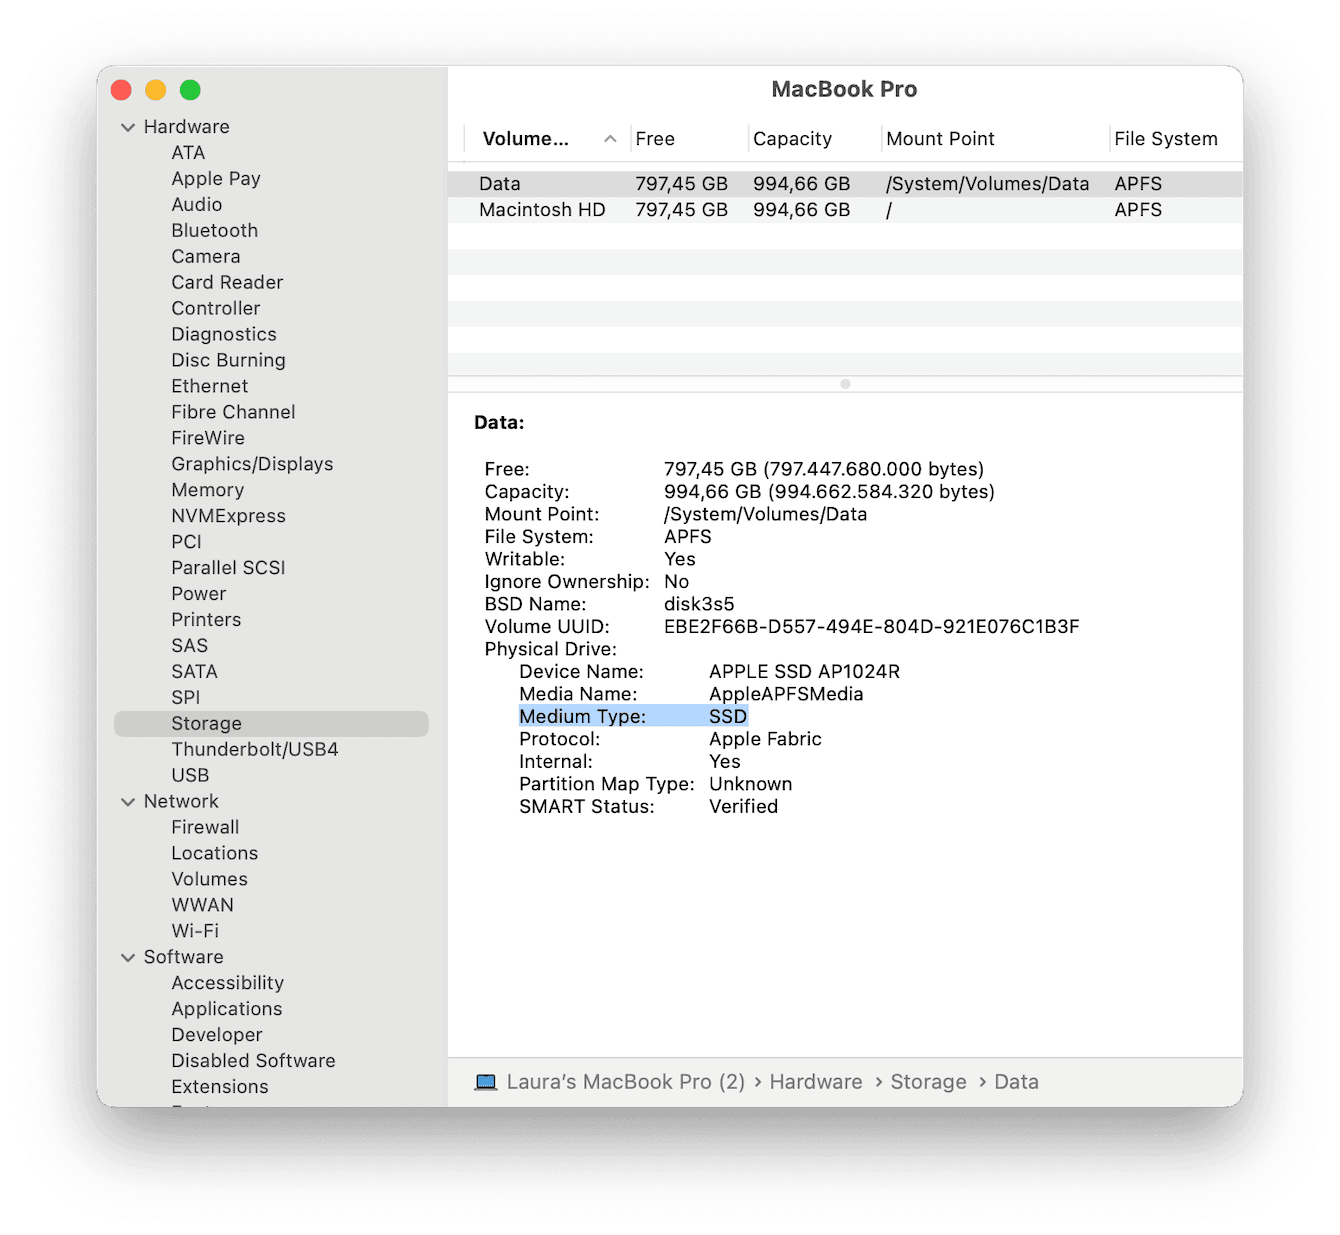
Curious about which type of drive you have? Here's how to check:
-
Go to Apple menu > About This Mac > More Info.
-
Click System Report > Hardware > Storage.
-
Take a look under Physical Drive.

Why you should never defragment an SSD
As I mentioned above, you can carry out disk defragmentation on older HDD Mac models without causing any damage to the device. But for newer SSD Macs, it's a totally different story.
Solid-state drives operate entirely differently with their own regular maintenance routines. In contrast to hard disk drives, they have no mechanical parts and come with a limited amount of read and write cycles. Since defragmentation is the process of reading and writing data, defragging an SSD MacBook would seriously shorten its lifespan.
Apple developed their own method for storing data, ultimately preventing data fragmentation, which means if you want to optimize your Mac, there are much smarter ways to do it. Let's take a look.
How to optimize Mac storage: alternatives to Mac defragmentation
Forget about disk defragment for Mac; here are some super simple and clever ways to keep your Mac running smoothly and fully optimized.
1. Keep your software up-to-date
Keeping your Mac up-to-date is a great way to keep your Mac in shape and optimized — you can benefit from all the latest bug fixes, security enhancements, and system improvements. Here's how to update your Mac:
- Go to Apple menu > About This Mac > More Info > Software Update.
- Check here for an update and follow the on-screen instructions to install it.

2. Remove unused applications
Removing unused applications is another simple way to keep your Mac optimized and performing at its best.
There are a couple of different methods, but here's the easiest way:
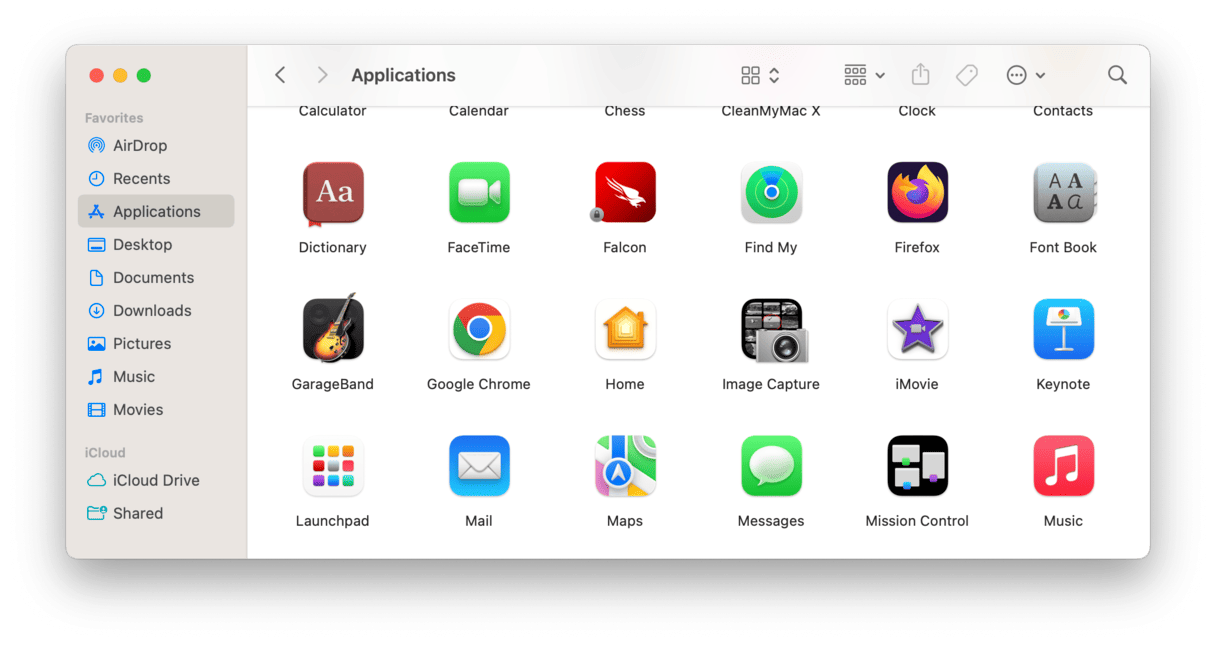
- Open Finder, then select Applications from the sidebar.
- Locate the app you no longer want and drag it to Trash.
- Make sure you empty the Trash when you're finished.

3. Remove system junk
Over time, cache, system logs, language files, and broken and temporary files can build up and consume gigabytes of Mac storage. Keeping a regular check on your system junk will keep your Mac running smoothly and free up valuable space, so it's a win-win.
Removing system junk manually is a notoriously laborious job. That's why many people let it build up. I like to use CleanMyMac to handle my system junk needs.
This Apple notarized tool comes with a powerful System Junk module designed to scan your system, locating and removing junk from all the hard-to-reach places in just a few clicks. If you aren't already a user, download the free version here.
Here's how to remove system junk the easy way:
-
Open the application and select System Junk from the left sidebar.
-
Click Scan.
-
Once finished, click Clean.

How easy was that? Space and time saved, all in one go.
4. Remove login items
There's no need to defrag a Mac disk when you can keep your device optimized by simply removing unnecessary login items.
You can give your Mac a serious performance boost by easing up the amount of work it needs to do on startup.
Applications that automatically launch each time you turn on your Mac can cause it to slow down noticeably. Luckily, it's really easy to configure which items launch. Here's how:
- From the main Apple menu, go to System Settings > General.
- Now, select Login Items.
- Select applications from the list and click the "-" button to stop them from launching on startup.

That will give your device extra room to perform.
5. Remove large files
The more storage space your Mac has, the better it will perform, so removing old, forgotten, and unnecessarily large files will not only free up valuable storage space but also, in turn, help keep your Mac optimized, too.
CleanMyMac, the application I mentioned a few tips earlier, has this really impressive Large & Old Files module, which lets you view all the files and folders on your Mac by the last accessed date, type, and size.
This kind of smart overview makes it really easy to identify files you can live without. Here's how to use it:
- Open the app and select Large & Old Files.
- Click Scan.
- Sort through your files, select items for removal, and then click Remove.

6. Clear your Downloads
The Downloads folder often becomes a ZIP file graveyard. When was the last time you checked yours?
Regularly remove items in your Downloads folder before it gets the chance to build up and slow your Mac down. Here's how:
-
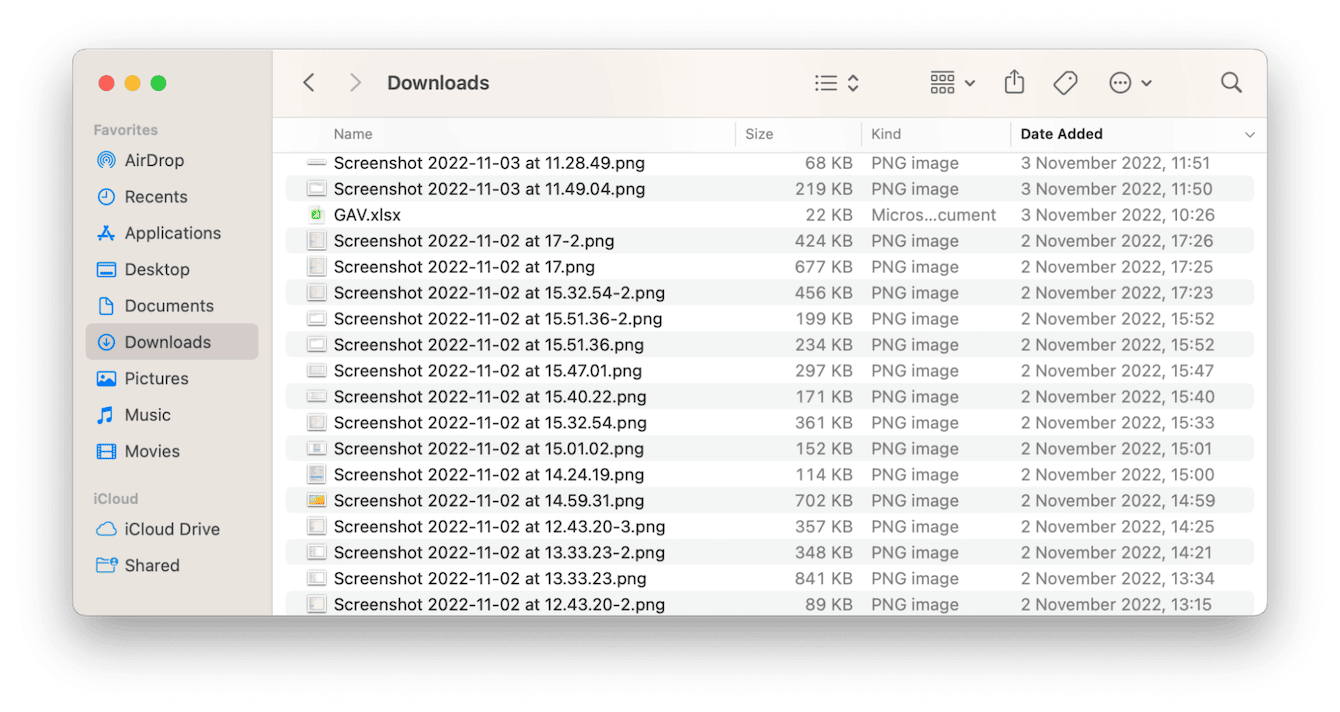
Open Finder > Downloads.
-
Sort through items, select what you no longer need, and drag them to the Trash.
-
Empty your Trash once you're finished.

7. Use built-in storage manager
Did you know that macOS comes with a preinstalled tool designed to optimize storage? It can help you quickly reclaim some space. Here's how to use it:
- Go to System Settings > General > Storage.
- Check Recommendations under the colored graph.
- You can also check the categories of files below recommendations, click the i icon next to each of them, and delete anything you do not need.

Well, that was seven simple ways to boost your Mac performance — some great alternatives to disk defragmentation. In general, your Mac will greatly benefit from this kind of regular maintenance. It's amazing just how much clutter and system junk we accumulate these days.
So, unless your MacBook runs on OS X 10.2 or even earlier, disk defragmentation on a Mac isn't the best solution to boost its performance, and remember, it's a complete no-go for SSD devices.
Hopefully, this article has answered all your questions, and you've also bagged some helpful optimization tips and tricks.

