Want to run Windows programs on your Mac? Here's how.
If you've been wondering how to run Windows programs on a Mac, firstly, it's not the strangest thought. It's so popular, Apple created a dedicated utility to help us do so, called Boost Camp Assistant–more on that shortly.
Reasons to run Windows programs on a Mac:
-
Play Windows PC games
-
Software compatibility
-
Website & Application Testing
-
Some Apps Don't Work In MacOS
There's lots of outdated information out there and some less than recommended ways to run Windows programs on a Mac without installing Windows. So, I've put together a look at 2020's top solutions for you.
Let's get started.
Quick Tip: Running Windows programs on your Mac can increase the demand on your system. CleanMyMac can help to keep your Mac optimized under pressure and has some great tools. I'll talk you through some of the features later, but for now, download the free version here. — It's also notarized by Apple.
1. Boot Camp Assistant
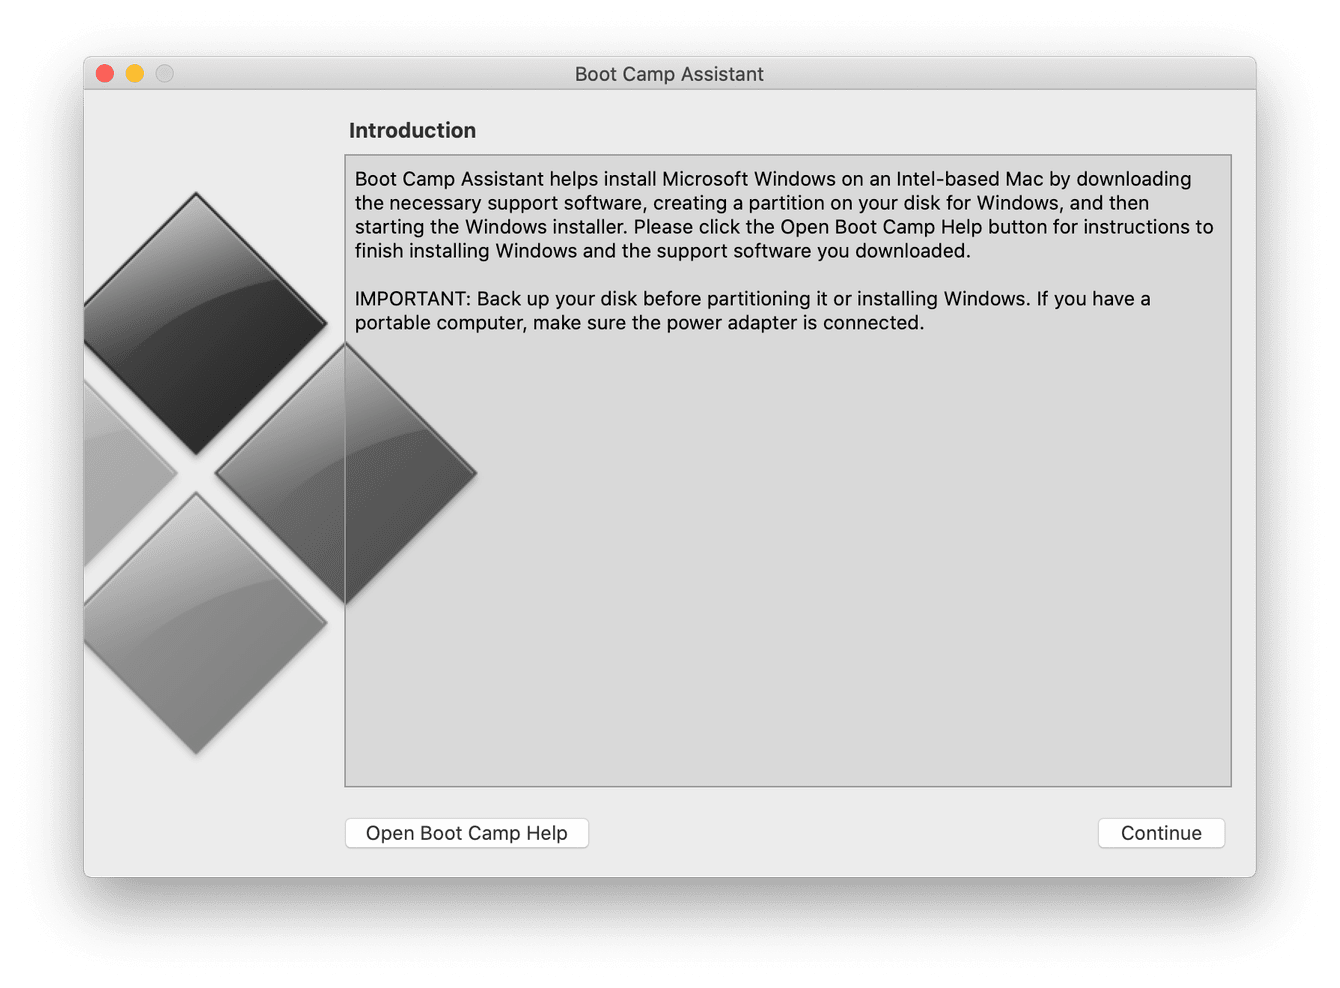
Boot Camp Assistant is a built-in software from Apple, and in a nutshell, It lets you safely partition your Mac so you can run Windows on one side and macOS on the other.
What you need to use Boot Camp Assistant:
-
A MacBook from 2012 or later, installed with the latest updates.
-
Minimum of 64GB free space on your Mac startup disk.
-
An external USB flash drive with minimum capacity of 16GB, unless your Mac model allows to install Windows without a flash drive.
How to use Boot Camp Assistant to install Windows on your Mac:
- First, we need to create a partition, so open Finder, select Applications, then Utilities and Boot Camp Assistant, and follow the on-screen instructions. If asked to insert a USB drive, do so, and Boot Camp Assistant will create a bootable USB for the Windows Install. When asked to specify the size of the partition, you can use the minimum storage requirements from above. It won’t be possible to change this later.
- After Boot Camp Assistant finishes, your Mac will reboot to Windows installer. Select the BOOTCAMP partition and click Format. (usually, this is automatic)
- Now, press Next and follow the on-screen guidance to start installing Windows.
- After the Windows is installed, your Mac will boot in Windows. After the “welcome to the boot camp” installer appears, follow the prompted steps to install Boot Camp. You'll be asked to restart your Mac when the installation is complete.
FYI: Only one operating system can be running at any given time, so you'll need to restart your Mac to switch between Windows and macOS.This is the downside to running Windows programs on Mac with Boot Camp Assistant.
Did you know? Boot Camp Assistant started as an unsupported beta for Mac OS X 10.4 Tiger. Along with Mac OS X 10.5 Leopard, it was introduced as a new utility and then has been a part of newer versions of the macOS. This year, Apple announced its transition to ARM-based Apple silicon, which means there's no indication if this feature will remain.
2. Wine HQ
Wine is a free, open-source compatibility layer that enables application software and computer games developed for Windows to run on other operating systems, integrating Windows applications into your Desktop. Since it's open-source, it's under continual development, with new improvements, features, and well-maintained packages.
Wine is not 100% perfect. There are programs that it won't support; you can check the Wine AppDB to find which applications are supported.
When any program runs, Wine requests resources like memory and disk space from the operating system. It answers and translates those requests so that the program can run correctly, and as far as the program knows, everything is running smoothly. It doesn't know it’s not running on Windows.
You don't need a copy of Windows, which is quicker than emulating a whole new computer.
What you need to install Wine:
-
macOS 10.10 (Yosemite) or above
-
Access to an Admin account, with the password
-
Internet connection
How to install Wine:
There are quite a few customized versions available via third-party apps, but these are entirely unsupported by the Wine developers. You could come into some issues with these versions, and there's no support.
There are a couple of ways you can download Wine, but I always recommend you find the right method for your needs via their official website and follow their official install instructions.
3. Parallels Desktop
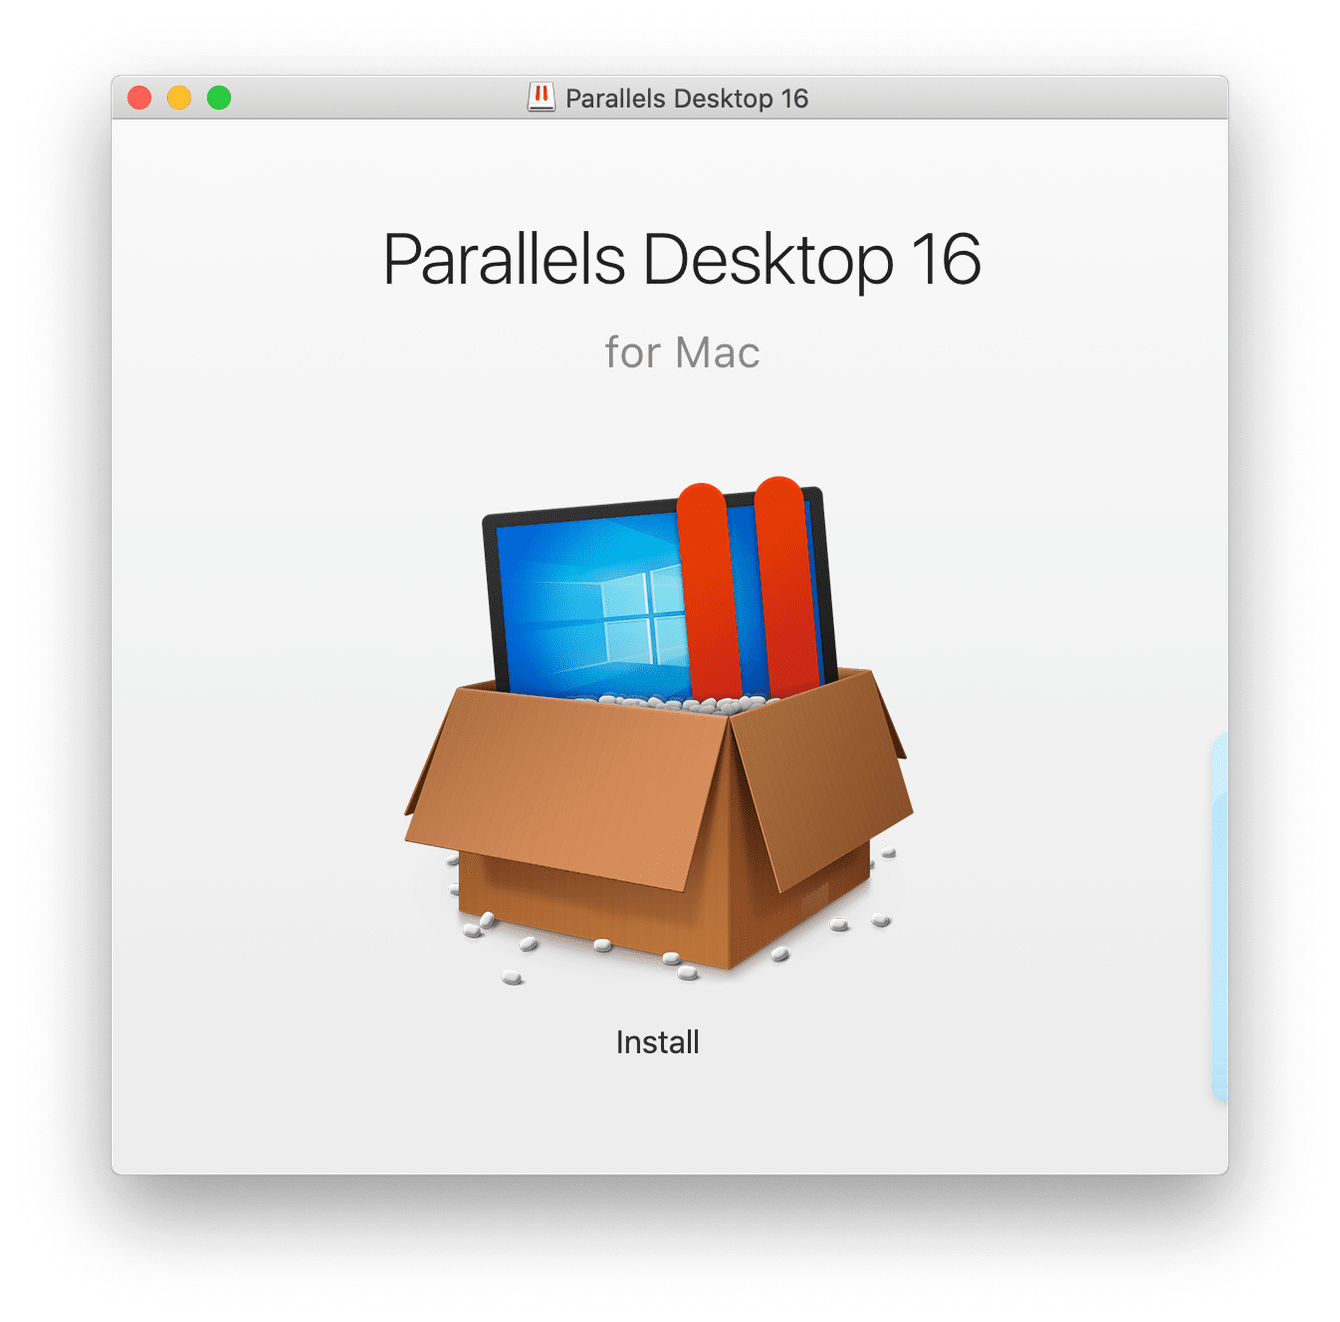
Parallels Desktop claims to be the fastest, easiest, and most powerful application for running Windows on Mac - without rebooting.
When it comes to running Windows apps on Mac, these guys are well-known and trusted within the Mac world, and support thousands of Windows apps like Microsoft Office, Visual Studio, Internet Explorer, Quicken, Access, and even graphic-intensive games and CAD programs without compromising performance or rebooting.
How does it work?
It creates a virtual machine (VM) inside your Mac. You can install Windows, just as you would install any operating system on a regular computer. Then you can run multiple OSes at the same time, all on your Mac. It's like two computers in one!
It's sadly not free, but it does come with a 14 day free trial with full functionality, which you can download here.
It's a simple install with easy instructions from the developer.
Keep your Mac optimized
When running Windows apps on your Mac, it's a good idea to keep your Mac optimized and running smoothly. Well, it's always a good idea to keep your Mac maintained, but especially when we're expecting a lot from our machines.
You can easily keep your Mac running like new with the System Junk and Optimization Modules from CleanMyMac. They can help you to clean up your system, resolve errors, and increase your Mac output.
CleanMyMacX is an excellent all-in-one tool to clean, protect, and optimize your Mac. Download the free version here - it's notarized by Apple and is safe to use.

How to optimize your Mac with CleanMyMacX:
-
Open and launch the app — download the free version here.
-
From the left sidebar, select System Junk, press Scan, once complete press Clean and let the app do its magic.
-
Next select Optimization from the left sidebar and press View Items.
-
Select the items you want to manage, and click
I like to run regular maintenance on my Mac, and I really enjoy the interface and simplicity of use.
So, when it comes to running Windows programs on your Mac, the programs I've covered today are my top recommendations for 2020.
Just remember to use the official downloads if you're using Wine or Parallels Desktop, and keep your Mac optimized for best performance.