How to identify malware in Activity Monitor
Knowing how to identify malware in Activity Monitor is a useful skill. No one wants to hear the dreaded M word, but if you suspect your device is infected with a malicious virus, knowing how to recognize the signs and jump into action could help save not only your personal and private data but your computer, too.
Malware has many different purposes, and they range in their intent. Some are just annoying, causing continuous pop-ups or messages on your Mac, while others are more sophisticated and aim to control your device and steal personal information like financial information.
In this article, we'll show you how to look out for malware, protect your Mac, and remove threats. Let's go.
Can Macs get malware?
For many years, rumors circulated that MacBooks were immune to malware threats. This false narrative is still in circulation today and causes many new Mac users to have a slack approach to antivirus.
Macs are just as vulnerable to threats, especially as malware gets increasingly devious and intelligent.
Malware is considered viruses, Trojan horses, worms, and other programs that can cause damage to your MacBook or privacy.
Malware is often accidentally installed when you download items to your device from emails, websites, suspicious messages, and untrusted sources.
In the section below, we'll talk about what signs to look out for and how you can use Activity Monitor to identify malware.
Identify malware in Activity Monitor
Here is a quick look at some of the most common tell-tale signs your Mac is infected with malware:
-
Your Mac starts to operate slowly.
-
Your browser has new extensions you didn't install.
-
Your browser homepage has changed.
-
Random security alerts on your Mac.
-
Your contacts receive spam emails or messages from your accounts.
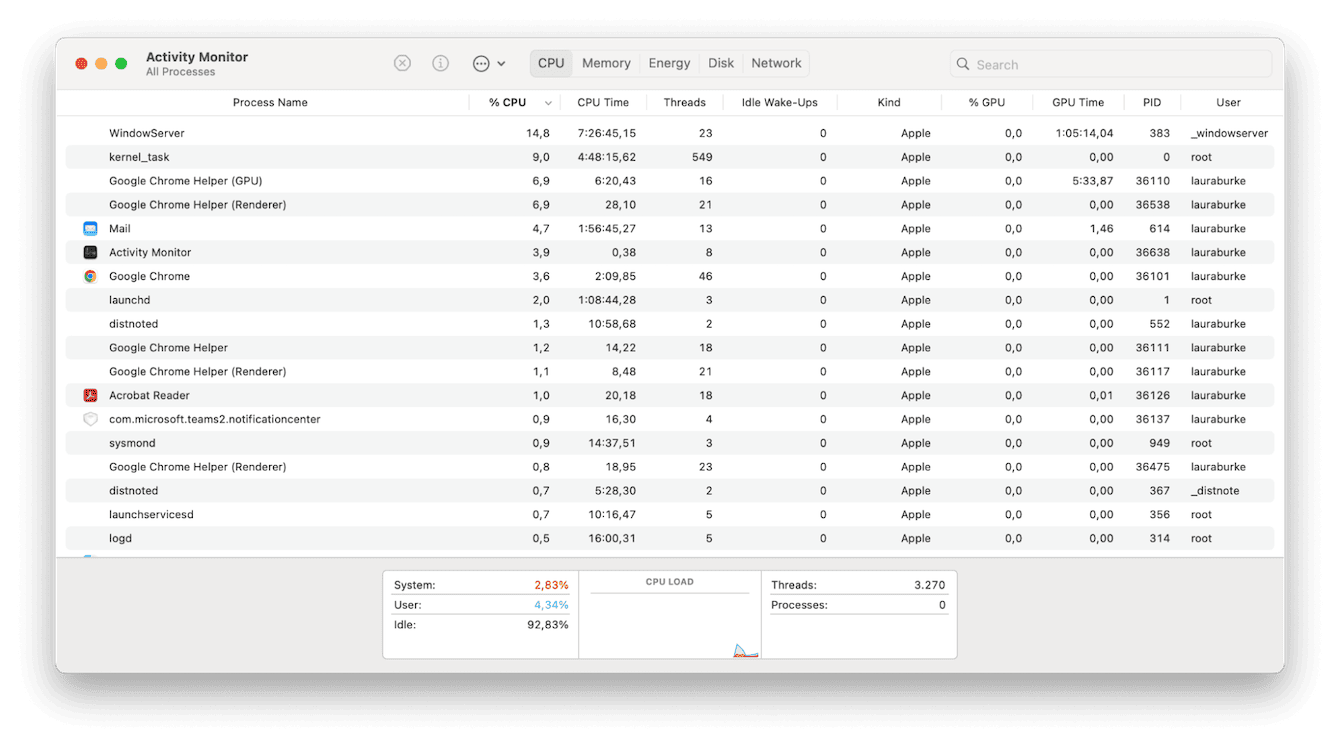
If any or more than one of these signs sounds familiar, the first thing you should do is use Apple's built-in Activity Monitor tool to try and confirm your suspicion; here's how:

-
Open Finder > Applications > Utilities > Activity Monitor.
-
Select the CPU tab and look carefully through the list of active apps, programs, and processes.
-
If you see something you do not recognize, you should quit the process immediately.
-
To do this, select it from the list and click the X button.
Take a moment to disconnect from the internet. This will immediately stop any more of your personal and private information from being sent back to the malware owner.
Now that you've identified malware in Activity Monitor, it's time to remove it. Jump to the next step.
How to remove malware from Mac
1. Use a third-party malware removal tool
As you've discovered, Apple's built-in X Protect can't keep malware at bay or remove it. When you find malware on your machine, you'll need to get rid of it fast.
The Apple notarized macOS maintenance tool CleanMyMac has an assertive and swift Malware Removal module powered by ​​the Moonlock engine that can scan, isolate, and remove malware quickly. Here's how to utilize it and restore harmony on your Mac:

- Open the application or, first, test it for free for 7 days here.
- From the sidebar, select Malware Removal > Scan.
- Wait for the scan to complete, and follow the steps you see on the screen.
2. Manually remove malware
If you'd rather not use a third-party tool, then you'll need to take steps to manually remove the threat; here's how:
- Open Finder and search by name for the suspicious item you discovered in Activity Monitor.
- Remove anything with its name to your Trash, including any apps.
- Empty your Trash.
Although this method will help, application digital leftovers are scattered across our devices; they're sadly not housed in one place. So, you'll need to invest a bit more time to ensure you fully uninstall any apps correctly. Read this complete application removal guide.
3. Use Time Machine
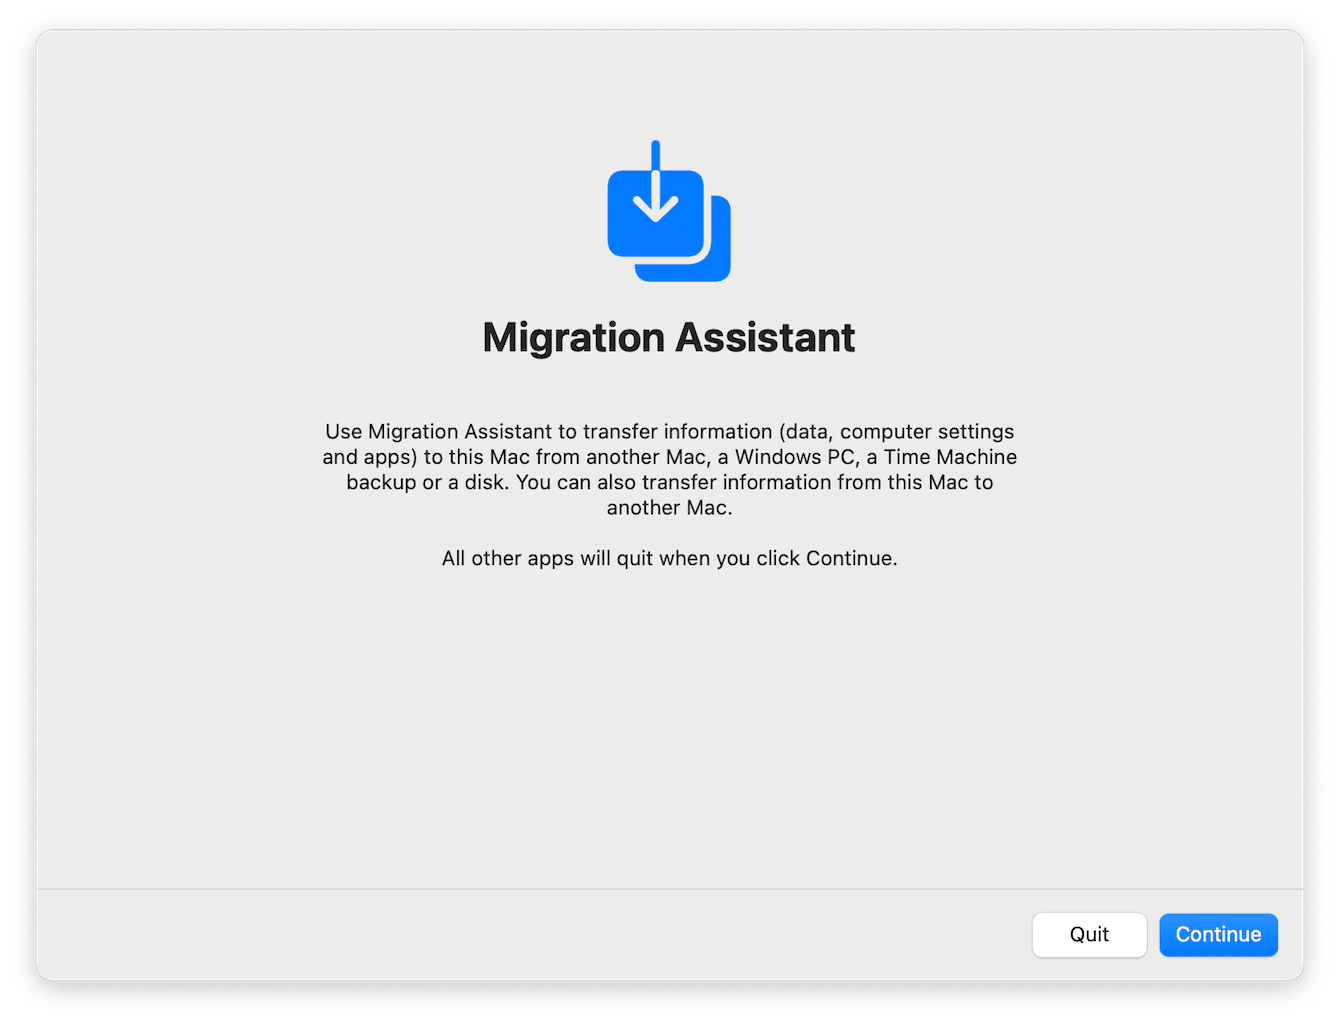
Another option is to roll back your system using Apple Migration Assistant and restore it to a date before malware infected your device, provided that you use Time Machine for daily backups. Here's how:
- With your Time Machine external drive connected, open Migration Assistant from the Utilities folder in Applications.
- Select Continue and enter your password.
- Select the From Mac, Time Machine backup or Startup disk option > Continue. Now, Select your Time Machine backup > Continue.
- Select the exact backup you want to restore from > Continue.
- Confirm the items and data you want to transfer and click Continue.

Don't be alarmed if the process takes a while — if you have lots of data, restoring your Mac from a backup can take a few hours.
4. Check your login items for malware
The majority of spyware will attempt to sneak inside your Mac bootup process. Luckily, this is easy to remove; here's how:
-
Select the main Apple menu > System Settings > General > Login Items.
-
If something suspicious is in the login list, highlight it and then click the "-" button to remove it.
-
Restart your Mac.

Protect your Mac
There's no better protection than preventative action. If you haven't already, this is your friendly reminder to invest in some third-party dedicated antivirus software.
You can also help to keep your Mac safe by:
-
Keeping your macOS updated
-
Downloading apps from trusted sources like the App Store
-
Avoiding clicking on suspicious links in emails from unknown senders
-
Only using trusted and safe websites
-
Regularly removing your stored browser cache
Hopefully, these tips will help you gain back control of your data and your MacBook. Now you know what signs to look for when it comes to recognizing malware threats, how to identify Malware in Activity Monitor, and, just as importantly, how to remove it.

