What to do if your MacBook is not connecting to Wi-Fi
If your MacBook Pro or MacBook Air won’t connect to Wi-Fi, no doubt you've been left scratching your head, wondering what is going on. It's possibly one of the most annoying issues that require some patience and troubleshooting.
You'll be pleased to hear that MacBook not connecting to Wi-Fi is a fairly common issue, so there are plenty of tips we can work through to get your internet back up and running.
You've wasted enough time already, so let's get you back online.
Why is your MacBook not connecting to Wi-Fi?
There are multiple reasons why your MacBook is not connecting to Wi-Fi, including:
-
Router issues
-
Problems with your internet provider
-
Issues with your MacBook software
Whatever the reason for your connection issue, we'll help you solve it with our tips below.
MacBook won’t connect to Wi-Fi? 12 troubleshooting tips
1. Restart your Mac and router
This rather obvious tip needs to be number one on the list. As we all know, a quick restart can solve many Mac issues, including Wi-Fi connectivity, so before we go any further, give your Mac and your wireless router a quick restart.
2. Check your Wi-Fi network
Try and connect to a different network; if you can, then it's likely an issue with your personal internet provider, for example:
-
A service outage in your local area.
-
A potential problem with your account, like suspension.
If you can't connect to other networks, then jump to the next step.
3. Forget your Wi-Fi network
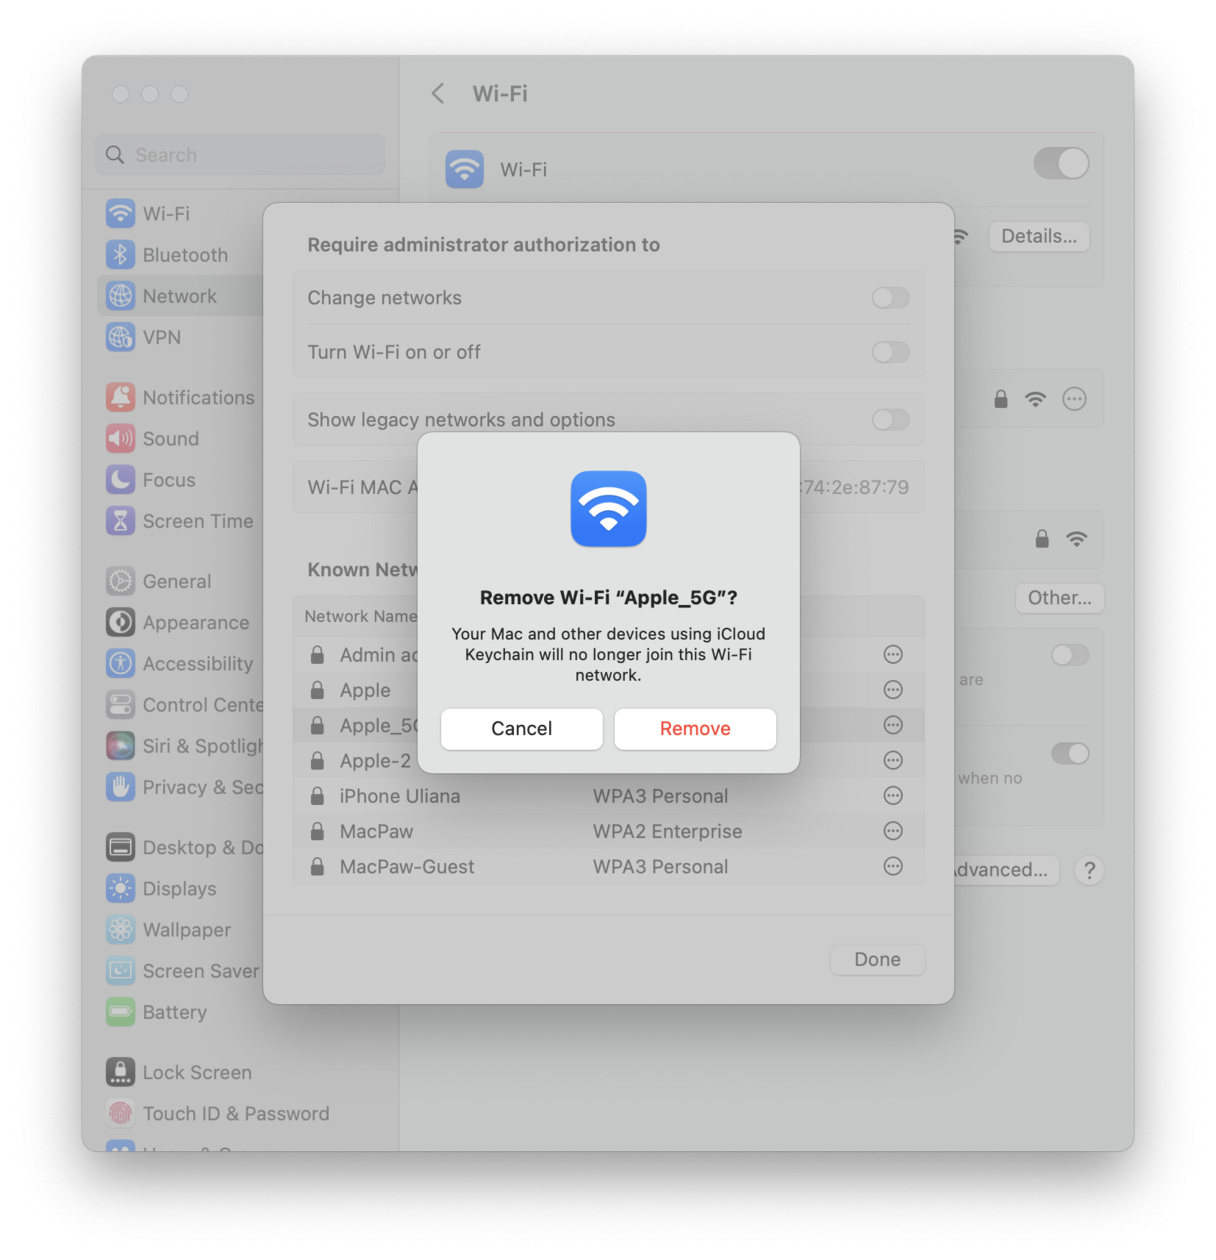
Sometimes, simply "forgetting" the network and rejoining can solve connection issues; make sure you know the network password before doing this step.
-
Select the Apple menu > System Settings > Network.
-
Select Wi-Fi from the list, then press Advanced, bottom right.
-
Find your Wi-Fi network from the list and then forget it by pressing the ellipsis button Remove > Remove From List > Remove.
-
Now, reconnect to your network and test.
4. Check your Mac for updates
If you still can't get online, it's time to check for macOS software updates. Keeping your Mac up-to-date can solve many issues, including Wi-Fi connectivity problems. Here's how to check:

-
Select the Apple menu > About This Mac > More Info > Software Update.
-
If there's any update available, click Update Now and follow the on-screen instructions.
5. Disconnect your USB accessories
It sounds like another obvious one, but try unplugging all of your USB accessories and devices from your Mac, including:
-
Mouse
-
Keyboard
-
Harddrive
-
Earphones
-
Printer
USB devices have been known to interfere with Wi-Fi or internet connection.
Once you've unplugged everything from your MacBook, give your Mac a quick restart and try connecting to the internet again. If it works, then you know that one of your devices is causing the issue.
You can troubleshoot this by adding them back one by one to try and identify the culprit.
Did you know? External devices can cause all kinds of issues, and one of them is MacBook not sleeping when the lid is closed. If you've ever experienced it, check out this guide with the fixes.
6. Run Apple Wireless Diagnostics
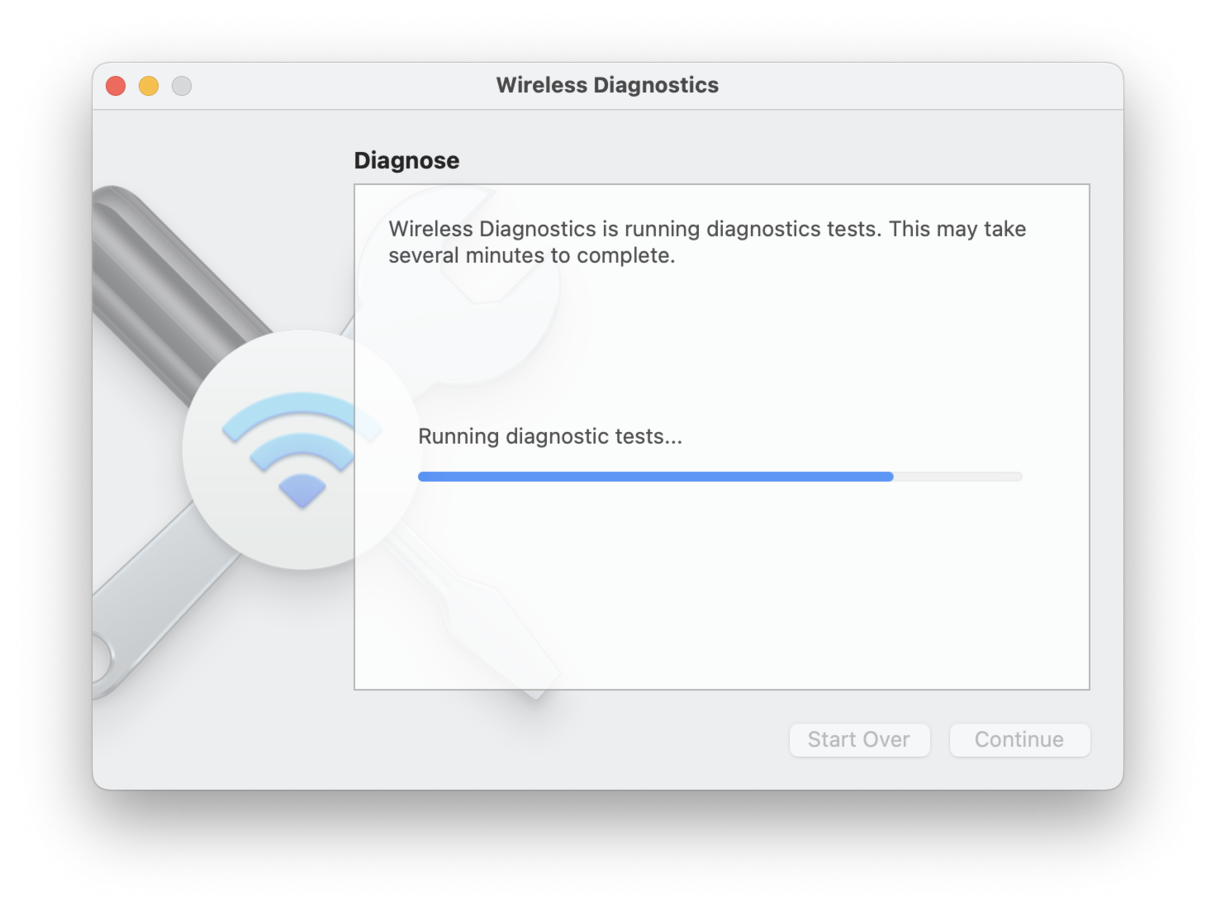
You can run Apple's built-in Wireless Diagnostics tool to examine and investigate your Wi-Fi connection, wireless environment, and configuration. Here is how:

-
Open Wireless Diagnostics via the Spotlight Search.
-
Press Continue, entering your admin password when asked.
-
Once complete, press Monitor my Wi-Fi Connection and press Continue.
This can take several minutes; once the diagnostics are complete, follow the on-screen instructions, this won't fix the connection problem entirely, but it can help identify the root issue.
7. Run maintenance tasks
Every Mac owner knows that running regular maintenance keeps your Mac not only optimized but relatively trouble-free.
On macOS versions older than Sonoma, running maintenance scripts daily, weekly, and monthly clears out various temporary files, rotates system logs, and improves overall Mac performance. But maintenance tasks do not end there and you can and should maintain a Mac running newer macOS versions, too.
You can mess around with Terminal to run maintenance scripts and run other tasks manually, or you can do it the easy way using CleanMyMac — that's what I like to do.
CleanMyMac has the Performance feture that allows you to:
-
Reindex Spotlight
-
Repair disk permissions
-
Flush DNS cache
-
Run maintenance scripts (for macOS versions older than Sonoma)
It's a handy feature that can solve and prevent multiple issues on your Mac. Extra bonus points because Apple also notarized this app. Here's how you can run maintenance tasks:

-
Open the app — get your free trial here.
-
Select Performance from the sidebar and run a scan.
-
Click Run Tasks to perform maintenance routines recommended by CleanMyMac or Review to select what to run.
If you are still experiencing Wi-Fi issues, jump to the next step.
8. Change your DNS settings
To improve speed and reliability, you can switch to a public DNS like Google DNS. Here’s how:
-
Select the Wi-Fi symbol and click Wi-Fi Settings.
-
Find your network, click Details, and select the DNS tab.
-
Select the "+" button and type: 8.8.8.8
-
Then click OK.
After updating your DNS, restart your Mac and check if your connection improves.
9. Change your router channel
Wi-Fi interference from neighboring networks can weaken your connection, especially if you live in an apartment or a crowded area. Routers operate on different channels, and if too many devices are using the same one, it can slow down your connection.
To fix this, log in to your router’s settings (type your router’s IP address in a web browser) and look for the Wi-Fi Channel option. Most routers are set to "Auto," but manually switching to a less crowded channel (such as 1, 6, or 11 for 2.4 GHz networks) can improve performance. If you're on a 5 GHz network, try switching between available channels to find the most stable connection. After making changes, restart your router and test your Wi-Fi connection.
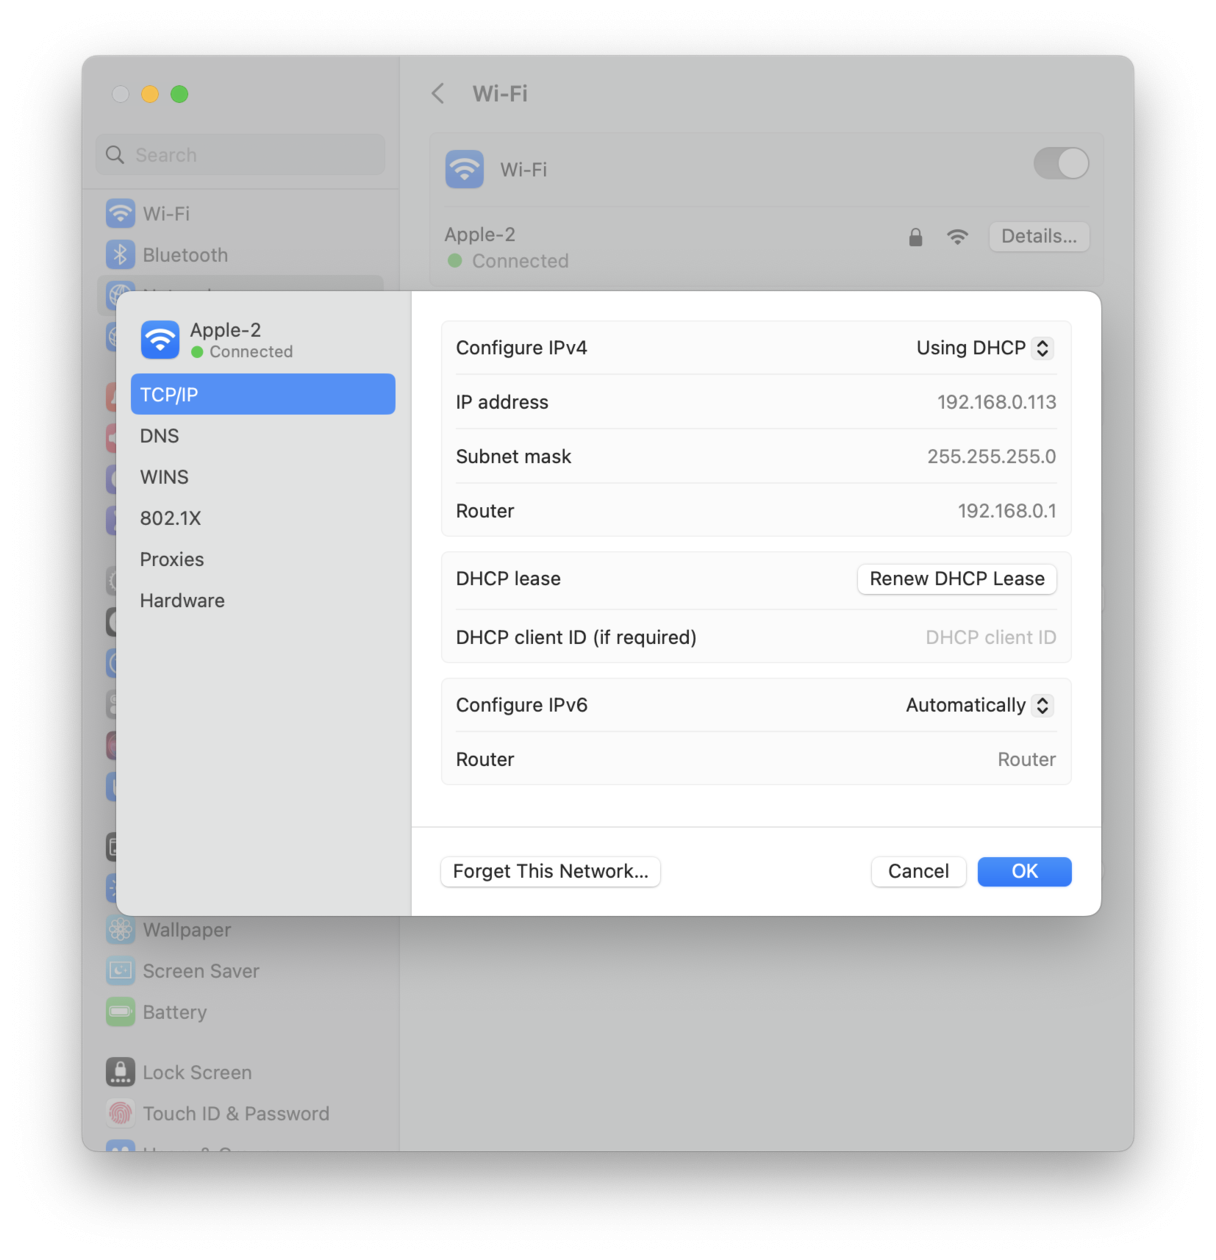
10. Renew your DHCP lease
The DHCP (Dynamic Host Configuration Protocol) permits your network devices, such as your router, iPhone, or MacBook, to talk to one another. Often DHCP lease can become compromised and cause issues.
Thankfully, it's really easy to renew the lease. Here's how:

-
Select the Apple Menu > System Settings > Network > Wi-Fi.
-
Choose your network and press Details next to it.
-
Press the TCP/IP tab at the top, and press Renew DHCP Lease.
11. Check your date and time settings
This might sound like a strange suggestion, but if you've recently been in a different time zone or country and you now have the incorrect date, time, or location, this can cause issues for your Mac, so it's worth a check. Here's how:

-
Select the Apple Menu > System Settings > General > Date & Time.
-
Make sure your settings are correct. If you need to make changes, do it.
12. Turn off Bluetooth
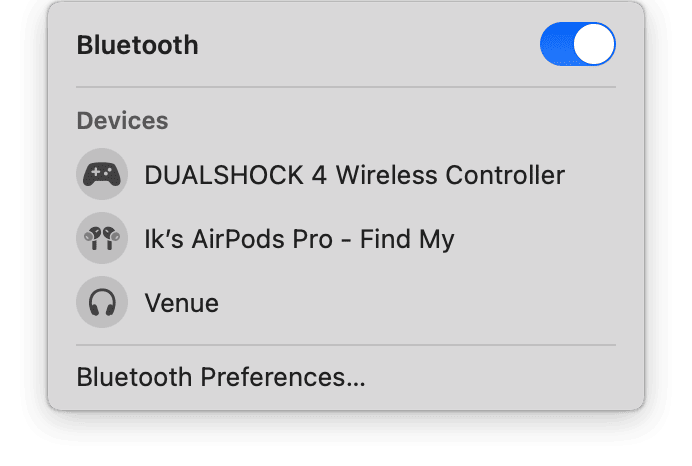
It's not uncommon for Bluetooth to interfere with your Wi-Fi connection, as it may seem. They use similar radio frequency ranges to transmit data. The more congested a frequency becomes, the more connectivity issues you'll encounter.

Select the Bluetooth icon from the top main menu bar and toggle your Bluetooth off. Then check your Wi-Fi and internet connection to see if your Bluetooth interfered.
After these handy tips, issues like MacBook not connecting to Wi-Fi should be a thing of the past. We hope you enjoyed this article, happy browsing the web, and check back soon for more great Mac tips.

