How to make a photo slideshow on Mac
Want to know how to make a slideshow on your Mac? Who doesn't? Slideshows are a great way to showcase your memories, trips, or artistic eye.
So, if you're looking for the best tools and simple ways to build beautiful slideshows, we've got you covered in this handy article.
There are plenty of native Apple tools available, as well as third-party tools; we've put everything together, so you don't need to do the research. Let's go.
Prep work for slideshows on a Mac
Showcasing your photos and images in a slideshow doesn't need to be complicated; in fact, it's pretty simple, thanks to the array of native, built-in tools and third-party apps (which we'll get to shortly). But first, you should prepare your media, which will make the actual process of creating a slideshow much simpler. Here are a few useful tips.
- Edit your images first: touch-ups, color correction, and cropping.
- Save time on sorting by saving your slideshow media to a separate Desktop folder.
- Make any low-res images into a collage.
- Locate music to use with your slideshow.
Ok, so the prep work is done; let's get to the fun part — creating a Mac slideshow.
Create a slideshow on your Mac
1. Use the Photos app to build a slideshow
Apple's native Photos app is a great tool for building slideshows. You can save your slideshow projects and export them easily to play on your other Apple devices.
- Open the Photos app and select all the images you want in your slideshow.
- With them all selected, click File > Create > Slideshow > Photos.
- Give your slideshow a name and click Create. Reorder by dragging your photos in the timeline.
- On the right, click the edit tool icons (Themes, Music, and Timer) to adjust various creative settings.
- Click play to view it, or click Export at the top to save it.

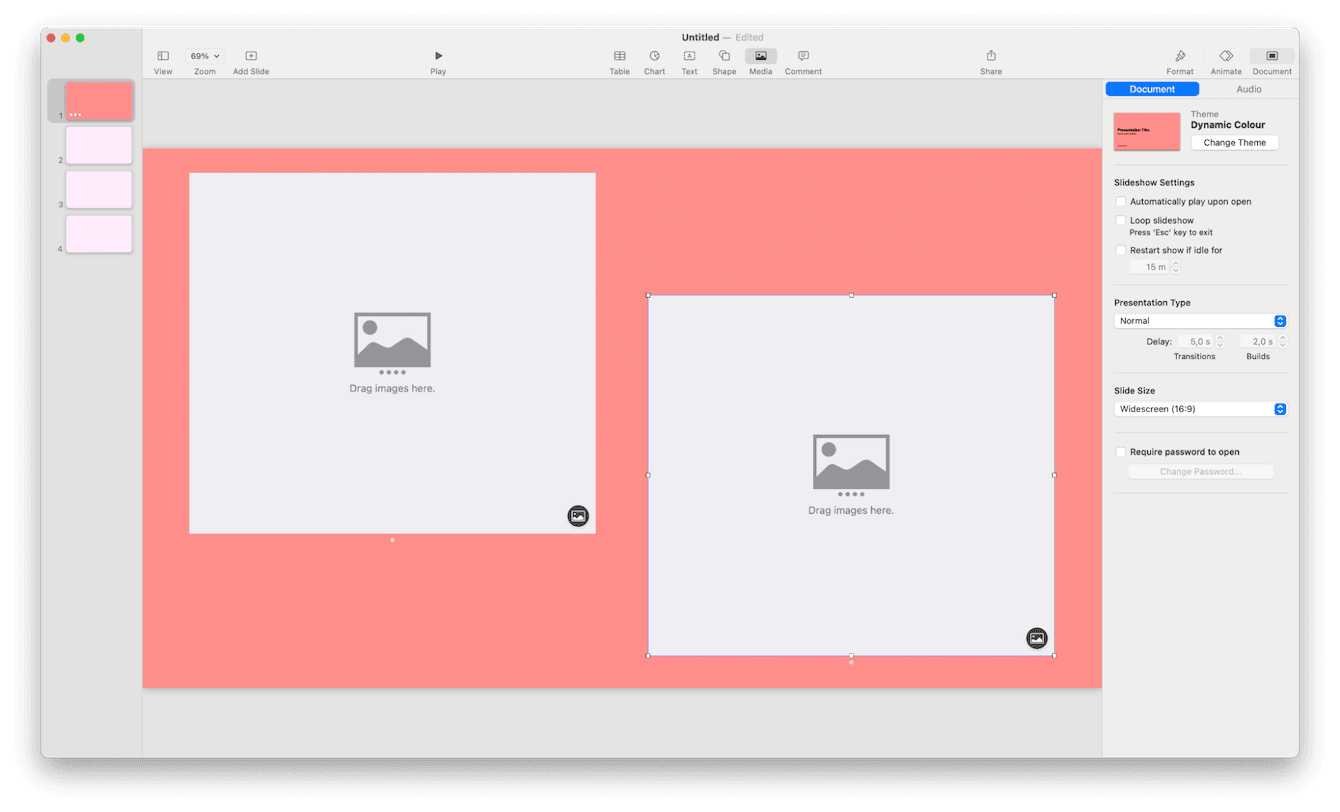
2. Use Keynote to make a slideshow
Another native tool for making an Apple slideshow is Keynote. This smart presentation software is a versatile way to showcase your favorite photos. You can get really creative here, adding text shapes and even animations. Here's how to use it:
- Open up Keynote and create a new presentation.
- Customize your slide theme, and add as many slides as you need.
- From the menu, select Media. Here, you can choose to add images, videos, and music.
- Customize again with text and shapes.
- To view your slideshow, click Play.
Before we move on, don't forget that slideshows can often become very large files, which, in turn, can consume a lot of disk space on our Macs and affect performance. It's probably a good idea to back them up to your cloud or external storage or regularly delete them when they're no longer needed.
If you've been saving your slideshows in lots of different locations, they may be tricky to pin down; save time by using a dedicated tool like the Apple notarized Mac cleaner CleanMyMac. This app comes with a really impressive Large & Old Files module that can scan your entire Mac in minutes, displaying every single file in one clear view. You then get to sort and browse by last opened, file type, or size.
Remove all your large and old files quickly
- Install or open the app (seven days free test here).
- Click Large & Old Files from the sidebar.
- Click Scan. Sort and select items for deletion and click Remove.

Now, let's go back to how to create a slideshow on Mac.
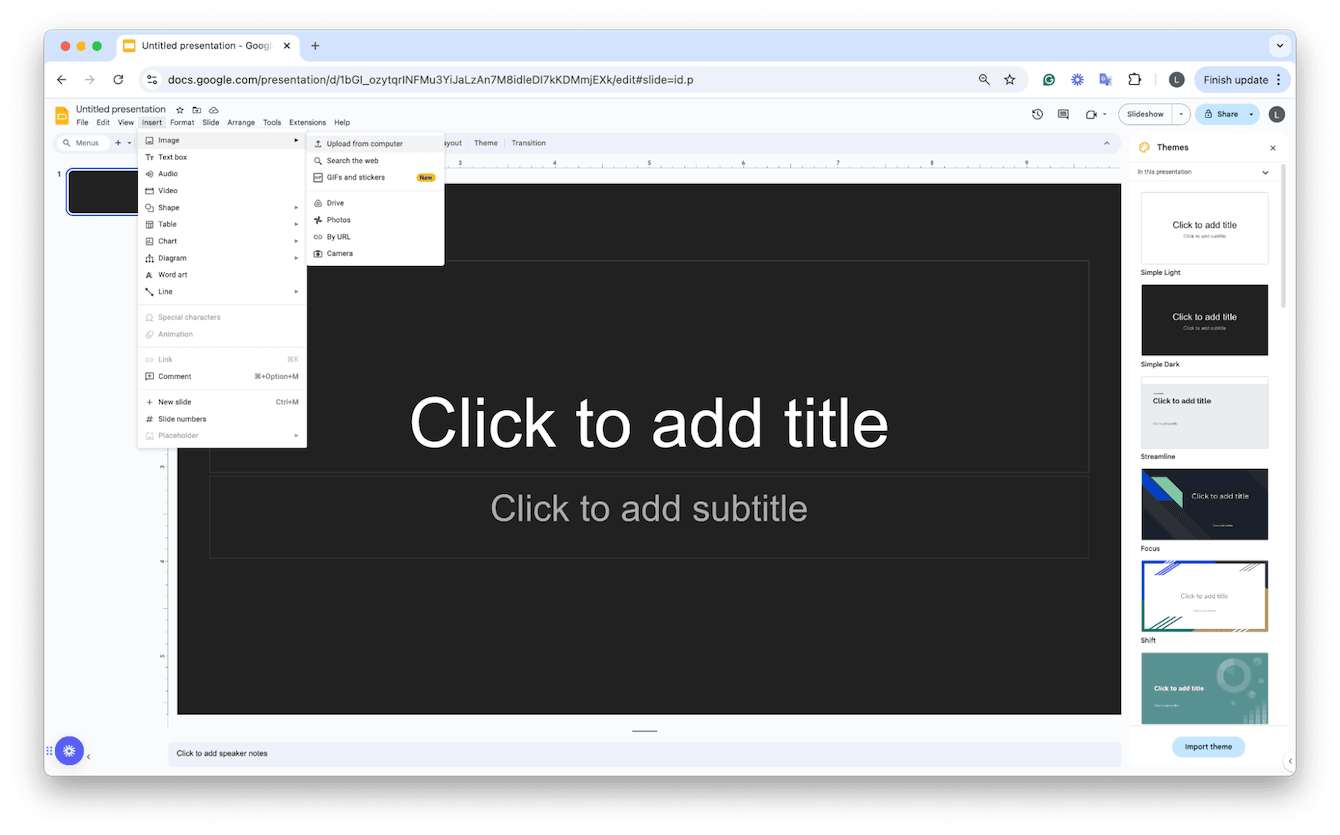
3. Google Slides for slideshows
Google Slides is another option for making slideshows. It's free, and a bit like Keynote, there are lots of ways and options to customize its appearance; here's how:
- Log in to your Google Account and go to Google Slides.
- Create a new presentation and customize the slide theme.
- To add media, select Insert from the menu. Here, you'll have multiple options, including images, audio, and videos.
- When you're finished building your slideshow, click the Slideshow button at the top right to view it.
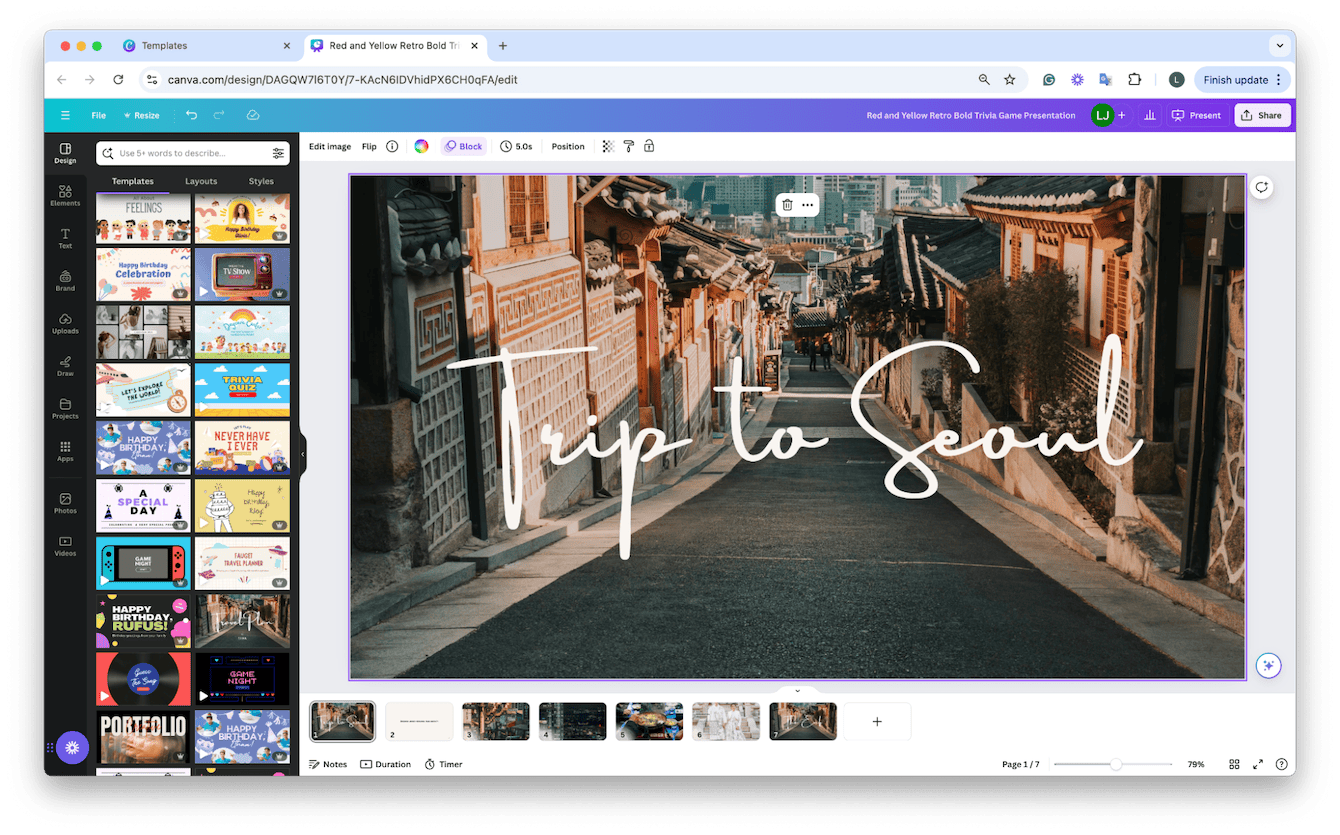
4. Use Canva to build a slideshow
Another third-party option is Canva, an online graphic design tool with almost endless possibilities. You can pick from thousands of premade, customizable templates or start from scratch, adding animations, movement, and audio; here's how:
- Create a new presentation or customize a premade one.
- Upload your chosen media and add it to your pages.
- Customize further with animation, graphics, audio, and text.
- Click the present top right to view it.
- You can export to MP4 and other options, too.
So, there we have it: five simple ways to create a Mac slideshow; let's finish up with a few FAQs.
FAQs: Slideshows on a Mac
Can you add audio to slideshows?
All of the methods in this article, apart from Apple's Preview app, enable you to add music or audio to enhance your slideshow.
How much space do slideshows take up?
This totally depends on the size of the file and how much media is present. They're usually fairly heavy files, so don't forget to delete them once you're finished with them to save space on your Mac.
What is the best way to make a slideshow?
We all have preferences, and this article gives you five simple but different ways to make one. You can choose from a native Apple tool or a free third-party app.
Hopefully, we've answered all your questions about how to make a photo slideshow on Mac. Have fun creating!