Not enough space to install macOS Sequoia: 7 fixes
Curious how much space Sequoia needs to install successfully on your Mac?
If you've been running into install issues, free storage space is probably the culprit. But there's no need to give up all hope. We've put together this helpful article to guide you through all the need-to-know install info, including tips on how to quickly free up storage space and get the new major update from Apple installed on your device.
So, let's dive in and first take a look at just how much space you really need on your Mac.
macOS Sequoia storage requirements
So, how big is macOS Sequoia? Apple hasn't actually clarified this information just yet, leaving many users concerned.
The best we can do is make an educated and calculated guess based on previous major updates.
We estimate that the Sequoia installer should be around 12GB, meaning you'll need double that (25GB) to install it all.
Jump below for a quicker reminder on how to check your storage space.
macOS Sequoia size: How to check storage on Mac
Ok, so we know what kind of storage availability we need on our devices to install Sequoia. For those who need a reminder, here's how to check your Mac:
- Open System Settings from the main Apple menu.
- Click General > Storage.

So, if you've not got enough space to install Sequoia, there's no need to panic; in the next section, we've got seven ways you can quickly free up space.
How to free space for Sequoia on Mac
Well, you know how much space macOS Sequoia takes and how much available space your Mac has, so let's take a look at some quick ways you can free up space.
1. Utilize Apple's native storage optimizer
A good place to start is by using Apple's built-in storage management features: here's how:
- From the Apple menu, go to System Settings > Storage.
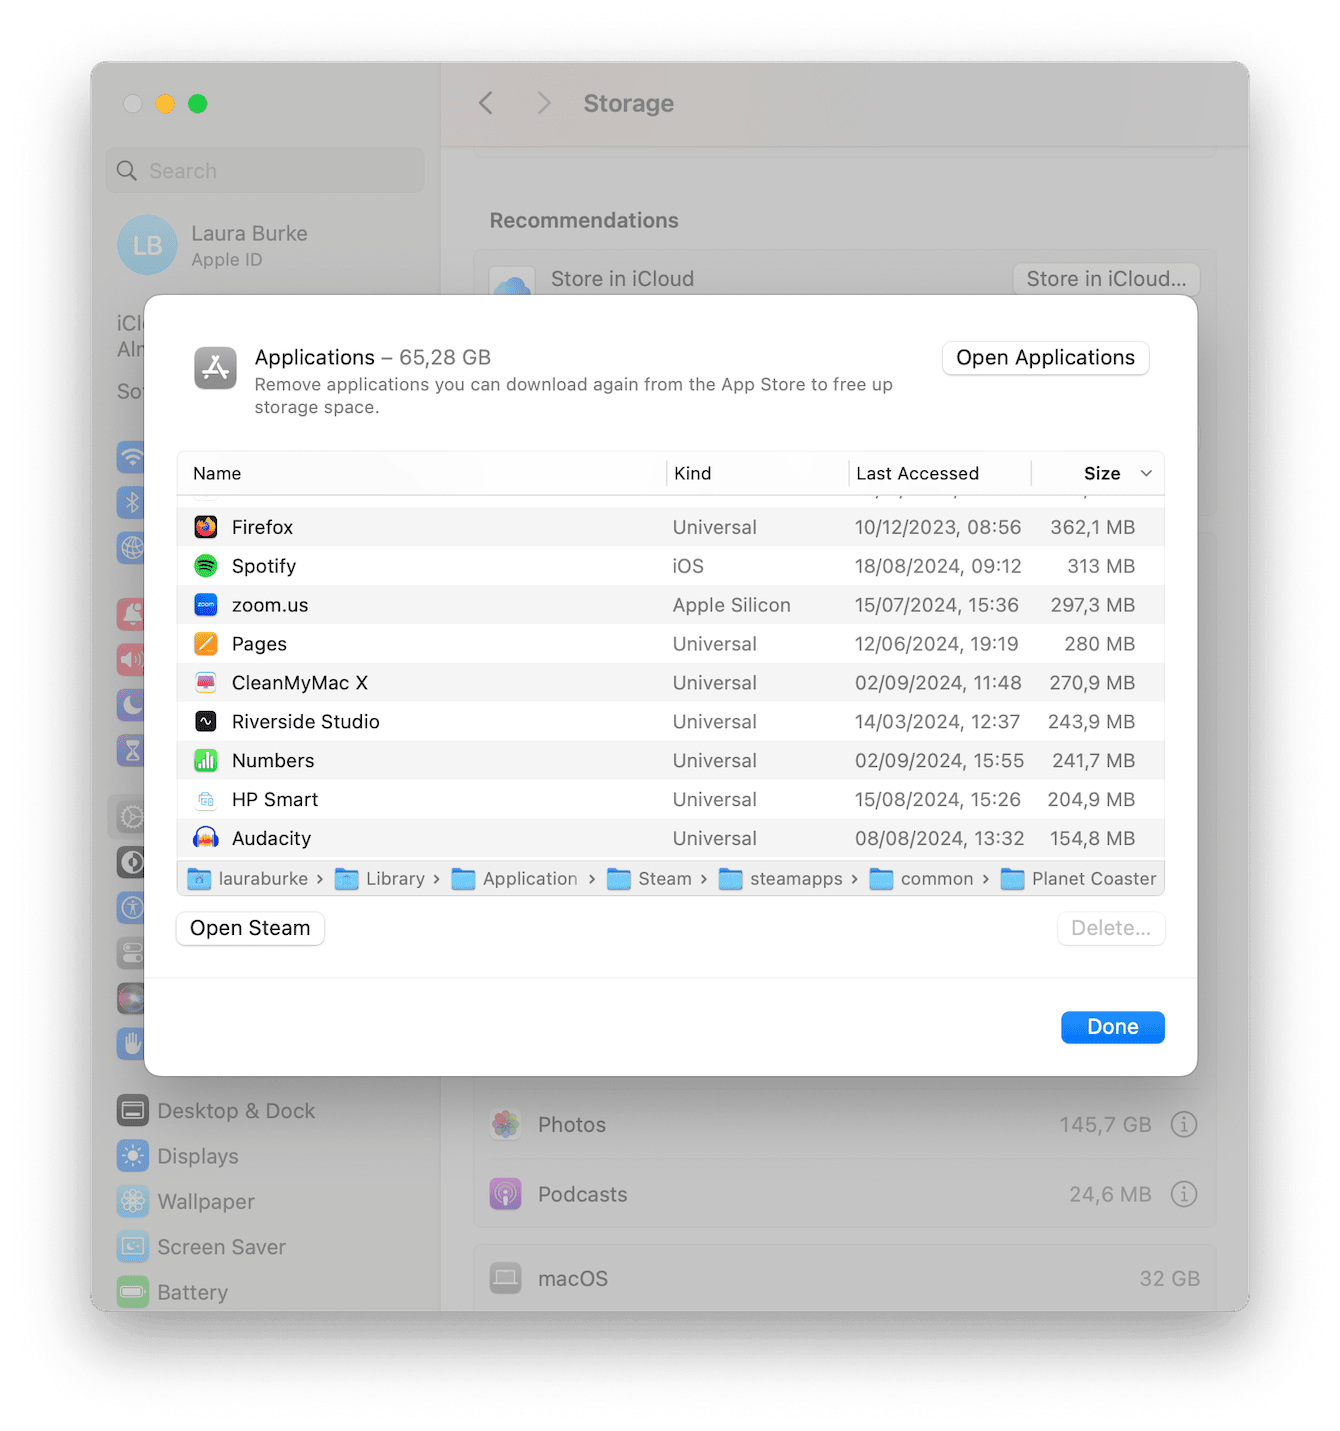
- First, under Recommendations, enable items like Store in Cloud, Empty Trash Automatically, and Optimize to delete your watched TV shows from your Mac.
- Next, you'll notice a list. Select each item to see which downloaded, saved, or cache content is saved; you'll have options within each category to manually select and delete items taking up valuable space.

These storage optimization tools from Apple won't entirely clean up your Mac, but it's a great place to start, and you should start to see an adjustment to your overall storage calculation by starting here.
2. Remove system junk
System junk is all the accumulated useless files, caches, cookies, system logs, and digital clutter on our devices, taking up precious space. If you don't regularly clean these items, you'll be surprised at how quickly they multiply and the effect they can have on your Mac's performance.
Thankfully, getting rid of system junk isn't a complicated or time-consuming task; you can use an Apple notarized application, like CleanMyMac, to remove it all in a matter of clicks, freeing up space and boosting performance; here's how to use it:
-
Click Cleanup > Scan.
-
Click Review All Junk to browse its findings, or click Clean immediately.

3. Delete your iPad and iPhone backups
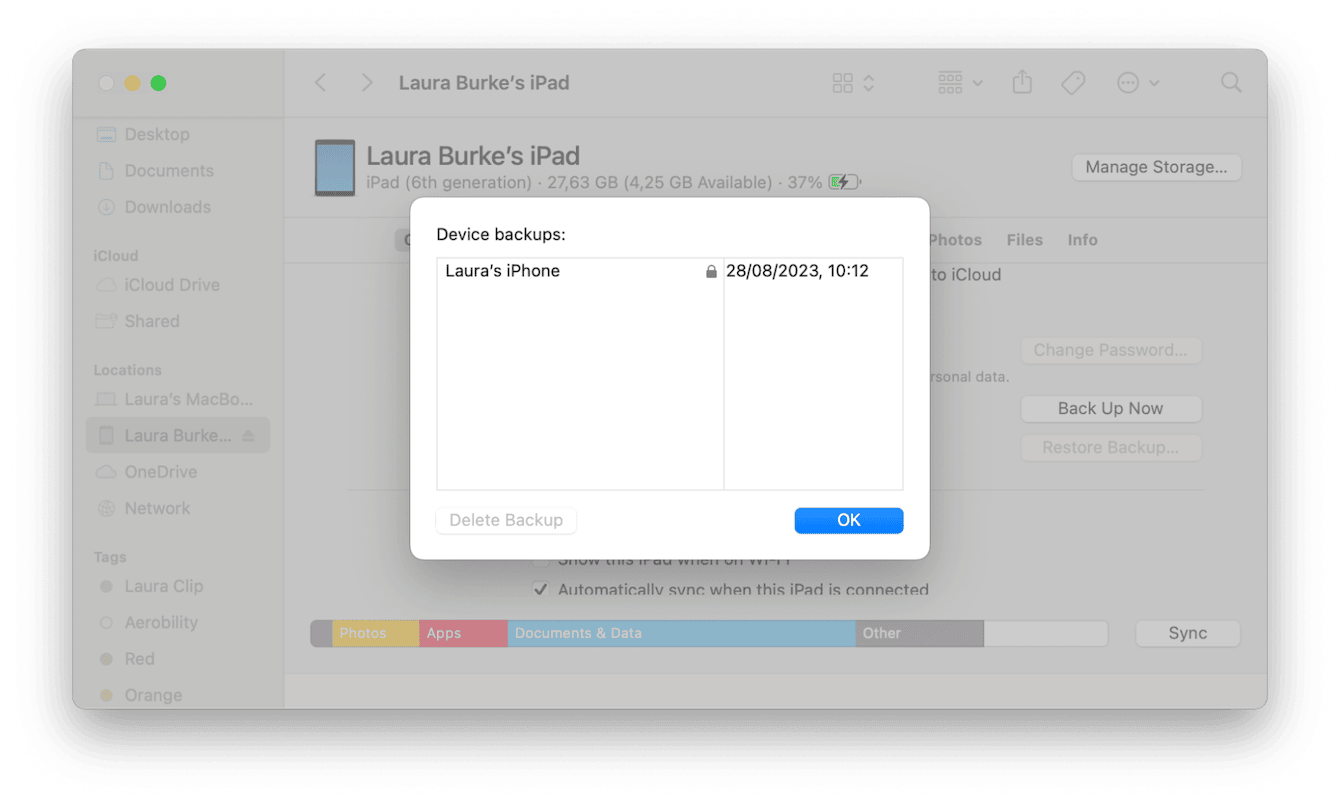
Another quick way to reclaim storage space is to remove and delete unneeded iPad and iPhone backups from your Mac; here's how:
- Connect your iPad or iPhone to your MacBook using the correct cable.
- Unlock the device and click Trust the device on your Mac.
- Open the Finder, and under Locations, select your device.
- Scroll down to Backups and click Manage Backups.
- Select old backups you don't want and click Delete.

4. Remove old apps
Another Mac space-saver idea is to remove unused apps. It's amazing just how many unused tools we have lying around on our devices, consuming space.

Here's how to uninstall apps on Mac:
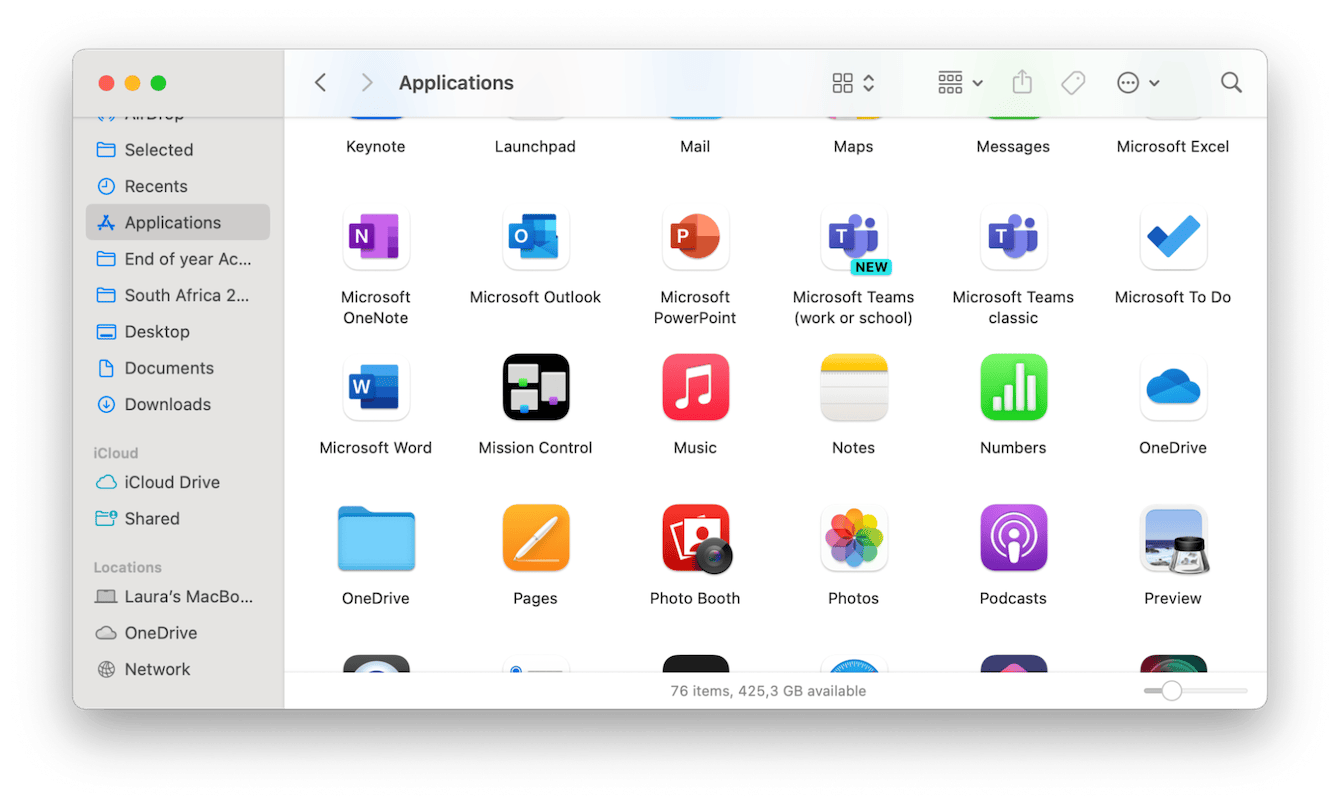
- Open a new Finder window and go to Applications.
- Take a look at which apps you no longer use and drag them to your Trash can.
- Empty your Trash.
- Now, search for leftover files by opening Finder > Go > Go to Folder; look in the following locations for any files containing the name of the app you just removed, send them to your
- Trash, and empty it again afterward:
~/Library/Application Support
~/Library/Caches
~/Library/Internet Plug-Ins/
~/Library/
~/Library/Preferences/
~/Library/Application Support/CrashReporter/
5. Utilize external or cloud storage
If you've got thousands of videos and photos on your Mac, moving these to either an external storage device or cloud service like iCloud, Google Drive, or Dropbox is a good idea.
Offloading your media files to external or cloud storage can free up large amounts of space on your Mac, which in turn can improve its performance and speed.
If you use cloud storage for offloading files, make sure there's enough storage for all of your precious stuff. You can declutter your cloud storage with CleanMyMac and its Cloud Cleanup feature. It quickly scans your connected cloud account (iCloud Drive, Google Drive, or OneDrive) and lets you remove the largest files with a click.

6. Delete your large and old files
How old is your device? Chances are, you've got a lot of duplicates, large or old and unwanted files stored in the depths of its forgotten storage. The problem is that only a few of us have time to scour through all the folders and hiding places.
Well, the good news is, you don't have to. Use the tool we mentioned earlier, CleanMyMac, to find and organize all your digital clutter; here's how:
-
Open CleanMyMac.
-
Go to My Clutter and click Scan.
-
Click Review All Files and remove large items, duplicates, forgotten downloads, and similar photos.

7. Desktop and Downloads cleanup
Finally, don't forget to clear up your Desktop and Downloads folder. Both of these locations are well-known for harboring useless clutter.
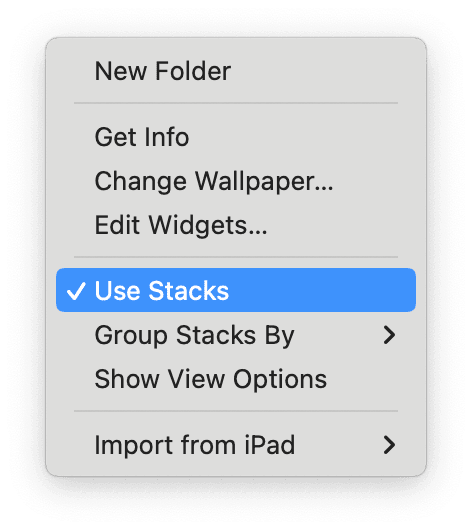
If you use Stacks, it's easy to forget what's hiding on your Desktop. Right-click anywhere on your Desktop and press Use Stacks to reveal what's lurking.

Equally, the Downloads folder often contains ZIP and DMG files. Just don't forget to empty your Trash when you're finished.
Well, now you know what to do if macOS Sequoia says not enough disk space to install.

