How to record audio on Mac
Mac has been used for decades by musicians, producers, podcasters, and others to record audio for professional use. It’s long been a strength of Apple devices and one of the areas on which Apple has focused over the years. But we don’t all want to record audio for professional use. What if you just want to record a voice note or make a short screen video to demonstrate something and record yourself explaining what’s happening? Or maybe you’re getting started with a podcast and just want a quick and easy way to record audio on your Mac. We’ll show you several ways to do that in this article.
How to record audio on your Mac
There are dozens of ways to record audio on your Mac, from sitting in front of a MacBook and speaking into its microphone to a complex setup with mixers, multiple inputs, and professional studio equipment. In this article, we’ll focus on how to record audio easily and without spending money on hardware or software, using tools built into macOS or available online for free.
How to record sound on Mac using Voice Memos
-
Go to your Applications folder and double-click Voice Memos to open it.
-
Click the Record button at the bottom of the sidebar on the left. Start speaking.
-
Click the Pause button when you’re finished and then click Done. The recording will appear at the top of the sidebar. Click the play button to listen to it.
-
To rename it, click the name, delete the text you don’t want, and type a new name.
-
To edit the voice memo, click Edit at the top right of the window. Use the settings icon to change some settings.
-
Click the crop tool to trim the audio or delete a section. Use the handles to select the section of the audio you want and then click Delete to remove the selected portion, or Trim to keep the selected portion and delete the rest.
-
To save the recording outside of Voice Memos, click it in the sidebar and drag it onto the Desktop.

How to record audio on MacBook using QuickTime Player
-
Go to your Applications folder and open QuickTime Player.
-
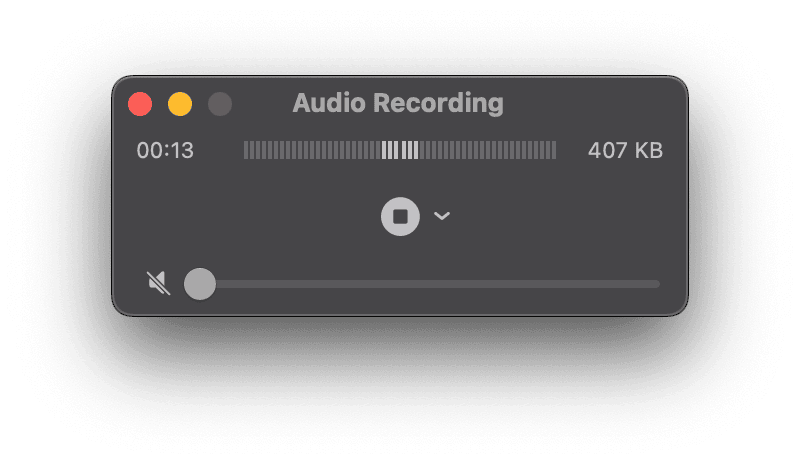
Click File in the menu bar and choose New Audio Recording.
-
Click the red record button and start speaking.
-
When you’re finished, click the stop button.
-
To export the recording, click File > Export as > Audio only.
-
Give the recording a name, choose where you want to save it, and click Save.
Tip
By default, when you record audio in QuickTime Player, it uses the input selected in System Settings > Sound > Input. However, you can change that to any available audio input, such as a USB microphone. To do that, click the down arrow next to the record button and choose the device you want to use as an input.
How to audio record on Mac using screencapture.com
-
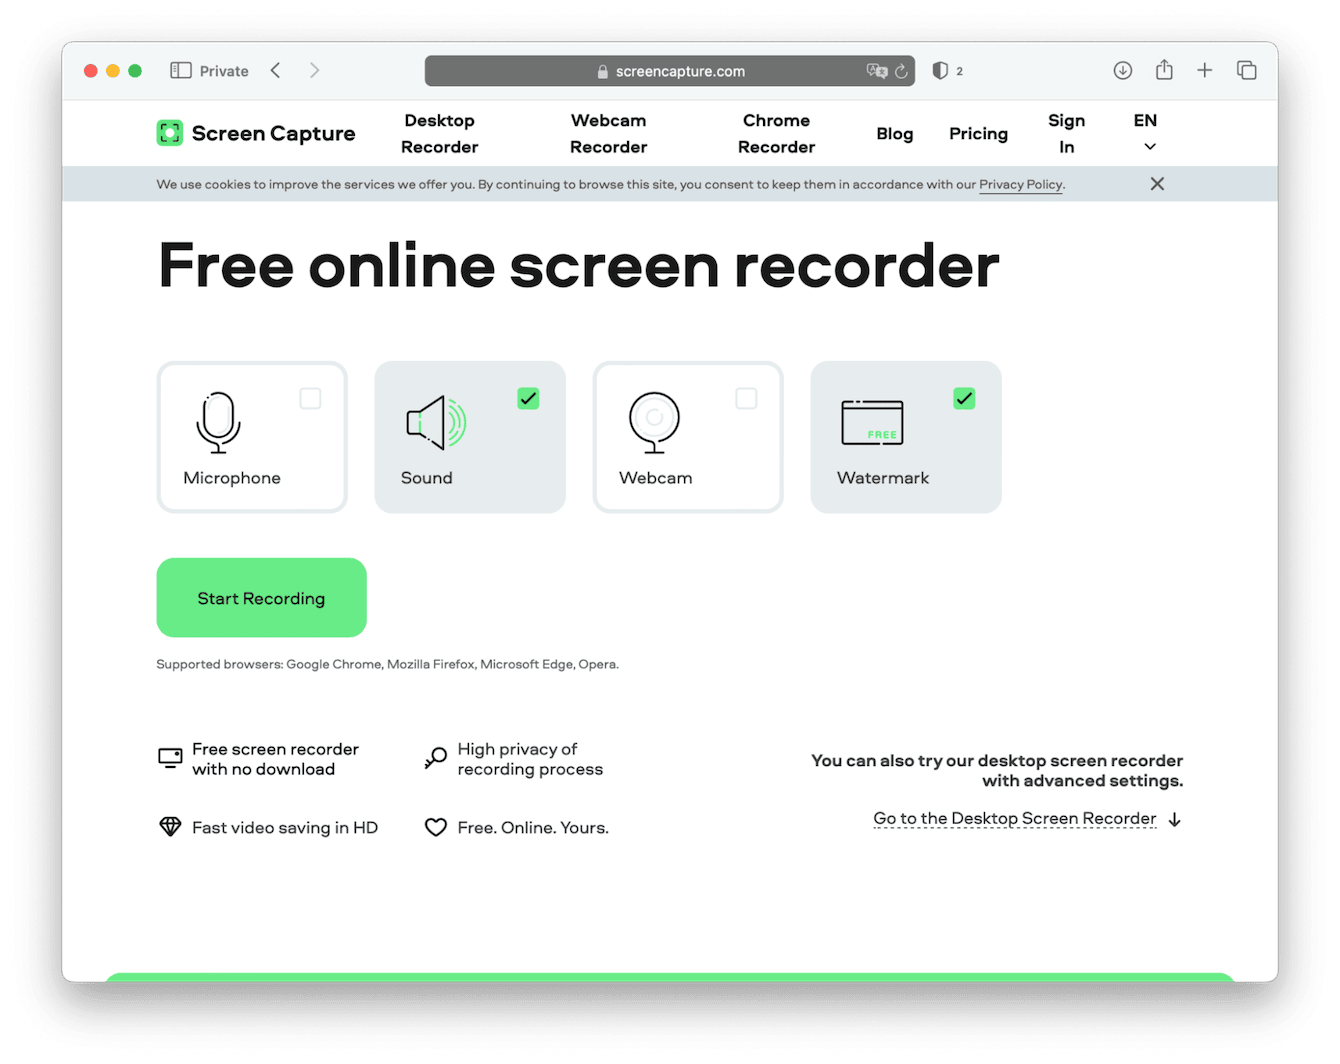
Go to screencapture.com in Chrome, Firefox, Opera, or Edge on your Mac.
-
Click Microphone. If you also want to record your Mac’s audio, leave Sound checked; otherwise, uncheck it. The free version of screencapture.com places a watermark on recordings. If you want to remove it by unchecking the Watermark box, you will have to pay a fee.
-
Click Start Recording. If you haven’t already given permission for the web browser you’re using to access your microphone, click Open System Settings. Set Google Chrome to on.
-
Choose whether to share a Chrome tab, a window, or your entire screen.
-
Click Start recording. You will see a message telling you Chrome wants to record; click Allow.
-
When you’re finished, click Download to download the recording. Note that the recording will also have a video of your screen in it, so if all you want is the audio, you will have to use another software tool to extract it.
How to record audio on your Mac using Garageband
-
From your Applications folder, open Garageband.
-
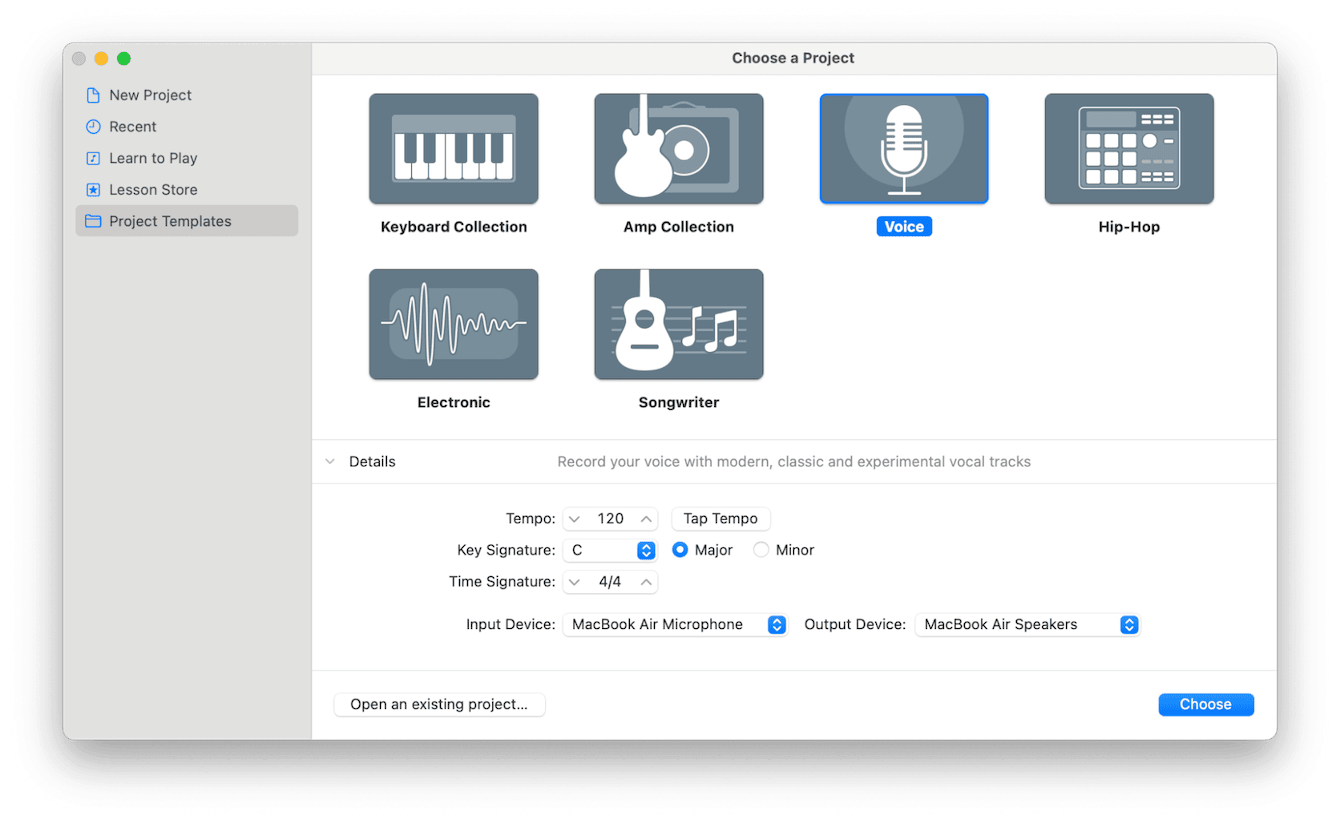
At the bottom of the Choose a Project window, select the input you want to use for recording audio.
-
Select Voice and click Choose.
-
Click the top track, Narration Vocal.
-
Use the Record Level slider to set the volume of the recording.
-
Click the record button and start recording your audio. When you’re finished, click the stop button.
-
Click File > Save as to save the recording. Give it a name, choose where you want to save it, and click Save.
How to easily delete audio files you don’t need
If you record a lot of audio files on your Mac, especially if they are quite long, like, say, a lecture or meeting, then they will quickly take up quite a lot of space. At some point, to avoid filling up your startup disk with audio files, you will want to delete them or move them to another disk. The problem is that if you save them in different locations on your startup disk, it can be difficult to track them all down. Not if you use the Large & Old Files module in CleanMyMac, though. It identifies the largest and oldest files on your Mac and allows you to filter them by type. So, you could set it to view all audio files and then view the largest and oldest. That makes it very easy to delete them or find out where they are and move them to an external disk. You can download CleanMyMac for free here and try it for yourself.

There are several different ways to record audio on Mac, and many of them are free. Voice Memos is probably the simplest, but using Garageband gives you more options. Choose the method above that works best for you and give it a go.