How to screen record FaceTime calls
FaceTime has played a vital role for millions of people across the globe during the pandemic, but many ask, can you screen record FaceTime to save your precious moments?
FaceTime is free to use, offers end-to-end encryption, comes pre-installed on your Mac, iPad, and iPhone, and lets you video conference with up to 32 people — no wonder it's so popular.
Considering FaceTime's popularity, many people don't realize that you can screen record FaceTime as you can in Zoom or Teams. Strange right? Let's take a look at why that is and how to record FaceTime calls on Mac.
Can you record a Facetime call?
The reason so many people wonder how to record Facetime audio is that FaceTime itself currently lacks the built-in app functionality to screen record FaceTime with audio, like some of the other video conferencing competitors, but don't worry; it's still possible.
Considering the rise of and necessity of video calls over the last time, maybe we can expect to see some improvements here soon from Apple. They did recently announced drastic FaceTime improvements to roll out with iOS 15, including:
-
Spatial audio
-
Background noise reduction
-
Portrait camera mode for FaceTime
-
Background blur
-
New grid view for group calls
Let's hope those are available on Mac soon too.
Facetime recording options
On your Mac, using the Screenshot app, you can screen record FaceTime with the audio or without. Keep on reading, and I'll show you how.
How to record a Facetime call
We all care about our privacy, so it's also worth letting the person or people you're chatting with know that you're about to start recording the call. After all, you'd want to know, right?
For those who are wondering, it's pretty easy to get started, so here's how to record a FaceTime call;
-
Open FaceTime and start a call.
-
Press Command-Shift-5 to launch the screenshot app.
-
Select Record Entire Screen and press Options.
-
Under Microphone, select built-in Microphone.
-
Press Record.
Once your call is finished, to stop the recording, press Command-Shift-5, and press stop recording.
Where are the screen recordings saved?
Your call has finished, but you can't find your screen recording? Well, this depends on where your chosen save location is. Here's how to check:
-
Open the Screenshot app by pressing Command-Shift-5.
-
Select Options.
-
Under “Save to,” see what has been selected.
And that's where you'll find them. I have mine saved to my Desktop, but the problem is I use Stacks, so it's pretty easy to forget just how many I have, as they're nicely organized and out of sight.
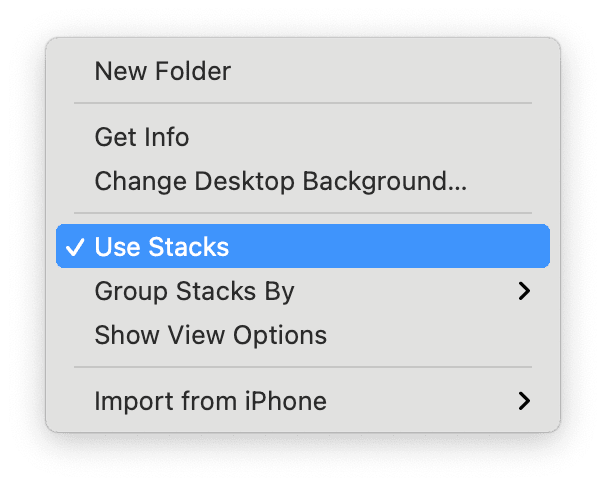
Stacks is a handy feature from Apple that allows you to organize your files in, well, you guessed it, tidy stacks. To enable it, right-click on your Desktop and select Use Stacks.
Like many files, they, of course, can build up over time and slow your system down, so what can you do?
Well, I Use CleanMyMac regularly to keep my Mac in top shape. Its Large & Old Files module is perfect for locating and removing forgotten and unneeded screen recordings. Here's how you can clear up screen recordings in seconds:

-
Launch CleanMyMac — download the free version here.
-
From the sidebar, select Large & Old Files.
-
Press Scan. Once complete select Movies under Kind and choose items for deletion, then press Remove.
It's really as simple as that! Another great thing about this function is you can sort results by access date, take a look at all your forgotten files just hanging around in One Year Ago. That's a great way to claim space on your Mac quickly.
If space is an issue, while we've got CleanMyMac open, you should also run the System Junk module. This will optimize your Mac by removing cache, system logs, user log files, and more and fix system errors; here's how:

-
Open the app and select System Junk from the sidebar.
-
Press Scan. Once complete, press clean.
Congratulations, your Mac is now running smoother than before.
Well, here we are at the end; now you know how to record a FaceTime call and keep your Mac optimized. Happy FaceTiming, everyone.