How to recover a replaced file on Mac
Need to know how to recover replaced files on a Mac? We're here to help. Mishaps happen, and overwriting files can be alarming.
If you've accidentally replaced an important file with a new file that has the exact same name and location, you might be at panic stations.
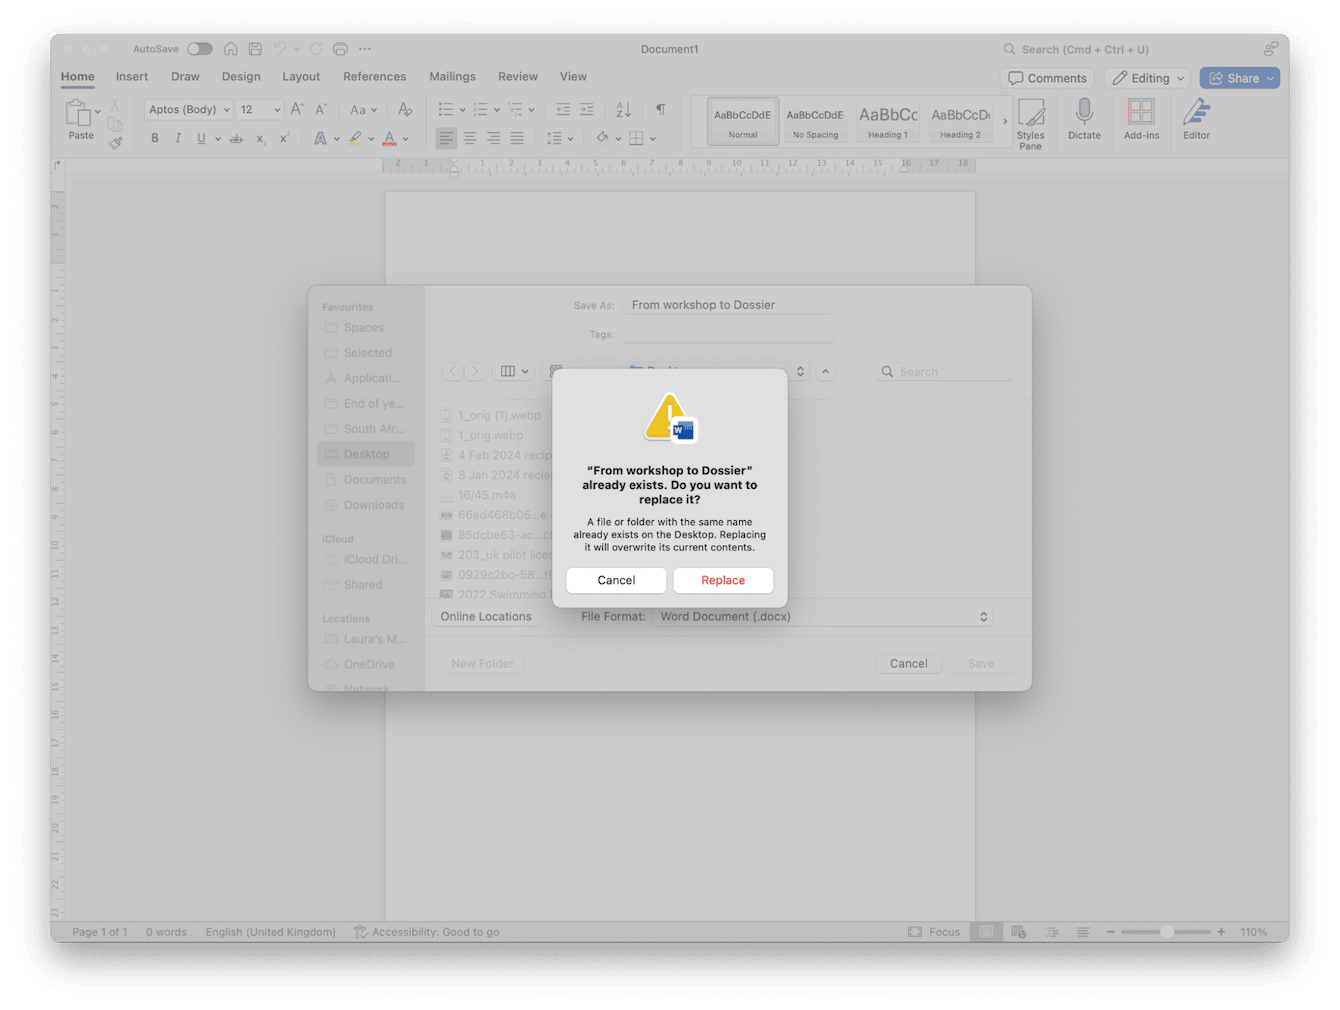
Although our macOS does prompt us that a file of that name already exists, if you're busy and distracted, it's easy to hit the replace button; we've all been there.
Before you give up all hope, join us as we walk you through your options for file recovery; let's go.

Accidentally replaced file, how to recover Mac
Unlike simply accidentally deleting a file, recovering a replaced file is a little more complex, and file recovery is going to depend on a couple of factors, like what file type it is, the overwrite status, storage type, file location, and timing.
What is key is acting quickly; this most definitely improves recovery chances. So, let's take a look.
How to recover replaced Word document Mac
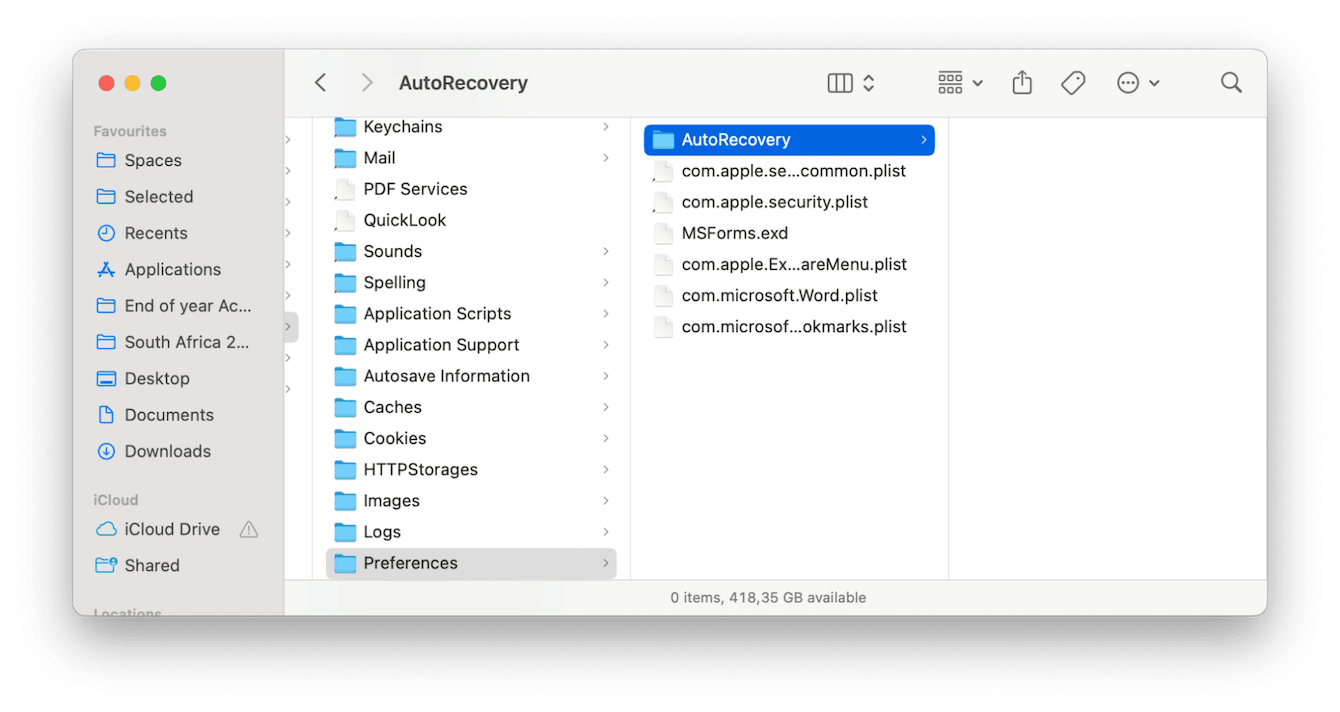
Replaced Word files seem to be a little easier to recover, so if you've accidentally replaced a Word file on your Mac, you might be able to use the Microsoft Word AutoRecovery Folder to recover it; here's how:
- Open Finder, click Go in the top menu bar, and choose Go to Folder.
- Type the following path: ~/Library/Containers/com.microsoft.Word/Data/Library/Preferences/AutoRecovery
- Look for any files that start with AutoRecovery or that contain your missing file's name.
- Open documents and save them with a new name to restore the document.

If it's not a Word file you're trying to replace, then no problem. Keep reading. We've got more suggestions for other file types below.
Recover overwritten files on Mac
1. Use Time Machine
If you use Time Machine to regularly backup your data, then you should be able to quickly and easily restore your lost file no matter the file type; here's how:
- Connect your Time Machine drive (if necessary).
- Open up Finder and use the search bar to locate the file you want to recover.
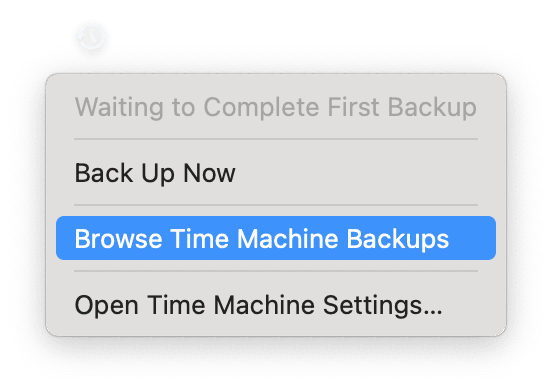
- Now, in your top menu bar, click the Time Machine icon > Browse Time Machine backups and use the arrows to move the timeline.
- Select any items you want to restore (folders, files, or your entire disk), then click Restore.

If you don't use Time Machine, don't worry. There are a few other ways you can recover replaced files on a Mac.
2. Check iCloud Drive
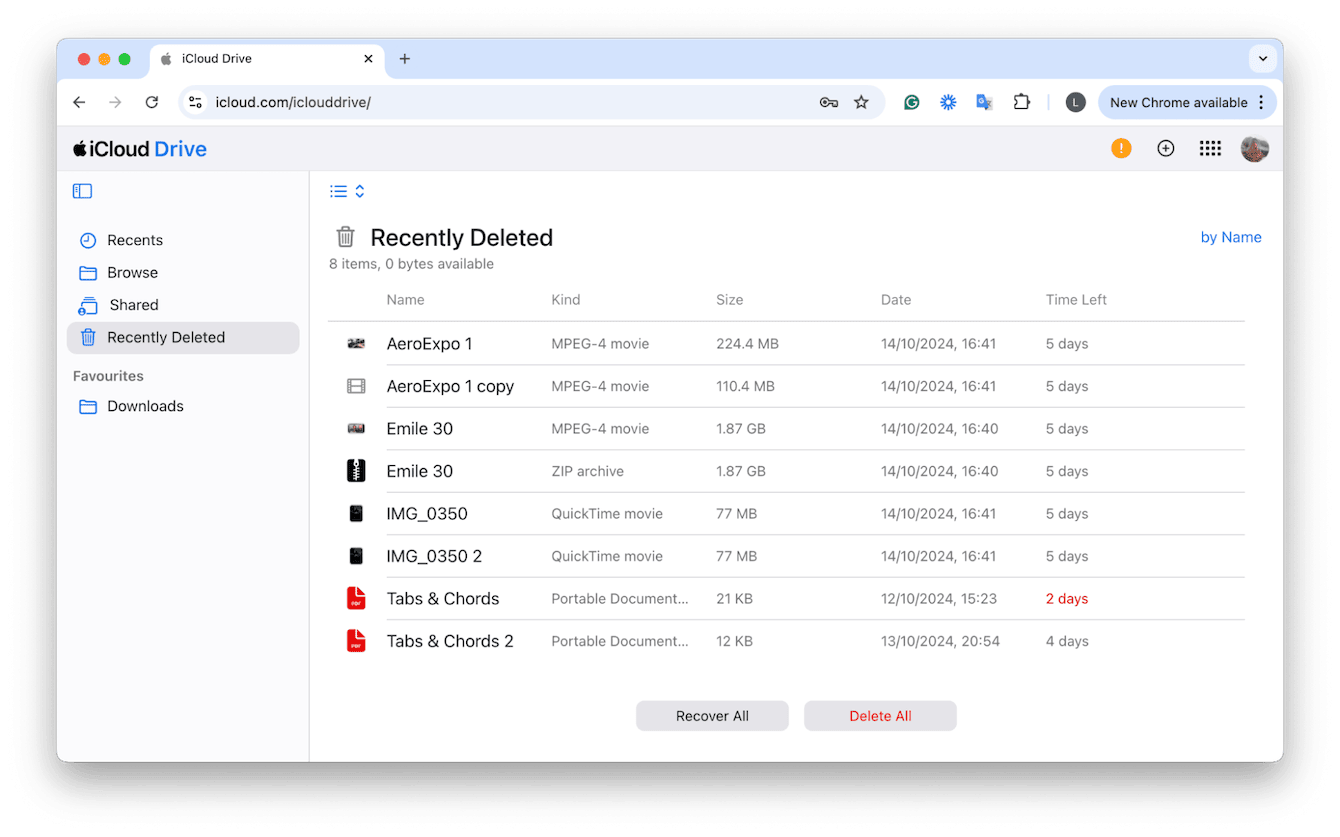
If you use iCloud Drive to back your files, then it's worth checking if you have a version of your replaced file there; here's how:
- Log in using your Apple ID and password.
- Check what files are saved here.
- Don't forget to check your Recently Deleted folder.
- If you find your file, simply save a new version to your Mac, giving it a new name.

When we're searching various locations and folders for missing or replaced files, it can be an eye-opener on the amount of clutter we have stored on our Macs.
For regular cleanup, troubleshooting, and maintaining your Mac's overall performance, use an Apple notarized tool like CleanMyMac.
This app comes with a feature called Smart Care, which is an all-in-one solution for maintaining and optimizing your Mac. It performs five core actions in a single scan, simplifying the process of keeping your Mac in top condition; here's how it works:
-
Get CleanMyMac free trial, and then open the app.
-
Click Smart Care > Scan.
-
When it finishes, review, then select the tasks you want to initiate and click Run.

This makes keeping your Mac optimized and tidy a pretty quick task. Ok, let's get back to file recovery methods.
3. Third-party recovery tools
If Time Machine and iCloud aren't options for recovering your replaced file, you could look into a third-party tool.
One reputable option is Disk Drill from CleverFiles. It's quite simple to use and has a fairly high success rate for complex file recoveries. It's able to recover a large range of file types from various locations, including external drives. You can start with the free trial to see if it recovers what you need before committing, making it a low-risk option to try out first.
Hopefully, the tips we've provided have answered all your questions about accidentally replaced files and how to recover a Mac. Let's face it, file recovery of any type is a nail-biting experience, and one no Mac user wants to find themself in. But we all make mistakes, and from time to time, this kind of situation happens. It's a good reminder to not only keep your device organized but to make sure you regularly back up your files and data.
And now that we've explored your options on replaced file recovery, let's take a look at some FAQs.
FAQS: how to recover replaced files on a Mac
Here's a look at the most frequently asked file replacement questions on a Mac.
What to do if I don't have file backups or iCloud?
This makes recovering a replaced file tricky. Especially if it's not a Word or text file. When you're faced with this dilemma, it's worth trying a third-party recovery tool like Disk Drill.
Can I recover replaced files from the Trash?
When you replace a file, this doesn't send the original to the Trash; it overwrites it, so there won't be a deleted version hiding away in your Trash can.
Are third-party file recovery tools safe?
You absolutely need to be on guard; historically, malicious software has disguised itself as these kinds of apps that have access to your entire system and data. As we always say, do your research, read reviews, and only download apps and third-party tools from trusted sources.

