How to reduce image file size on Mac
Knowing how to reduce an image file size on Mac is helpful if you're looking for ways to save disk space without deleting all your precious images and photos.
Taking photos has become a daily part of life. We're all walking around with immense libraries of high-quality images in our back pockets — precious memories captured on our mobile devices and often synced with our Macs.
Thousands of photos ensure one thing — lack of space. You can, of course, export images to external or cloud storage devices, but if you're sentimental and want to keep them around, compressing your images is a great option.
We'll walk you through how image compression works.
Image compression explained: reduce image size on Mac
Image compression is a smart process that reduces the physical file size of an image by removing some of its graphical data.
A smaller size image is easier to transmit or download and takes up less space on your hard drive, meaning more room for more photos!
It sounds great, right? Well, there are two types of file compression: lossless and lossy.
Lossless compression, as the name suggests, means the image quality is maintained, while lossy compression means the quality is degraded.
So now that you know the compression basics, let's dive into the methods of how to reduce photo file size on a Mac in the next section.
How to reduce image size on a Mac with online tools
When it comes to saving space on your device and compressing images quickly, there are lots of options, so let's start by taking a look at some of the best online tools available.
1. TinyJPG
Top of my online tool list is TinyJPG. This great free tool reduces JPEG image size without decreasing quality. There's no daily limit on how many photos you can compress, and you can even upload 20 at a time, as they're all under 5 MB.
There is also a paid version that lets you upgrade 5MB to 75MB file size limit.
So, here's how to make photos smaller on your Mac with TingJPG:
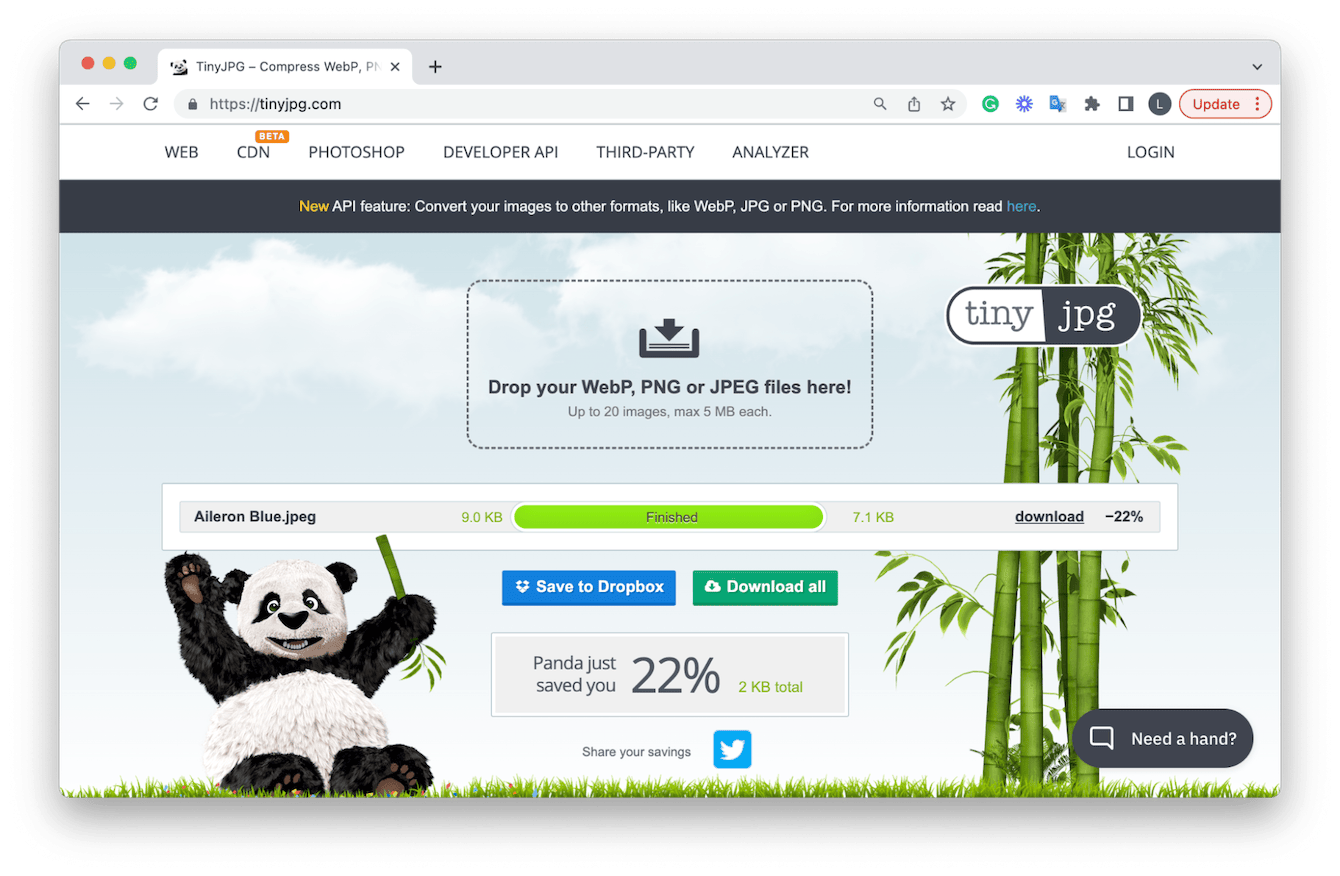
- Head over to TinyJPG.com on your chosen browser.
- Drag your image files into
- Automatic compression will start.
- Once complete, click Download.
2. Compressor.io
Compressor.io is another great online tool for condensing the size of images with minimal quality loss. Like TinyJPG, this tool is free but has a paid pro version, too.
One thing I really like about this tool is the compare feature, which lets you check the image quality before and after compression. Here's how to get started:
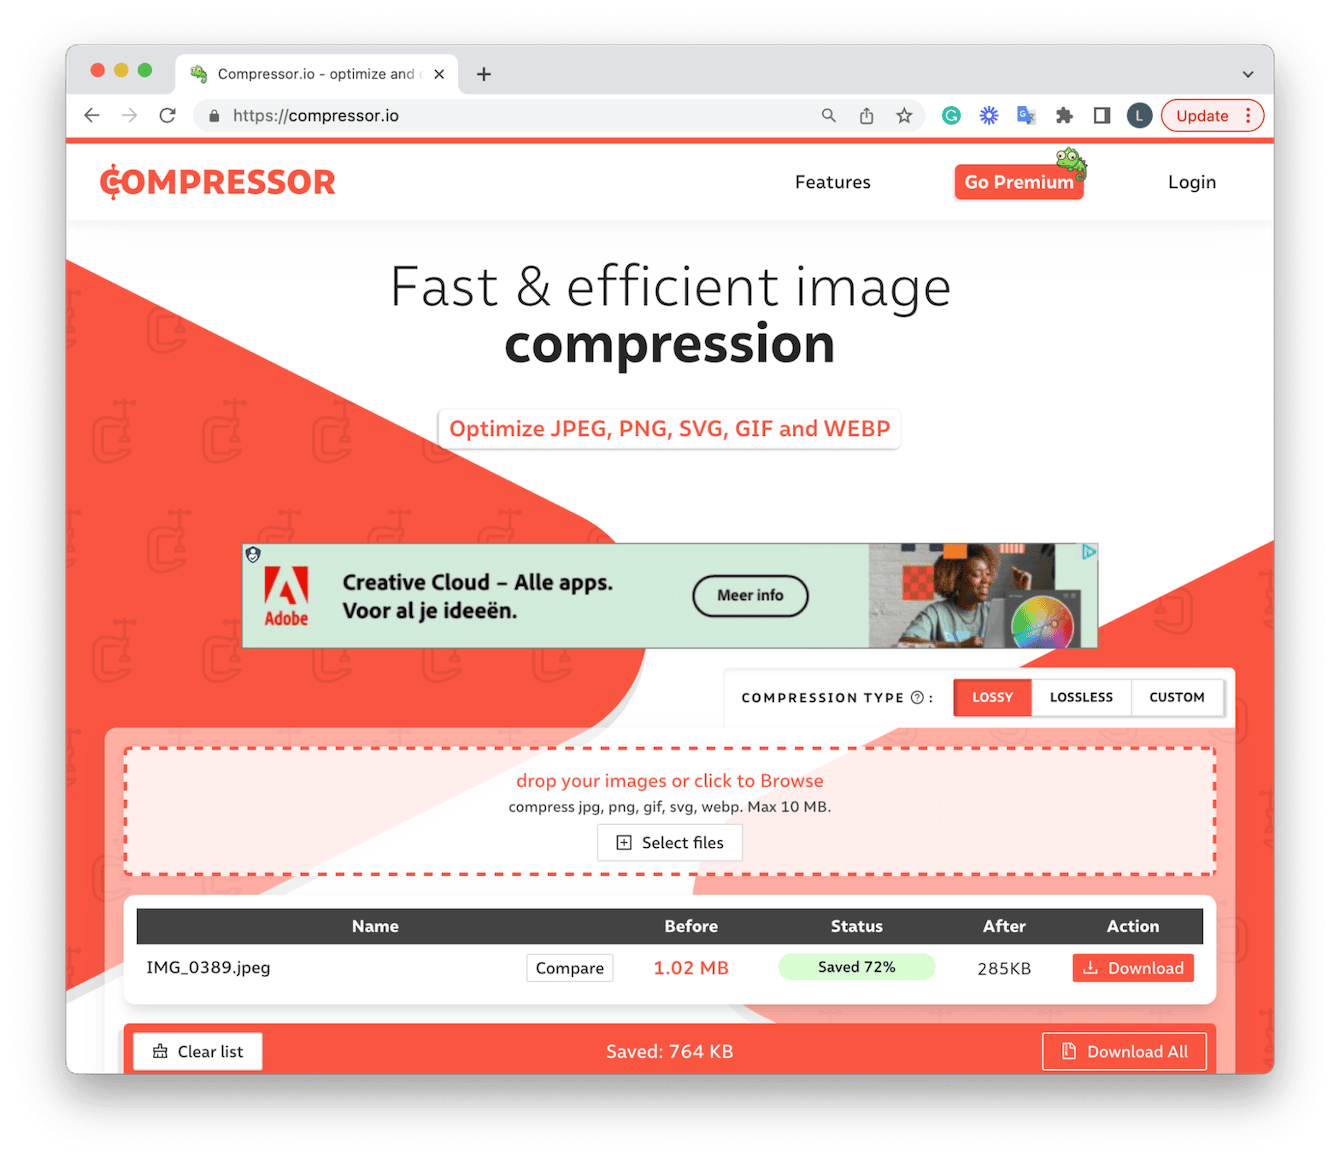
- Open your browser and head over to compressor.io.
- Simply drag the files you want to compress.
- Once complete, click Compare to view quality or Download.
3. Optimizilla
Optimizilla is another simple-to-use and quick online tool for image compression. Just like the two tools above, it's free, you can upload multiple file types, and there's no daily cap. Once you've added your files, you get a nice visual with the percentage rate of compression displayed. Here's how to use it:
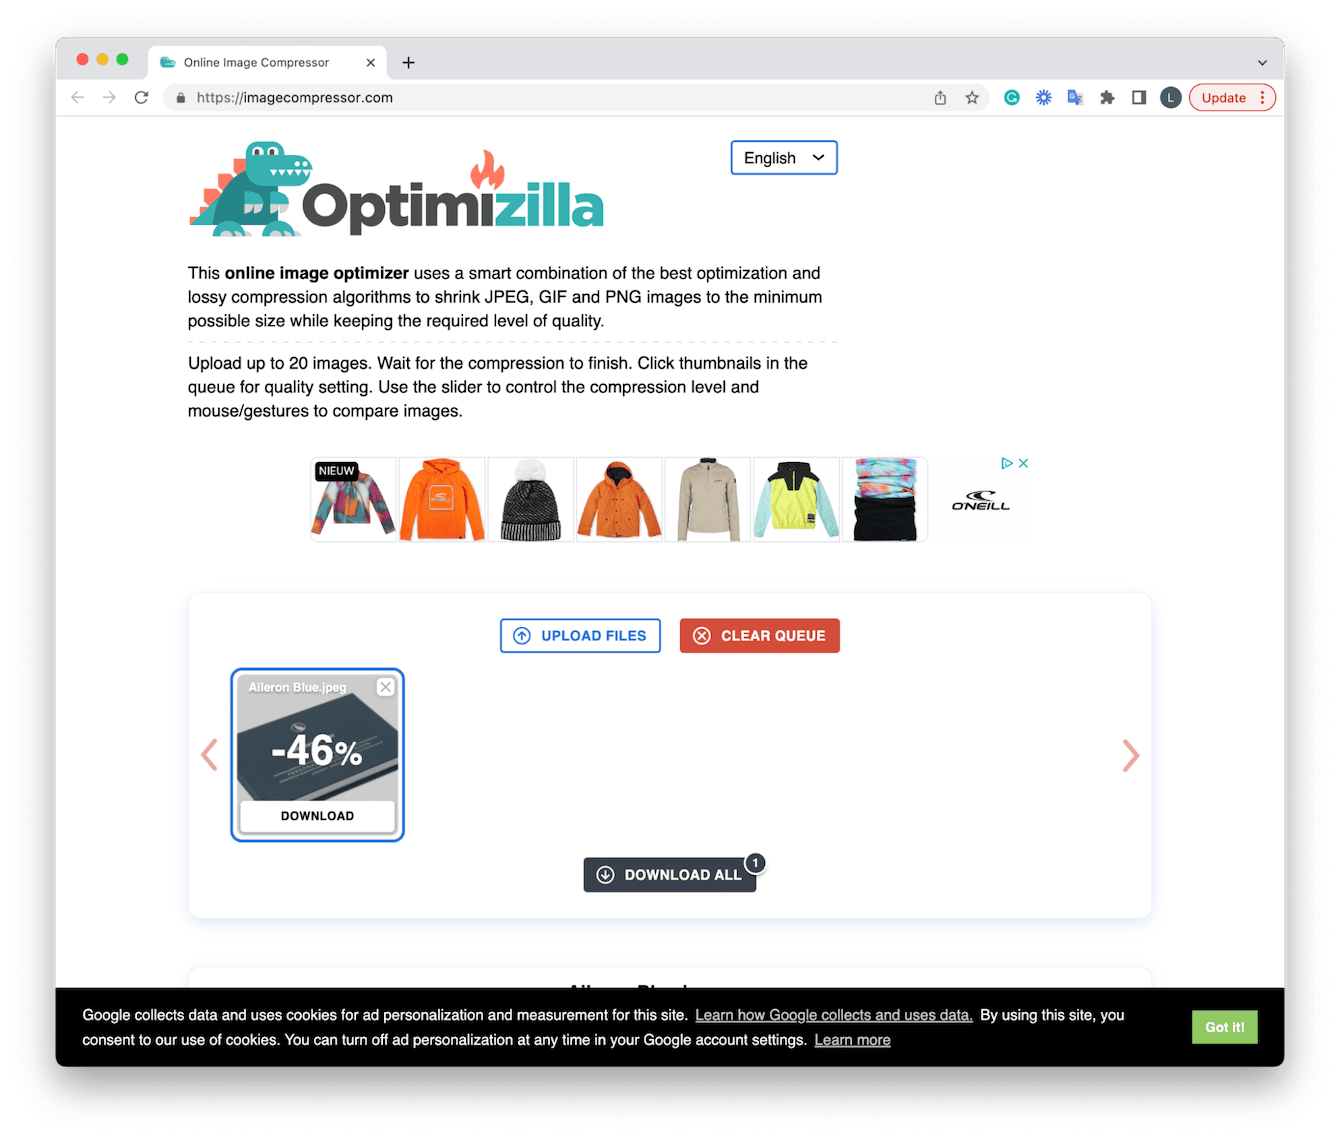
- Visit Optimizilla on your browser.
- Drag your files into the window.
- Click Download once your files are compressed.
If you're compressing images because your Mac is running low on storage space, it might be time to look at some more efficient space-saving options; head to the next section for some tips.
How to quickly free up space on Mac
It's not just images that consume storage; built-up system junk, unused applications, files, and folders play a part, too.
It's always important to keep an eye on your available disk space; here's a quick reminder on how to check it:

Select the main Apple menu > System Settings > General > Storage.
With this overview, you'll start to get a good idea of what's eating up your storage. Now, more on how to reclaim it.
1. Regularly clear up your system junk
Old user and system logs, cache, unnecessary language files, and other types of digital clutter take up valuable space on your hard drive. Locating system junk manually is a lengthy process and possibly why so many people ignore it and let it build up. But with awesome tools, like the System Junk module from CleanMyMac, you can automatically eliminate junk in a few simple clicks; here's how:

- Open the application or get the free version here.
- Select System Junk from the sidebar.
- Click Scan, and finally, click Clean.
2. Delete unused applications
Another simple way to free up space on your Mac is to remove apps you no longer need or use.
When it comes to deleting apps, it's important to state the drag-and-drop method of moving apps to your Trash does not remove all application traces and leftover files; these items hang around on your system and consume unnecessary space.
Here's how to delete apps on Mac properly, safely, and entirely.
3. Remove old or large files
When was the last time you organized and sorted through all the contents of your Mac? If you haven't done this recently, then chances are that you've let old, forgotten files build up.
The app I mentioned above, CleanMyMac, has a powerful Large and Old Files module designed to help you take back control of what's hogging storage space on your device.
After performing a system scan, it gives you a complete overview and lets you categorize all your files by type, last accessed date, or size for instant removal. Here's how to use it:

- Open the app and select Large & Old Files from the sidebar.
- Click Scan.
- Sort through your categories, select items, and click Remove.
4. Consider an external storage device
When you don't want to delete items like photos, videos, and files, another option is to consider utilizing an external storage device.
This is a quick way to free up space on your Mac. Simply connect it to your Mac, open the Finder, and drag files over.
Now that we've covered how to free up Mac space, let's return to a final image compression tip.
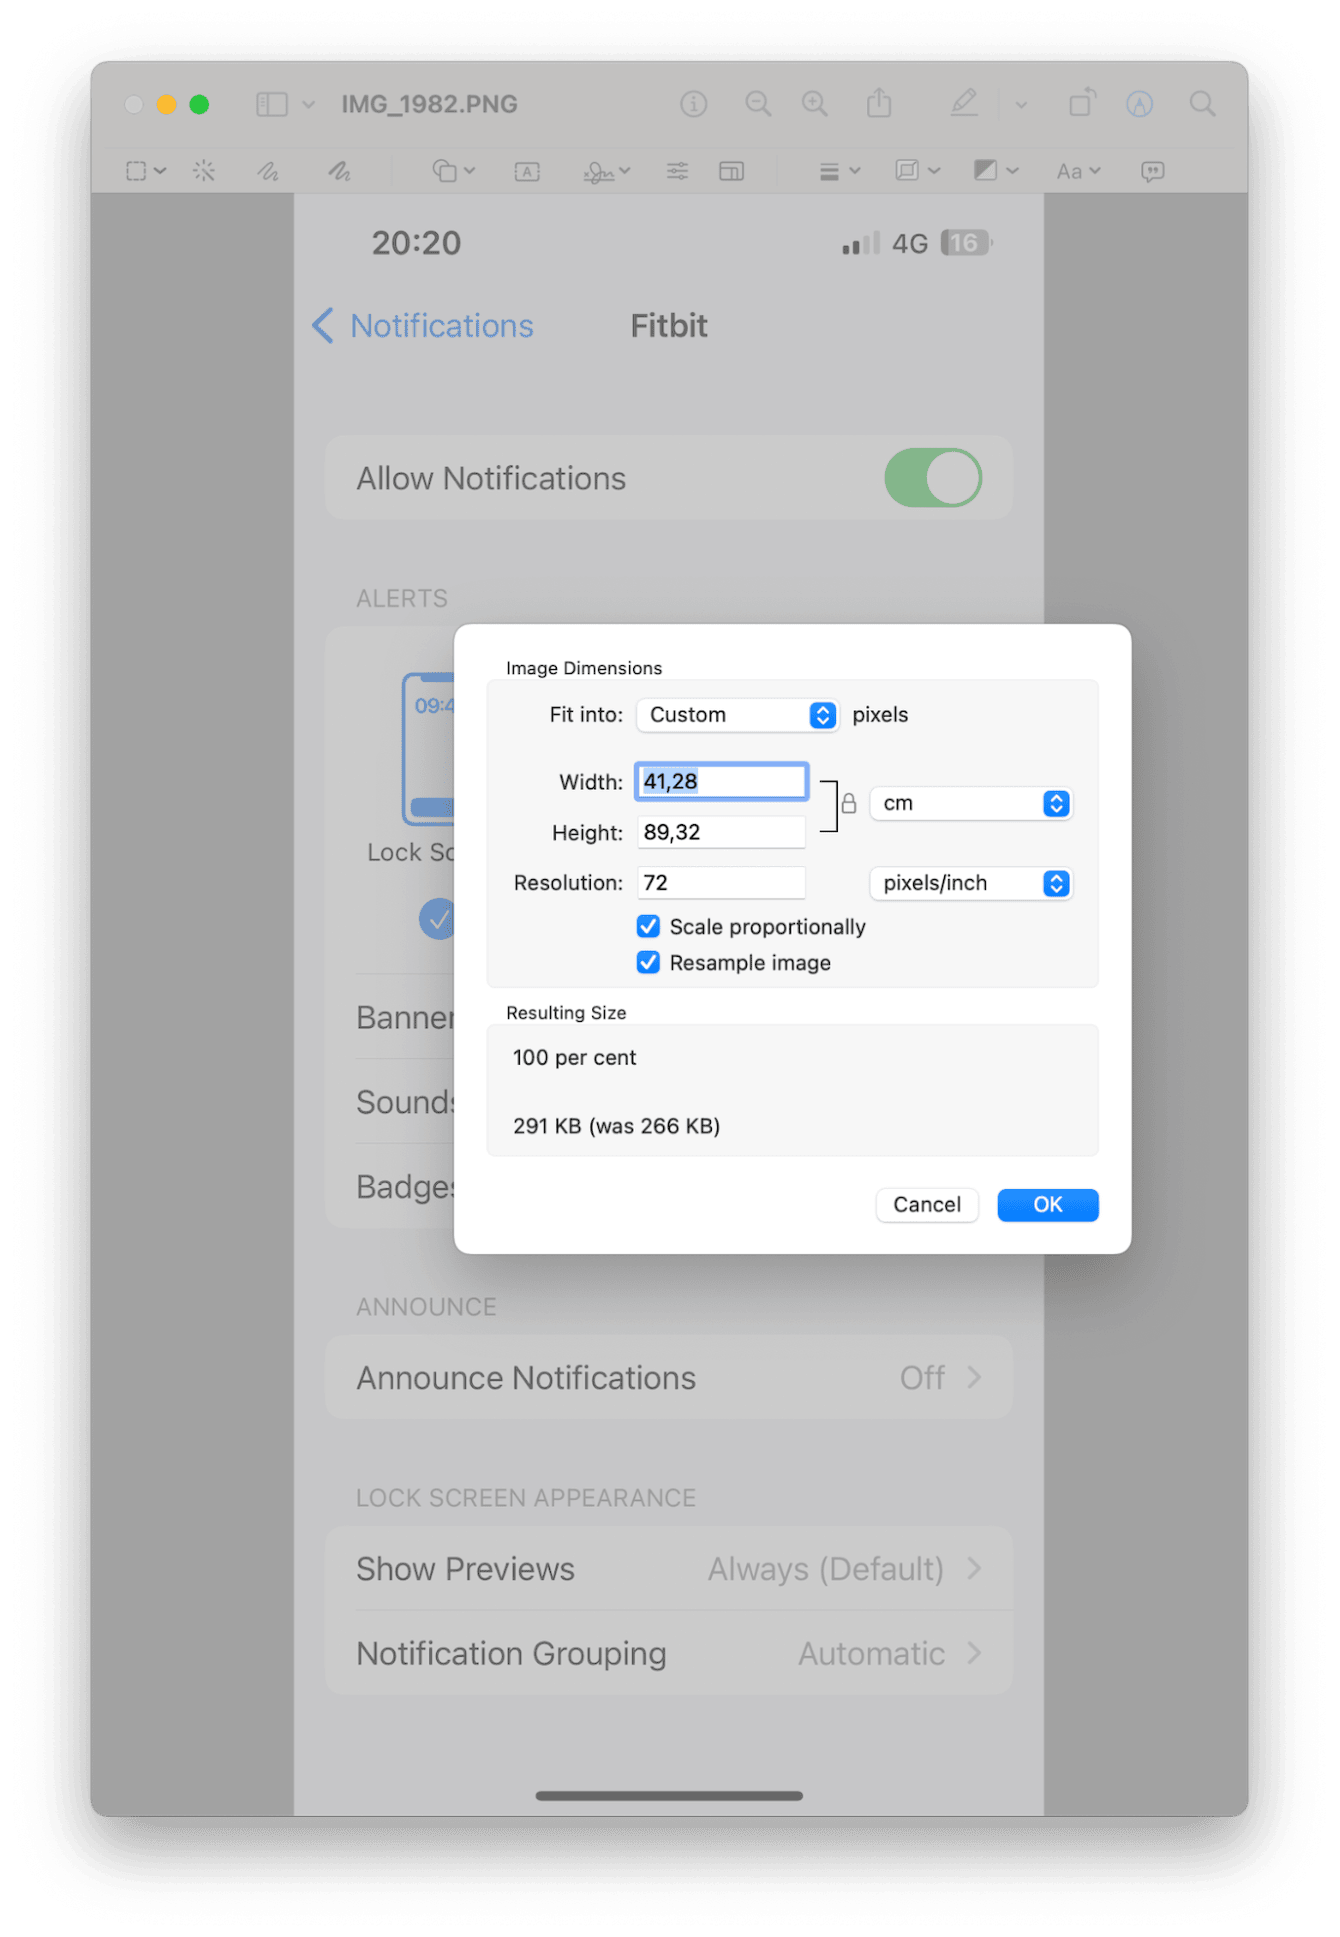
How to make an image smaller on a Mac with apps
If you like to have a more hands-on approach to image compression, lots of people don't realize that you can use the native macOS app, Preview, to compress your images manually. Let's take a look:
-
Open the Preview application.
-
From the top menu, select File > Open.
-
Open the image you want to compress.
-
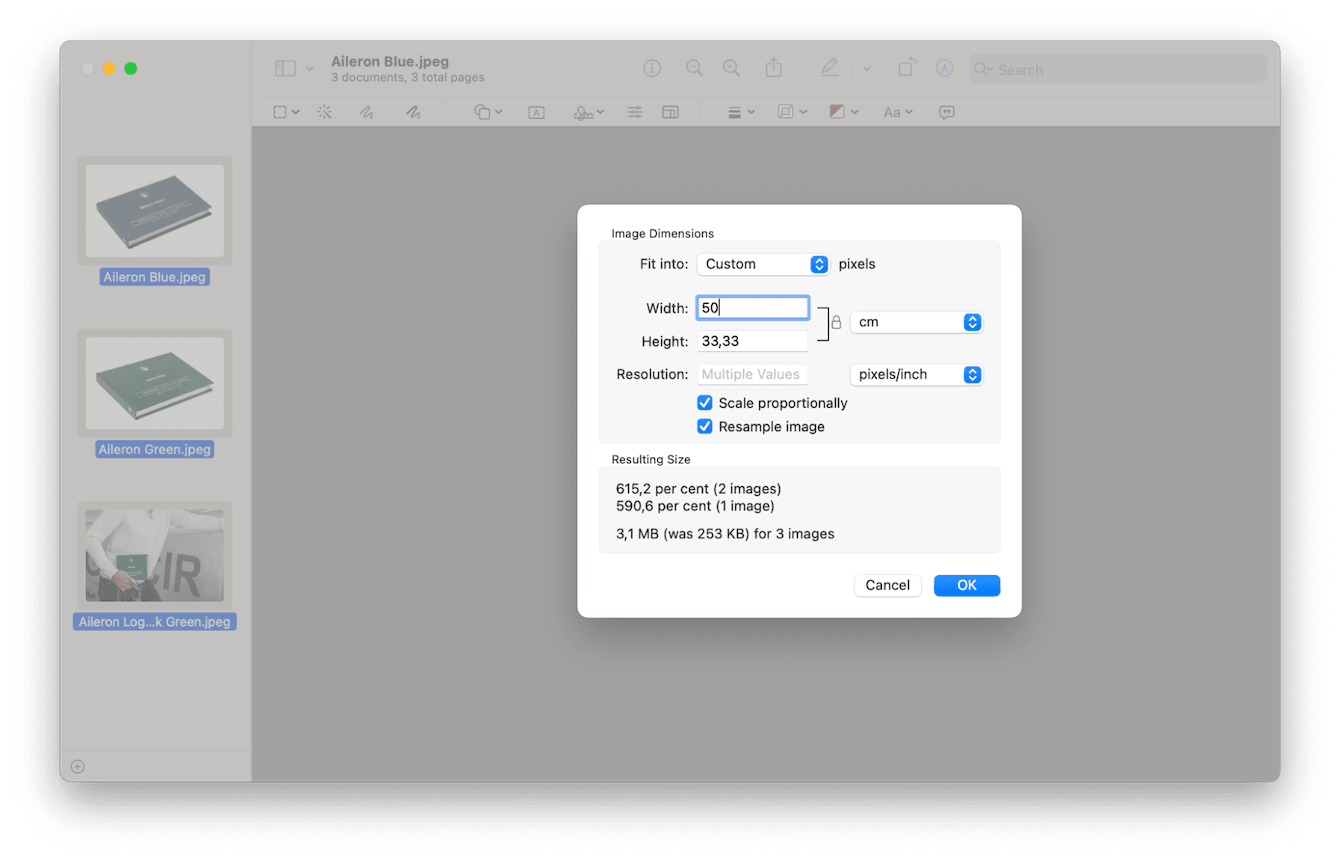
Now, from the top menu, select Tools > Adjust Size.
-
Adjust the Width or Height by pixel and notice the new size estimate; when you're happy, click OK.
It's also possible to compress multiple pictures simultaneously using this method, too. Here's how:
-
Select File > Open, and this time select multiple files.
-
Notice the thumbnails of your open files appear on the left.
-
Select all by pressing the Command-A combination.
-
From the top menu, select Tools, Adjust Size.
-
Adjust size accordingly and click OK to apply to all images.
No matter how you look at it, images and videos will quickly consume space on your Mac. If you can't bear to delete any, then at least now you know how to reduce an image file size on your Mac.