How to resize an image on iPhone
Searching for tips on how to resize an image on iPhone? You've found it. I've resized everything from screenshots to full-res portraits on my iPhone, and over the years, the tools have only improved. But still, it's not always obvious how to make a picture smaller or compress a file the right way, especially without ruining the all-important quality.
For me, resizing images usually comes down to one of two things: storage or sharing. In this article, I'll walk through the built-in options in iOS, plus a few pro tips and a compression tool I've personally used. So here's what works best.
How do you make a picture smaller on an iPhone?
If you're trying to figure out how to make a picture smaller on iPhone, you've probably already figured out that there isn't a reduce image size button in the Photos app. What you can do is crop, export in lower resolution, or share using Mail to compress it automatically: Here's what I do:
Step One: Crop and Save

-
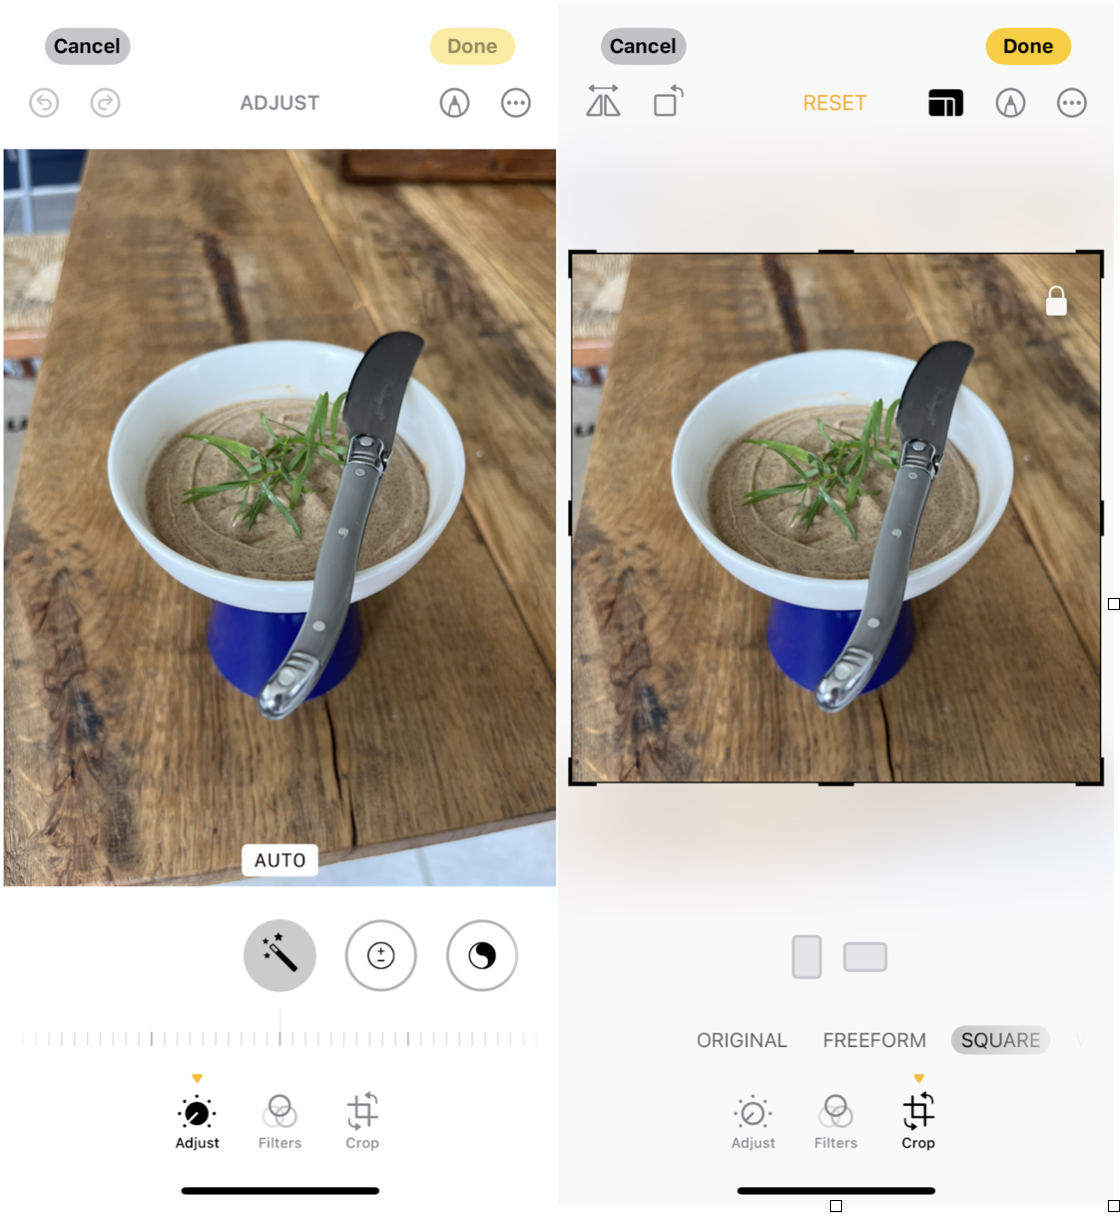
Open the Photos app, choose your image.
-
Tap Edit, then select the Crop icon.
-
Trim the image manually or use a preset, like Square.
-
Tap Done. This reduces dimensions, and often the file size too.
Step Two: Export via Mail

-
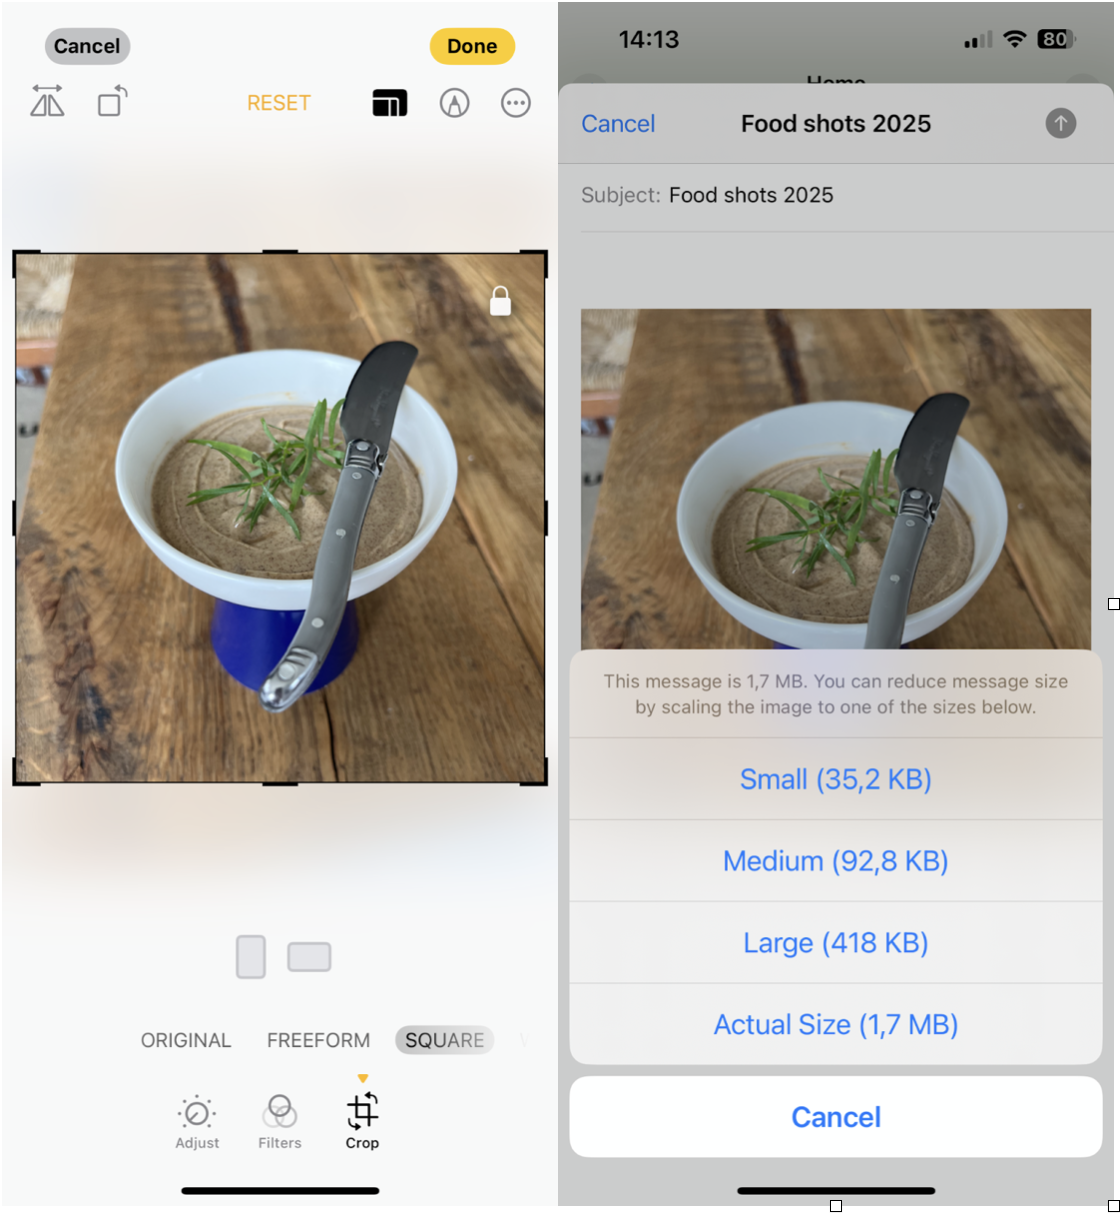
Tap Share, then choose Mail.
-
Add your own email and hit send.
-
iOS gives you image size options: Small, Medium, Large, or Actual.
-
Choose one, and download it from your inbox.
These aren't perfect solutions, especially if you need to resize in bulk, but they work in a pinch.
While resizing photos is pretty limited natively, videos often take up far more space than images. That's where I've found CleanMy®Phone's Compress Videos feature genuinely useful; here's how I use it:
-
Open the CleanMyPhone app.
-
Select Organize > Compress Videos.
-
Select one or multiple large video files
-
Preview and apply the compression
It doesn't compress your photos, but if you're trying to free up storage overall, compressing large videos is a quick win.
How to resize photos on an iPhone?
When it comes to simple resizing (not compressing), you don't need any special app or tool; in fact, the easiest way is just by using the Crop tool inside the Photos app, which I mentioned in the step above.
It's not labelled as a resizing tool, but that's exactly what it does, so no need to compress or export to an email here, just follow step one in the above section.
I use this all the time when I'm preparing screenshots or trying to get a better fit for Instagram or a document.
Tips for Resizing Images on iPhone
If you're resizing images regularly, here are a few things I've picked up that make the process faster:

-
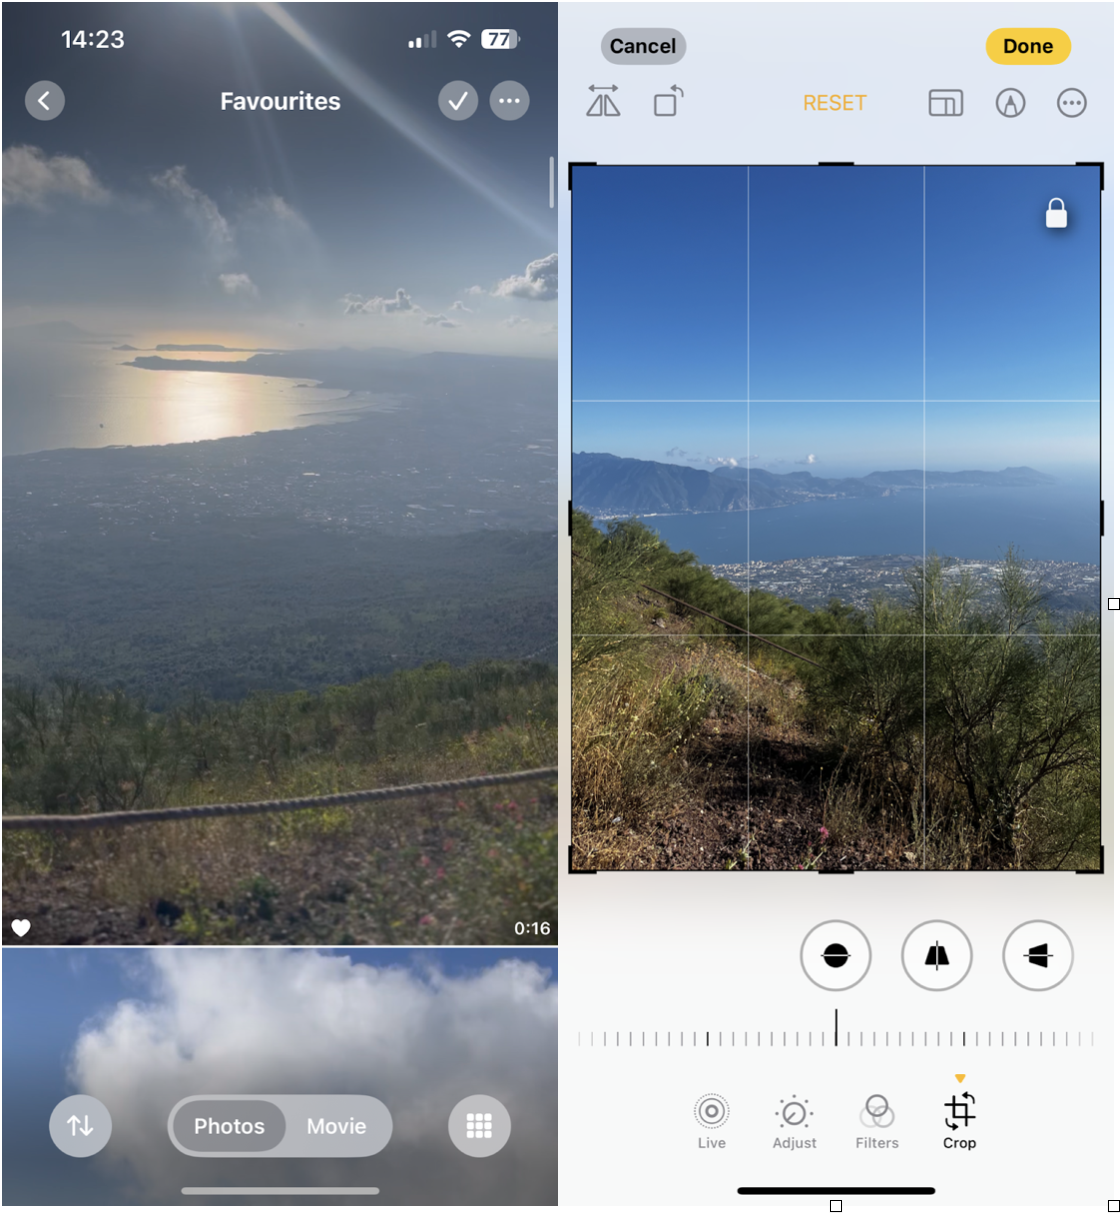
Use Favorites: Mark images with the heart icon so they're easy to find later.
-
Stick with Aspect Ratios: Presets like 4:3 or Square keep things balanced and reduce awkward crops.
-
Duplicate Before Editing: That way, you still have the original in case you over-edit.
-
Zoom with Two Fingers: When cropping, you can pinch to fine-tune the frame without losing detail.
Resizing doesn't need to be complex; just a few small tweaks go a long way.
Common Issues and Fixes
One of the biggest misconceptions I had early on was thinking cropping would make a photo smaller in terms of file size, so let's clear that up: it doesn't. Cropping reduces the dimensions only, not the file size.
Another issue I ran into was edits not syncing across devices. I'd crop an image on my iPhone, then check on my Mac later and see the original again. This usually came down to a delay in iCloud Photos syncing. iCloud's gotten faster, but if you're on a slow or unstable connection, it might take longer than expected.
Also, if you're using third-party photo editor app, some of them create duplicates when saving edited images. This clutters your library fast.
Learning how to resize an image on an iPhone is simpler than most people think. With the built-in crop tool and a few smart habits, you can manage your photo library with ease.


