How to restore Mac from Time Machine
Time Machine is undeniably one of Apple's most valuable features, and knowing how to restore from Time Machine is a helpful skill for any Mac user.
Since its first appearance back in 2007, the built-in Time Machine app from Apple has become a simple and effective way for users to back up their personal data, recover individual files, or restore their devices. Not only is Time Machine free, but it's also easy to use.
If you've ever suffered from data loss — be it via hard drive failure, stolen device, virus, or corrupt files — you'll know just how important it is to carry out regular backups.
In this article, we'll walk you through the steps required to restore your Mac from a previous Time Machine backup, so let's get started.
The basics: How to restore MacBook from Time Machine
Before we dive into the method, let's take a moment to cover the basics of how Time Machine works and what you'll need if you're looking to restore Mac to previous date.
To use Time Machine, you'll need to ensure you have a compatible external hard drive with enough space to store your data.
Once Time Machine has been enabled and set up on your device, it can automatically create local snapshots and carry out hourly, daily, and weekly backups.
Here's a quick reminder on how to set up Time Machine:
Make sure your compatible external storage device is connected.

Now, follow these steps:
- Open Finder > Applications > Time Machine.
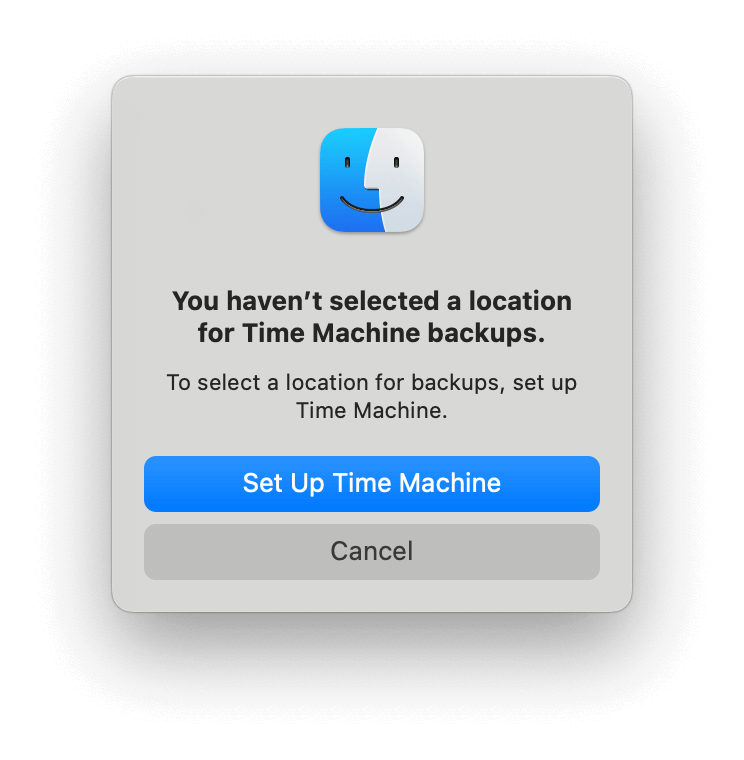
- Select Set Up Time Machine.
- Click Add Backup Disk.
- Select your external Drive and click Set Up Disk.
- Follow the on-screen instructions.
Here's an extra tip: before you back up your files and folders, it's worth removing any built or unnecessary junk like cache, temporary or broken files, cookies, and old system clutter. Not only can this help keep your Mac running smoothly, but it can also reduce the size of your backup — there's just no point in backing up junk.
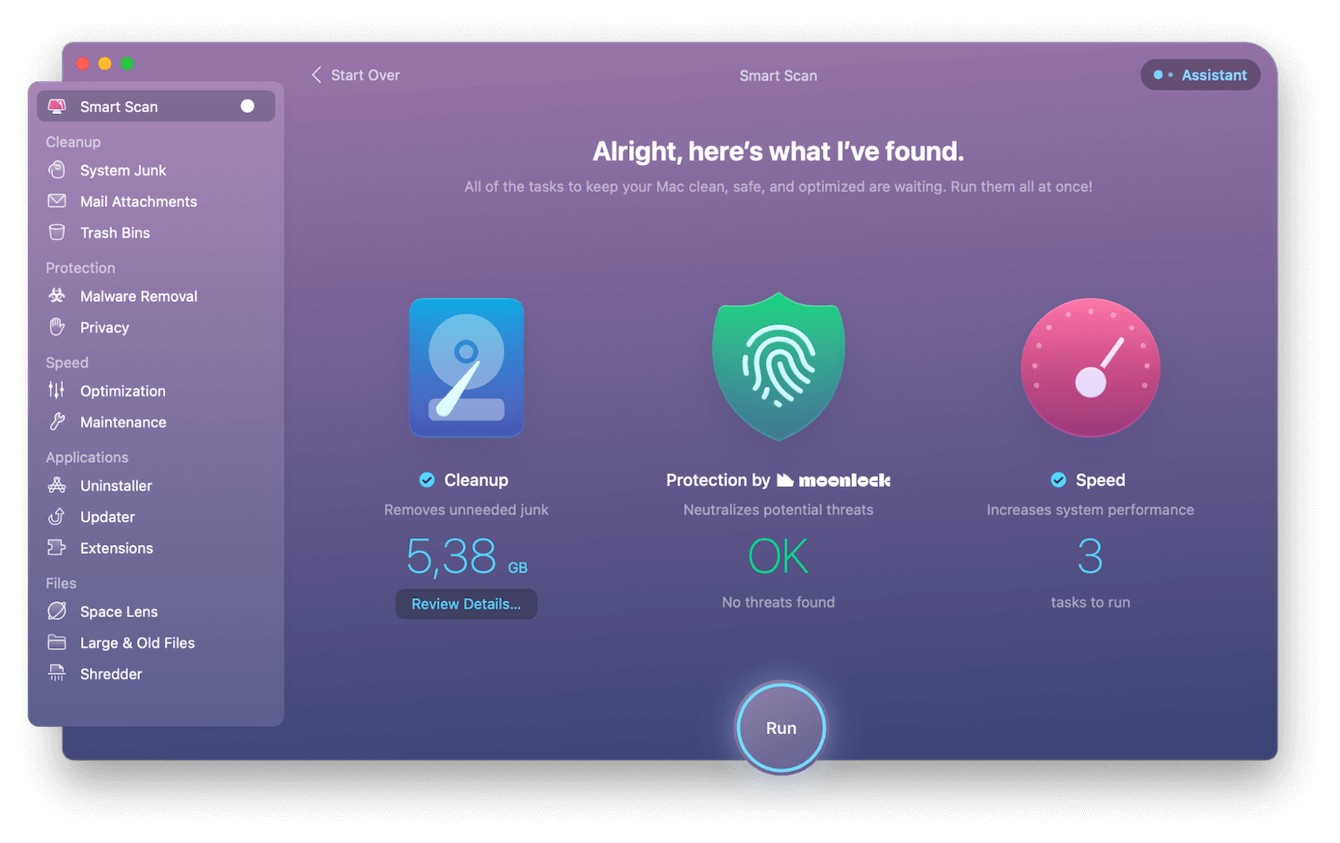
The cleaning and maintenance app CleanMyMac is the perfect tool for the job. In just a few quick and simple clicks, you can swiftly clean up your Mac and strengthen performance; here's how:
- Open CleanMyMac on your Mac, or get a 7-day free trial here.
- Select Smart Scan from the sidebar and click Scan.
- Once complete, click Run.

That's it; now you're ready to restore from Time Machine backup.
How to restore your MacBook
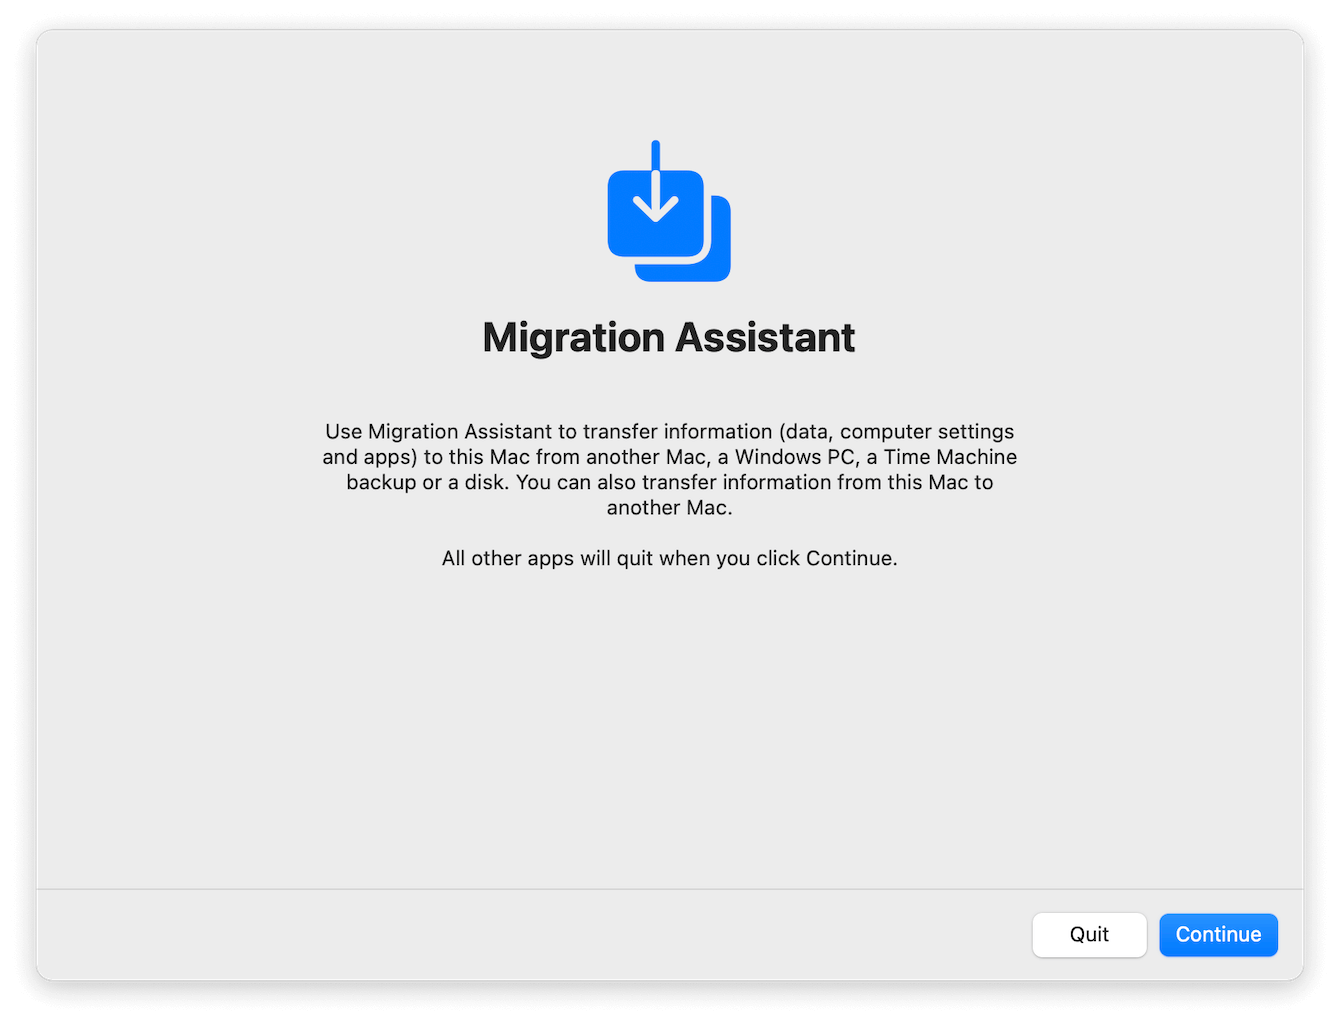
If you've been smart enough to make regular Time Machine backups and you suddenly encounter a virus, software failure, or corruption, you can use Apple Migrant Assistant to restore everything in your user account, including apps and files.
Here's how to restore using Time Machine:
Before we begin, ensure that your Time Machine backup disk is correctly and securely connected to your Mac, then Open Finder > Applications > Utilities > Migrant Assistant > Continue.
- When Migrant Assistant opens, enter your admin password to begin. Your device may then quit all open applications.
- Select From a Mac, Time Machine, or Startup Disk from the options followed by Continue.
- Select your Time Machine backup disk and click Continue.
- Select your desired backup to restore from and click Continue.
- Now, from the list, select the items you'd like to restore and click Continue.
Don't be alarmed if this process takes hours; this is normal if you're restoring from a large backup.
But what if you don't want to restore everything? Head to the next section to find out how to recover individual files.
How to restore using Time Machine: Individual files
Lots of users don't realize that it's also possible to restore individual files to earlier dates using Time Machine. This is a handy feature if you've accidentally deleted something or a file becomes corrupted.
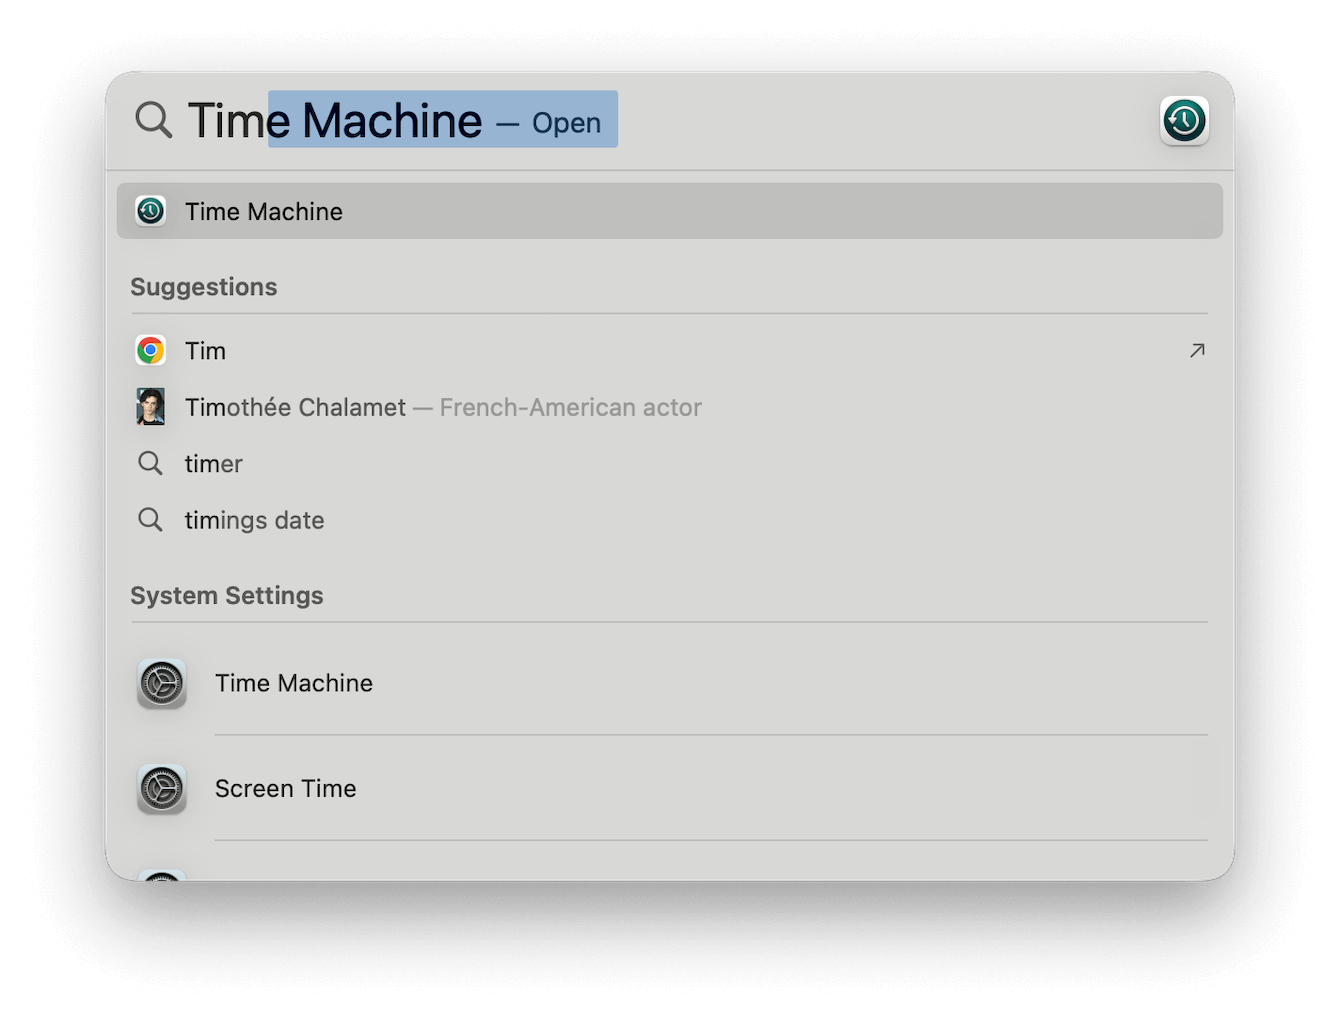
- Open Time Machine from a Spotlight search by pressing Command - Space and typing in Time Machine.
- Once open, use the search function top right to type in the name of the file you want to recover.
- Browse through your older versions, or use the timeline on the right side of the screen to search.
- Select the file to preview it and click Restore.
Simple, right?
FAQ's: Restore Mac from Time Machine
So, let's finish up by taking a look at some Time Machine frequently asked questions.
Does restoring from Time Machine restore everything?
Not entirely; there are some exclusions, and these are usually system-related files — items that you typically wouldn't need. But it will restore everything that you've selected to be backed up.
How long does a Time Machine restore take?
This depends on the size of your backup, but it can take several hours. Lots of users opt to restore from a Time Machine backup overnight for this very reason.
Does Time Machine slow your MacBook down?
No, Time Machine shouldn't interfere with your Mac's regular operation. If your MacBook is slow, low on battery, or becomes hot, Time Machine is programmed to slow down until your Mac is idle or fully charged.
Will Time Machine restore my applications?
Yes, Time Machine can fully restore your apps as long as you've selected them to be backed up.
Conclusion: How to restore using Time Machine
As you can see, restoring a Mac from Time Machine is pretty straightforward.
Having the option to restore your device from a previous backup is priceless when you run into problems, so it seems obvious to say, but regular backups are essential for Mac users. When it's so simple to protect yourself from data loss, don't get caught out. Thanks for sticking around to the end.
Why not bookmark this page for later?

