How to save image on Mac 3 different ways
There are multiple ways to save images on a Mac. And many occasions when we need to.
Perhaps you're creating a company presentation, preparing for a school project, saving some funny pictures for later, expanding your visual mood board, or simply downloading images from your social media channels — saving images on your Mac is a breeze.
In this article, we'll walk you through some of the best and simplest methods to save images, so let's dive in.
How to save an image on a Mac with right click
When it comes to knowing how to save pictures on MacBook, the majority of users will have used the right-click method at some point. It's actually considered a fairly universal method that works on different devices and computers, too, like Windows computers.
But just in case, here's a reminder of how it works:

-
If you're browsing the web and you come across an image you want to save, simply right-click on the photo or graphic and choose Save Image As.
-
Now, select the save destination on your device, give it a name, and click Save.
Simple, but it's not the only way. Keep on reading to find out other methods to save images on a Mac.
How to save pictures on MacBook using drag and drop
Lots of users don't realize it, but you can also drag and drop images, photos, or graphics from the internet to your device or from one location to another on your Mac, for instance, from your Desktop into a PowerPoint presentation.
The difference with this method is when you first initially add the image to your Mac — say, from the internet. Unlike the right-click method, though, you're not able to pre-name the image.
Here's how to drag and drop from the internet:
-
Select and hold the image you want to save.
-
Drag it over to your Desktop.
-
You can now choose to rename the file.
You can use this method to also move images around your device and drop images into files, folders, and presentations. It's really handy!
How to save image from Google on Mac
If you're specifically interested in understanding how to save images from Google, then the methods above will work perfectly. In fact, all the methods we cover in this article will work on any browser, so you don't need to look any further for a specific Google method — there isn't one.
While we're on the subject of saving images from your favorite browser, it's worth mentioning that images, if you let them, will build up quickly on your device and can cause it to slow down dramatically.
It's always a good idea to keep on top of files, folders, and other unneeded media files to keep your Mac in good shape. A simple way of doing this is to use a dedicated and Apple notarized Mac cleaner tool like CleanMyMac.
Its Large & Old Files module works quickly to locate all your media files, grouping them together in one simple overview so you can select exactly which files you no longer need. Here's how this smart tool works:

-
Open the app or take a moment to download the free version first and install it.
-
Click Large & Old Files > Scan.
-
Use the various categories like Pictures and Movies to search for media files.
-
Select what you want to erase, choose the removal type, and finally, click Remove.
So, you now know how to keep your MacBook running smoothly and in good health. If you carry this task out regularly, you'll ensure your Mac has enough free space to perform.
How to save a photo on Mac from an external device
If you store all your images on an external drive, you might be wondering how to save photos onto a Mac. Well, that's simple, too; let's take a look.

-
Ensure your external device is connected correctly to your MacBook.
-
Locate the image or images you want to save on your physical device.
-
You can either choose to use the drag-and-drop method, as mentioned in the section above, or copy and paste.
-
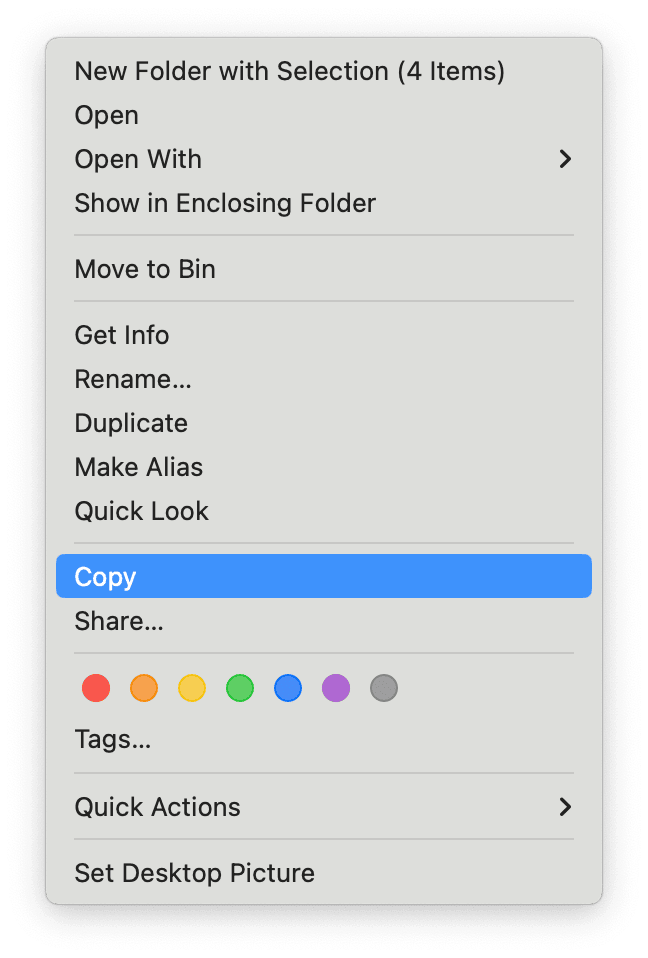
To use copy and paste, with the files selected, right-click and click Copy. Then, right-click on your Mac in your chosen location and choose Paste Item.
How to save image on Mac without right click
So we've looked at all the simple methods available, from right-click and drag-and-drop to copy and paste. You might think we've covered them all, but there's also another way —
you can also take a screenshot. Screenshot is a really handy built-in feature from Apple that lets you capture what's on your screen in image form.
This is particularly handy if you're trying to save an image from a site or app that doesn't allow direct downloads, like Instagram, for example.
Here's how to save photos on Mac using the screenshot method:
-
Press the Command - Shift - 4 keys together.
-
Drag the box around the part of your screen you want to capture while left-clicking.
-
To take a screenshot of your entire screen without the selection, just press Command - Shift - 3.
-
By default, screenshots are saved to your Desktop.
Save image is not working on Mac
Sometimes, users run into issues with the Save Image option not working when they use the right-click method. If that is something that's troubling you, too, here are a few tricks to try:
-
Restart your Mac from the main Apple menu.
-
Check you have enough storage via System Settings > General > Storage.

-
Check your Downloads folder; images might be saved there instead of your Desktop.
-
Update your browser.
-
Use the Screenshot method instead.
So, we've reached the end; you're now armed with all the tips you need to know on how to save images on a Mac.

