How to scan on Mac [4 ways]
Need to know how to scan on Mac? I recently needed to scan a bunch of signed documents, and while I assumed it would be quick, I still found myself clicking around a bit too much.
The tools are there — from Preview to Image Capture to even your iPhone — but knowing which one to use and when makes all the difference.
If you're trying to scan paperwork to email, keep digital backups, or just ditch that home office clutter, scanning on a Mac is pretty simple once you know where to look.
I'll walk through the most practical ways to get it done and give you a few tips to keep your Mac running smoothly while you're at it.
Why you should know how to scan on a Mac
Scanning documents isn't just for office professionals; there have been quite a few times lately when I've been asked to provide digitalized documents or a scanned copy of a signed form, but not many of us have a bulky flatbed scanner at home these days.
While scanning papers might seem a bit old-fashioned, considering so much is digitalized, you'd be surprised. For now, it's still in its place, so knowing how to do it quickly can come in handy.
How to scan a document on Mac
If you're anything like me, scanning usually means snapping a document with your iPhone and sending it straight to your Mac. Luckily, Apple's ecosystem makes that process surprisingly smooth.
Here are the easiest, most up-to-date ways to scan on a Mac — no old-school scanner required, unless you want to use one.
1. Use your iPhone with Continuity Camera
If you're running macOS Sequoia and you have an iPhone nearby, this is hands-down the fastest way:
-
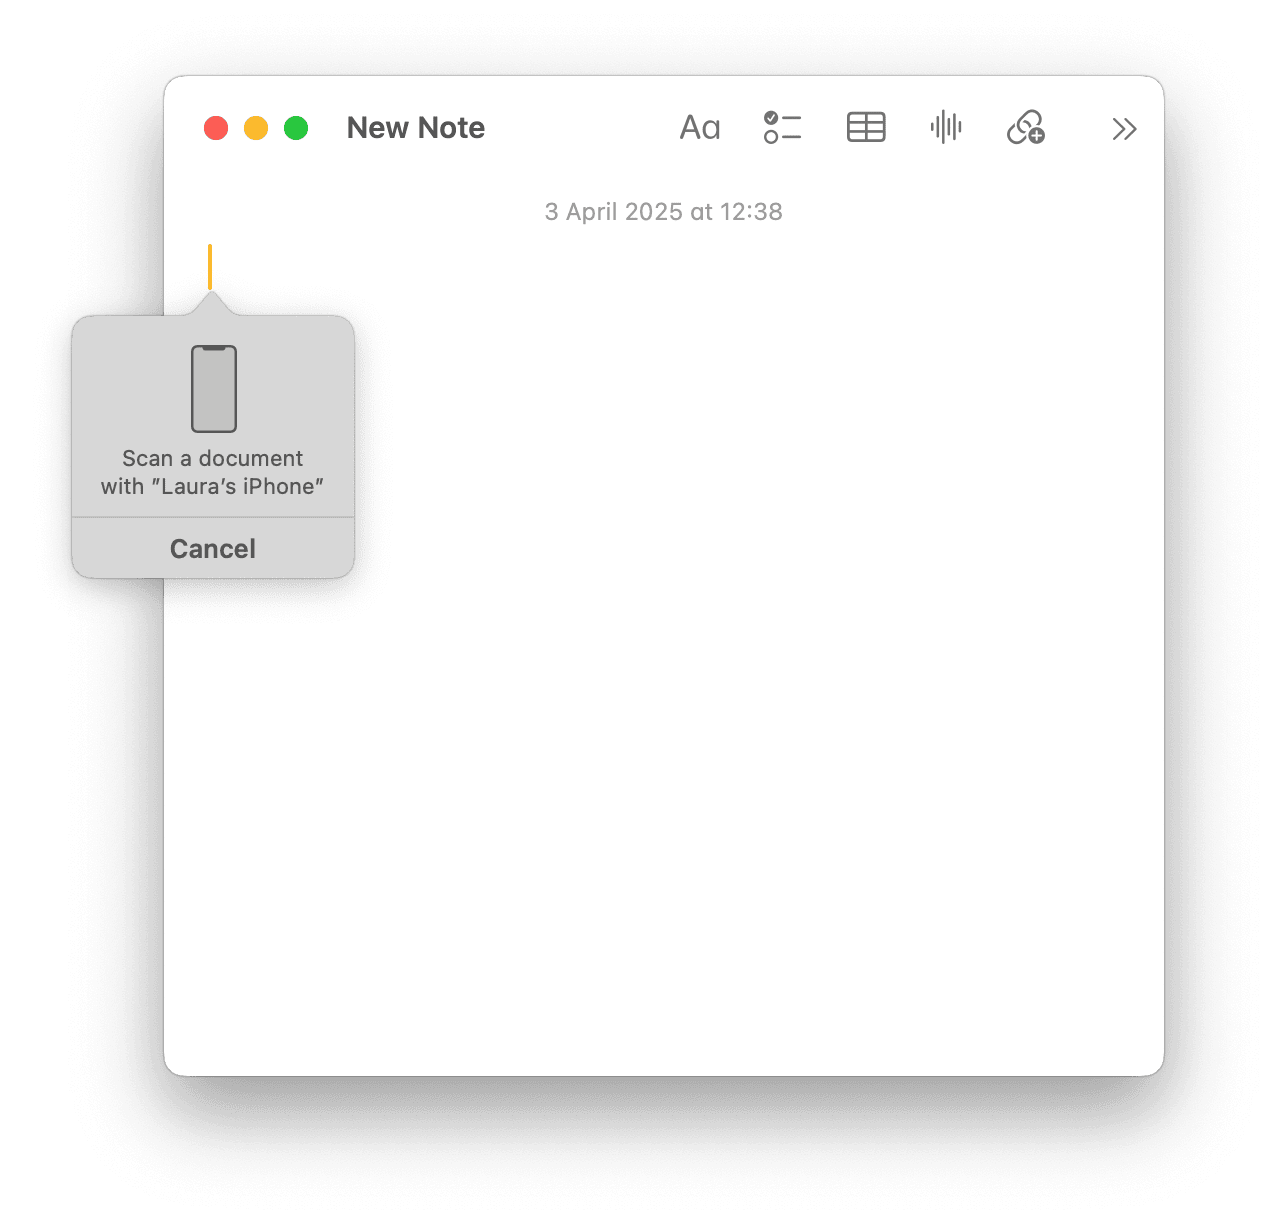
Open the Notes app on your Mac and make a new note.
-
From the top menu bar, click File > Insert from iPhone > Scan Documents.
-
Your iPhone will automatically open its camera. Point your iPhone at the document and capture it.
-
Tap Keep Scan on your iPhone, and when you're done, tap Save.
- The scanned File will instantly appear in your open note on Mac.

Heads up: If you don't see the option to "Insert from iPhone," make sure both of your devices are logged in to the same Apple Account, have Bluetooth and Wi-Fi turned on, and have the Continuity Camera enabled in Settings.
2. Use the Preview app
If you have a physical scanner or an all-in-one printer connected to your MacBook, you can use Preview to import and edit your scans; here's how:
-
First, make sure your scanner or printer is turned on and connected (either by USB or over Wi-Fi).
-
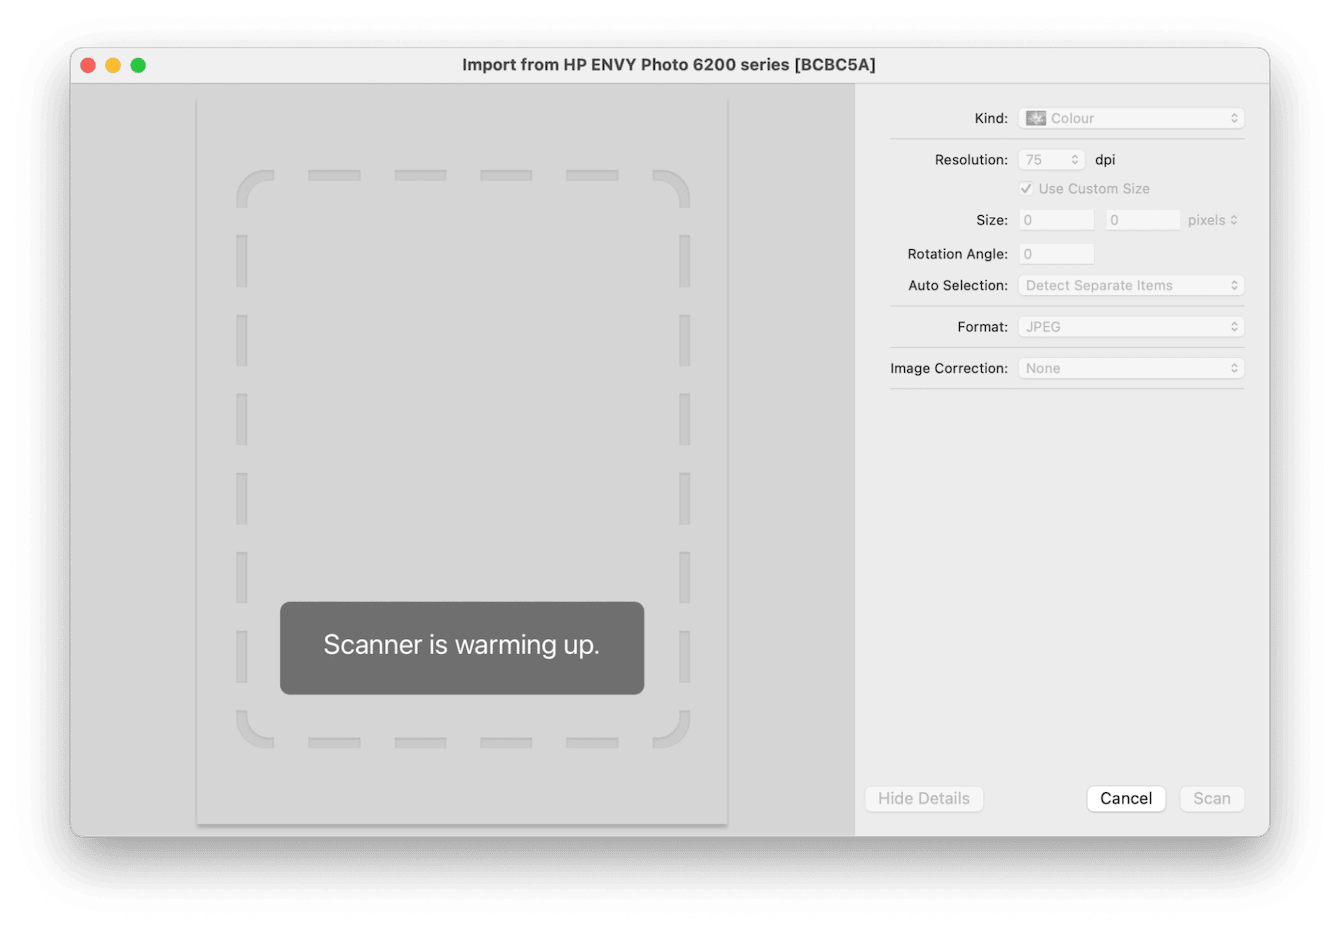
Open the Preview app, go to the top menu, and click File > Import from (the name of your device).
-
A scanner window will appear. From here, you can select:
-
Color format and can size
-
Resolution — 150 dpi is good for most things, 300 if you need higher quality
-
Click Scan and choose where you want to save the file.

If your scanner isn't showing up, it might just be a driver issue; I've had to restart my Mac a couple of times to get it to appear.
This method is a bit more traditional in the sense that you get a bit more flexibility than Continuity Camera. It's better for longer documents or when you need precise control over how the scan looks, but for everyday use, honestly, I still default to my iPhone.
3. Scan documents using Image Capture
So, I accidentally stumbled on this a while back when my all-in-one printer wasn't showing up in Preview. It turns out that Image Capture works just as well, sometimes even better.
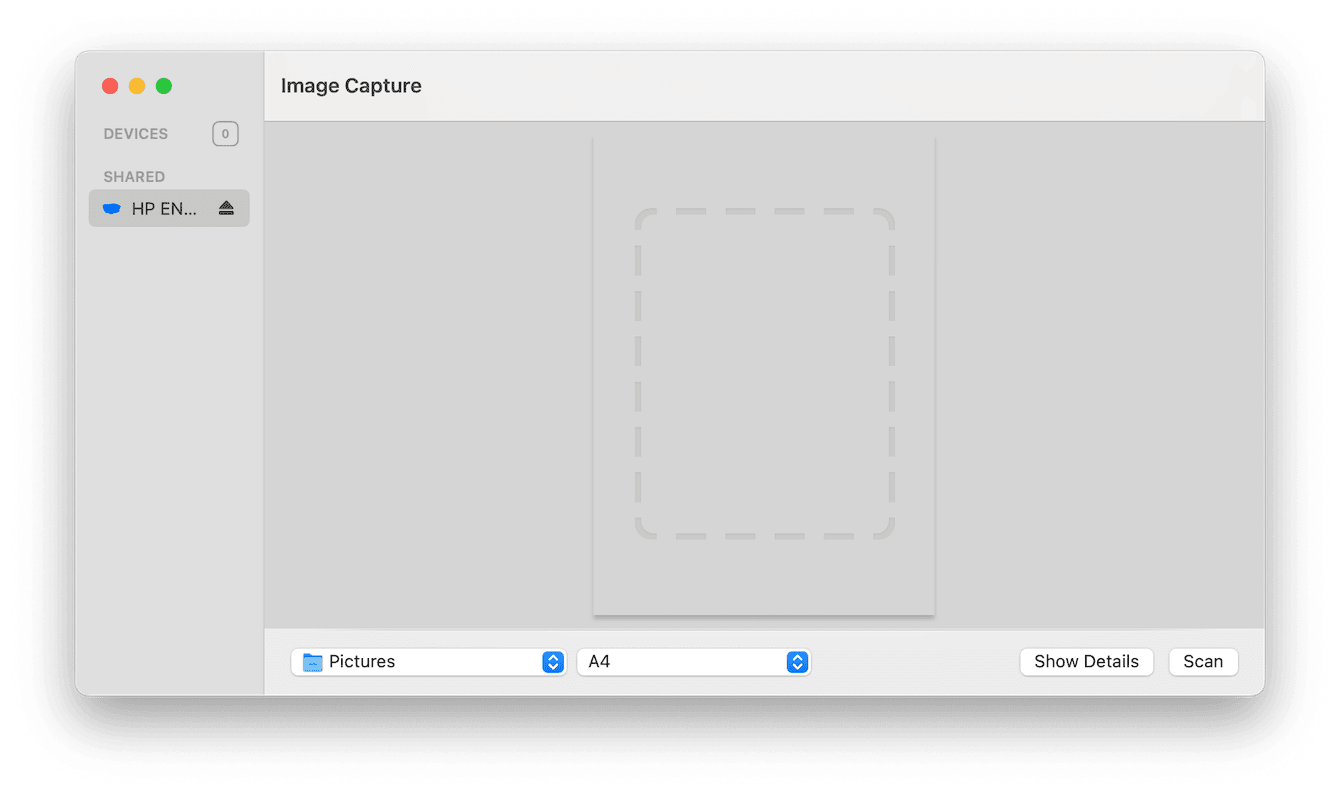
- Open Image Capture.
- On the left-hand side, your scanner or printer should appear under Devices or Shared.
- Select your device. The main window will show scan settings. You can:
Choose your file format
Set the resolution and paper size
Choose the save file location - Click Scan.

That's it; you'll be able to find the file in the location you chose to save it to.
4. Use a dedicated scanner app
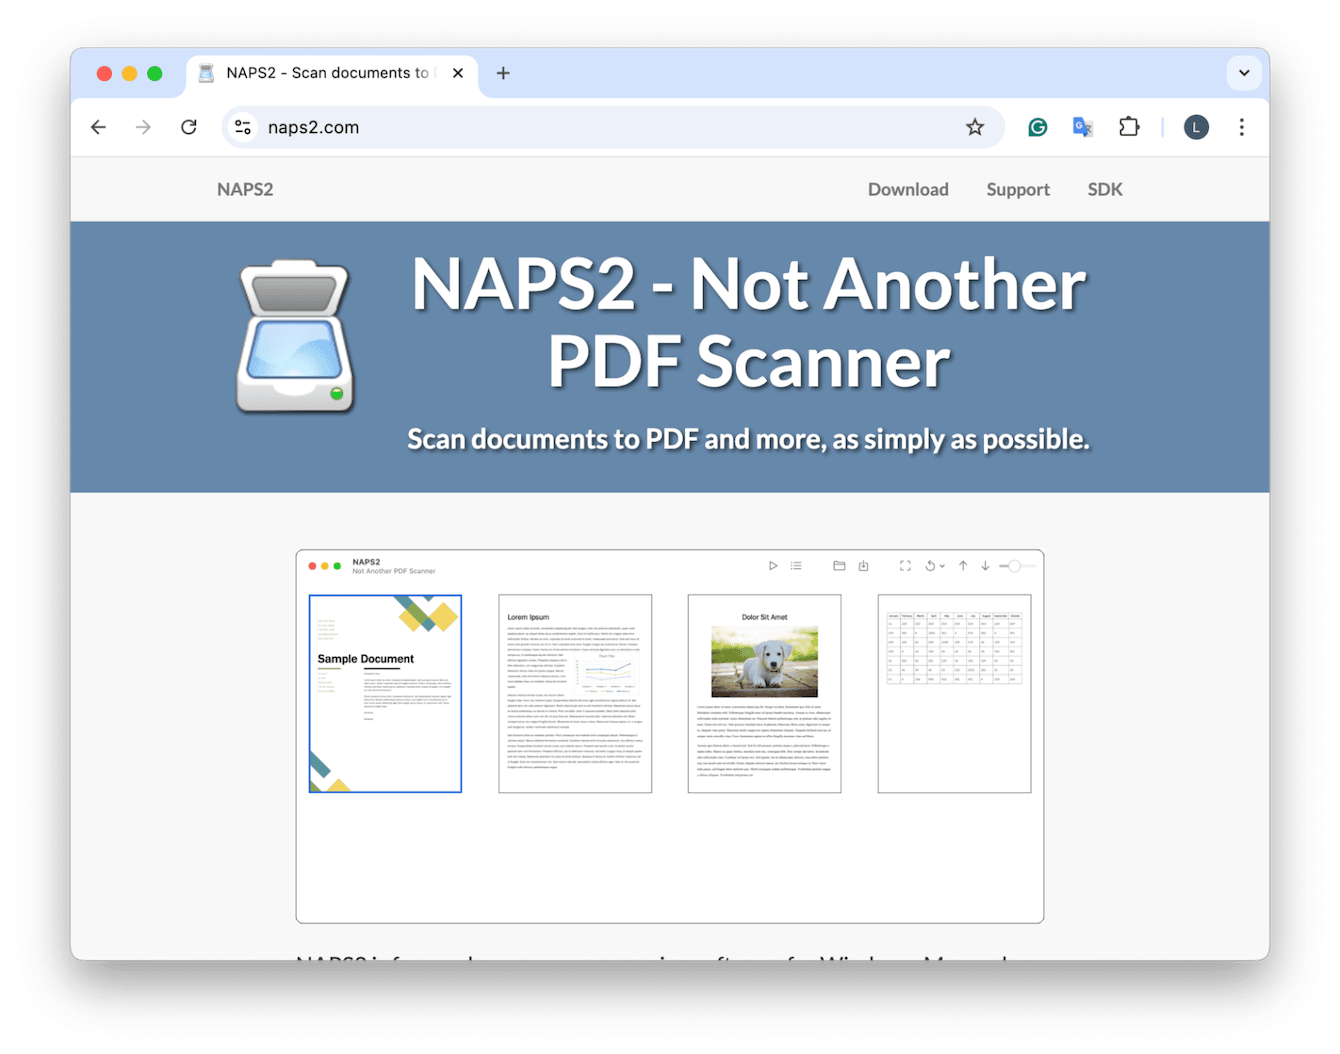
Another option is to use a third-party scanner app. One that I've tested and used is NAPS2 (Not Another PDF Scanner 2). I like this tool because It's free and simple to use; you can scan documents to PDF and other formats.

If you don't like the native Apple tools, this is a good alternative.
Keep your Mac ready for everyday tasks
Scanning documents is one of those tasks that works best when your Mac is running smoothly. In my case, I once spent way too long wondering why my scanner kept freezing mid-task; it turned out that my Mac was overloaded with background processes and clutter I hadn't cleared in ages.
That's where CleanMyMac comes in. If you haven't tried it, the Smart Care feature is a solid way to clean up junk files, optimize memory, and keep macOS feeling snappy, all in one go. Here's how to use it:
-
Open the app and choose Smart Scan from the sidebar.
-
Hit Scan and wait while it checks for junk, potential threats, and speed issues.
-
Review the summary and click Run to fix everything in one click.

I've made Smart Care part of my weekly routine; it keeps small tasks like scanning, opening large files, and even launching Mail from slowing down.
Well, that's it. Now you know how to scan on a Mac. If this is something you're doing regularly, I'd suggest keeping your system tidy and performance-optimized. And if you're still having trouble with your Mac's general speed, check out this guide on how to speed up a slow Mac; there are some great tips in there.

