How to screen record on iPhone
Have you ever wondered how to screen record on your iPhone? It's a handy feature that many iPhone users have yet to discover, but that's where we come in.
Join us as we cover all things screen recording, from where it's located to audio options and even some bonus content, and how to keep your iPhone media library tidy. OK, so let's get started.
How do you record on an iPhone?
If you're a fan of screenshots, then you'll love the screen record feature, which has been around since iOS 11. It comes in handy if you need to record an application glitch, create a how-to tutorial or even record yourself gaming.
First, let's take a look at where the screen record button is located:
-
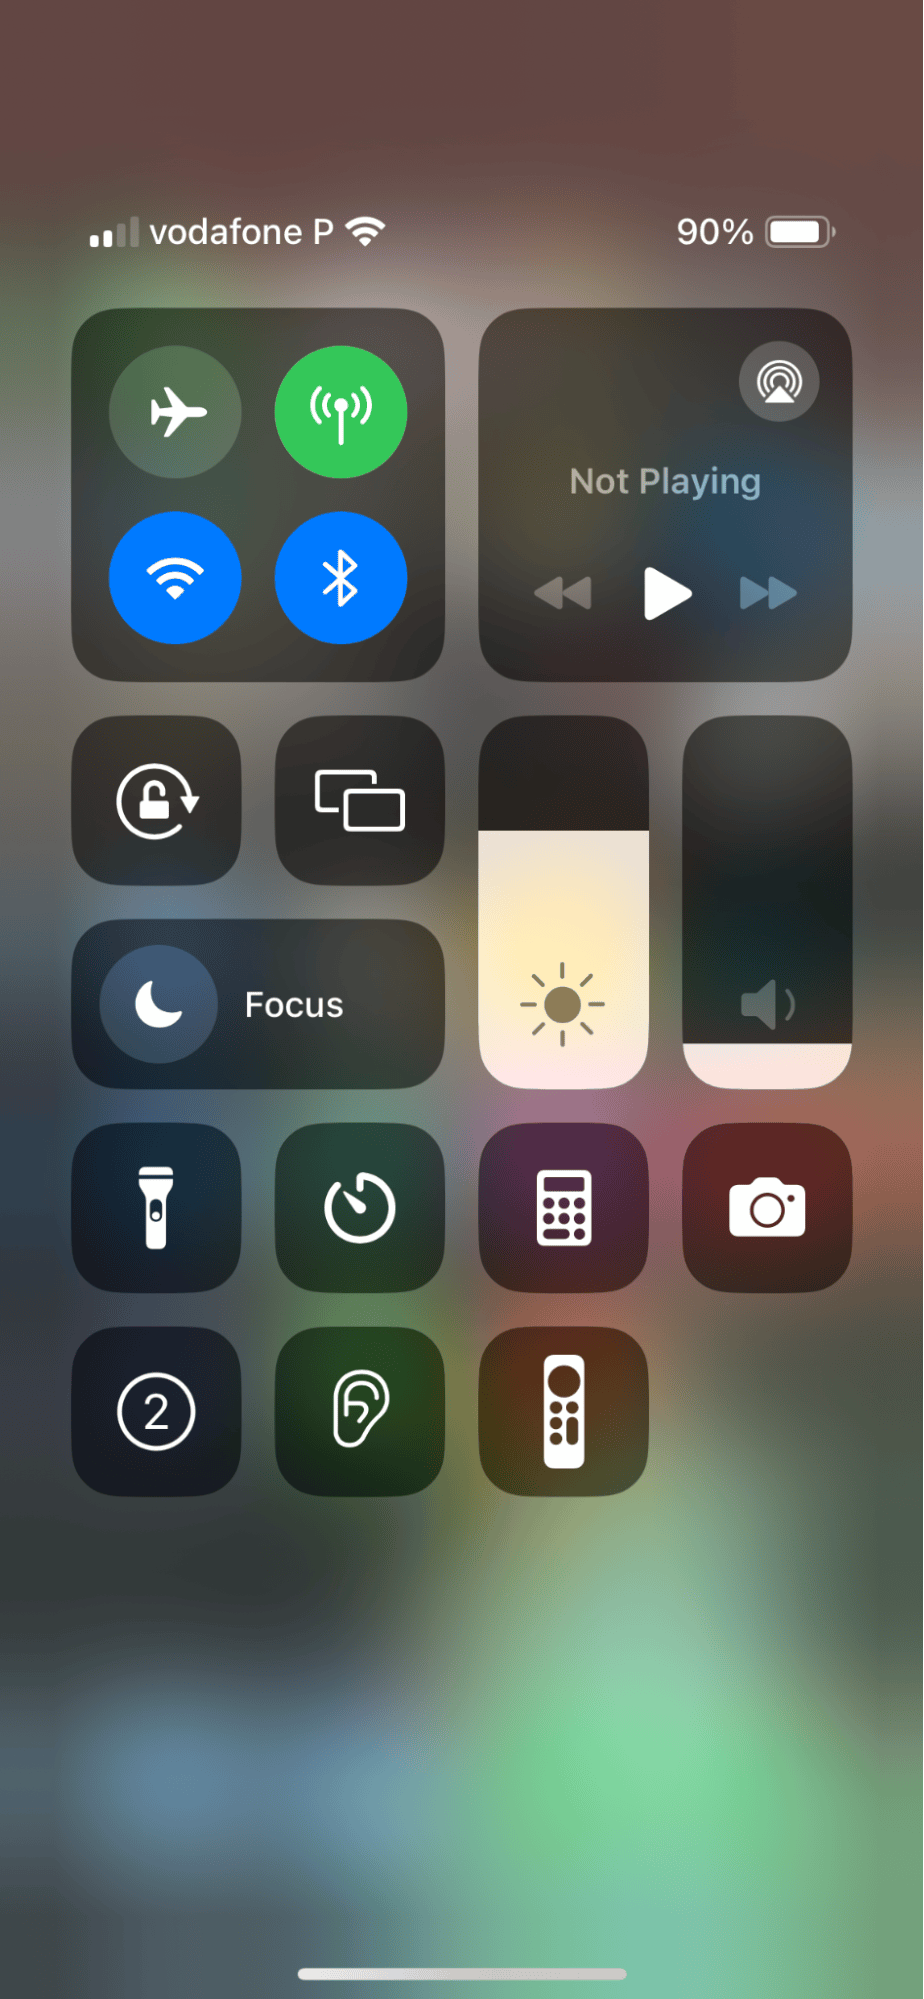
Open your iPhone's Control Center.
-
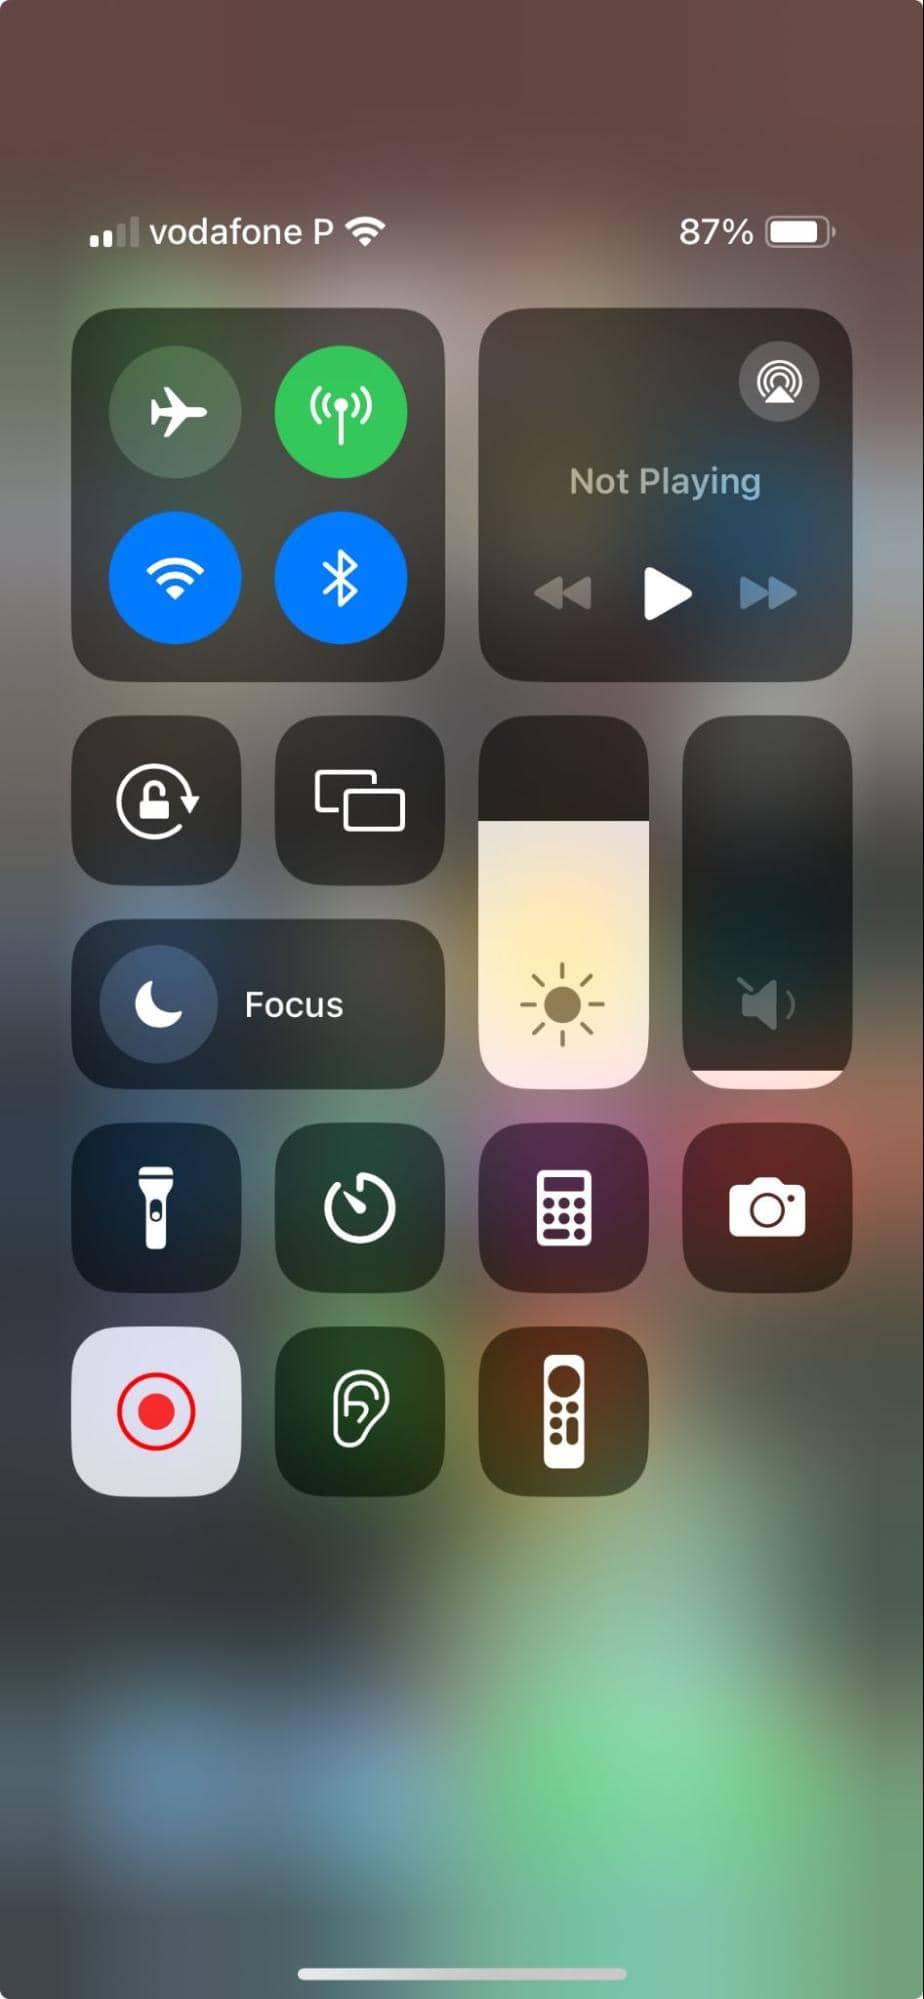
The record button will be located in different spots, depending on your device, but the icon is the same (circle in a circle)
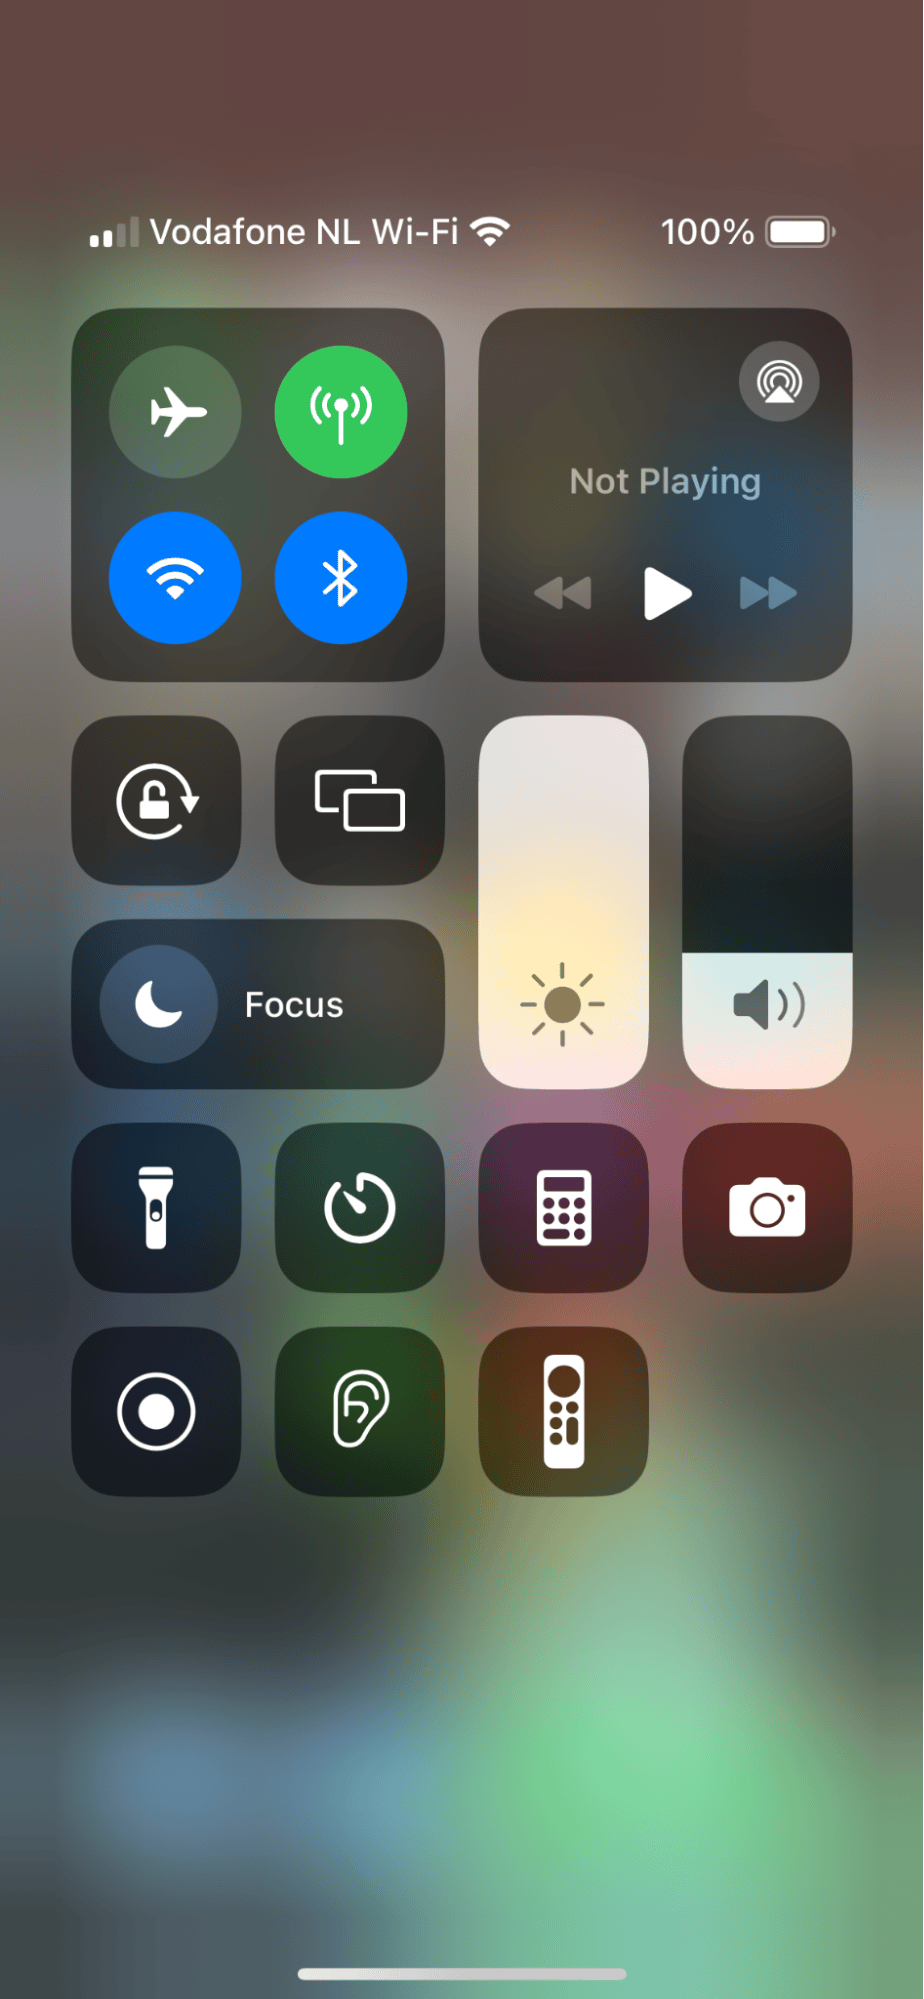
If it's not there, you can customize your controls; here's how:
-
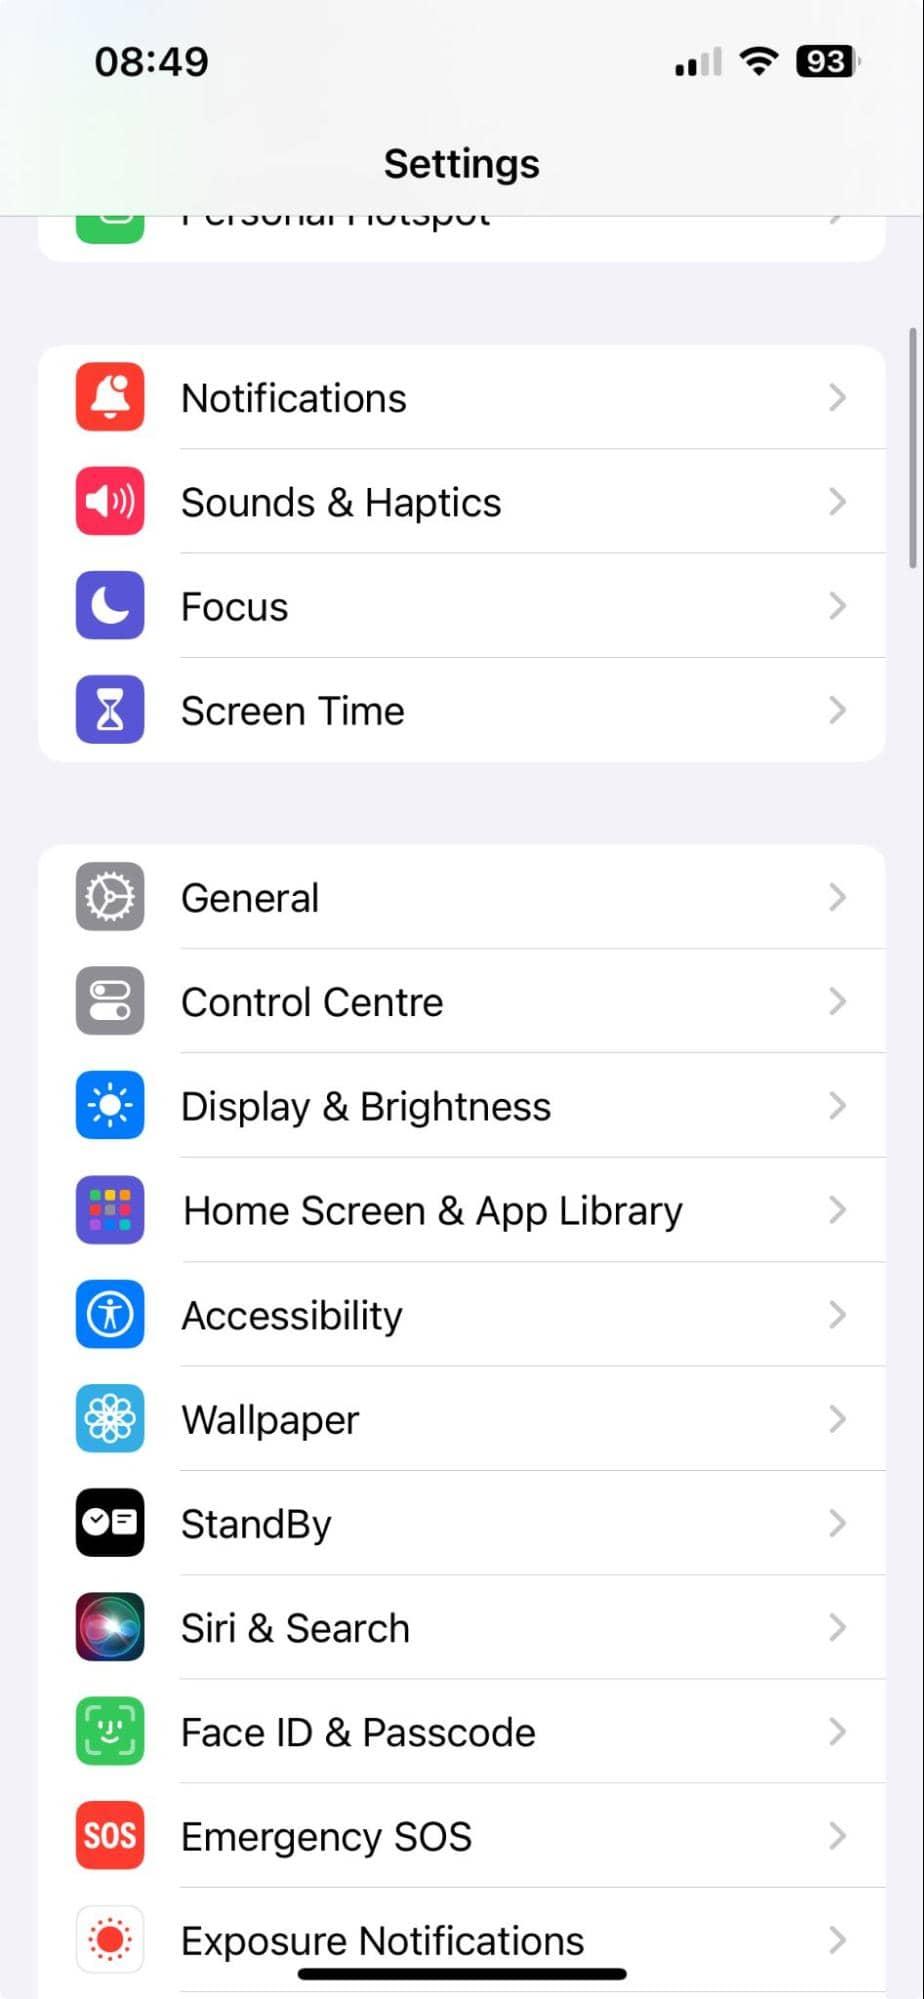
Open your Settings Applications > Control Center.
-
Under More Controls, add Screen Recording by pressing the + button.
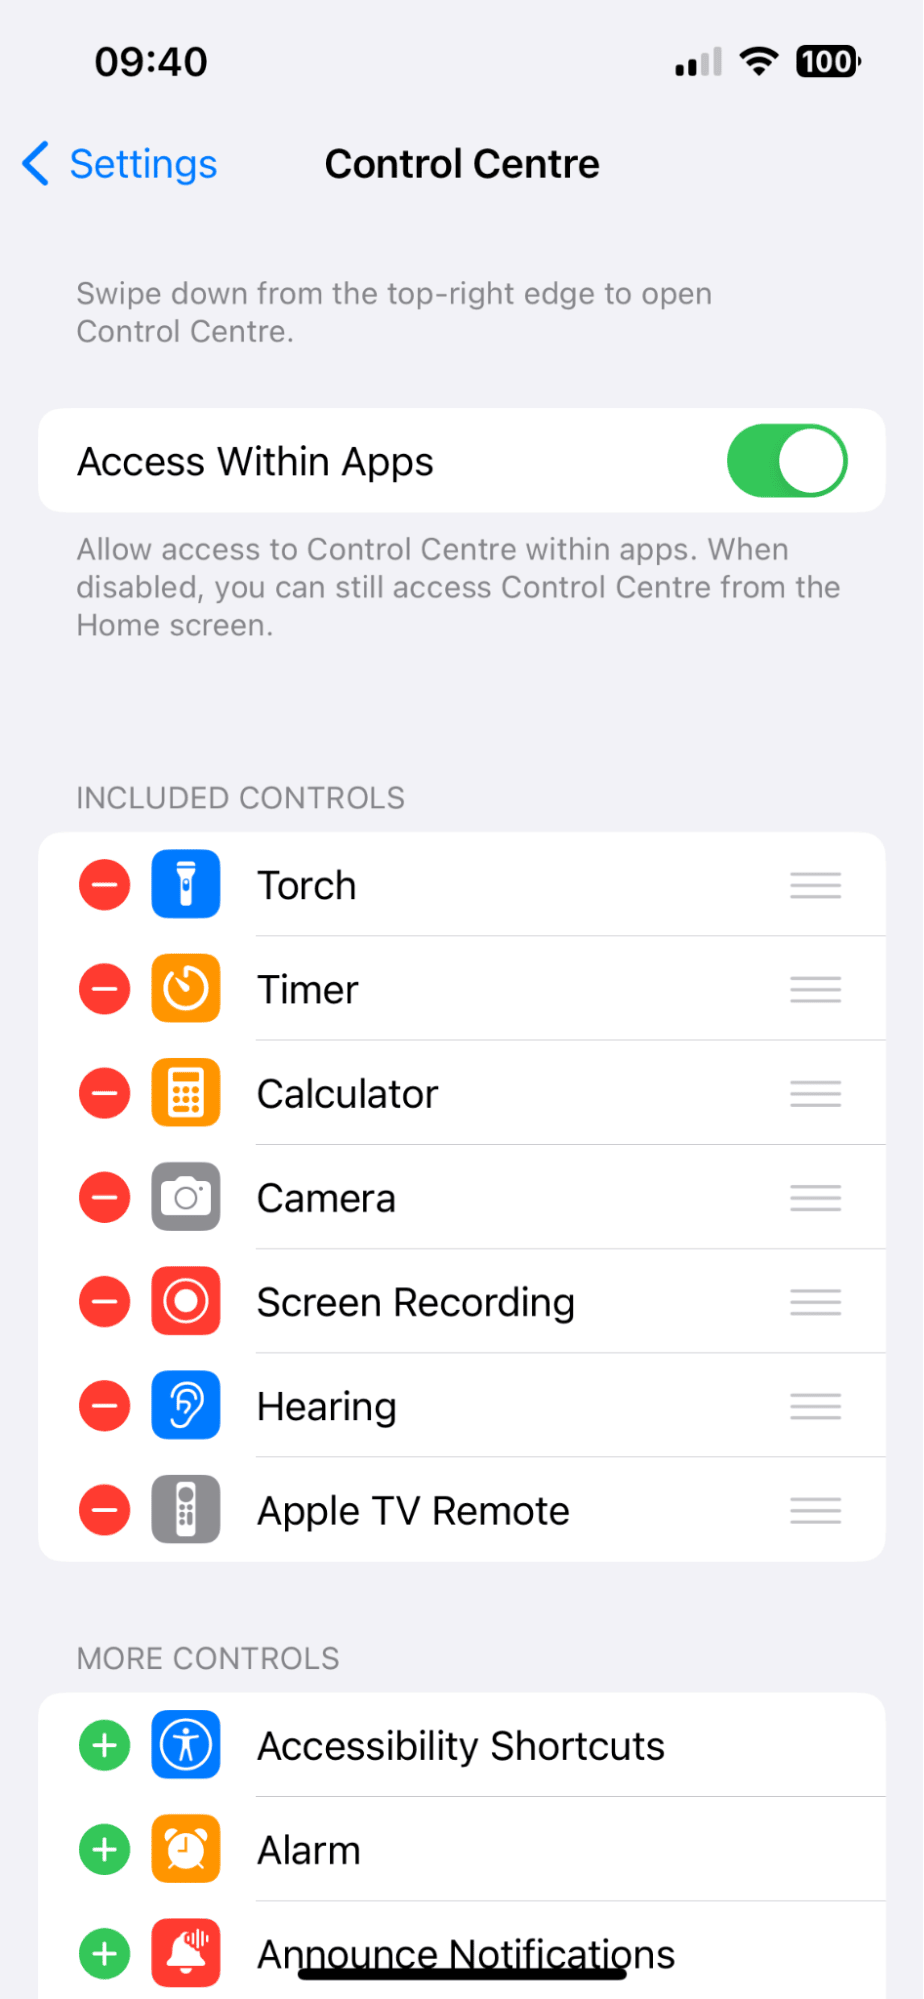
OK, so now that you know where is screen record on an iPhone, let's go a little deeper and look at recording options.
How to screen record on your iPhone without sound
By default, no external sound is recorded when you begin screen recording. We'll show you how to add audio in the section below, but first, let's learn how to get a screen record on your iPhone.
System sounds like application noises, and message notifications will be recorded in this mode.
- Open your iPhone's Control Center.
- Press the Screen Recording button.
- Wait for the 3-second countdown to start and begin the recording.
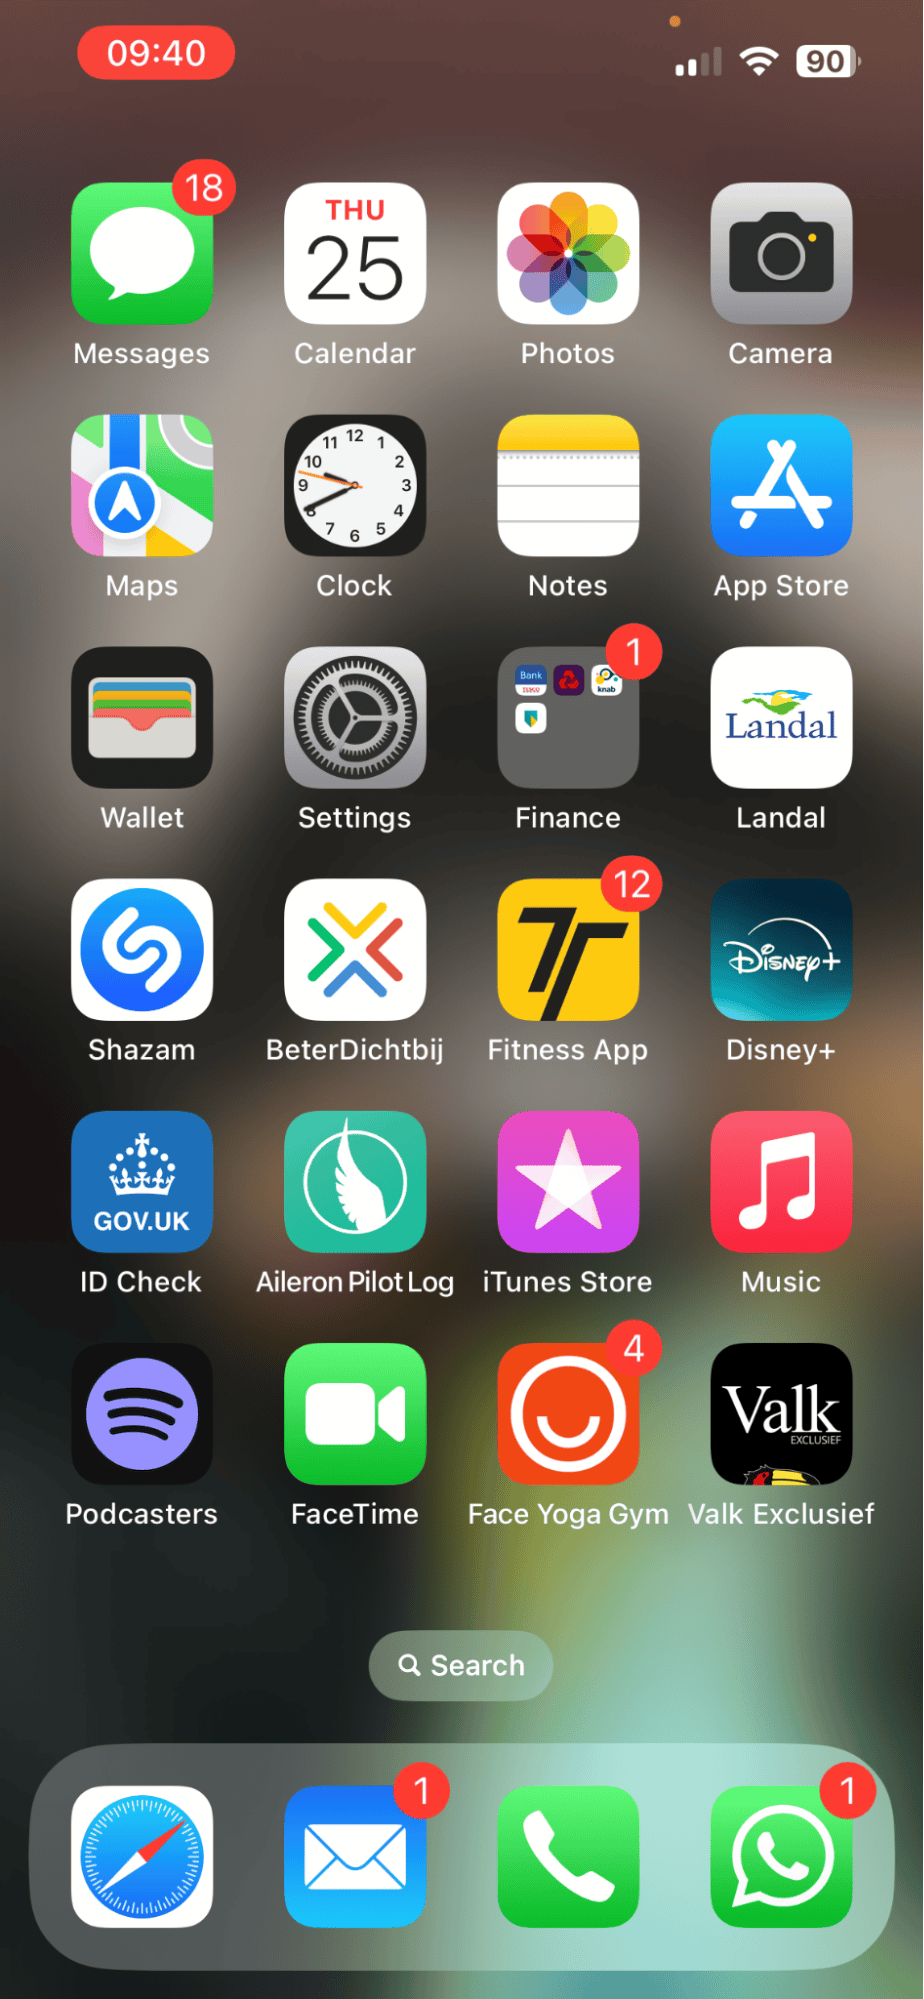
You'll know that the Screen Recording function is working because your clock or time display will be red.
To end the recording, press the clock and select Stop Recording.
A good tip is to put your iPhone in Do Not Disturb mode when screen recording to stop annoying messages or notifications popping up in your recording; here's a reminder of how:
- Open your Control Center once again.
- Press the Focus or Do Not Disturb icon (crescent moon).
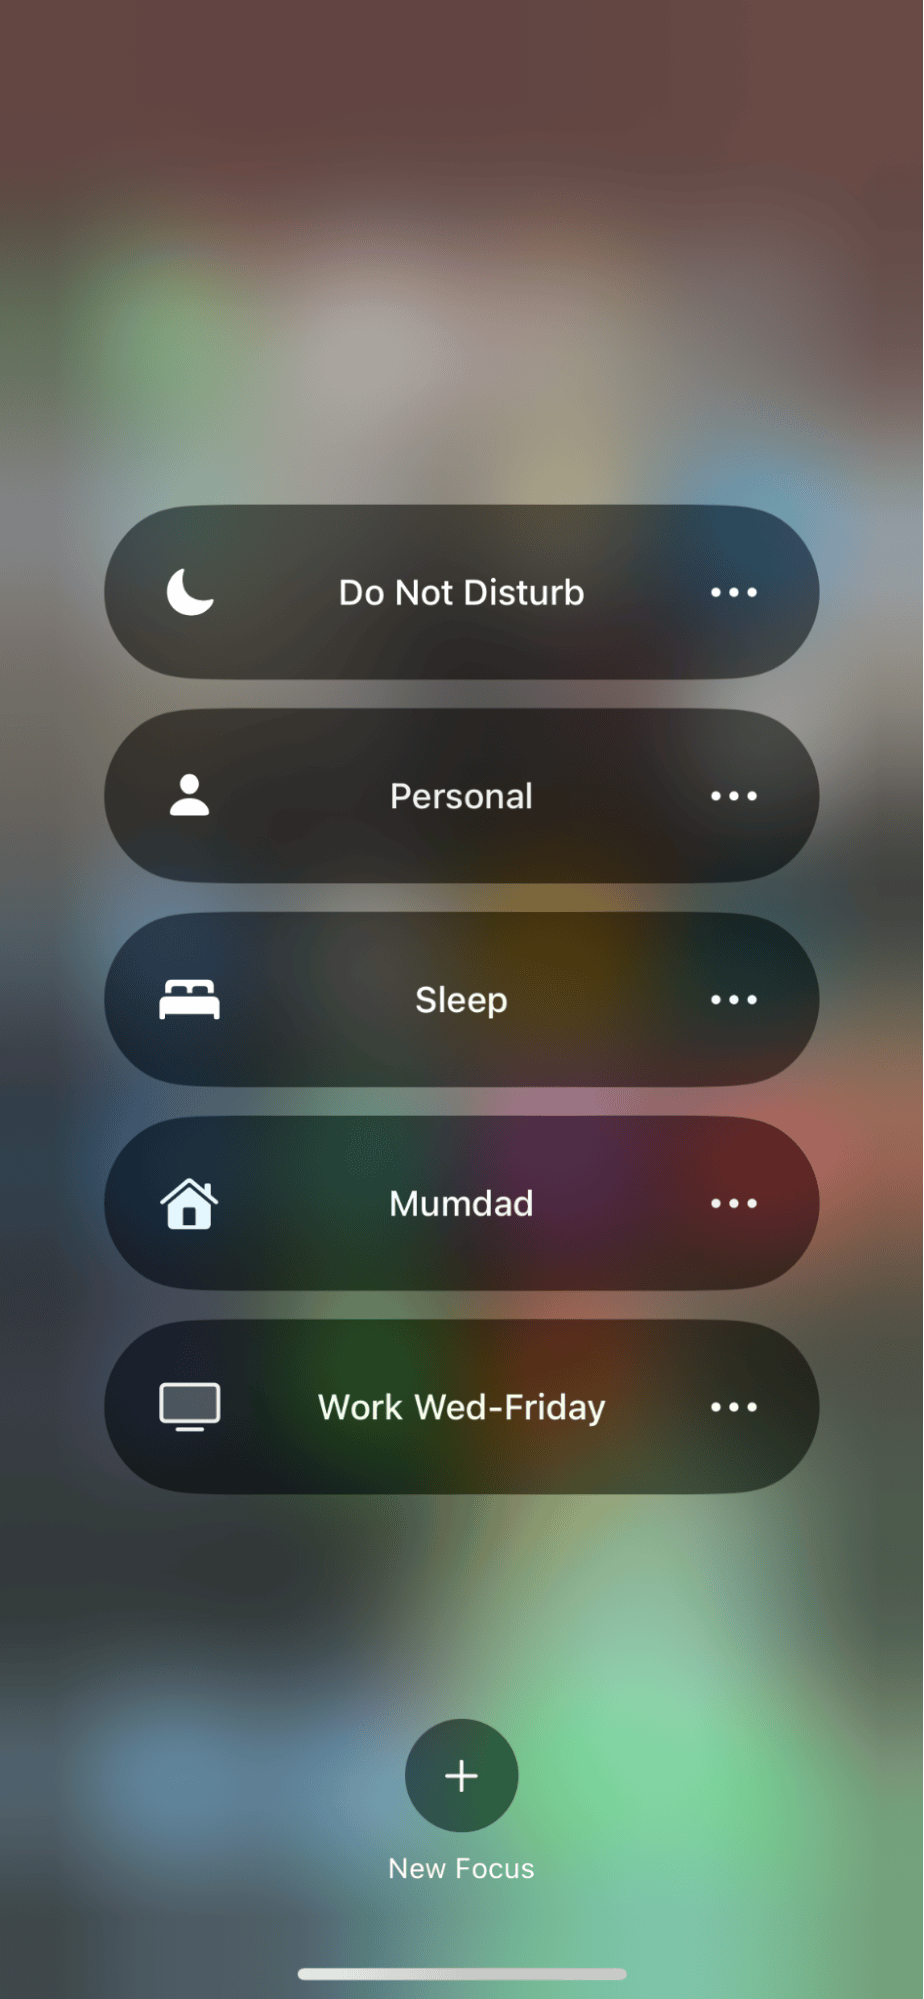
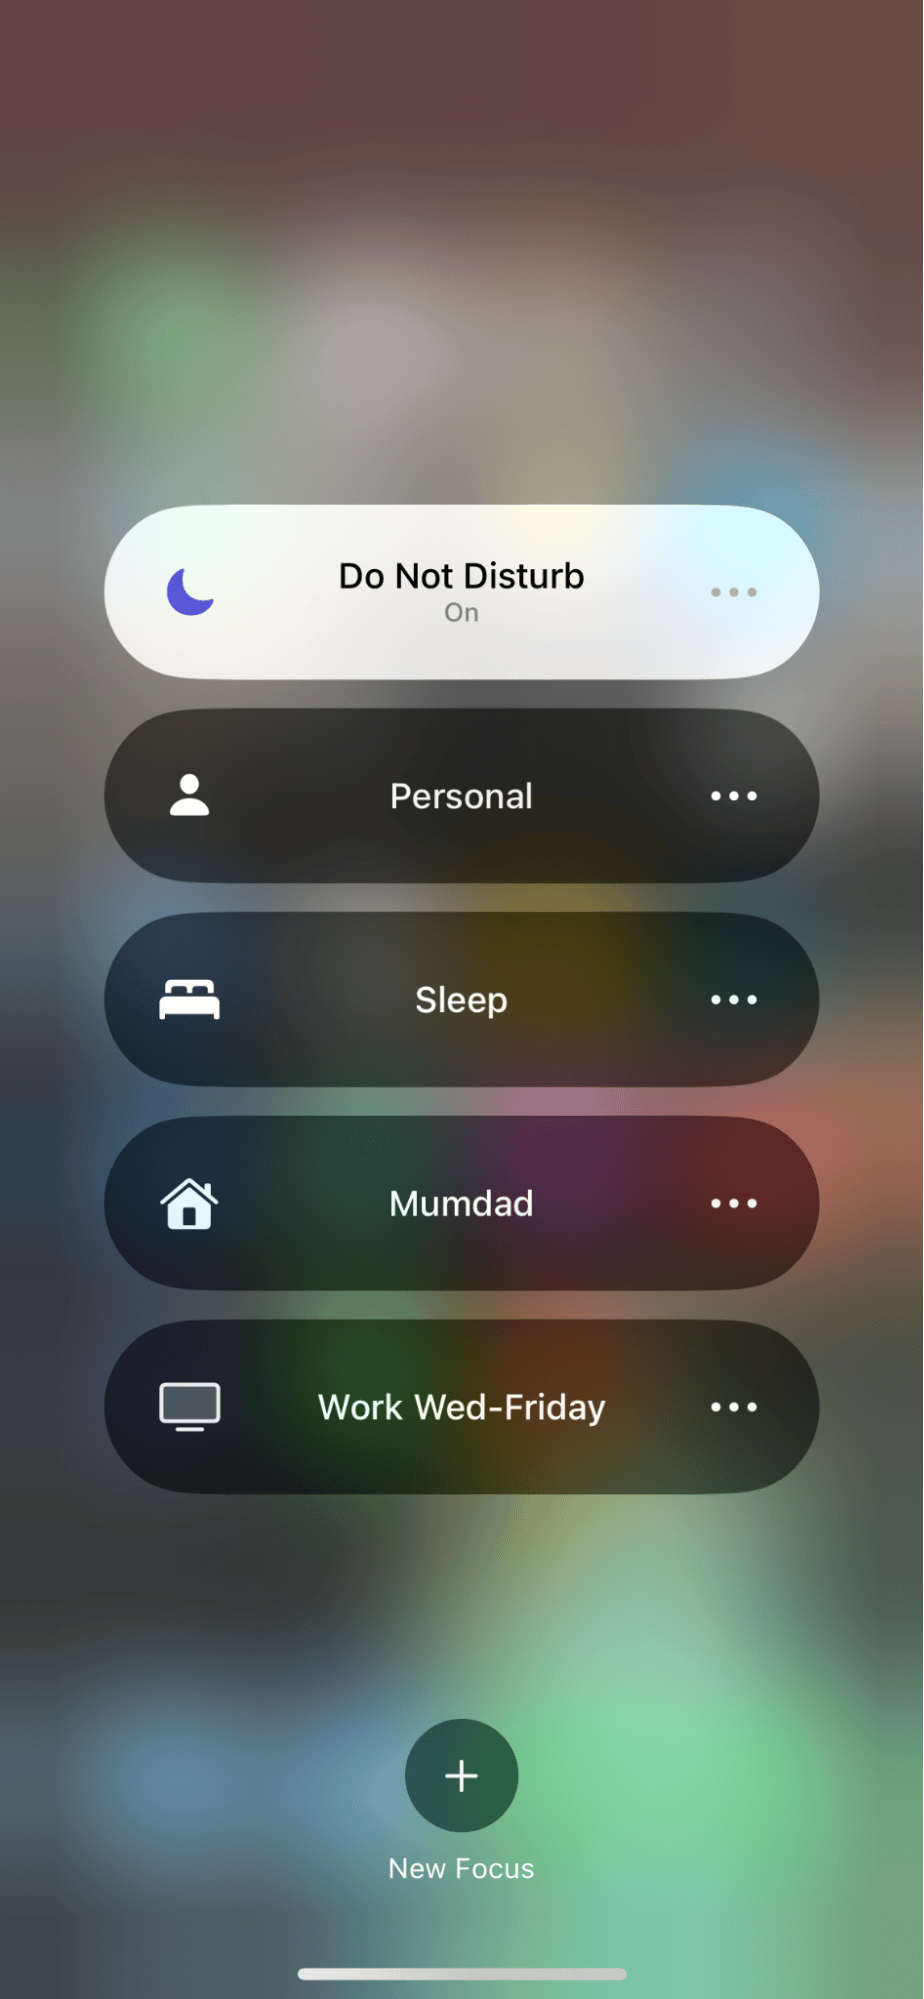
OK, so we've covered the basics; let's take a look at how to add audio in the section below.
How to screen record with audio on iPhone
Adding audio to your screen recordings takes them to the next level. This is particularly helpful if you want to record a walk-through tutorial. To add external audio, like your voice, you'll need to first activate your microphone; here's how:
-
Open your Control Center and long-press the Screen Recording icon.
-
Notice the microphone icon at the bottom and select this to turn the Microphone On.
-
Now, press Start Recording.
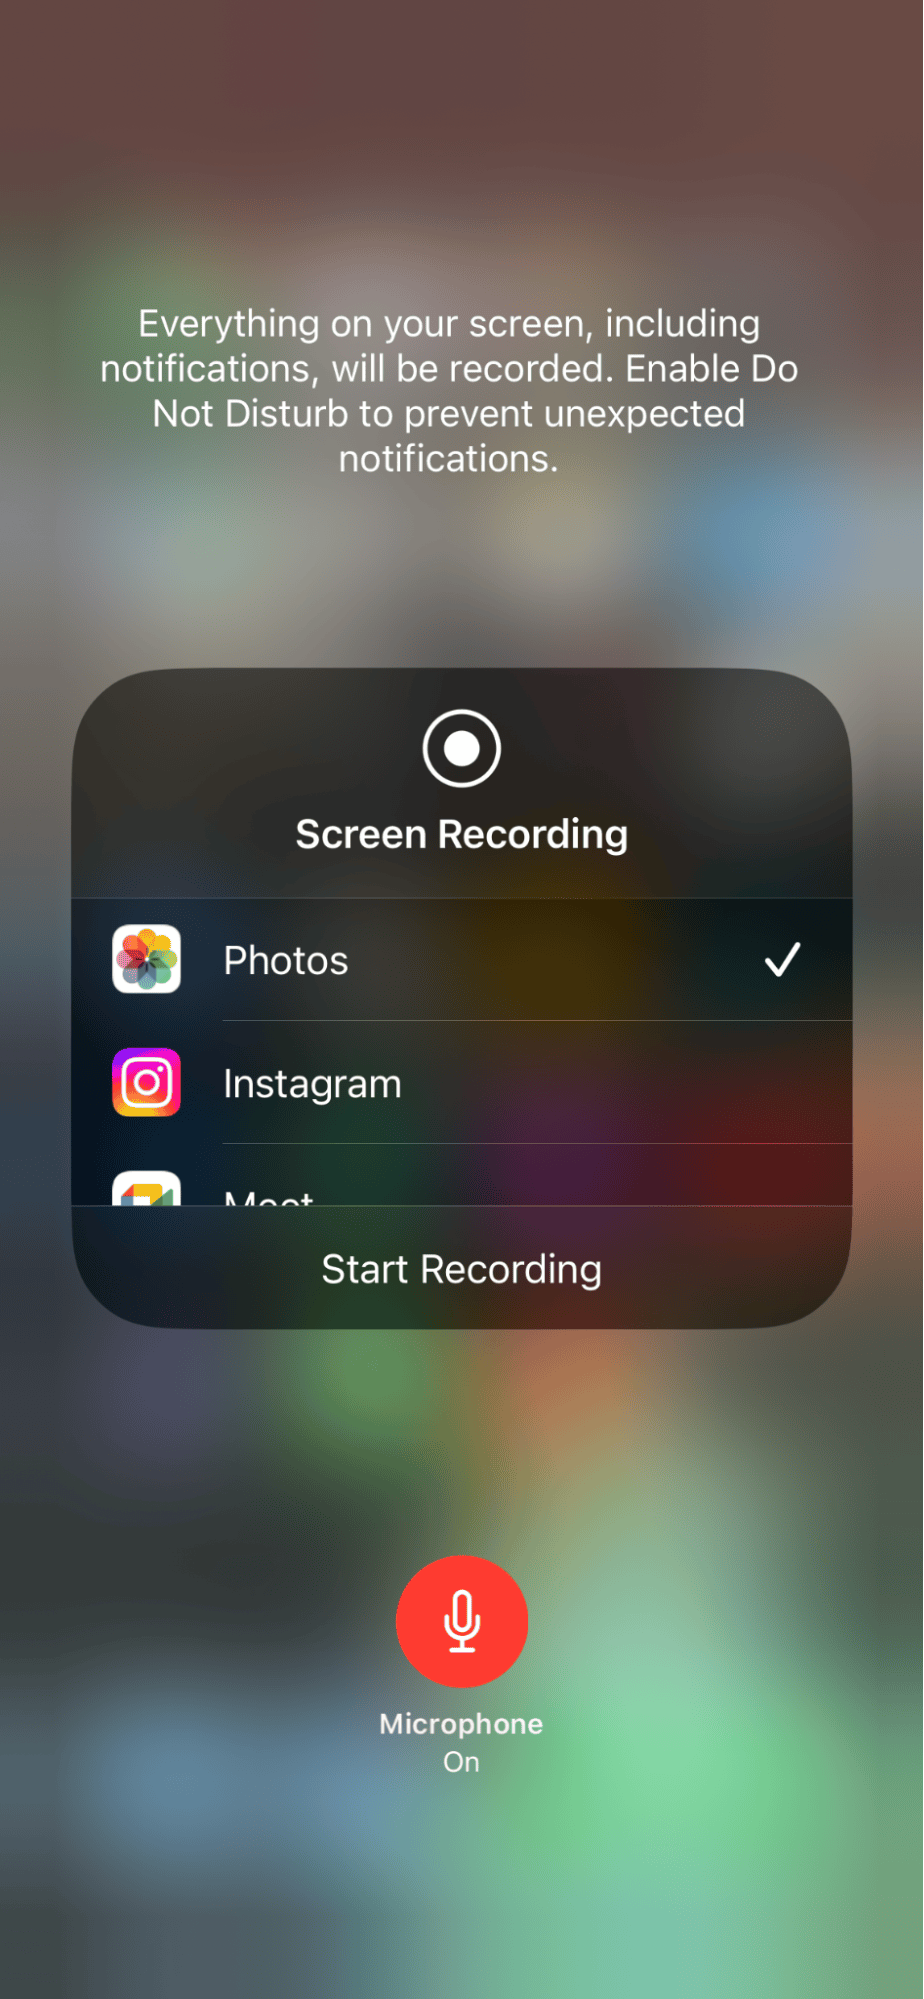
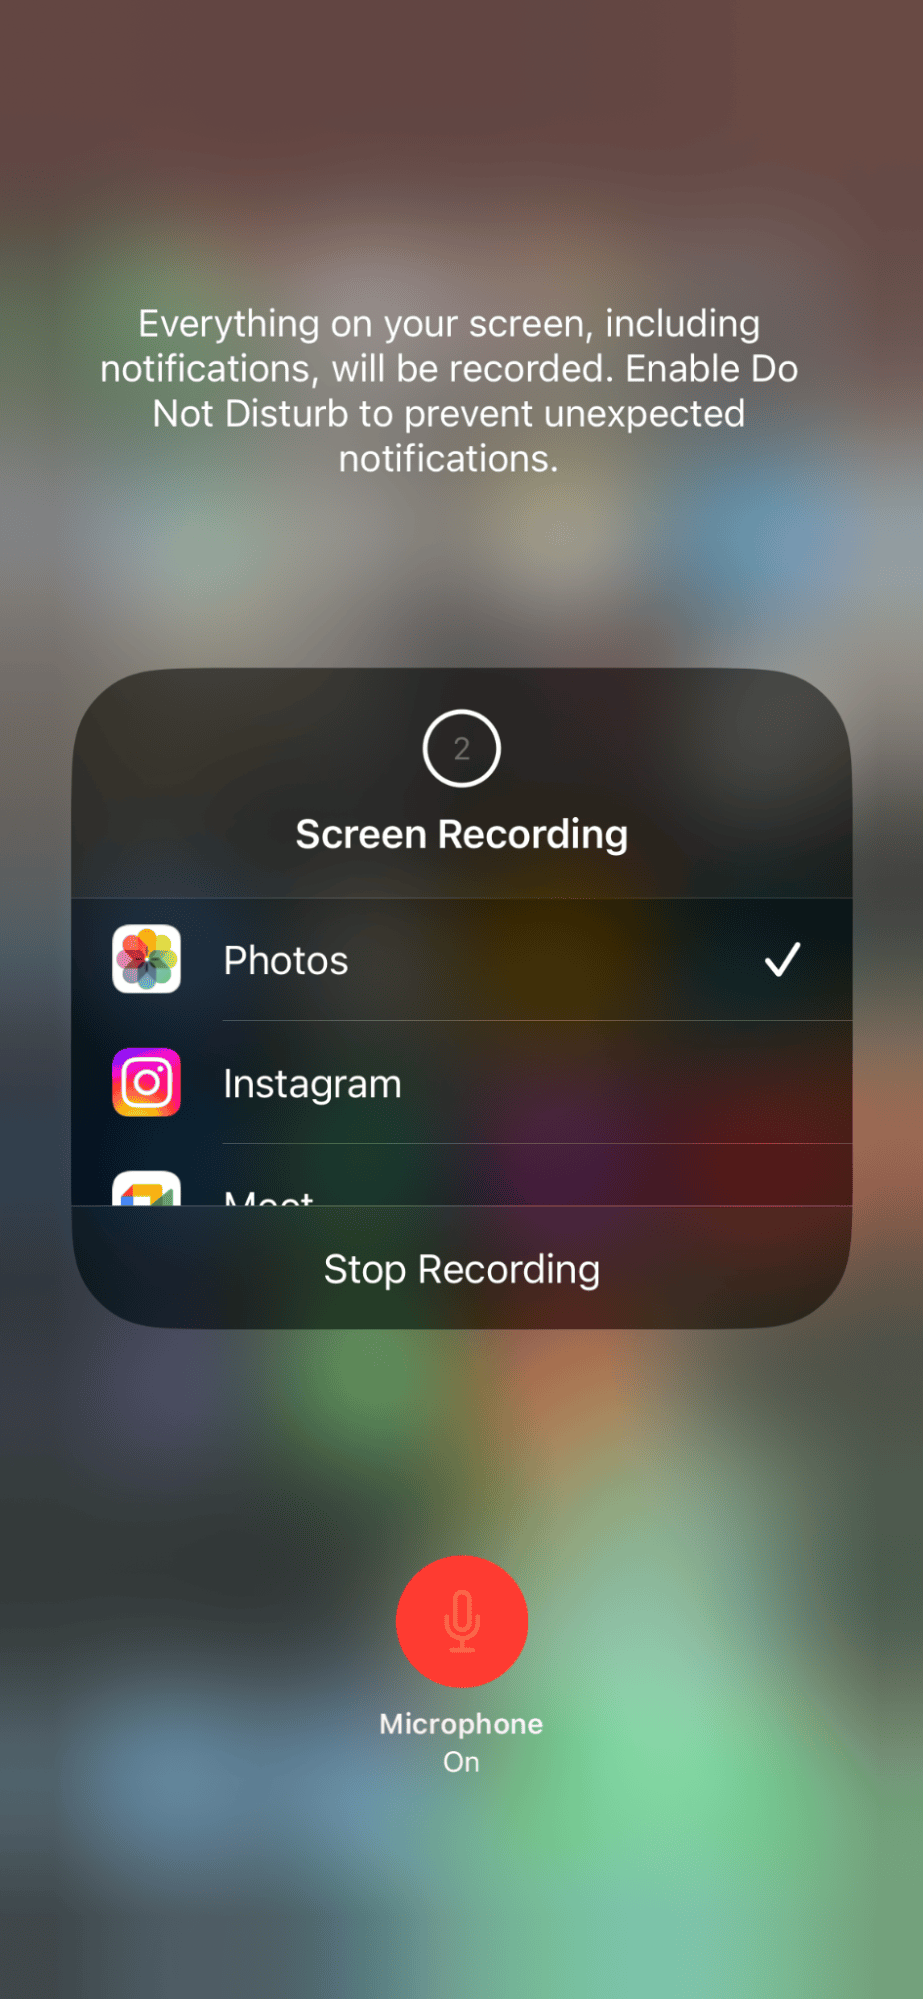
Your screen recordings are saved in your Library. Be Careful not to let them build up; they consume valuable iPhone space. If you're running out of storage, check out the smart tips below.
How to clean up screen recordings on iPhone
As mentioned above, screen recordings will quickly consume space on your iPhone if you let them build up; that's why regular cleaning and organizing your iPhone's media library is necessary.
Lots of people put this task off, and it's understandable; it was always notoriously a long-winded task. Who's got the time to sort through, sometimes years' worth of photos and videos?
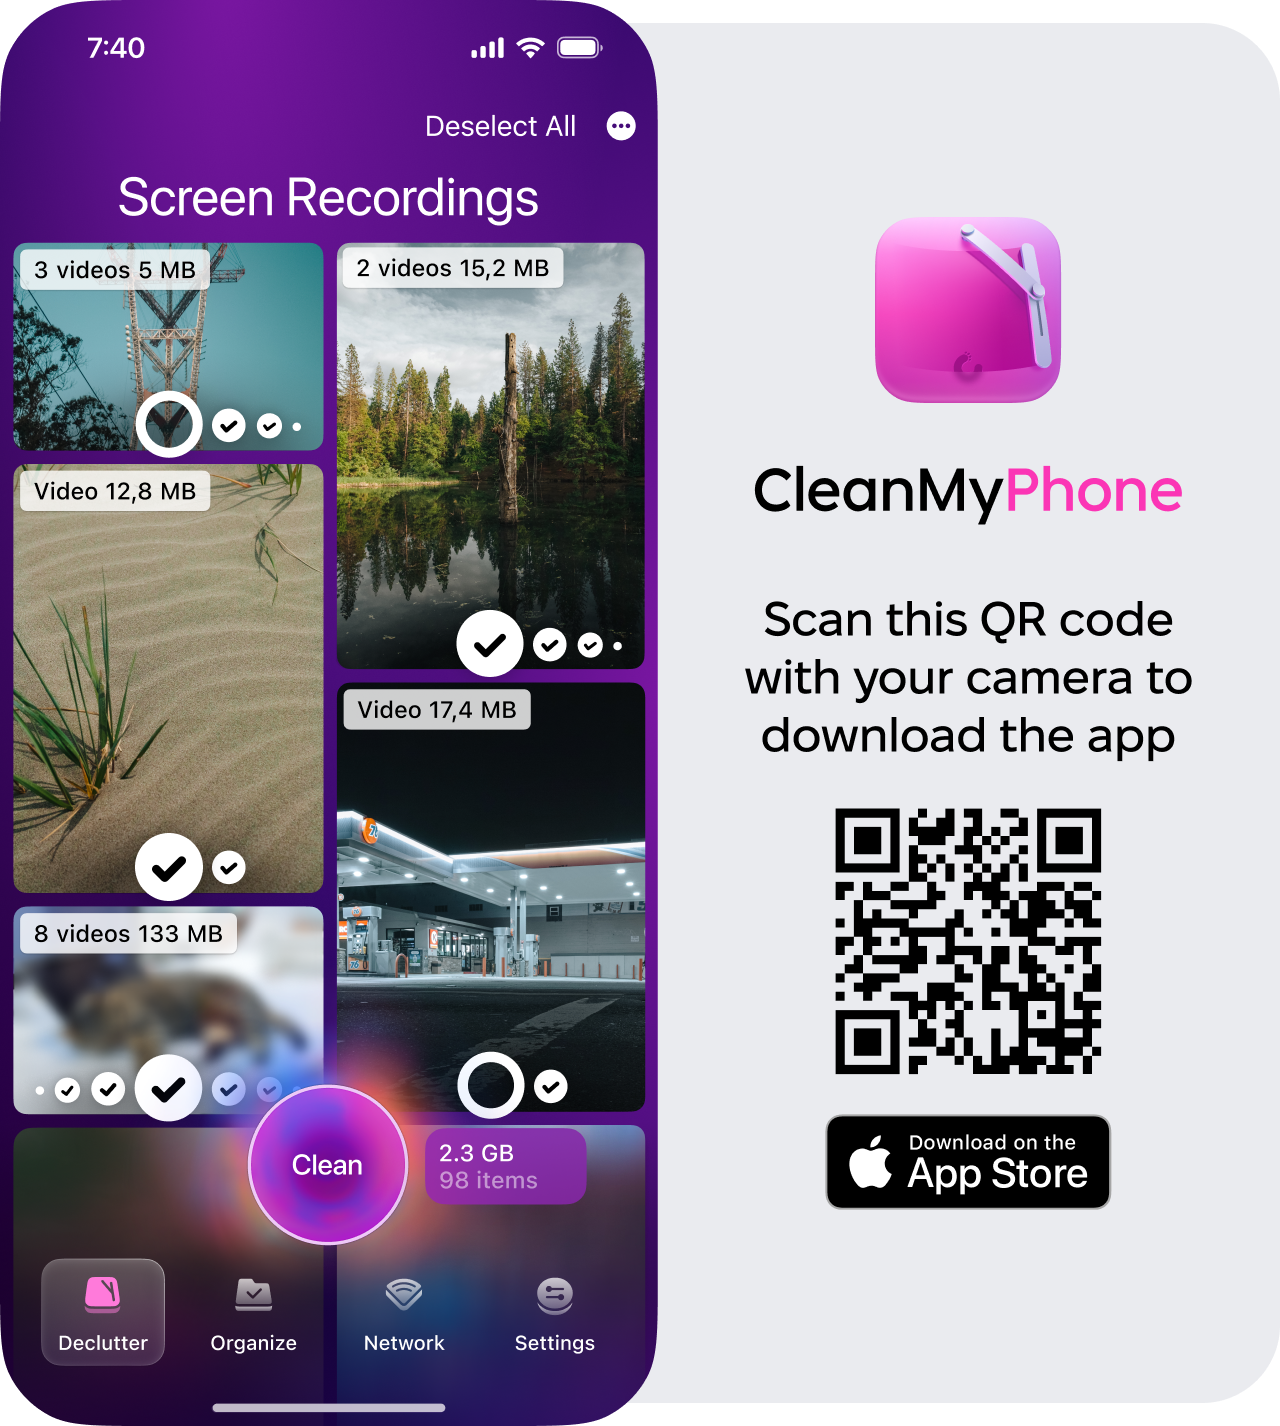
Thanks to some new developments, you can now use a dedicated third-party tool, just like the Apple notarized CleanMy®Phone app. This clever app has an attractive interface and easy-to-use modules, which make clearing up and organizing your Library hassle-free; let's take a closer look.
How to automatically declutter your phone's media Library:
-
Open the application on your phone and select Declutter.
-
Press the Scan button.
-
Scroll down to Screen Recordings (here, you'll find all of your saved screen recordings).
-
You can also sort through all of the other categories and select items you no longer want.
-
Finally, tap Clean and confirm your choice.
Also, if you don't want to delete your recordings, just simply compress them with the app. It will save you gigabytes of space.
How to organize your media Library like a pro
This tool comes with another useful Organize module, which uses smart AI tech to group your media into smart categories for easy review; here's how:
-
Open the app once again and select Orgazine.
-
Choose a proposed time frame or set up a custom filter. Tap Scan.
-
Once complete, begin reviewing the categories.
-
You can then filter by similar images or unique ones.
-
Select what you no longer need and tap Clean.

FAQs: How do you screen record on iPhone?
How do you screen record FaceTime with sound?
It's not possible to use Apple's built-in Screen Recording tool to record FaceTime with audio, which is likely to protect people's privacy. There are some third-party iPhone screen recording apps out there that claim to do this. Just proceed with caution and make sure you always inform the people in the call you are recording.
Can you share screen recordings?
Yes, just like a regular video or photo, you can share your screen recordings via email, AirDrop, Message or WhatsApp. Just select the Share Icon to see which options are available to you.
How long can you screen record for?
There's no time limit for screen recording; it totally depends on the available storage on your iPhone. If you're running out of space, your recordings will end. You can use the tips we provided in the section above to tidy up your iPhone and make space.
Can you edit screen recordings?
Yes, just like a standard video, you can edit your screen recording with the built-in editing tools; it's easy to clip your video, crop, add filters or adjust the lighting. You can, of course, use your third-party tools too.Now you know how to screen record with sound on an iPhone and without.


