Here’s how to record your Mac’s screen with sound
Wondering if you can screen record with sound on a Mac? The good news is yes, and it's surprisingly simple to do.
We'll take a look at a couple of really easy methods using Apple's built-in applications and tools.
Let's get straight into it.
How to screen record on MacBook with sound
By far, the easiest way to screen record with sound on your Mac is by using Apple's built-in Screenshot tool.
Screenshot comes with a handy panel of tools that make capturing screenshots and recordings really simple.
Here's how to open and use Screenshot:
-
Press Command-Shift-5
-
From the bottom tool panel, hover over the icons to see what each one does and select Record Entire Screen.
-
Press Options, and under Microphone, choose which device you'd like to use or select your Mac's built-in microphone.
-
Now press Record to start.
-
To stop the recording, open Screenshot using the keyboard command above and press the stop button.
To get the most out of this handy tool, let's look at all of the other features available under options in the Screenshot panel.
Save to: You can choose the save location of your screen recordings.
Timer: Select a timed delay.
Show floating thumbnail: Your finished recording will float for a few seconds at the bottom right of your screen, so you can easily drag it into an email or document before it's saved to its set location.
Remember last selection: Screenshot will remember the precise location of your previous screen portion.
Show mouse clicks: Show your cursor in screen recordings.
A lot of Mac users ask, can you make QuickTime screen recordings with sound? Well, of course, the answer is yes, and unbeknown to many, the screenshot tool is actually QuickTime. Don't believe me?
Here's how to open QuickTime Player:
-
Finder > Applications > QuickTime Player.
-
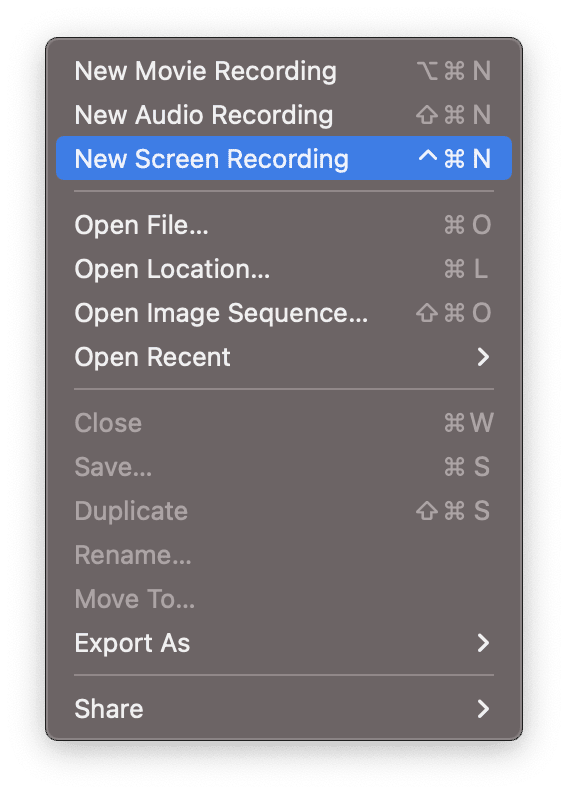
From the top menu, select File > New Screen Recording.
You'll notice it's the exact same tool as I first mentioned in the article. It works the same way as the screenshot tool, so it's up to you if you prefer using keyboard commands or through the QuickTime app.
How to clean up your recordings
Suppose you're making lengthy screen recordings, perhaps creating tutorials or walkthrough videos. In that case, these will start to take up considerable space on your Mac if you don't regularly organize and clean them up.
Before you start running out of space, ensure you take the time to locate and delete files; here's a reminder of places to regularly cleanup:
-
Desktop
-
Documents folder
-
Downloads folder
If you don't have the time or patience to go searching for old files, there is a simpler way with CleanMyMac. It has an awesome module called Large & Old Files, which performs an in-depth scan of your Mac, locating all of your files and organizing them by the following categories:
-
Kind
-
Size
-
Access Date
You can then simply select the files you no longer need for removal. It's a great way to visualize your files and see what's lurking on your Mac taking up space, and for bonus points, the application is also notarized by Apple.
Here's how to sort and clear your files the smart way:

-
Open the app — download the free version here.
-
Select Large & Old Files from the sidebar.
-
Press Scan.
-
Search through the categories and select items you no longer need.
-
Press Remove.
Now you know how to keep your Mac in order, let's get back to screen recordings.
Why can't I hear my screen recording?
There is nothing worse than recording a long tutorial or walkthrough and discovering the screen recording has no sound. Try these troubleshooting tips to solve this issue if this is happening to you.
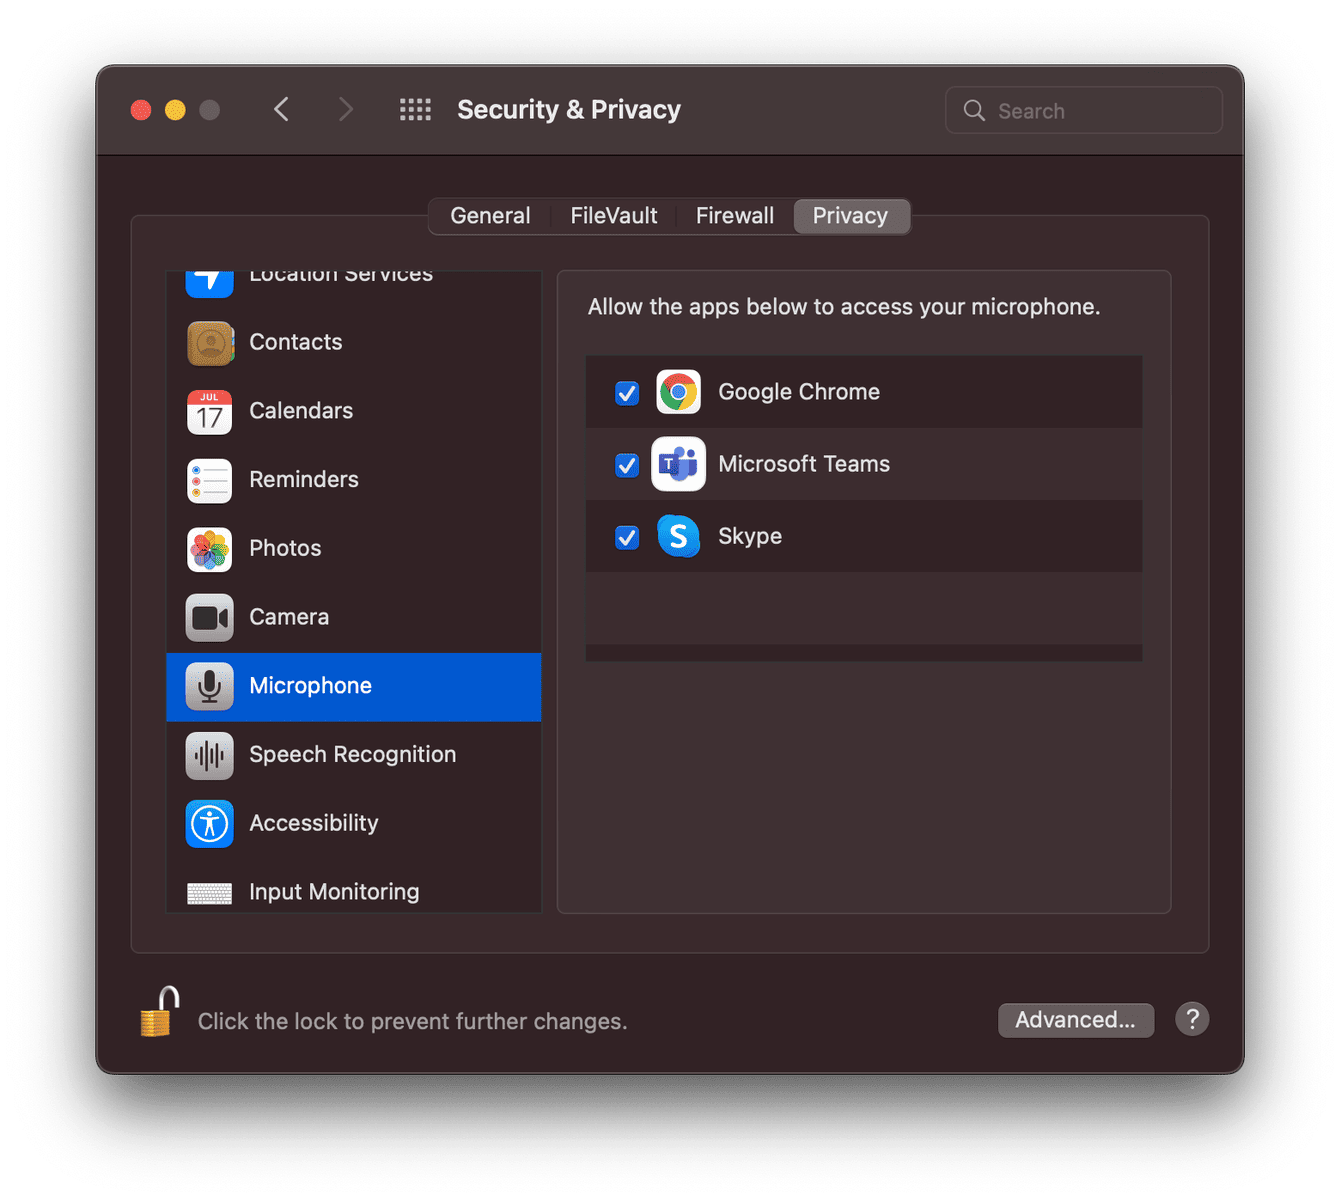
1. Check your Security & Privacy settings
-
Select the main Apple menu > System Preferences > Security & Privacy.
-
Select the Privacy tab and locate the microphone from the list.
-
Select the lock item bottom left to make changes.
-
If QuickTime Player is in the list, ensure it is enabled with a tick.
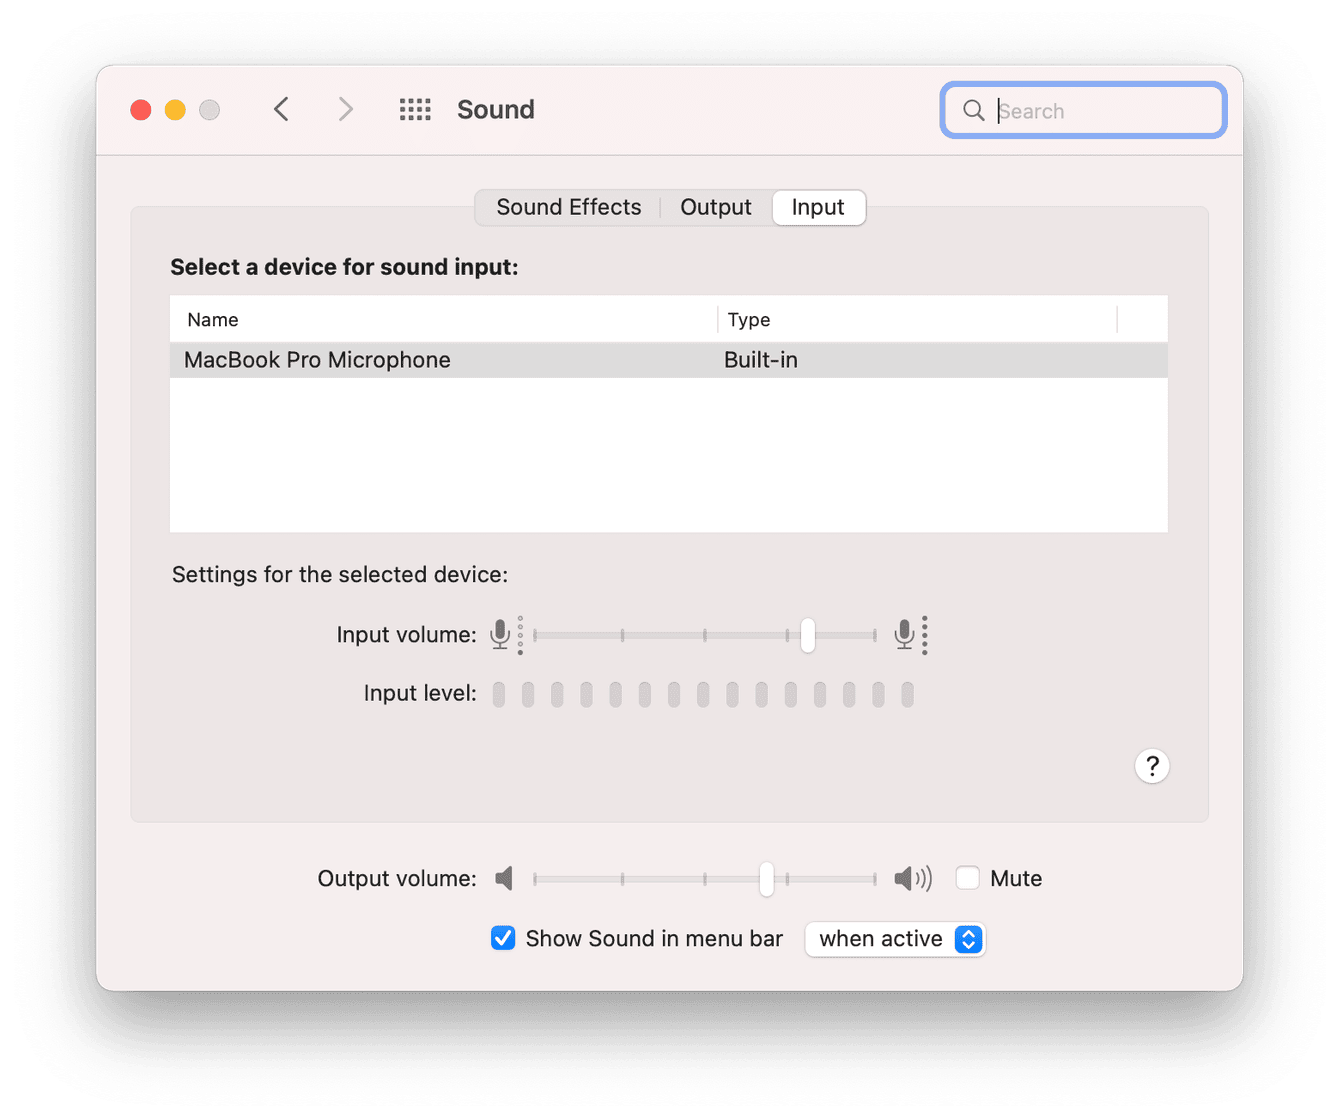
2. Check your sound input settings
Another reason your sound isn't working on recordings is there could be a problem with your sound input settings; here's how to check:
-
Select the main Apple menu > System Preferences > Sound > Input.
-
Select either your MacBook built-in microphone or your connected microphone.
-
Check that the input volume is turned on and turned up.
3. Reset your NVRAM
You've tried the tips above, but your sound is still not working? Then it's time to reset your NVRAM.
NVRAM (non-volatile random access memory) holds peripheral data, including volume settings. Giving your NVRAM a quick reset can often solve sound issues; here's how:
M1 Macs:
There isn't a specific key combination anymore for M1 Macs, so just shut your device down as normal, wait a few seconds then boot up again.
Intel Macs:
-
Shut your Mac down in the normal way.
-
Power up your device, immediately pressing down the following keys for about 20 seconds: Command-Option-P-R
-
Release the keys, and your Mac will boot up as normal.
Now your sound is working again; how about a handy screen recording tip? Jump to the next step.
How to record FaceTime calls on your Mac
Did you know it's possible to record your FaceTime calls? Of course, you need to make sure you've got everyone's permission before doing so.
Once the call is connected on your MacBook, open the QuickTime Player app and, from the top menu, select File, then Start New Recording.
It’s as easy as that!
So we've reached the end, and hopefully, I've answered all of your questions about screen recording with sound on a Mac.