Why does my Google search go to Bing?
You're not the only one wondering, "why is Bing my search engine?" If you've been trying to use your usual browser, only to find you're redirected to Bing each time, you've unfortunately encountered the irritating Bing redirect virus.
Microsoft Bing is a popular browser, the second largest in the world after Google, and completely legitimate; however, browser hijackers have targeted this popular browser as an interface for a nasty malware that can hijack your Mac and infiltrate your system.
Luckily, we've got you covered; we'll not only show you how to get rid of this annoying virus but also explain how to protect your Mac from future attacks.
So, let's get started straight away.
Why does Bing keep popping up?
To put it simply, the redirect virus is an endeavor by hackers to take over and control your system.
Once your macOS has been hijacked, they make changes to your macOS by installing unwanted apps or services and changing your browser settings and behaviors.
What is the Bing redirect virus?
It annoyingly reroutes all your searches to Bing.com. Every time you try to search for a phrase or keyword in your favorite, usual browser, a hidden script modifies the destination page and redirects you to Bing search results.
The primary purpose of these kinds of redirect viruses is to ultimately generate advertising revenue or to promote products and services.
It might not seem like a considerable threat, but when hijackers gain access to your macOS, things get scary; they can deploy harmful malware and spyware to steal data and private information.
You'll need to act quickly if you suspect you've fallen prey. Jump to the next section, and we'll show you how.
How to remove Bing from Mac
Thankfully, many anti-virus programs have the means to remove the Bing redirect virus quickly and safely; in my opinion, it's also the most straightforward way.
CleanMyMac is a trusted and powerful third-party tool notarized by Apple. Its real-time protection feature can irradicate this annoying issue and protect your Mac from future attacks.
Here's how to automatically remove the Bing redirect virus with CleanMyMac:

-
Open the software or install the free version here.
-
Select Malware Removal and press Scan.
-
The threats should be indicated in the results; press Remove.
If you'd prefer to remove the virus manually, that's also possible: jump to the step below.
How to remove Bing redirect manually
If you'd rather not use a third-party tool, follow these five steps to remove the redirect virus manually.
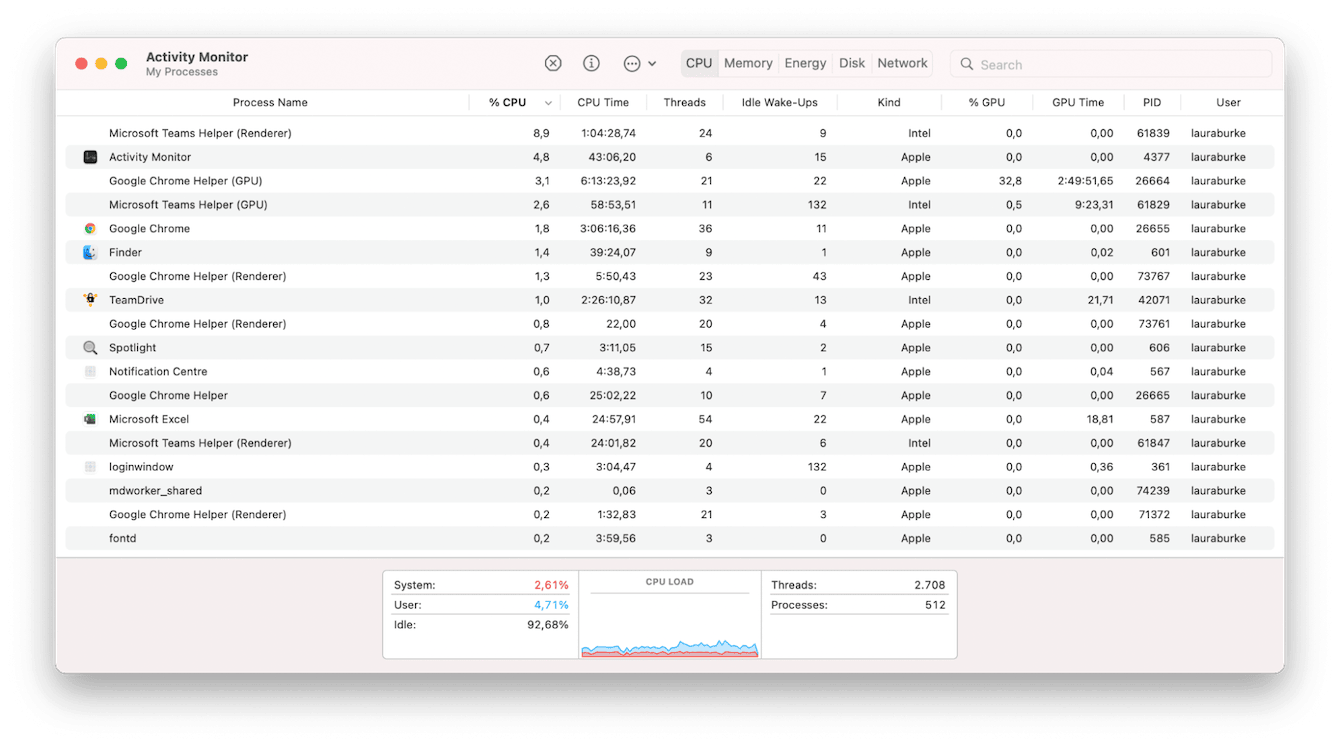
1. Stop it from running
-
Open Activity Monitor from Applications > Utilities.
-
Check for any processes you don't recognize.
-
If located, select it and press “X” to kill the process.
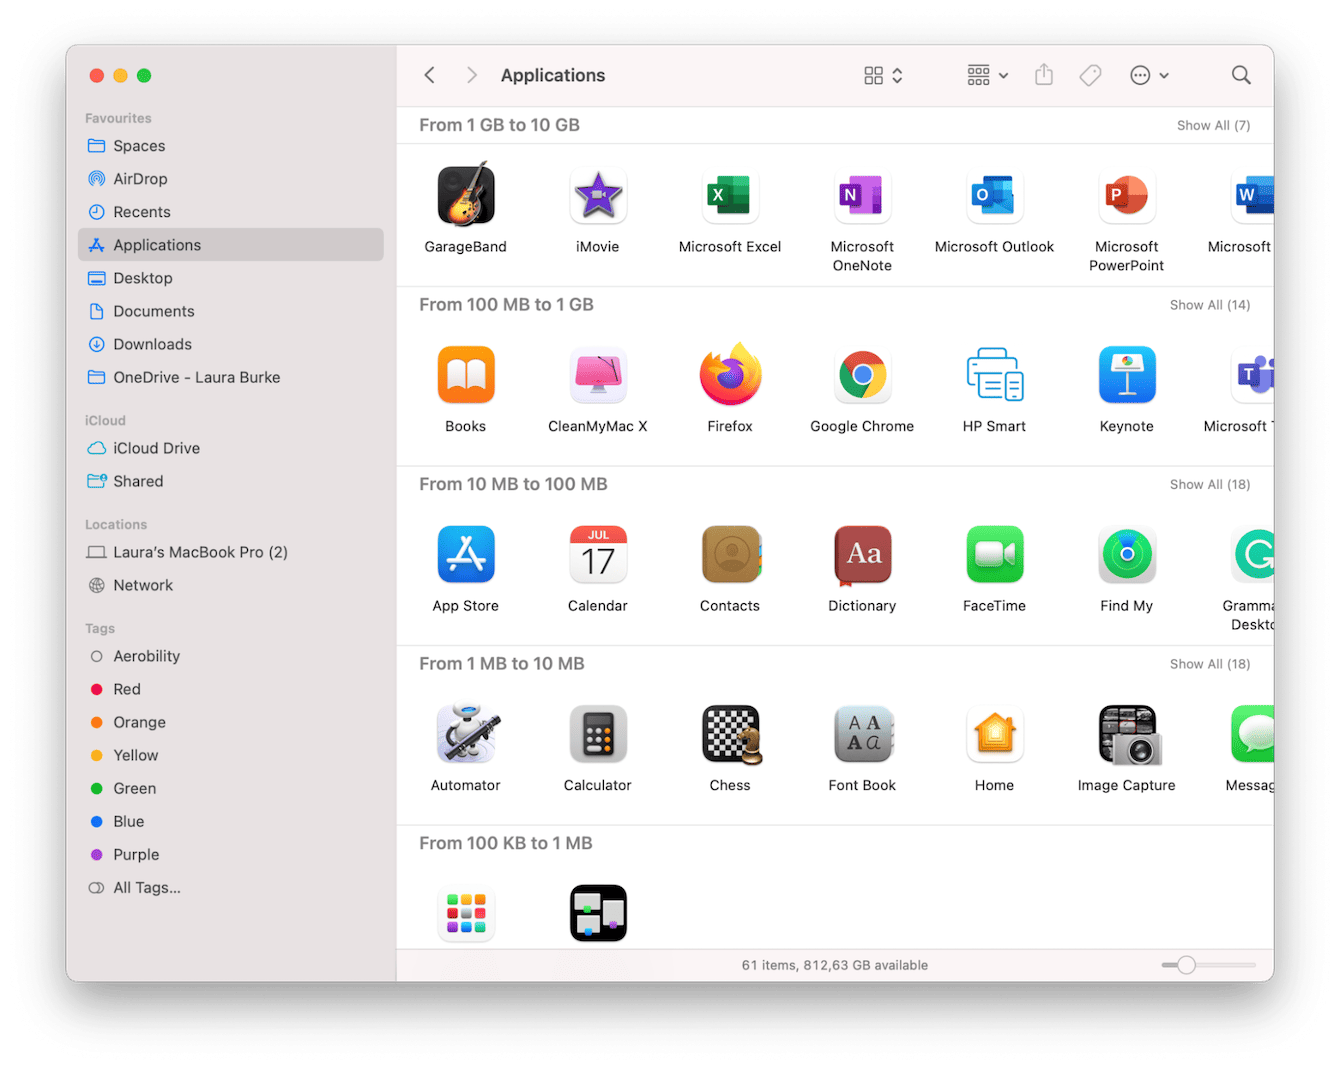
2. Remove unknown apps
-
Open your Applications folder.
-
Search and locate any apps that you don't remember installing.
-
Remove them by uninstalling or moving them to the Trash.
3. Reset your browser homepage preferences
For Chrome:
-
Launch Chrome.
-
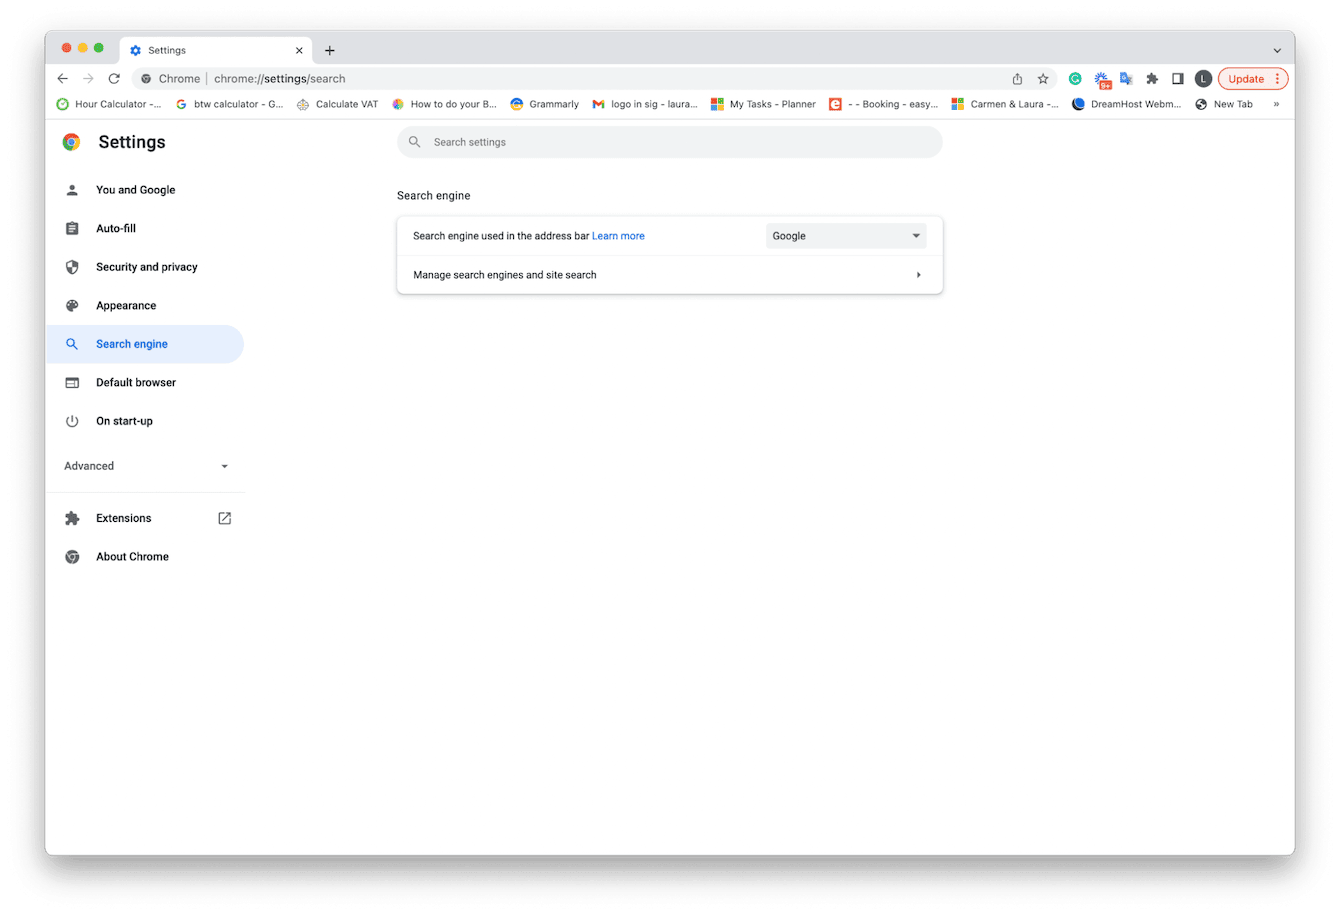
Select the main Chrome menu > Preferences > Search Engine.
-
From the dropdown, ensure that Google is selected as your preferred search engine.
For Safari:
-
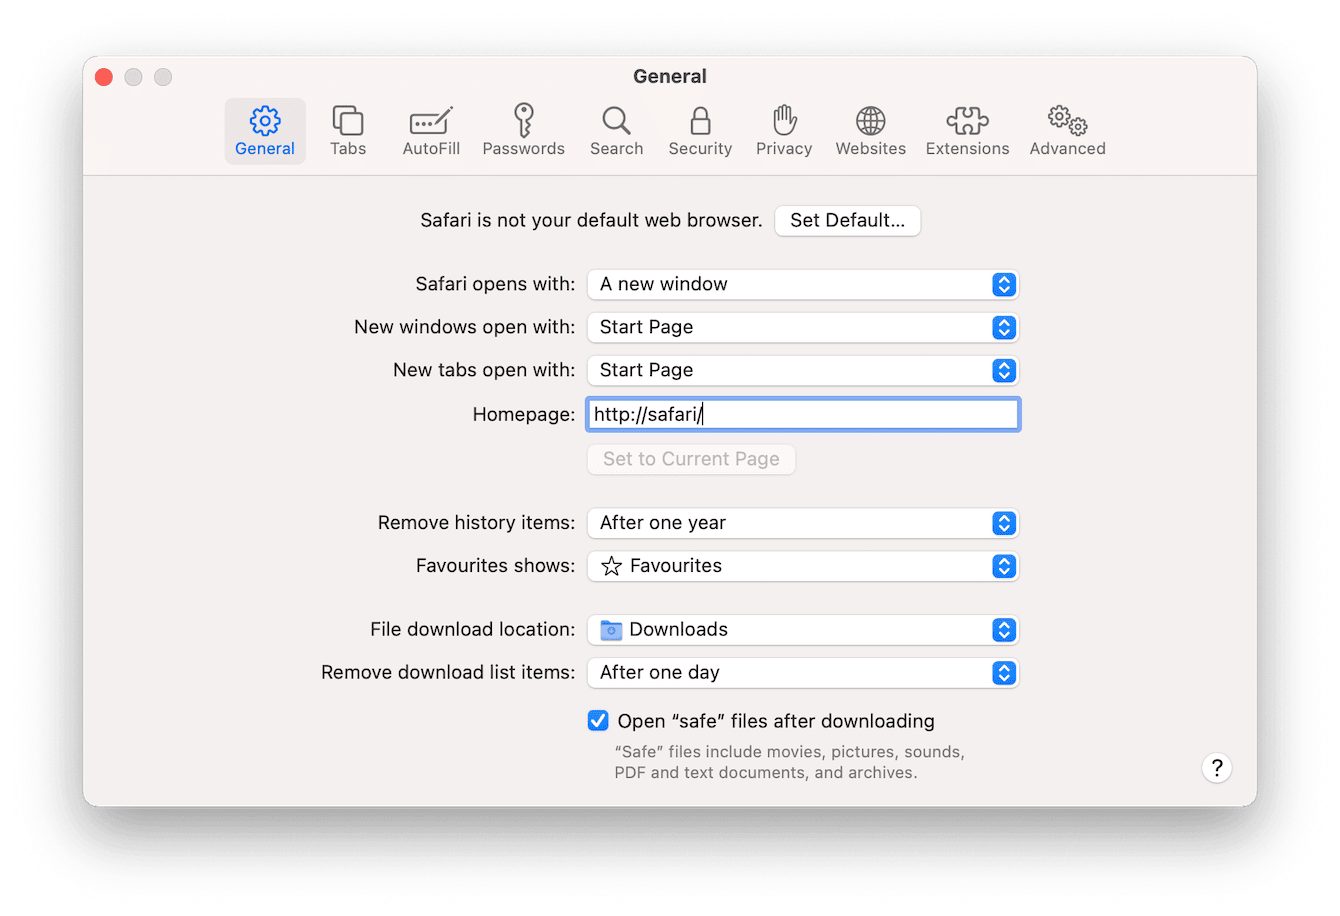
Launch Safari and select the main Safari menu > Preferenes > General.
-
Under Homepage, change from Bing to your preferred search engine.
For Firefox:
-
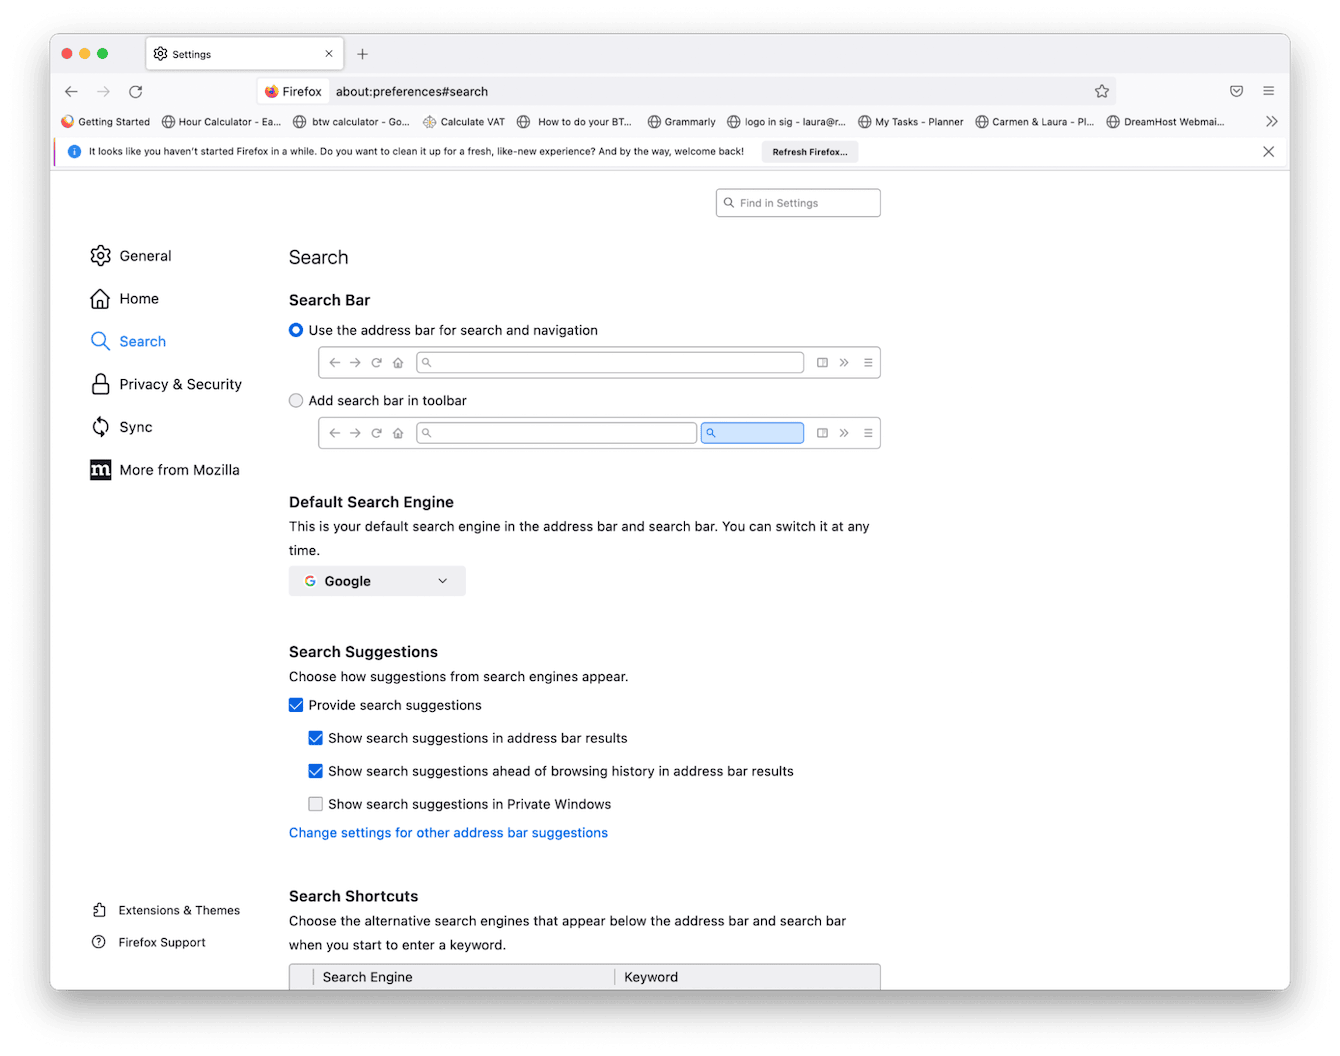
Launch Firefox and select the main Firefox menu > Preferences > Search.
-
Under the Default Search Engine section, change it from Bing to your favored search engine.
4. Check your login items
Once on your system, malware can alter your launch and login items, running malware each time your device starts up; here's how to check.
-
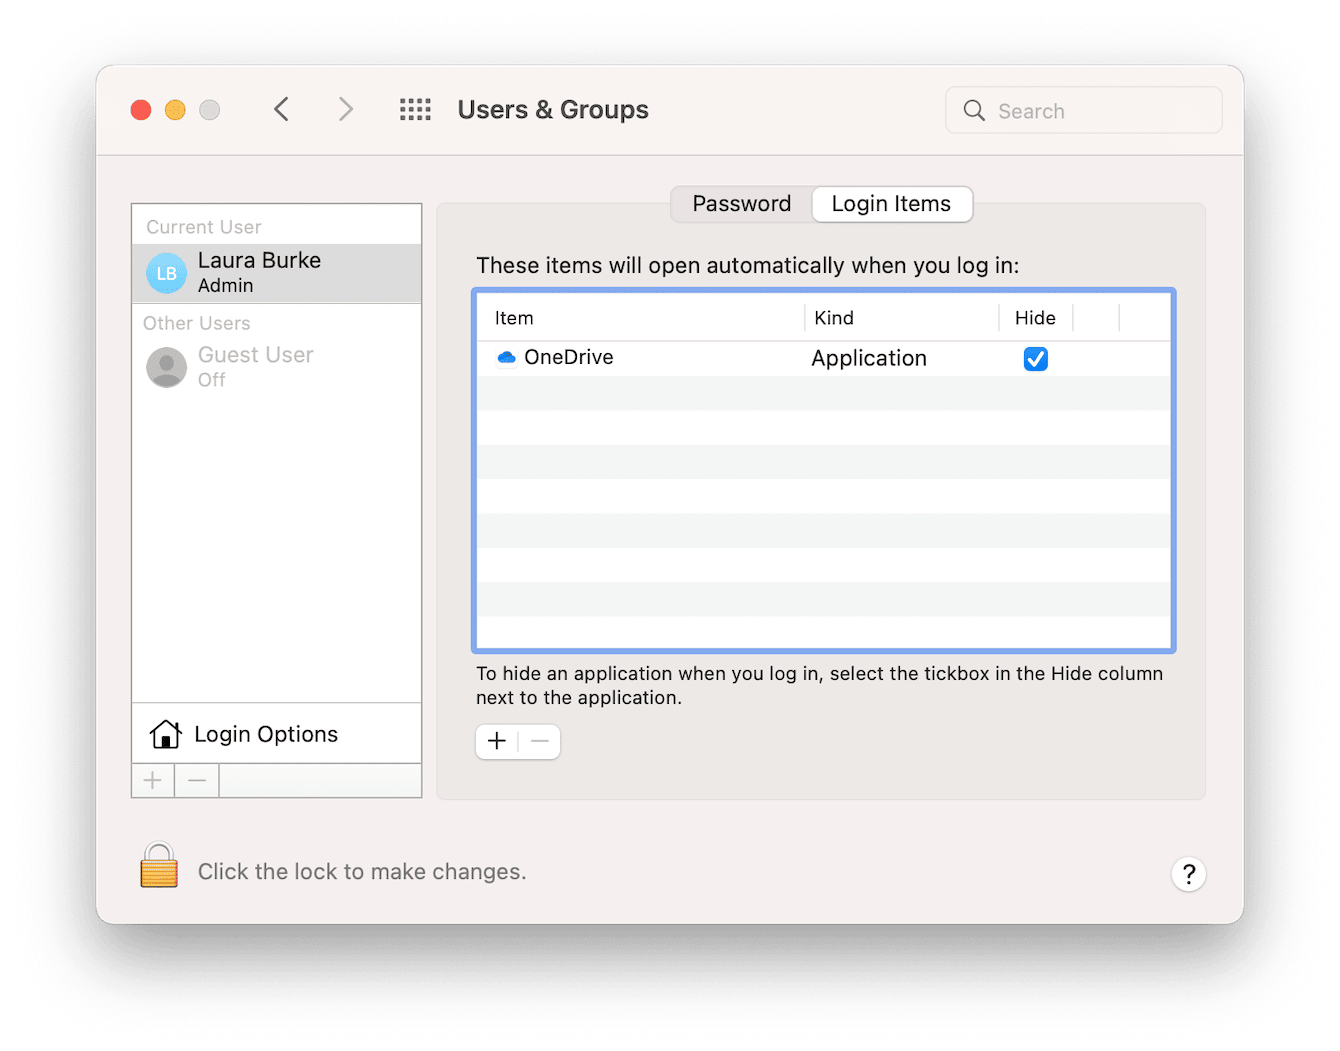
Select the main Apple menu > System Preferences > Users & Groups.
-
Select your username from the list and select the Login Items tab.
-
Look for any suspect login items.
-
Uncheck the box next to them and press “—” to remove them.
5. Remove unusual browser extensions
The last step on how to remove Bing from a Mac is to check for unusual browser extensions.
For Chrome:
-
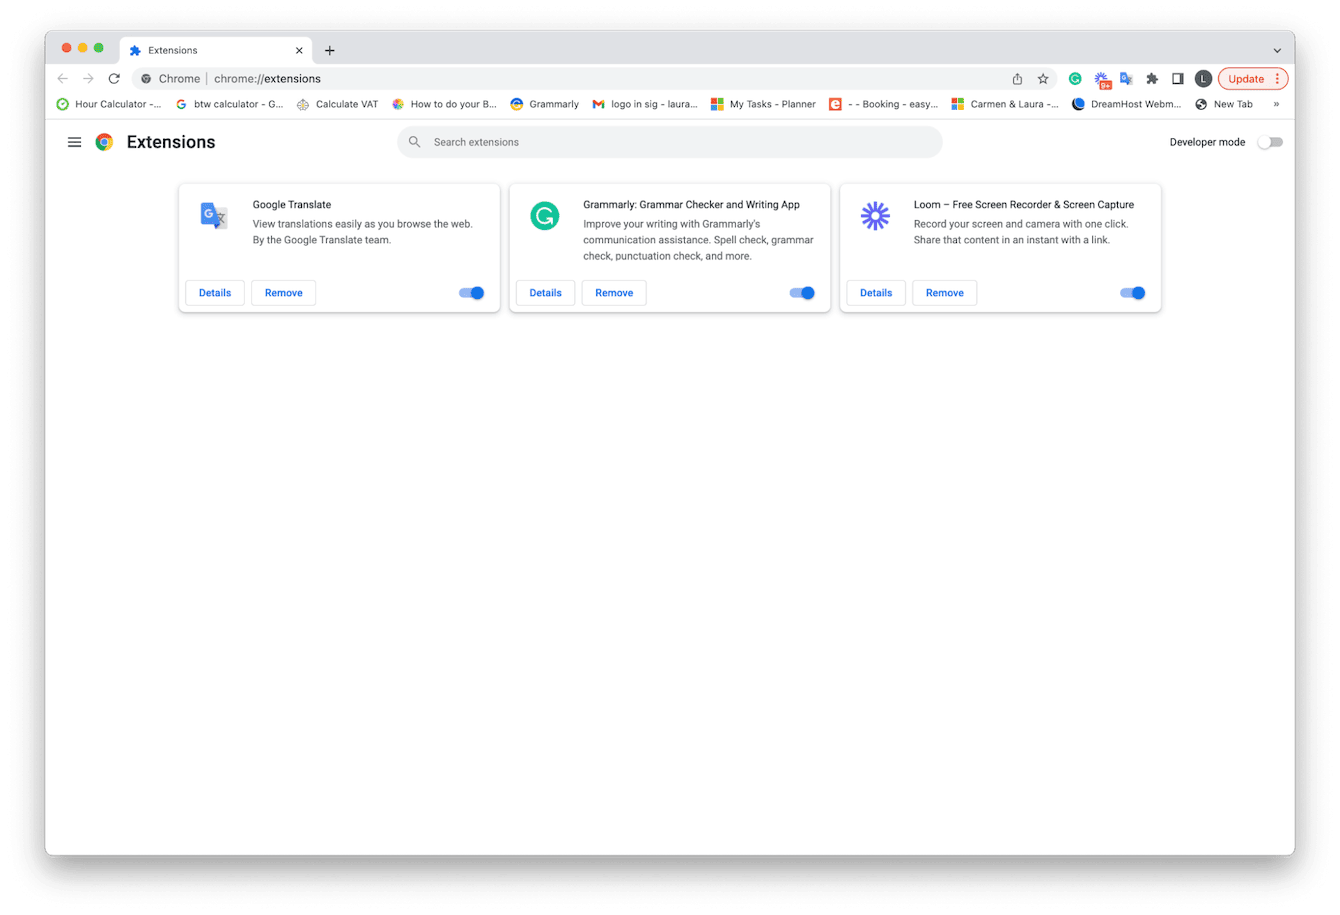
Open Chrome and select the main Chrome menu > Preferences > Extensions.
-
If you see something you don't recognize, press Remove.
For Safari:
-
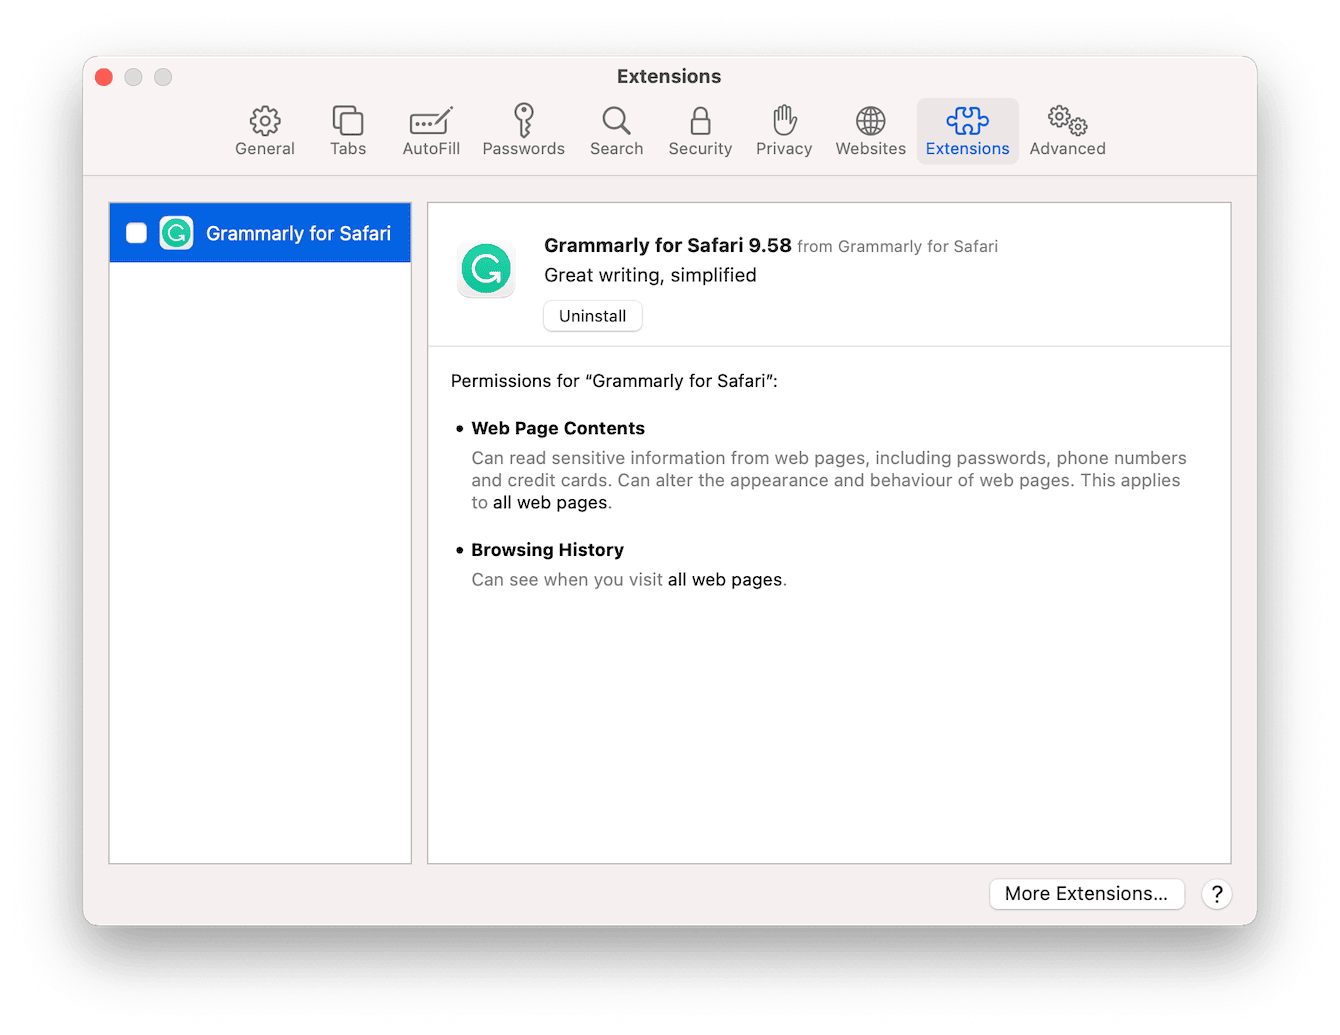
Open Safari and select the main Safari menu > Preferences > Extensions.
-
If you see something suspicious, press Uninstall.
For Firefox:
-
Open Firefox and select the menu icon, top right (the three bars).
-
Select “Add-ons and themes” from the list > Extensions.
-
Locate any unknown extensions and press Remove.
The Bing redirect virus doesn't just affect Macs; it also affects Windows devices. Head to the next step to discover how to remove it from a Windows device.
How to remove Bing redirect from Windows
Similar to Macs, there are a few steps to manually removing the redirect virus on a Windows device; let's take a look.
1. Launch your PC in Safe Mode
Safe Mode allows you to locate problems and solve multiple issues, like viruses. Learn how to launch your PC in Safe Mode here.
2. Check your browsers for suspicious extensions
Check your browser extensions for any suspicious add-ons that you don't remember installing and remove them immediately.
3. Check for unknown applications
Check your device for any applications you don't remember installing. Remove and uninstall any you locate.
4. Delete your Temporary Internet Files
Your temporary files can contain malicious software, so removing these is a good way to irradicate the virus. Learn how here.
Why does Bing keep showing up?
The Bing redirect virus disguises itself as other legitimate apps and programs, so you most likely accidentally and unknowingly installed the virus as part of a recent software download.
The best way to avoid issues like this in the future is to follow these simple steps.
1. Use a dedicated anti-virus tool
Solely relying on Apple's built-in anti-virus software XProtect, is not enough to keep malware at bay. After all, Apple isn't a security company; instead, leave it to the experts, like CleanMyMac, which I mentioned earlier in the article.
2. Keep your Mac updated
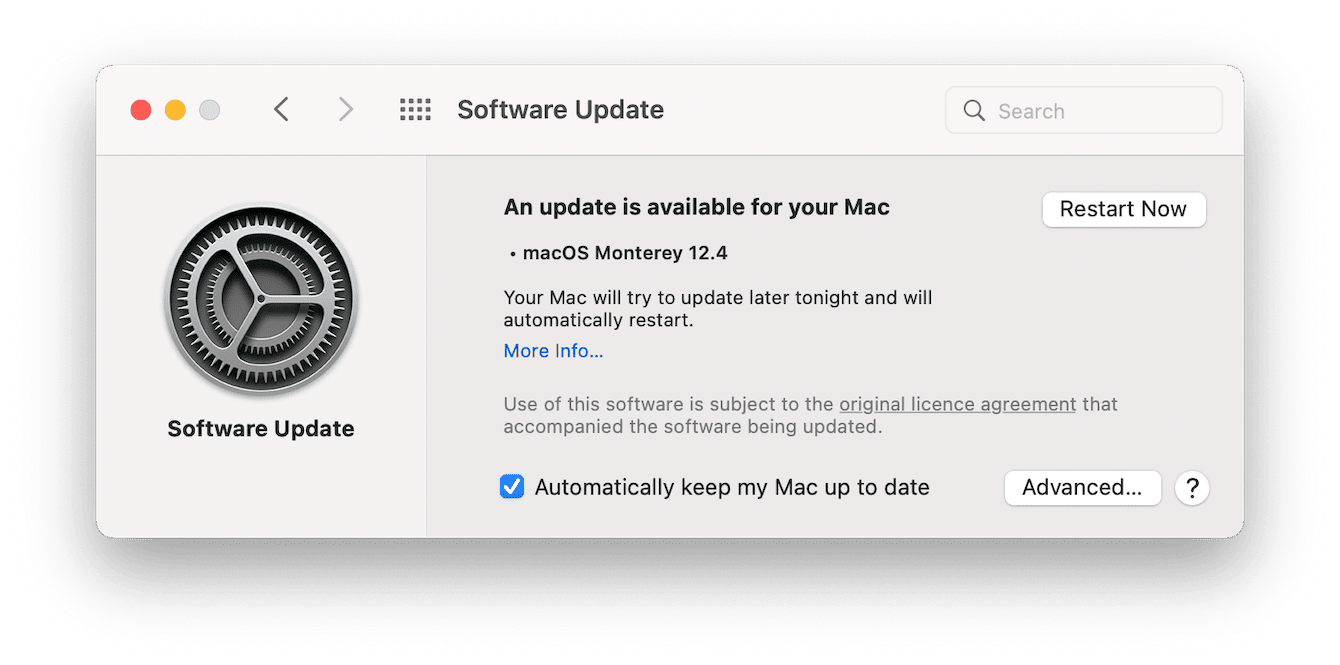
Always keep your Mac updated; this way, you get the most out of all Apple security enhancements and updates. Here's how:
-
From the main Apple menu > About This Mac > System Update.
-
Follow the instructions if an update is available.
3. Trusted downloads
Be careful what you download and where; try only to use trusted download sites and the App Store when possible. Avoid clicking on links sent to you via email if you didn't request them. And always do your research first if you're unsure.
4. Avoid pop-ups
Stay away from pop-up ads; no matter how tempting, don't click them. These are typical hiding places for browser hijacker viruses.
Follow these tips, and you'll reduce your chances of the annoying Google redirecting to the Bing virus and other threats.
As a final word, always remember to back up your Mac regularly: this way, if you do find yourself with a nasty virus, you can restore it to an earlier state.
Safe browsing and downloading until next time.

