An easy guide to factory reset your Mac
If you've decided to upgrade or sell your old Mac, it's essential for your privacy to wipe your data clean first. Or perhaps you've encountered some troublesome system issues, and you're looking to start from scratch. In both cases, a factory reset is what you need. Here we’ll tell you how to factory reset your Mac and clear all your data.
How to wipe all your data and factory reset your Mac
Resetting a Mac to factory settings may sound daunting, but the process is simple once you know-how.
Take a quick look at all the steps involved.
-
Back up your data
-
Sign out of iCloud and iMessage
-
Deauthorize iTunes
-
Erase Mac hard drive in Recovery Mode
-
Reinstall macOS
Let's jump in and reset your MacBook Pro.
1. Back up your Data
A factory reset will erase all information stored on your hard drive, so the first step is to create a backup of your important data, files, and information.
You can do this manually by copying your data to an external hard drive or uploading it to your iCloud, but my preferred method is to use Time Machine.
Time Machine is a built-in backup utility on your Mac that can quickly and safely create a backup of your data, including apps, photos, music, documents, and emails. You can restore your entire hard drive or individual files using this handy tool.
Before you go ahead and create a backup, it's worth cleaning up your Mac first. There's no point in transferring the old junk on your freshly reset Mac.
Suppose you're looking for a hassle-free and simple way to tidy up your Mac. In that case, CleanMyMac has a handy Cleanup feature that can clean your system, resolve errors, and remove tons of temporary and broken files — get your free trial here. CleanMyMac is notarized by Apple, so you know it's safe to use.

Here's how to quickly tidy up your Mac in just a few clicks:
-
Open CleanMyMac and select Cleanup from the left sidebar.
-
Click Scan, wait for it to finish.
-
Then, click Clean.
That's it! Now, time to make a backup with Time Machine:
-
Click on the Apple menu, top left, and select System Preferences.
-
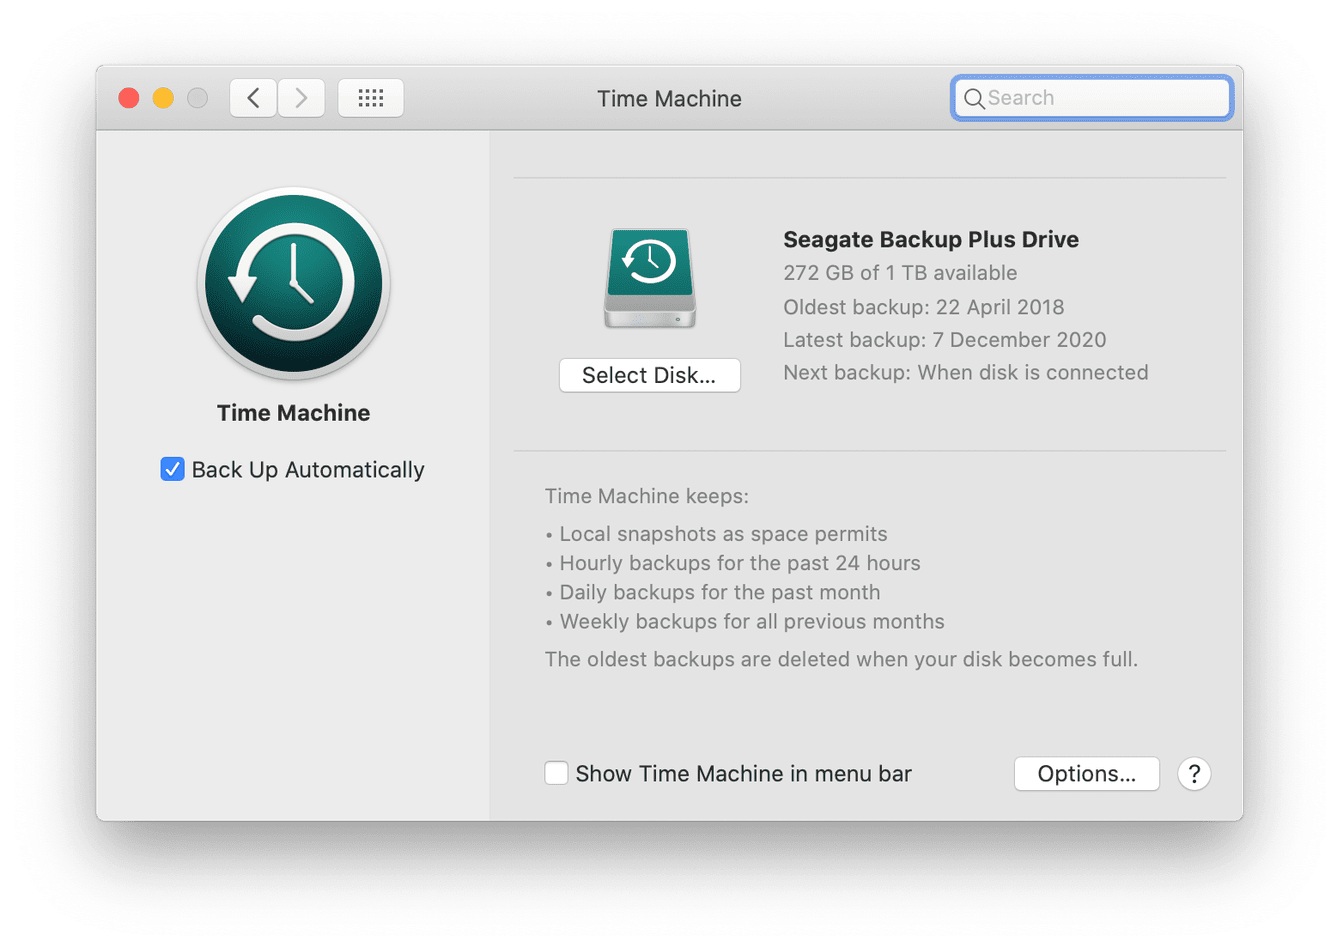
Click on Time Machine and press the Select Disk button.
-
Here, choose the disk you want to use and click Use Disk.
Tip: By checking the Back Up Automatically box, your Mac will automatically backup your Mac to your chosen disk.
If you've never done a Time Machine backup before, this might take a while but don't lose patience; it's worth the wait. If something goes wrong when you reset your MacBook Pro, you'll be able to restore your hard drive entirely.
2. Sign out from iCloud and iMessage
Don't skip this step. It’s essential when you want to reset your MacBook Pro. You don't want any of your cloud or personal data to get into the wrong hands, plus it only does take a moment.
How to sign out from iCloud – macOS Catalina and later:
-
Select Apple menu, top left, and choose System Preferences.
-
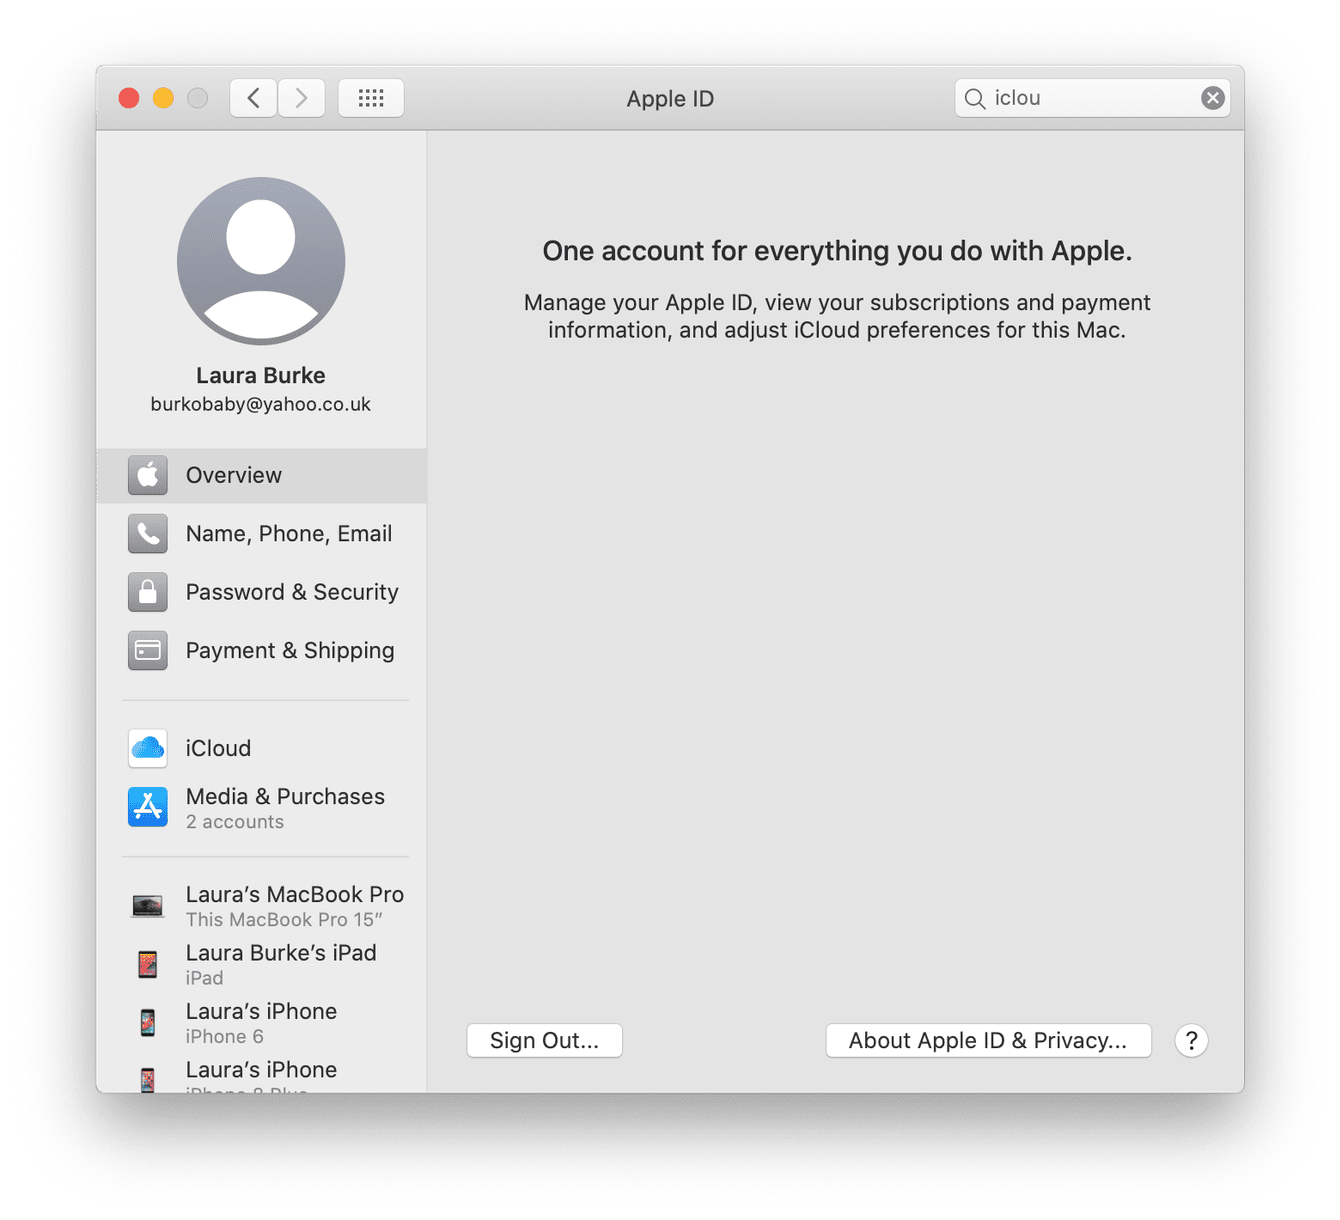
Click on Apple ID in the left sidebar, press Overview, and press Sign Out.
-
Finally, confirm you want to remove data.
How to sign out from iCloud – macOS Mojave and earlier:
-
Select Apple menu, top left, and choose System Preferences.
-
Select iCloud and then click Sign Out.
Finally, it's time to sign out from iMessages:
-
Open the Messages app, then click Messages in the top menu bar and select Preferences.
-
Click your iMessage account, and then Sign Out.
3. Deauthorize iTunes
On macOS Catalina, iTunes is now called Music, Books, Podcasts, and Apple TV. No matter which macOS you're operating, it's important to sign out from and deauthorize access to make sure your Mac isn't connected to your accounts when it gets a new owner.
Here's how to deauthorize iTunes:
-
Open iTunes and select Account from the top menu bar.
-
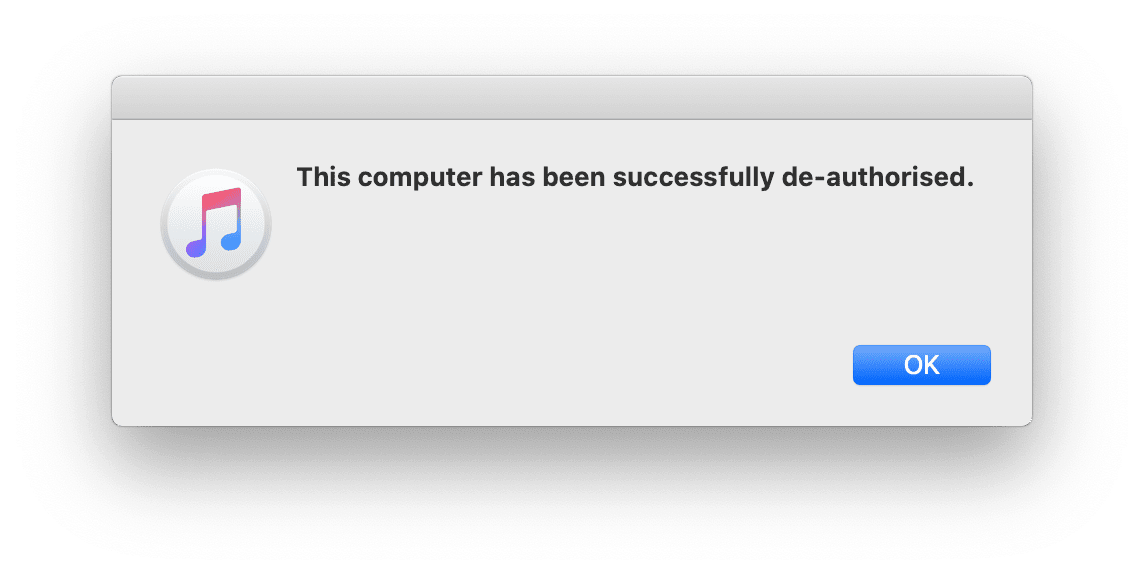
Select Authorizations and choose Deauthorize This Computer.
-
You'll be prompted for your Apple ID and password.
-
Finally, click Deauthorize.
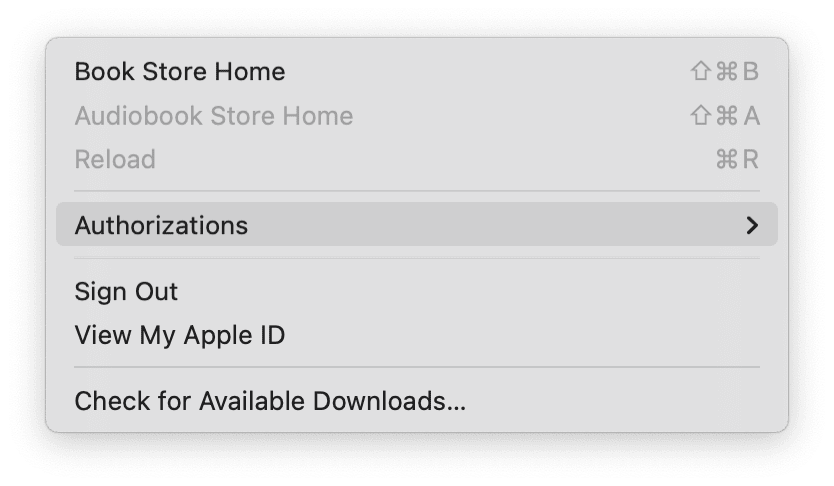
The instructions above will also work for deauthorizing Apple TV and Music accounts on Catalina and later. But to deauthorize Books, open the app, click Store from the top menu, and choose Authorization to deauthorize.
4. Restart Your Mac in recovery mode
Now, you've cleaned up your Mac, created a backup, and signed out from your various accounts, it's time to learn how to wipe a MacBook, ready for a fresh start, or it's the new owner.
The following steps walk will guide you through how to factory reset a MacBook Pro:
-
Select the Apple menu and press Restart.
-
As the system begins to restart, hold down the Command and R keys.
-
When the Recovery Mode Utilities window appears, select Disk Utility and press Continue.
You're ready for the final step.
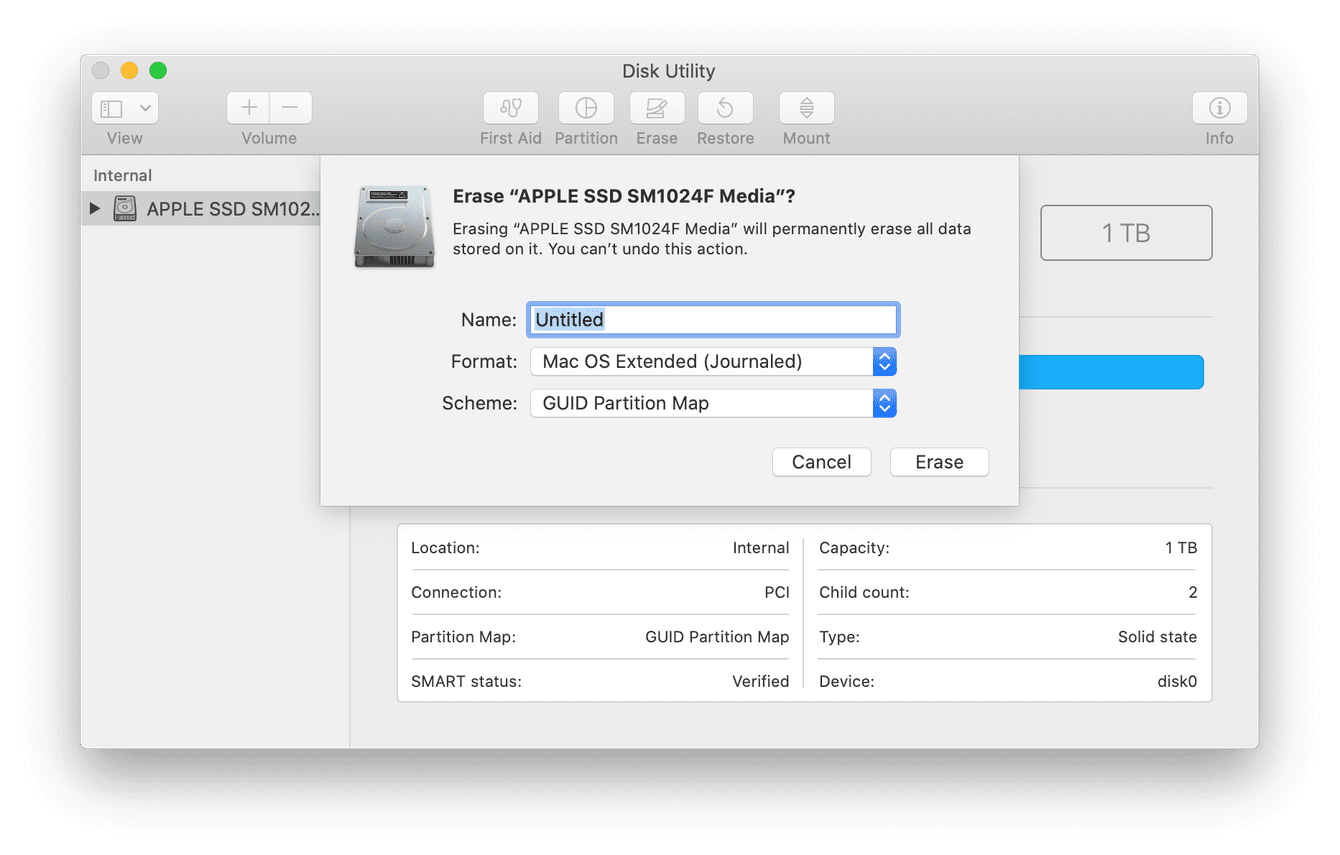
5. Erase your Mac hard drive
Following on from the steps above, your MacBook has now restarted in Recovery mode, and you'll be taken to Disk Utility.
-
From the sidebar, select your built-in startup disk; it will be called Macintosh HD unless you renamed it earlier.
-
Press Erase.
-
Enter the details requested and make sure you have selected the Mac OS Extended (Journaled) format.
-
Finally, press Erase.
Pat on the back, you've just successfully completed a factory reset on your MacBook Pro. If this device is off to a new user, hold down the Command and Q keys and select Shut Down, ready to pass on to its new home.
If the reason you wanted to know how to reset your MacBook to factory settings was that you needed a fresh start, reinstall macOS from the Utilities menu:
-
Follow the steps above to restart in Recovery Mode.
-
This time when the Recovery Mode Utilities window appears, select Reinstall macOS and follow the on-screen instructions.
And there we are, right at the end of this guide on how to reset MacBook to factory settings. Come back soon for more useful guides, tips, and tricks.