How to send encrypted email?
Ever wondered how to send an encrypted email on a Mac? Our online privacy and data are under constant threat, and sadly email is just another way our data can be used and abused.
You would think that exchanging emails is pretty safe, but in recent times even our most favorite and well-known email providers are not doing their best to keep our information private.
We all want to ensure our emails remain private, especially if we're sending confidential or sensitive documents.
Thankfully, there are a few things that we can do to increase privacy. Let's get started.
How email encryption works
Apple mail encryption basically jumbles and scrambles the content of your emails, meaning only the intended recipient who has the correct private key will be able to decipher your emails and messages.
Adding this extra layer of security is an excellent way of ensuring your privacy; let's take a look at how to send an encrypted email via Apple's Mail app and Gmail.
When it comes to Mac mail encryption, it's a bit fiddly to set up; you can't just dive straight in and start sending.
The very first step in this slightly long-winded process is to obtain an encryption certificate via the Certificate Assistant in Keychain; you'll need this to send and receive encrypted or signed messages.
How to obtain an encryption certificate
-
Open the Keychain app, and from the top menu select, Keychain Access > Certificate Assistant > Request a Certificate From a Certificate Authority.
-
Complete the request form with your information, and select if you want the certificate saved to disk or emailed to CA, then press Continue. CA Email Address - Choose an organization like RSA Data Security Inc or VeriSign, Inc.
-
If you selected to save to disk, locate where you saved the certificate and open it with Certificate Assistant.
-
From the drop-down menu, select the Issuing CA or choose to override.
-
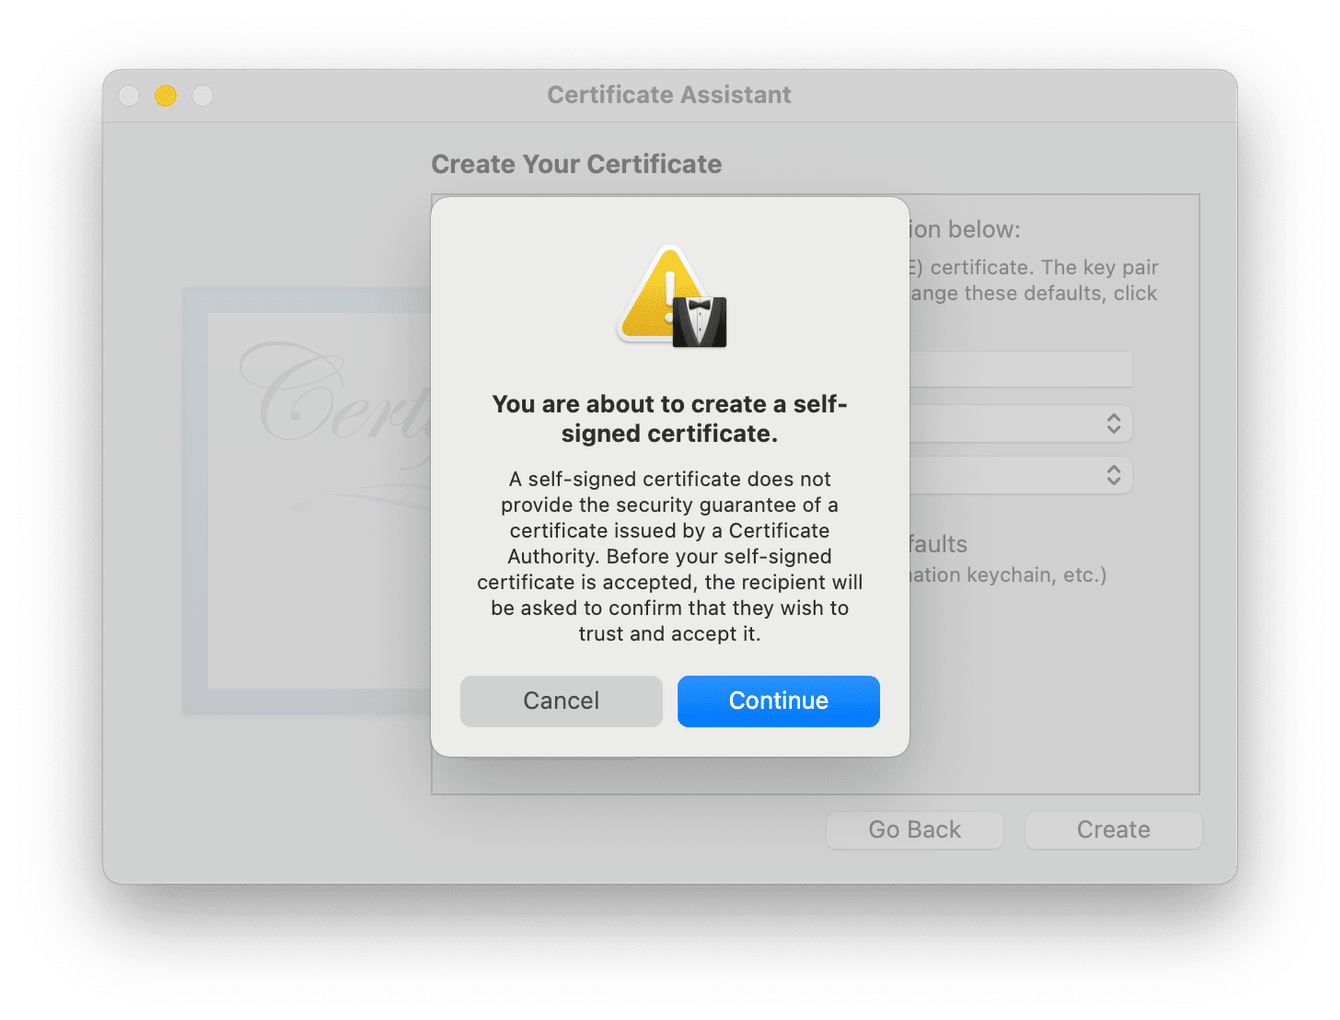
Press continue, select the “Create a certificate for yourself” option, and press Continue.
-
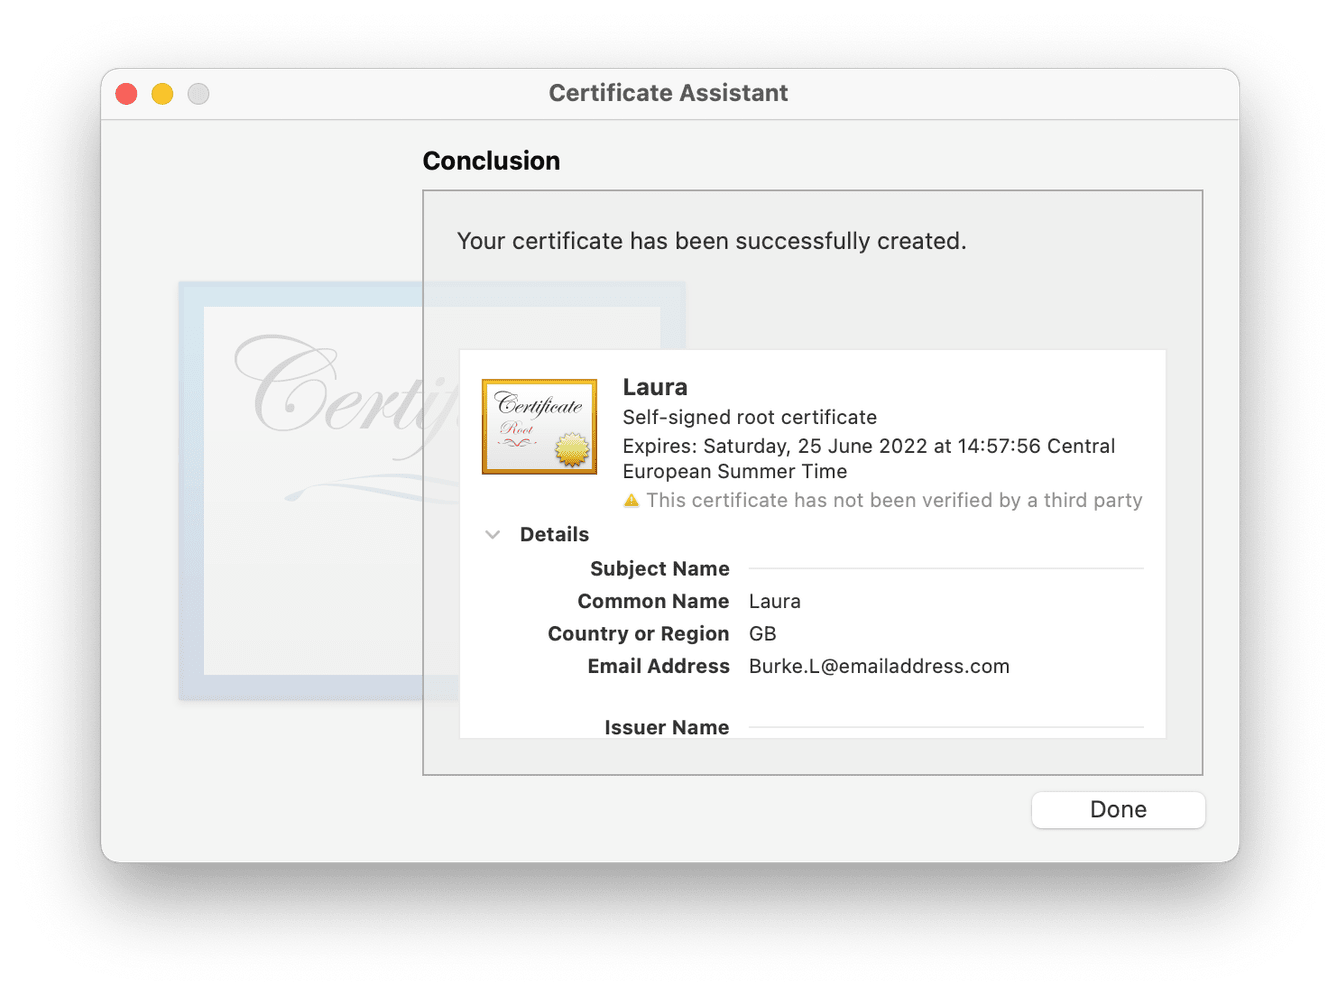
Ensure the Identity type is set to the default Self Signed Root and that Certificate Type is S/MIME (Email); now press Create.
-
Your certificate is now ready and will be automatically added to your keychain.
This certificate enables your recipients to verify you as the sender.
How to encrypt emails you send via the Mail app
Don't forget to send encrypted messages; you also need to have your recipient's certificate saved in your keychain.
-
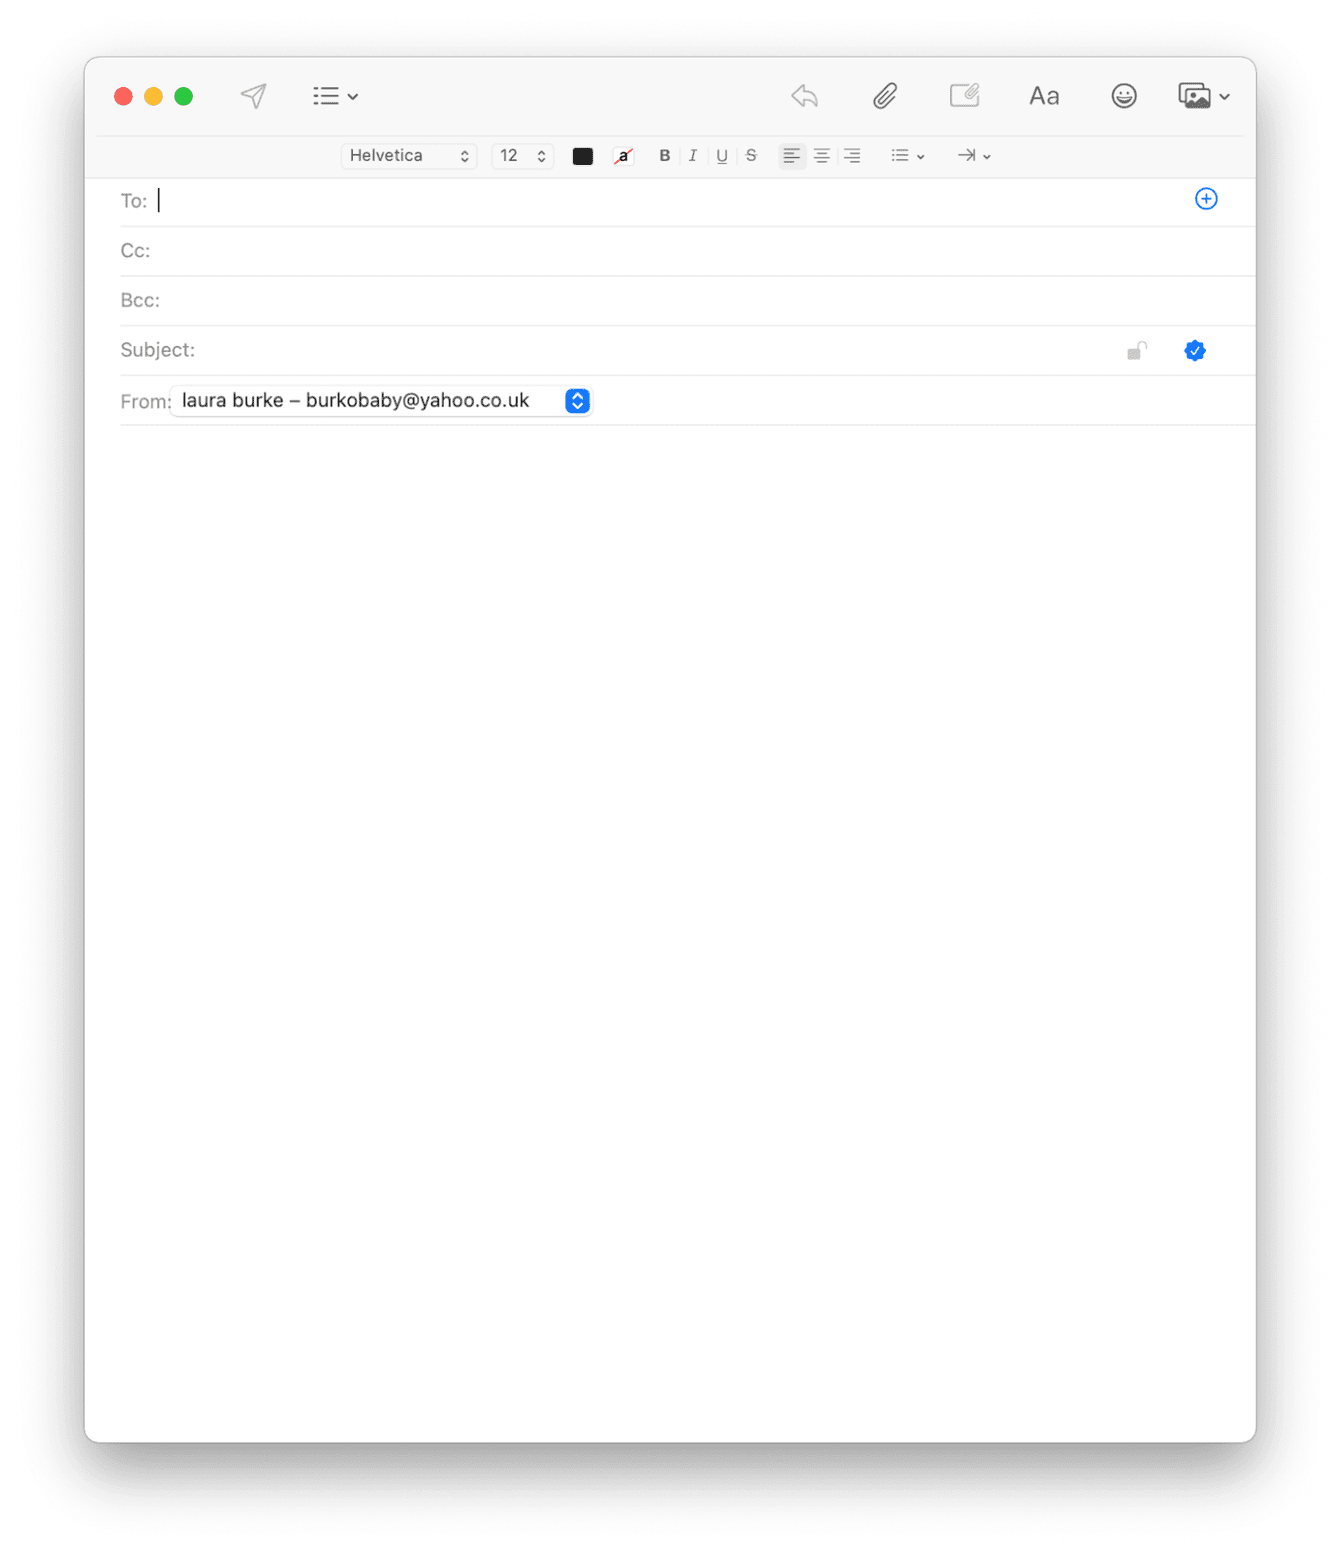
Open the Mail app and select New Message.
-
Make sure you're sending this from the account you have an encryption certificate for.
-
Click the checkmark button in the subject line to turn on your digital signature.
-
Select your recipient, and the lock symbol will close.
How to encrypt emails in Gmail
Another way to encrypt email on your Mac is with Gmail's confidential mode. If you’ve wanted to know how to send a password-protected email, here's how: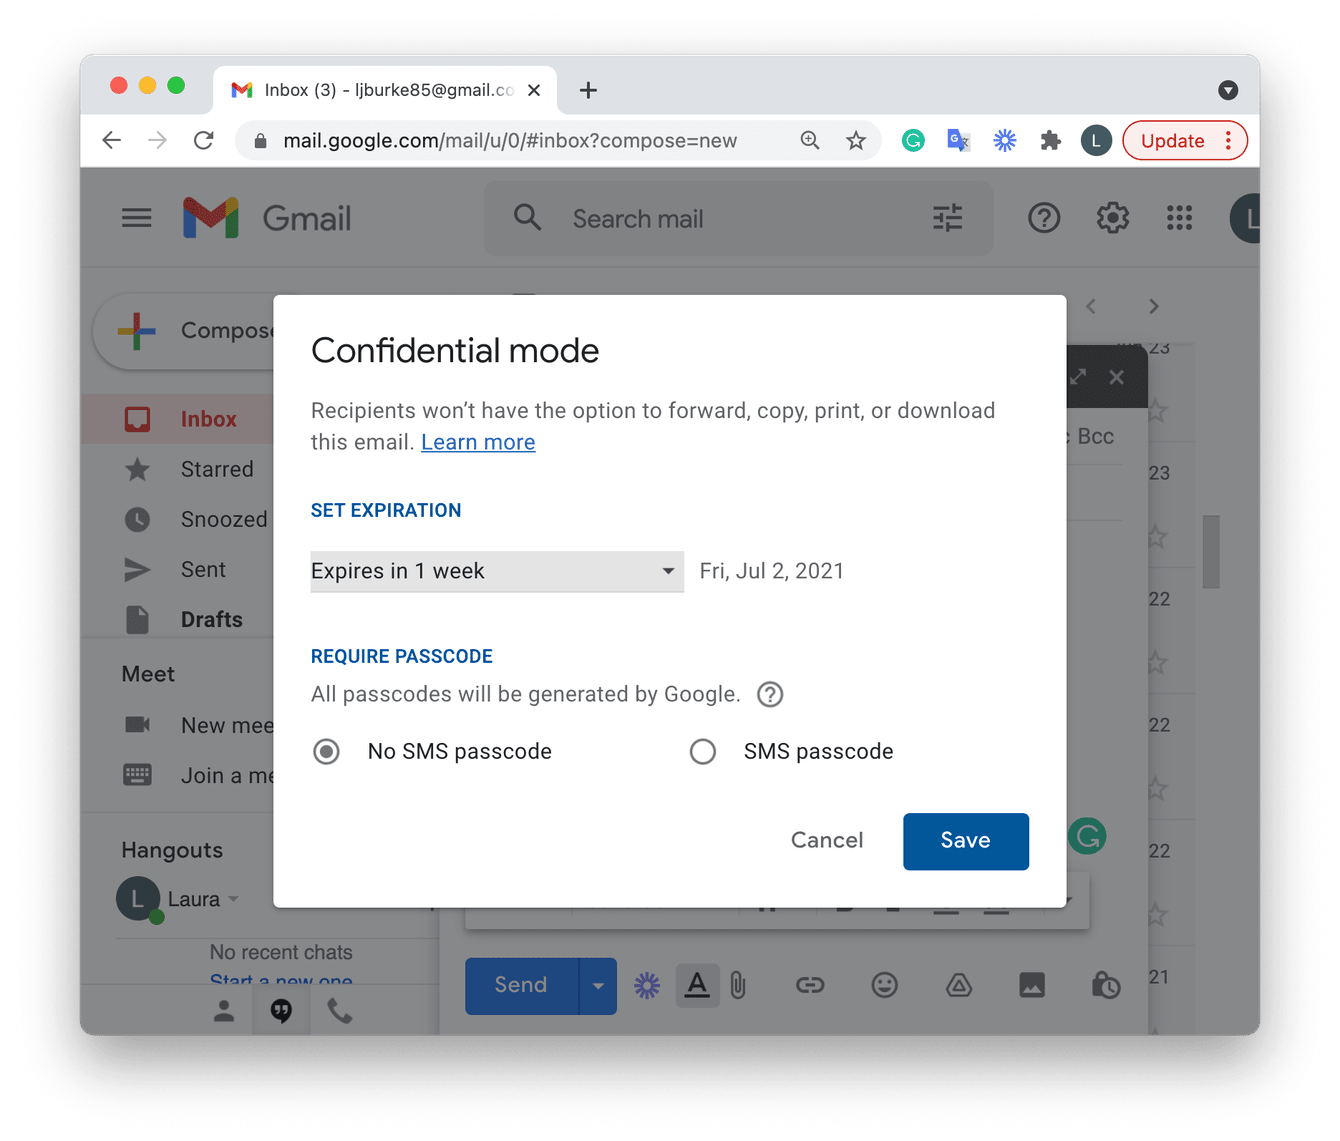
-
Open Gmail and select Compose.
-
At the bottom of the email, press the lock icon.
-
Here you can set a passcode and expirations date. No SMS passcode - recipients who use the Gmail app can directly open the email. Those who don't will get a passcode emailed to them. SMS passcode - recipients will receive the passcode by text
-
Press Save.
Apps to encrypt emails
If you don't feel comfortable setting up certificates, there's another way to encrypt email on your Mac: use an encryption app to do the hard work for you.
Here's a quick look at some great apps on the market.
Encrypto
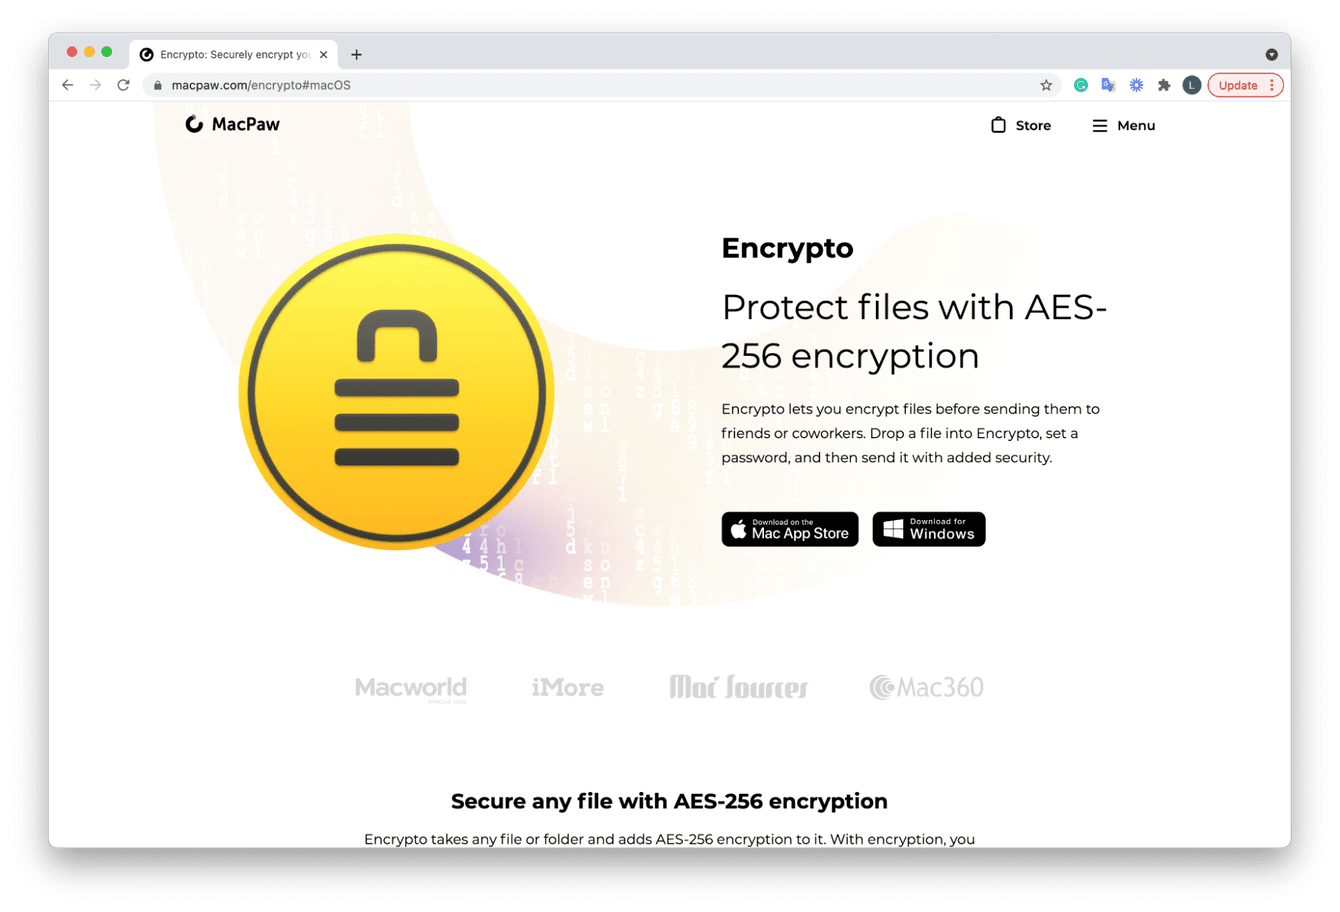
Encrypto has to be number one on my list; it's not only free but easy to use. You can encrypt your files before transferring them, set a password, and send them with added security.
PreVeil
PreVeil works with the Apple Mail app, Gmail, and Outlook, encrypting attachments and messages directly. It's a really nice interface, but the downside, it's not free to use.
Mailvelope
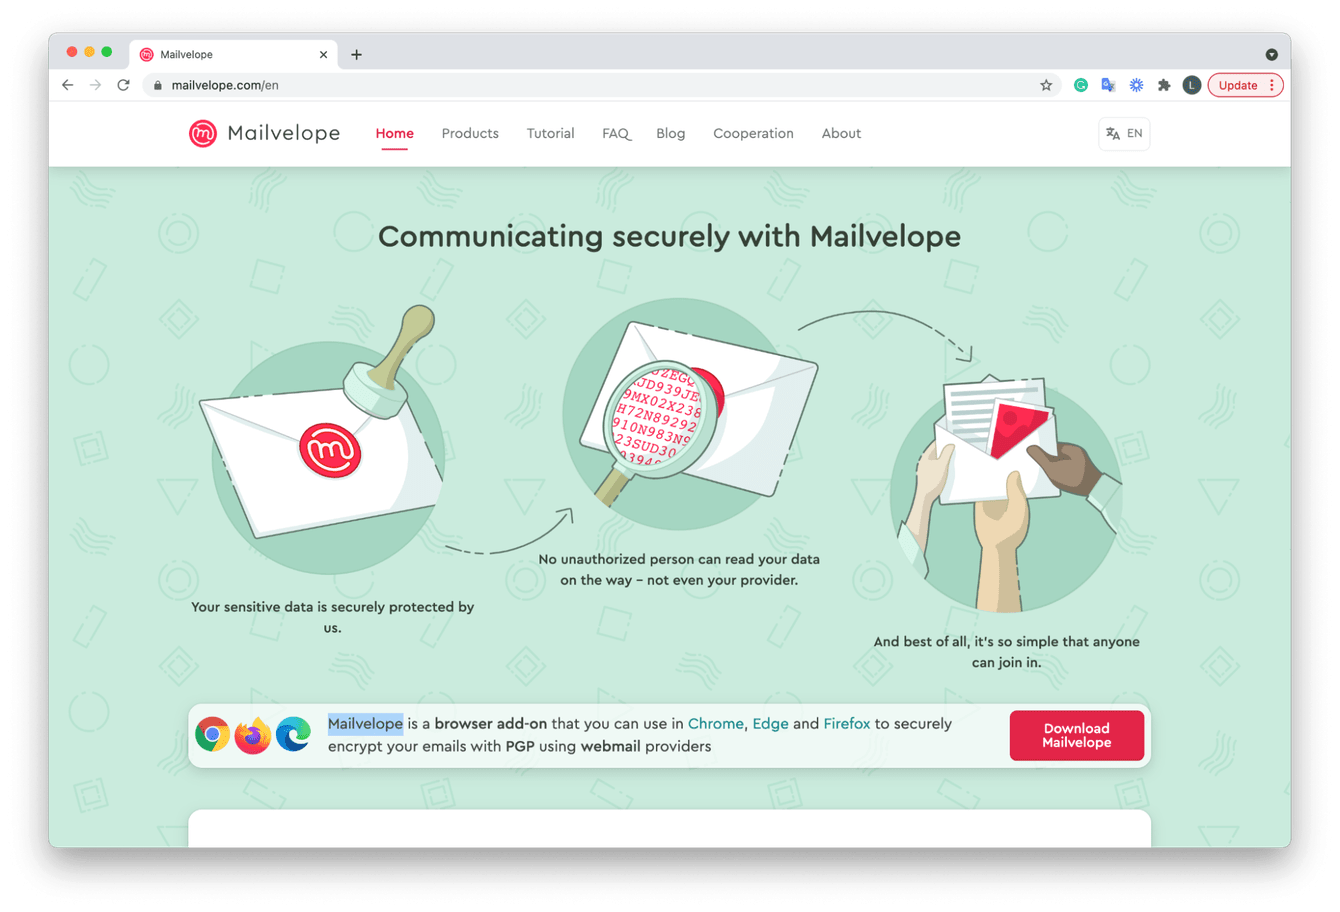
Mailvelope is a browser extension that provides end-to-end encryption. Compatible with multiple email providers, it's open-source and free to use.
Alternatives to encryption
When was the last time you reviewed all your locally saved attachments, even with mail encryption set up? All that vulnerable data is just sitting around on your Mac. What can you do?
Well, I, for one, am not too interested in sorting through years and years worth of files; that's why I use CleanMyMac to help protect my Mac privacy through their Mail Attachments module.
You can locate and review all your offline mail attachments in just a few clicks; here's how:

-
Launch the app — download the free version here.
-
Select Mail Attachments from the sidebar and press Scan.
-
Once complete, press Review Details.
-
Choose items to remove and press Clean.
You’ve just saved yourself a serious amount of time and cleaned up vulnerable data.
While we're talking about CleanMyMac, their Privacy module is also another great tool. You can remove browsing history and traces of online and offline activities in just a few quick clicks; here's how.

-
Launch the app.
-
Select Privacy from the sidebar.
-
Press Scan, select items, and click Remove.
Simple as that! Keeping your Mac secure and optimized!
Now you know how to send an encrypted email. It might seem like quite some extra work, but there are no shortcuts when it comes to your information security.

