How to fix Touch ID slow or not working on Mac
Is your MacBook Air Touch ID not working? We're seeing lots of users report issues with complete failure or exceptionally slow response times.
It's one of those features that you don't realize just how much you use it until it stops working properly.
If you're running into problems with your Touch ID, we'll help you solve it; we've put together everything you need to know right here to troubleshoot the issue, so let's get started.
Why is the Apple keyboard Touch ID not working?
We've searched the Apple forums, so you don't have to, and it looks like there are a few reasons why touch ID is not working on a MacBook, from software glitches to dirt and debris and the latest upgrade to macOS Sequoia, but unfortunately, there isn't one concrete answer.
We've split the troubleshooting tips into two sections so you can get the help you need for the exact issue you're having.
MacBook Pro fingerprint not working: Slow response
If your Touch ID is working, but the response times are slow or even glitchy, work your way through these quick tips to help you solve it.
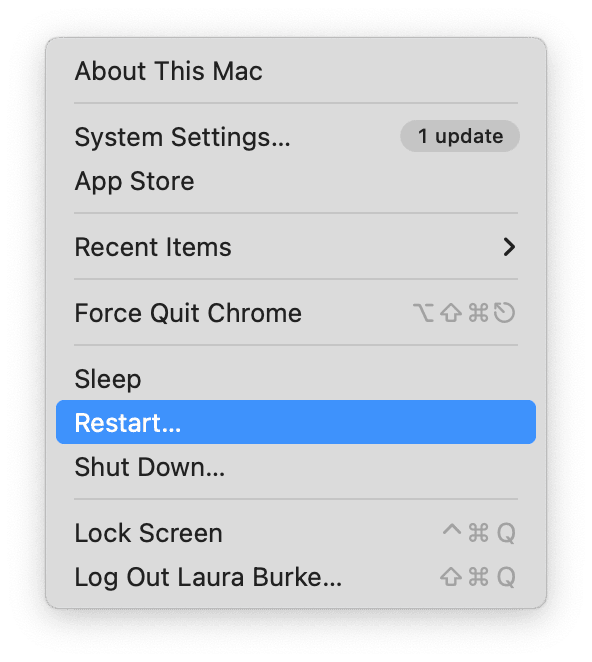
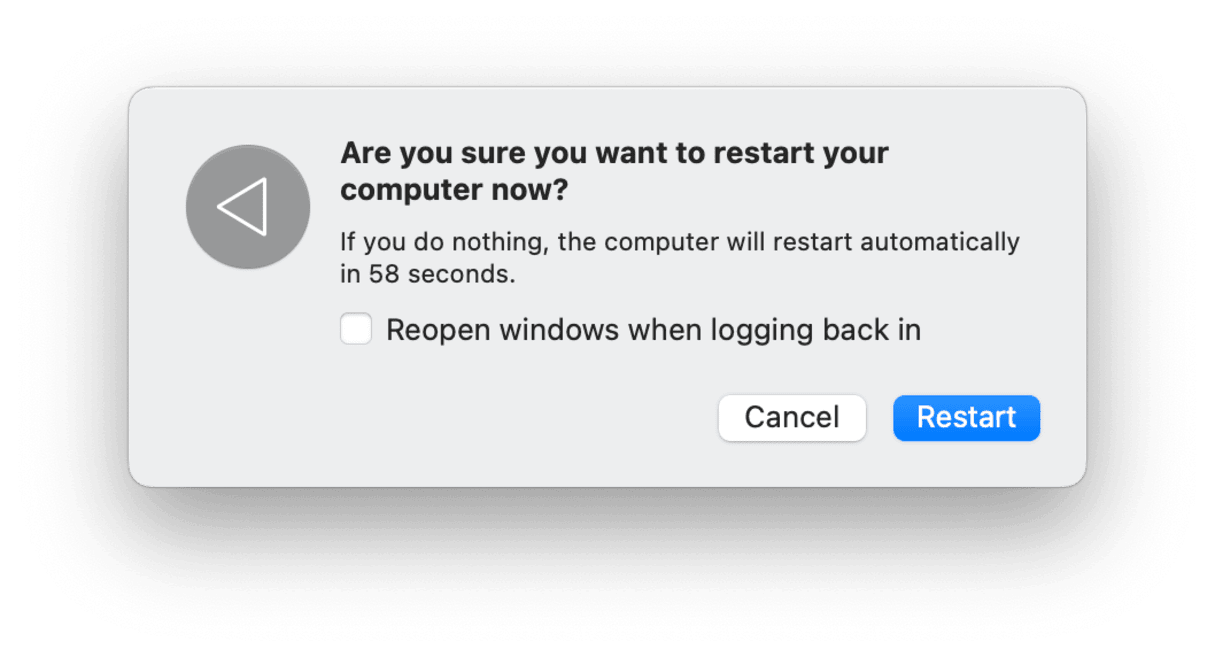
1. Restart your Mac
Users often roll their eyes when they see this tip on the list, but restarting your Mac can actually solve multiple problems and glitches. Head to the main Mac menu and choose Restart to see if this solves your Touch ID problems.
2. Software check
If you're wondering why is Touch ID not working on my Mac, it could be a software-related glitch.
If you've just upgraded to macOS Sequoia, that could be the reason; lots of users are complaining of similar issues since the update. The Sequoia upgrade process can cause some system files or settings to become corrupted, which will interfere with the functionality of components like Touch ID. You'll need to keep an eye out for further updates from Apple, which should fix known issues like this.
Alternatively, if you haven't updated your MacBook's operating system in a while, this could also be the reason your Touch ID has become so slow; here's how to check for available updates:
- Select the main Apple menu > System Settings > General > Software Update.
- If an update is available, follow the on-screen instructions to install it.

3. Try safe mode
If restarting your Mac and updating software hasn't helped, it's time to boot into safe mode to test if the issue persists. Safe mode is a great troubleshooting option because it clears caches and only loads essential software. Depending on your Mac model, the way to boot into safe mode differs; read the official help guide from Apple here.
Touch ID not working MacBook Pro: Unresponsive
If Touch ID is not working on your Mac completely, then work through these tips to solve this issue quickly.
1. Restart your Mac
Restarting your MacBook from the main Apple menu might sound obvious, but it's surprisingly overlooked. Take a few moments to see if this quick step solves all your Touch ID problems.
2. Check for dirt
You'll need to ensure that both the Touch ID sensor and the finger you use to unlock your Mac are clean. Dirt, oil, and sometimes moisture can cause issues with the sensor's ability to accurately read your fingerprint.
Clean the sensor: Gently wipe your Mac's Touch ID sensor with a soft, lint-free cloth to remove any dirt or oils that may have accumulated. Don't use any liquids directly on the sensor, as this can damage not only the sensor but also your Mac.
Dry and clean your finger: Make sure your finger is clean and dry before using Touch ID. Moisture, dirt, or lotion can impact the sensor's accuracy.
3. Optimize your MacBook Performance
A non-responsive Touch ID could be caused by performance-related issues. Boosting your overall system performance could help you resolve glitches caused by system overload or background processes.
Instead of diving into more investigation work, use an app like CleanMyMac to help you quickly boost your Mac's output and solve system glitches.
This powerful tool has a smart Performance feature that lets you quickly run various maintenance tasks; here's how to use it:
- Open the app and select Performance from the sidebar (get your free trial here).
- Click Scan.
- Select View All Tasks from the top.
- Browse the various categories and select tasks to launch.
- Finally, click Run.

4. Reset your Touch ID
Finally, if all else fails, you could try resetting your Mac's Touch ID; here's how:
- Go to the main Apple menu > System Settings > Touch ID & Password.
- Hover with your mouse over your current fingerprint.
- Click the X mark to remove this, and enter your admin password to confirm.
- Click Delete.
- Add your fingerprints again.

If these tips don't help to get Touch ID back up and running, it's worth contacting your local Apple repair center; if there is a hardware issue with the sensor itself, then these tips won't be much help.
Where is Touch ID on MacBook, and why is it useful
Touch ID from Apple is a fingerprint recognition system that was first released in 2016. It's built into the power button on compatible MacBook models.
It gives users a fast, secure, and convenient way to access their Macs and approve sensitive actions without the hassle of typing out passwords; here's a couple of benefits:
-
Quick logins. You can unlock your Mac in seconds, no password required.
-
Secure payments. Approve Apple Pay purchases with just your fingerprint.
-
Faster autofill. Instantly enter saved passwords in Safari and other apps.
-
Better security. Your fingerprint data is stored securely, making it more resistant to hacking than traditional passwords.
If you're unsure whether your Mac supports Touch ID, check System Settings > Touch ID & Password to see if the option is available.
The placement of the Touch ID feature can vary slightly depending on your model:
-
MacBook Air (2018 and later). The Touch ID button is separate and located at the top-right of the keyboard.
-
MacBook Pro with Touch Bar. If you're wondering where is Touch ID on MacBook Pro, it's built into the far-right end of the Touch Bar, appearing as a small rectangular button.
Touch ID is also available on some iMacs and Mac minis when paired with an Apple Magic Keyboard with Touch ID. However, this keyboard only works with Macs with Apple silicon (M1 or later) — Intel-based Macs are not compatible.
Hopefully, these tips have helped you solve issues with MacBook Air Touch ID not working.
FAQs: Apple keyboard Touch ID not working
Could third-party apps or accessories interfere with my Touch ID?
Absolutely, if the issue with your Touch ID happened after you installed an app, then it's worth uninstalling it. Bluetooth peripherals could also be the culprit; turn them off in your Bluetooth settings.
What should I do if re-registering my fingerprint didn't fix the issue?
It may be a deeper system issue, or it could be that the sensor itself is broken. Make an appointment with your local Apple Repair center.
Can you add multiple fingerprints to Touch ID?
Yes, and it's easy to do. Just open your Touch ID & Password settings to manage your fingerprints.