How to take professional pictures with iPhone
Knowing how to take professional photos with an iPhone is a question many aspiring photographers are asking, and thanks to all the latest Apple tech, it's more achievable than ever before.
We've put together some great tips and tricks for harnessing your iPhone's camera potential to capture images like a pro.
Whether you aim to improve your photography skills for personal or professional use, these techniques will help you master the art of taking beautiful iPhone photos.
How to take professional pictures with an iPhone
Before we get into the technical tips, ensure your iPhone camera lens is clean; you'll never capture great shots with a dirty or smudged lens.
1. Adjust your iPhone camera settings for better composition
Composition is key when it comes to knowing how to make iPhone photos look professional.
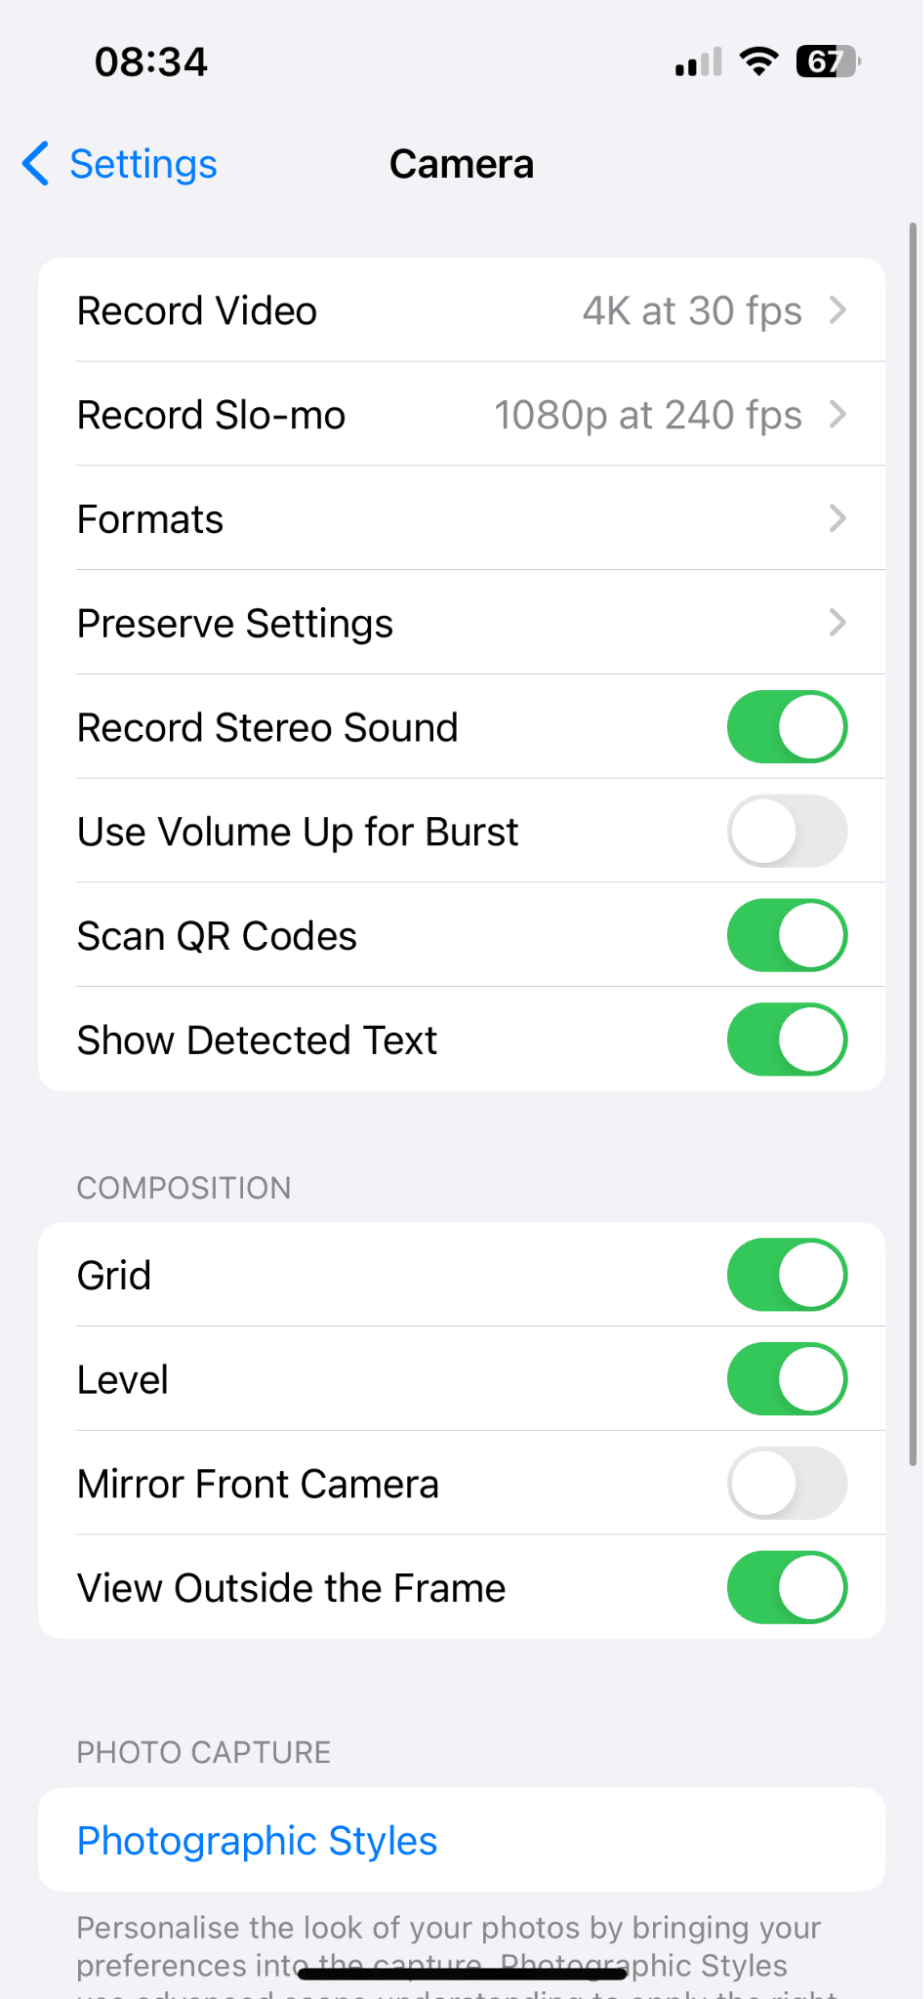
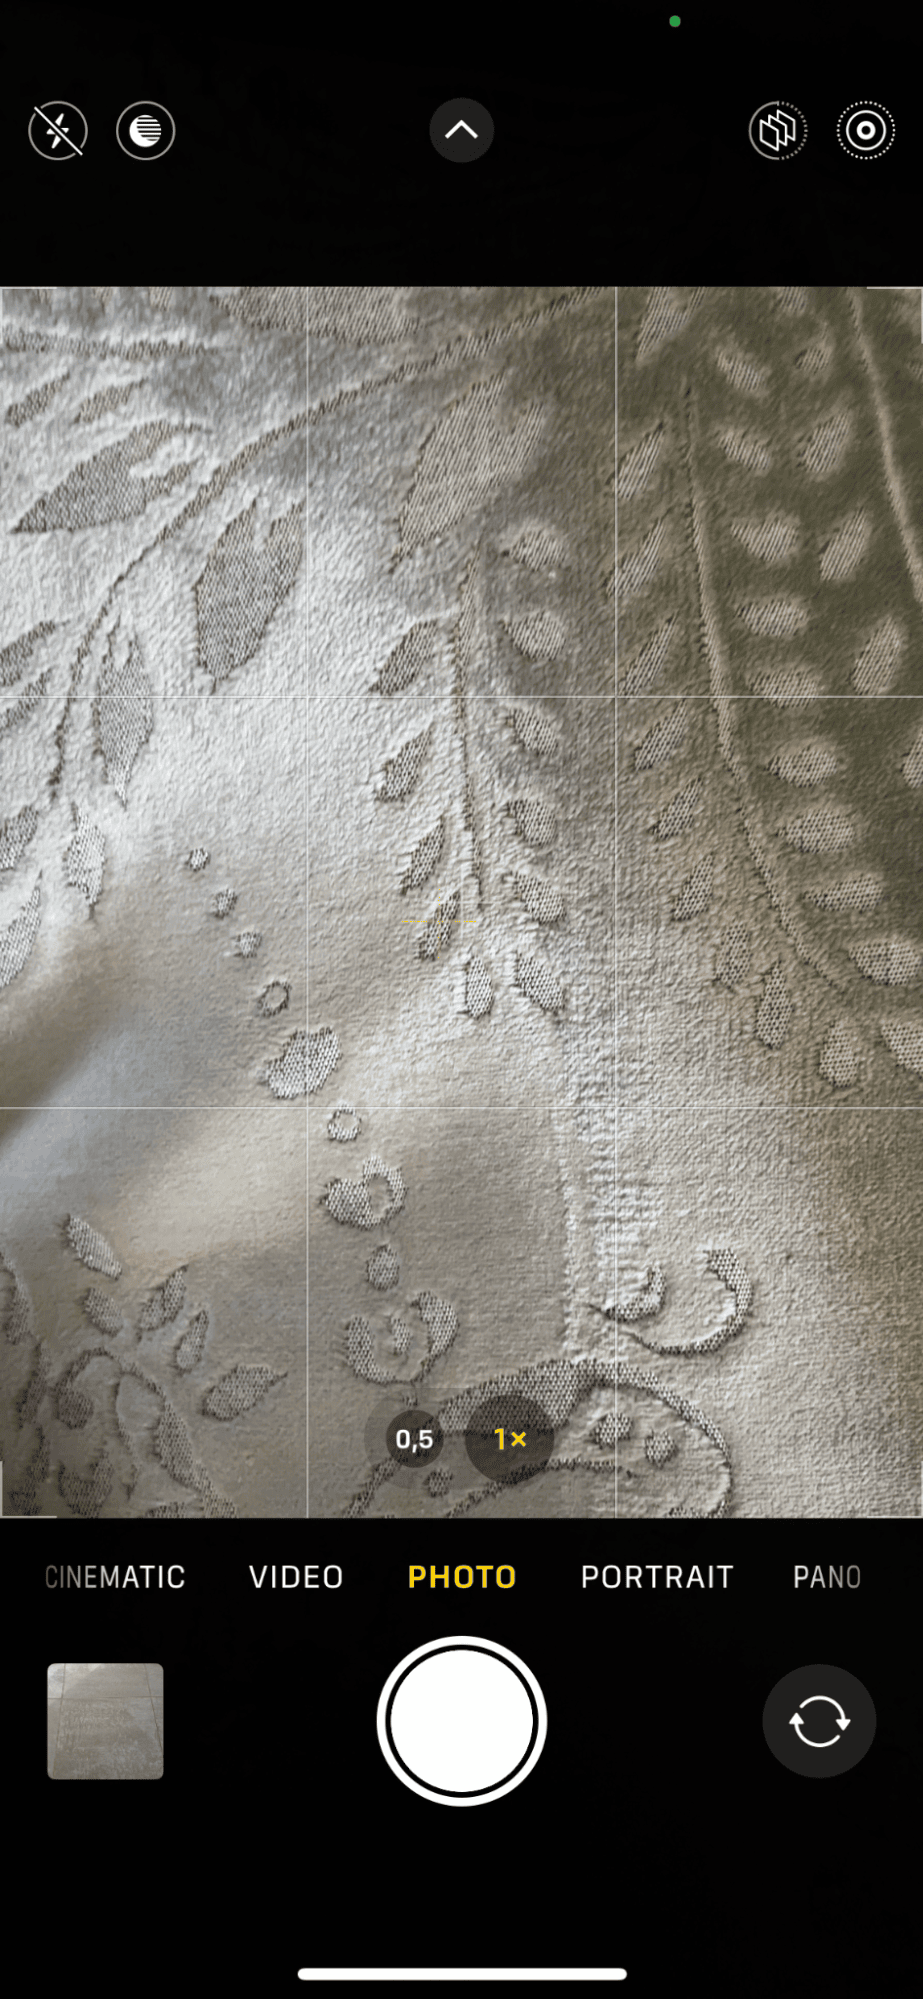
Within your iPhone settings, you can adjust your camera settings to show a grid and level, which will help with your composition; let's take a look:
-
Open Settings > Camera.
-
Ensure both Grid and Level are toggled on under the Composition.
-
Open your Camera app to start shooting.
Professional photographers use the rule of thirds technique to improve a photo's visual appeal. By placing key elements, like the main subject, along these lines or where they intersect, you can create a more engaging and balanced image. The grid divides the photo into nine parts, helping you position your subject to add depth and interest. Give it a try!
OK, now let's look at the various shooting modes.
2. Know your shooting modes
To amp up the professional look of your photos, it's important to know what shooting modes are available and what they do.
Pano
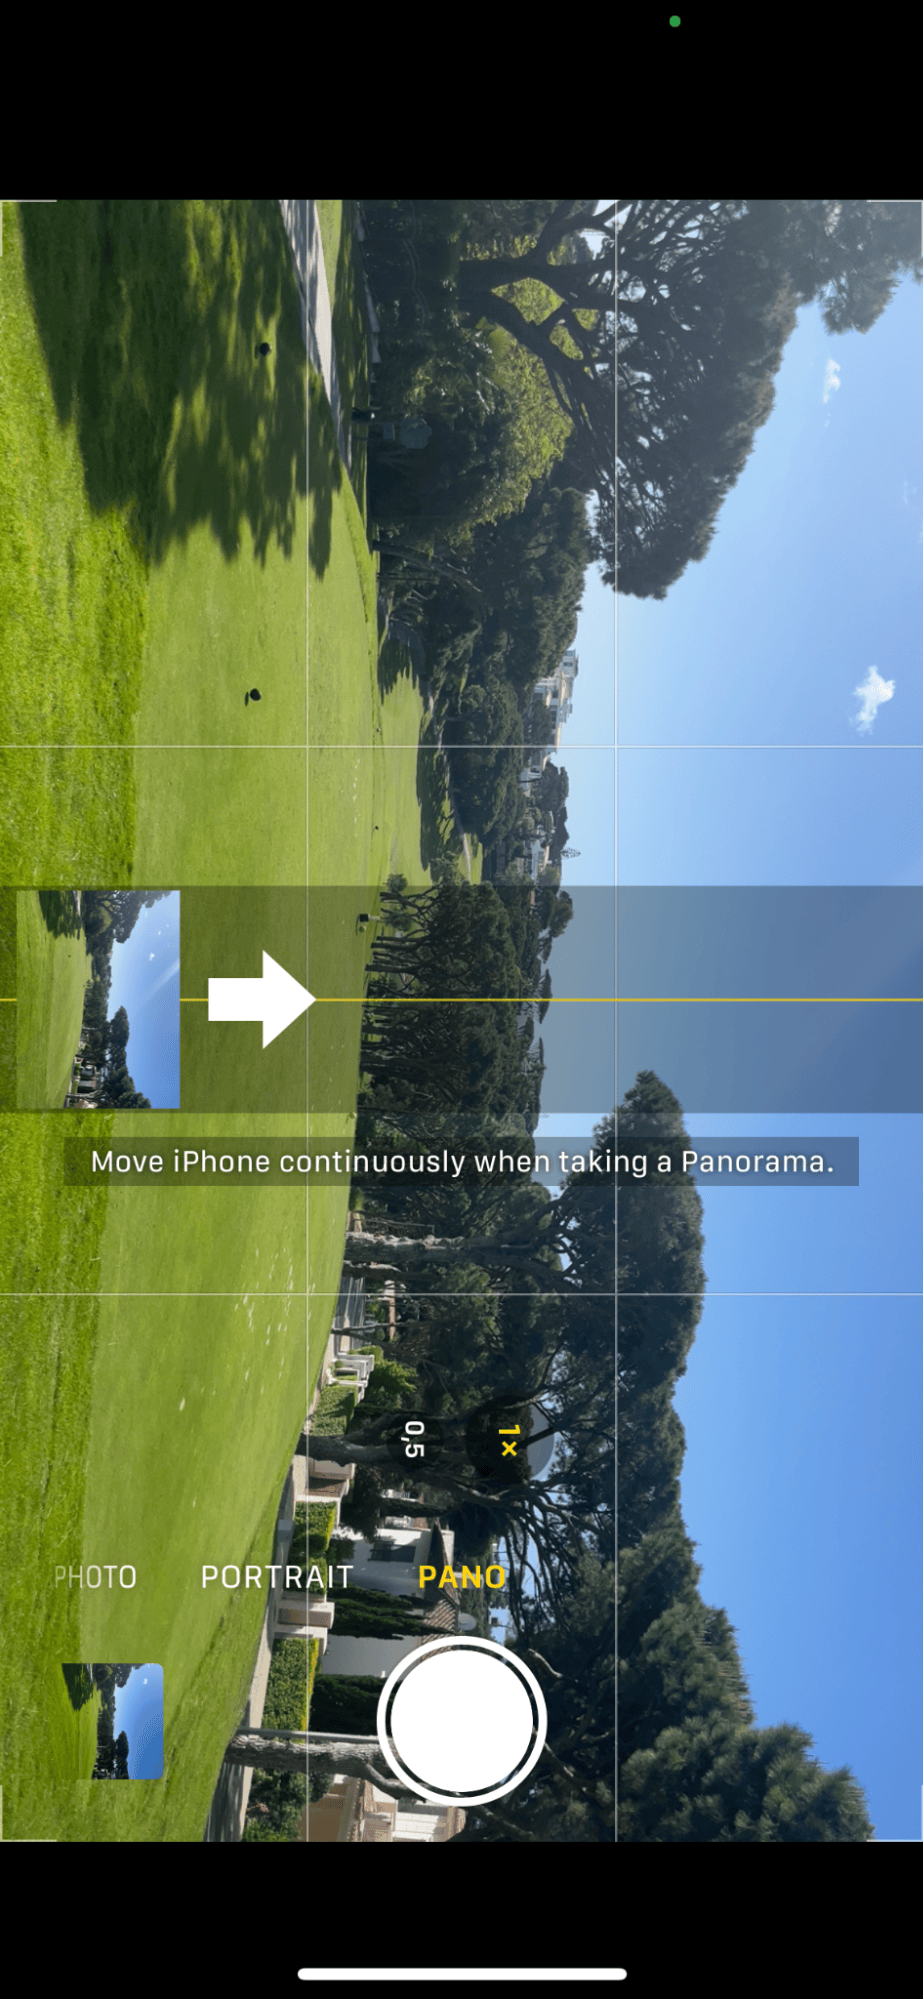

As the name suggests, Pano enables users to take panoramic shots, which is perfect for the scenery. However, many iPhone users have discovered that if you turn your camera 90 degrees, you can also take stunning vertical panoramas instead of horizontal ones; these work great for skyscrapers and skyline shots.
Portrait
Automatically apply professional-looking depth of field to your images. Shallow depth of field images are usually associated with DSLR cameras, but not any more, thanks to the latest iOS camera improvements.
Manual camera
If you swipe up in the standard camera shooting mode, you'll see manual control settings; here, you can adjust exposure, change the size of your image, add a filter, and use the self-timer option.
If you're working too hard to get the best shot, you'll likely take multiple images before you get "the one." Be careful not to let these duplicates clog up your media library. Before you know it, you'll be running out of storage, and your camera will be slow or even glitchy.
How to quickly declutter your Camera Roll
CleanMy®Phone comes with a powerful and smart Declutter module, making quick work of deleting duplicates and low-quality images; here's how:
-
Open the app and from the Declutter screen, tap Scan.
-
Browse through the categories, including duplicates and blur.
-
Select items you no longer want or need on your iPhone and tap Clean.
Now that you know how to organize your iPhone Library, let's discuss some more photography tips.
3. Use HDR mode for scenes
If you're into scenery shots, you'll be happy to hear that HDR (high-dynamic range) mode is automatically enabled. It carefully balances the contrast between bright and dark areas in a scene by merging multiple images with different exposures into one.
4. Use Burst mode for moving subjects
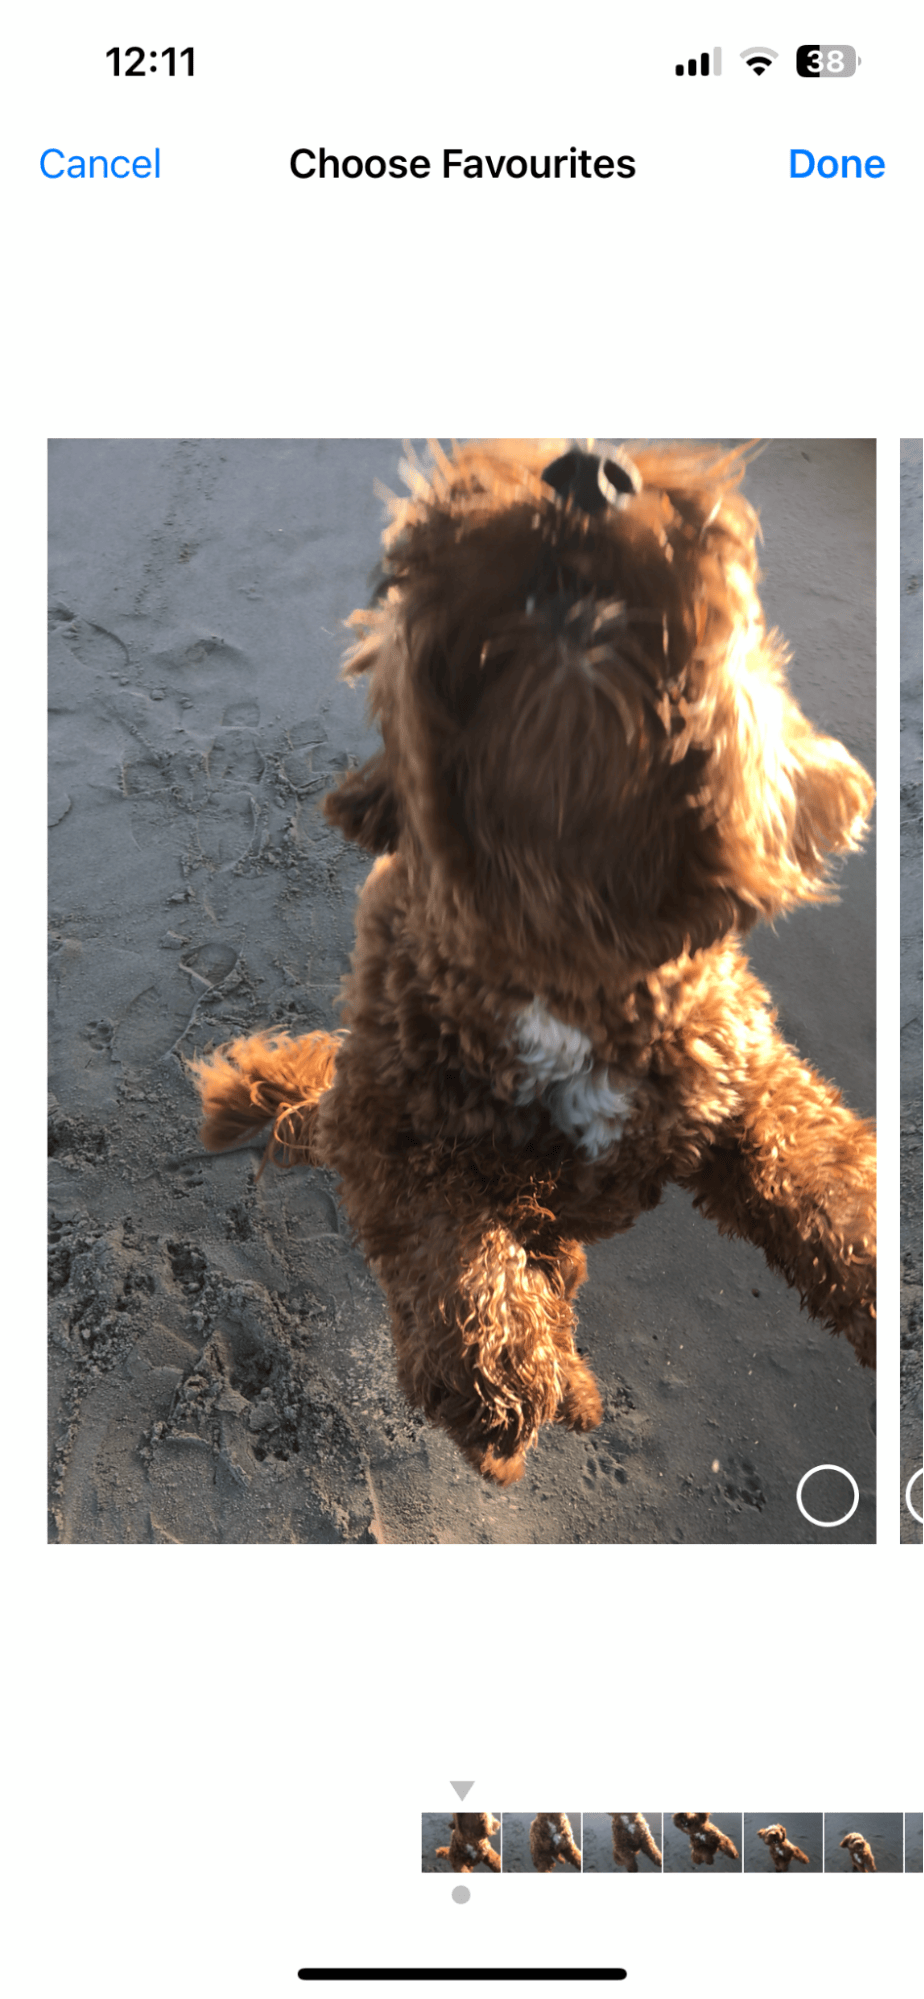
Burst mode on your iPhone is a fantastic way to capture the action if you're trying to capture a moving subject, like a dog. Burst mode captures a series of high-speed photos, so you don't miss the perfect shot.
Here's how to use Burst mode:
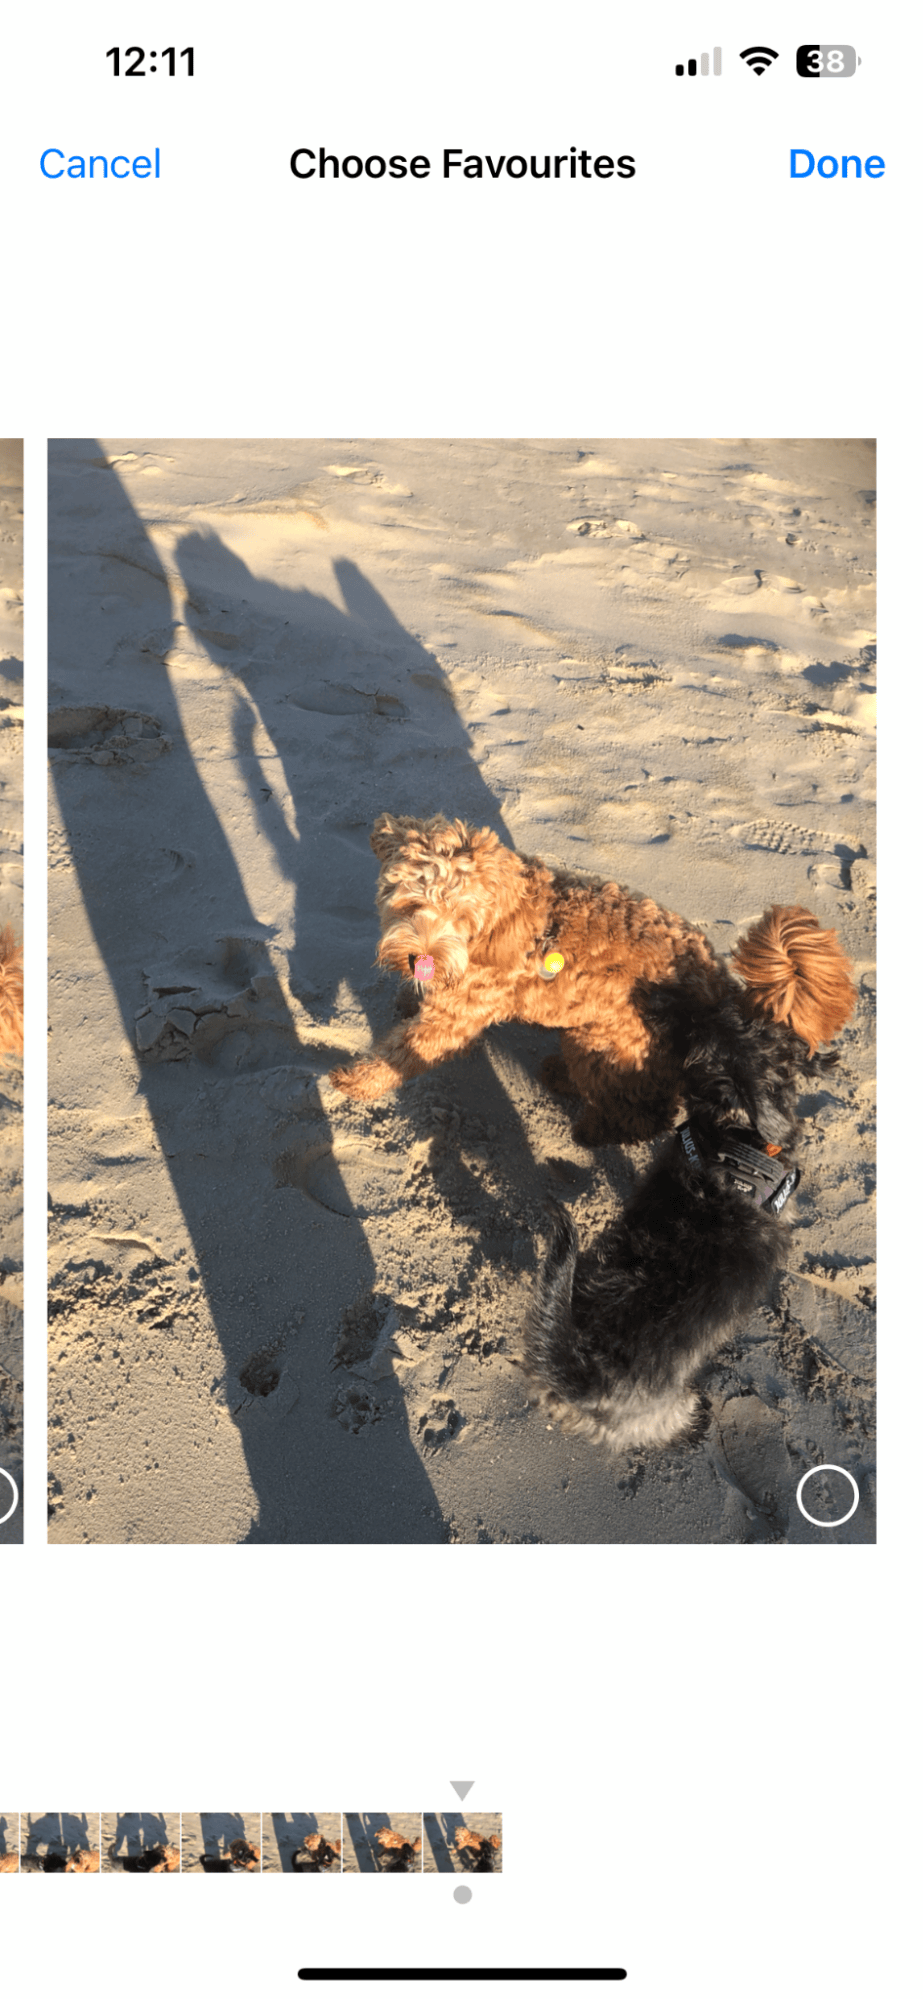
- Open the Camera app.
- Press and drag the main shutter button over to the left.
Now, to see your Burst photos, open them in your library and tap Select to choose between shots.
5. Take Live Photos
Live Photos are three-second clips that include sound, allowing you to watch and listen to the moments you capture. To turn it on, simply tap the top right icon (circle in a circle) when using the camera.
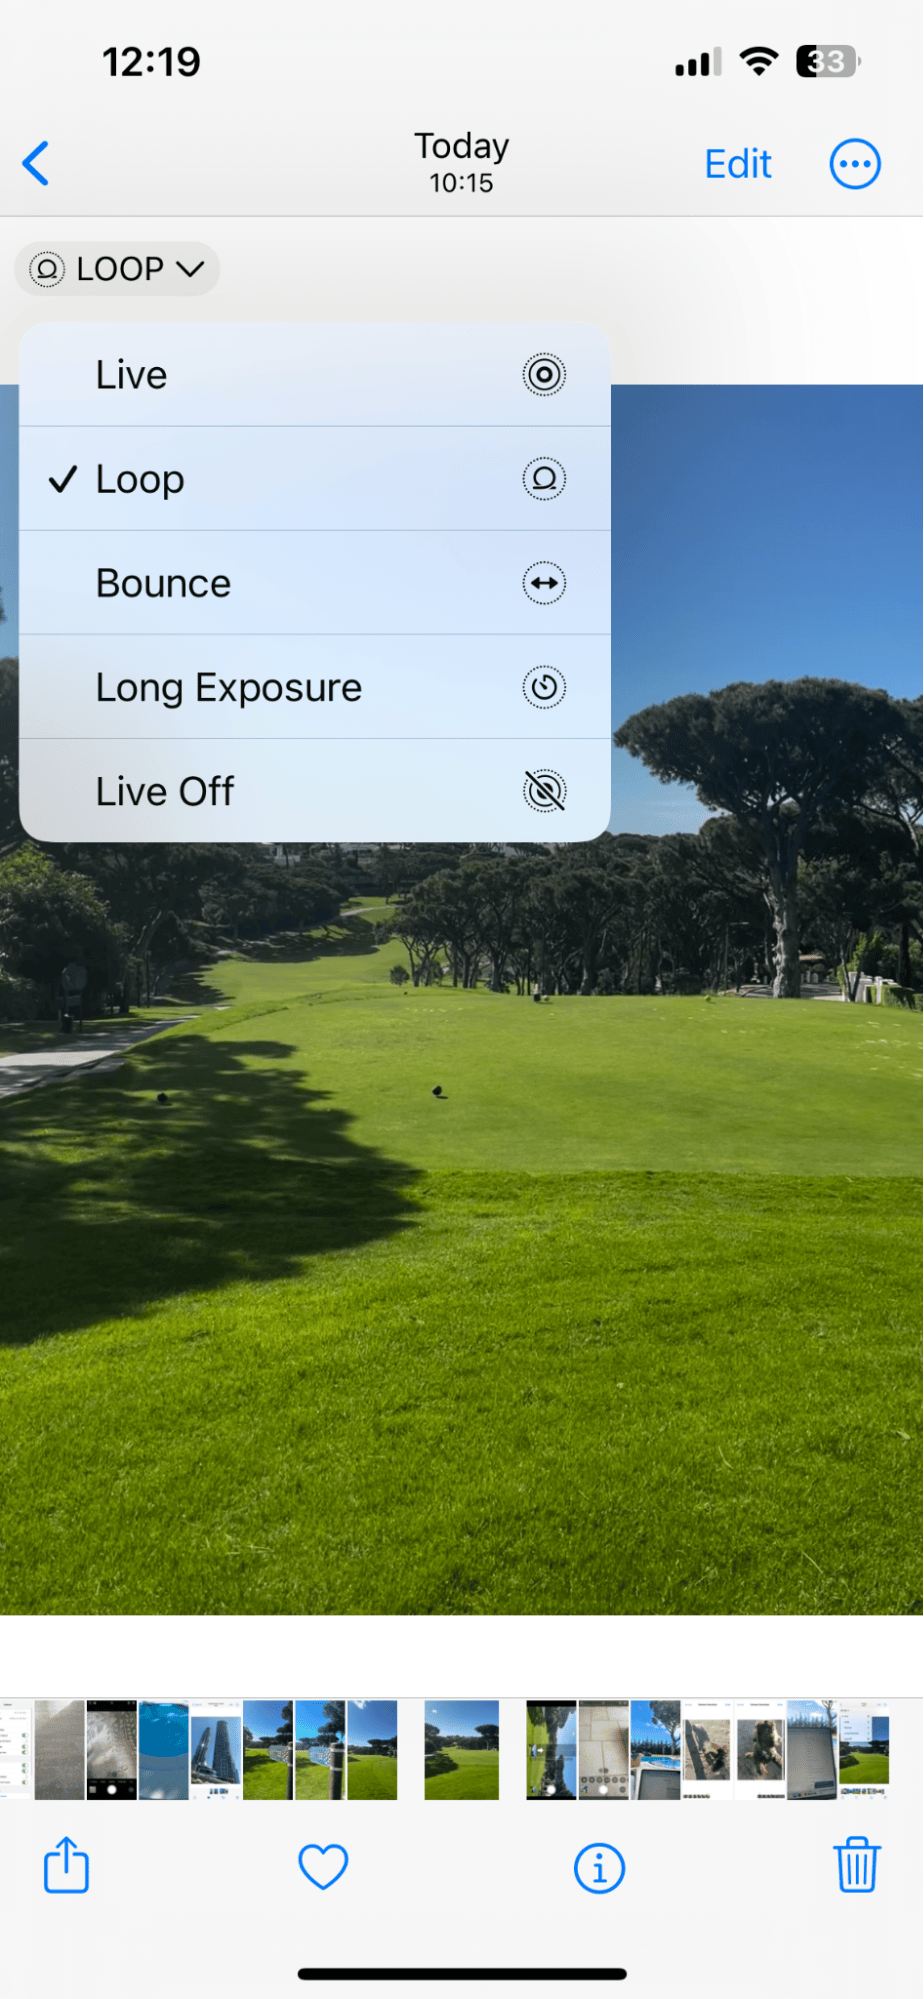
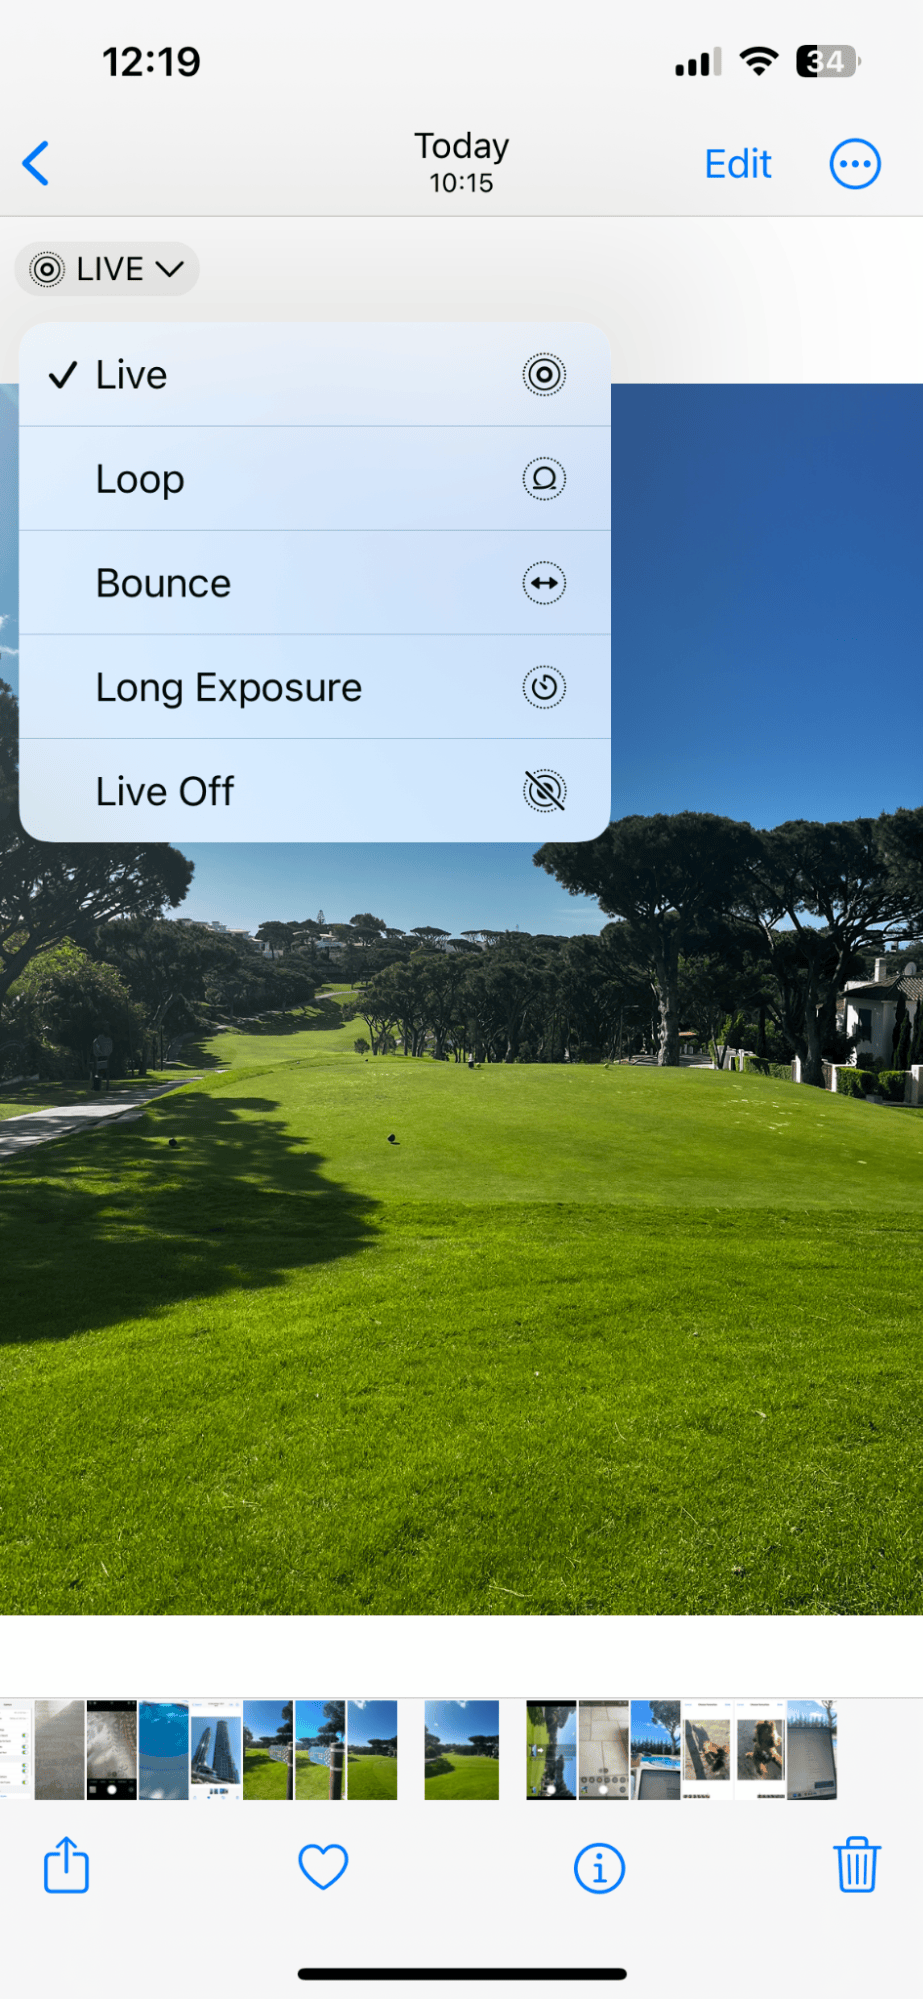
To view your Live photos, open them from your camera roll or Library and hold them down to watch the action.
You can also tap Live (top left) here you'll find some fun editing options, which include turning the image into a bounce or a loop.
6. Tap to focus
Did you know you can tap the screen where you want it to focus when you're taking an image?
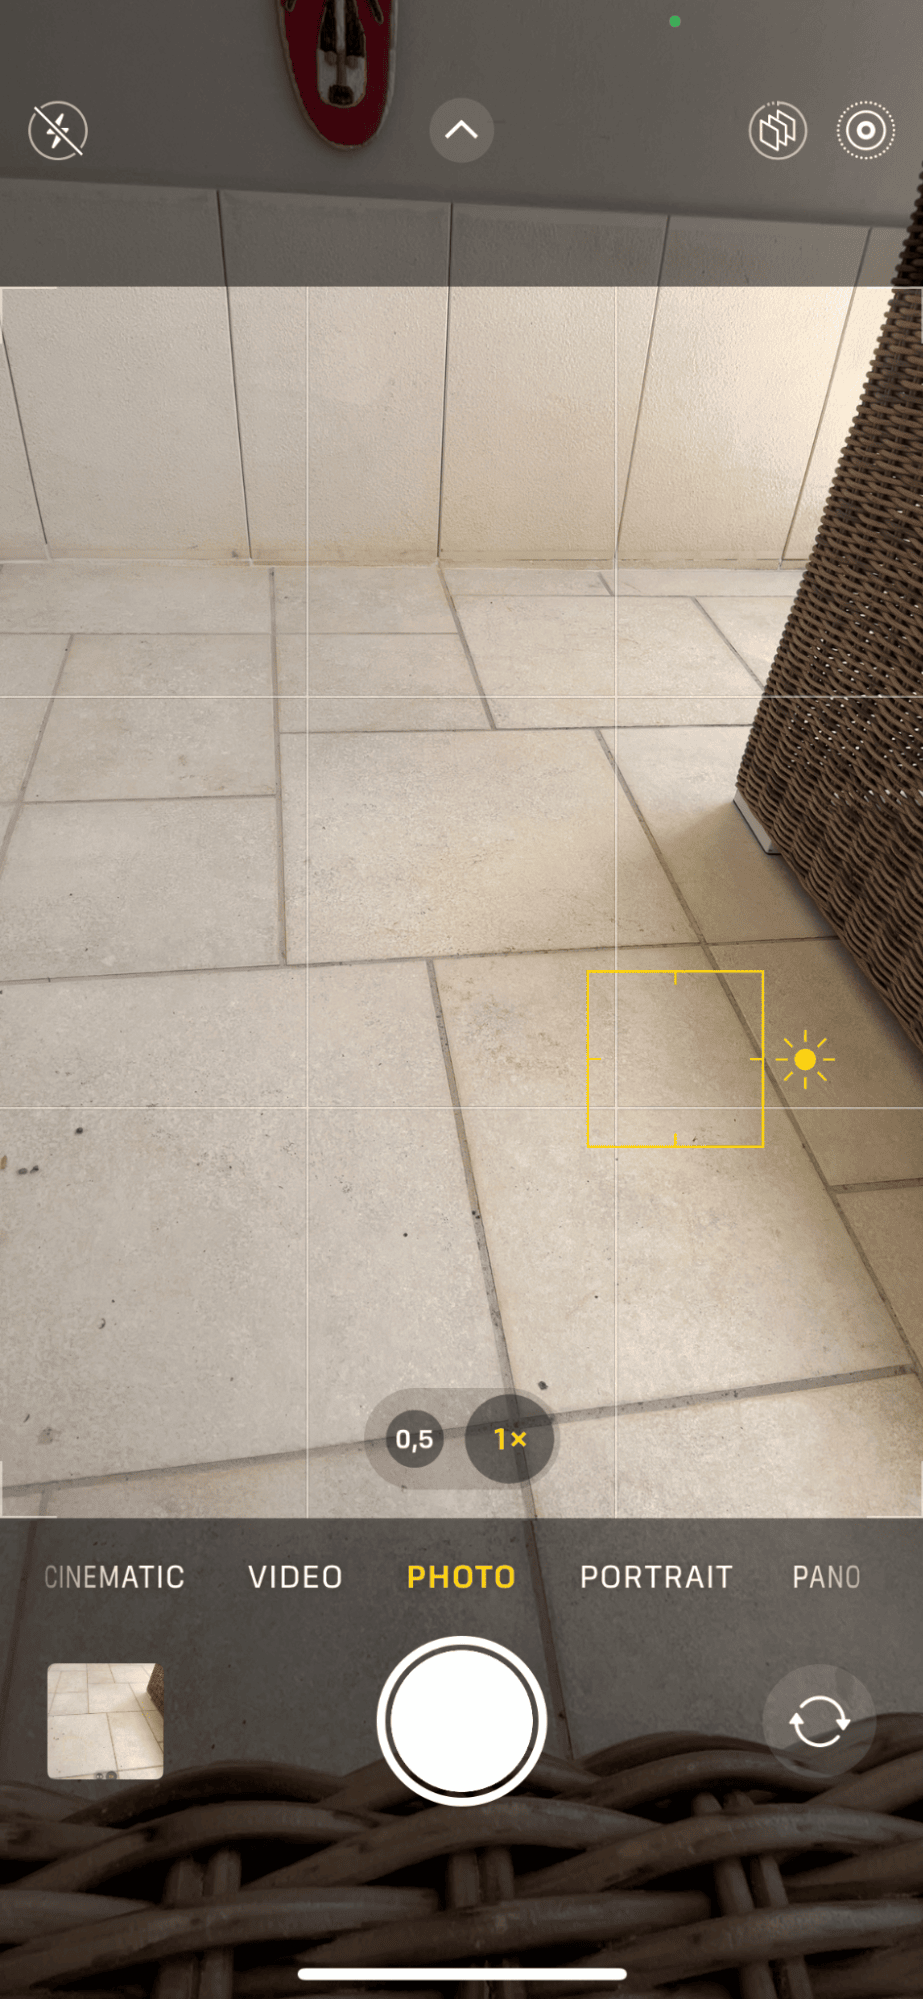
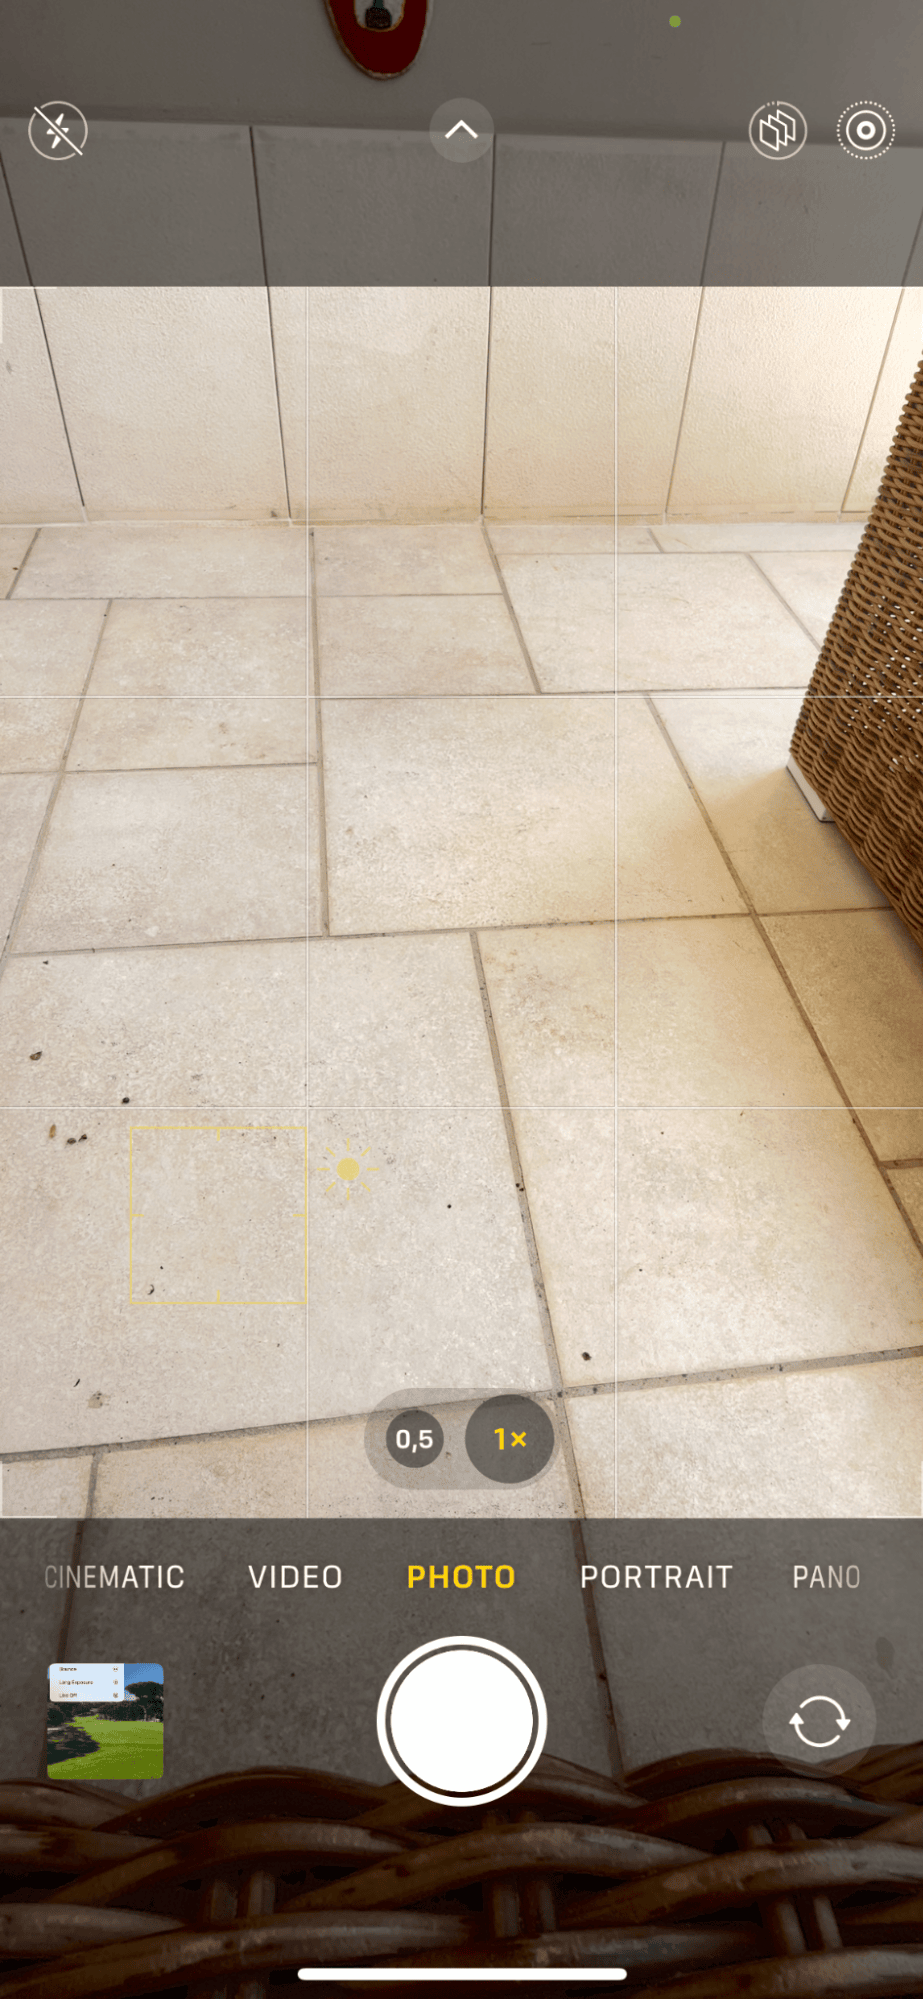
A yellow square will appear where you tap, showing the focal point of interest. You can also adjust your brightness settings by sliding the sun icon up or down. This is especially handy for capturing close-up shots with a blurred background for a more artistic look.
7. Find the best light for your photos
Most professional photographers will tell you that natural lighting is key to any good photo. Have you tried snapping some shots during golden hour? It's a favorite time for photographers due to its soft, dreamy light as the sun is close to the horizon, casting a warm glow that enhances both portrait and landscape photography. Give it a try; you won't be disappointed.
Well, we've reached the end of this guide. Thanks to these practical tips, taking high-quality photos with your iPhone has never been easier.
By utilizing settings such as Portrait, Burst mode, and Live Photos, along with focusing and composition tips, you can elevate your photography game and capture stunning images.
Now that you've learned how to take high-quality photos with your iPhone, it's time to put these tips into practice and start creating beautiful memories or influencer-worthy snaps.


