Quick manual on target disk mode
If you've stumbled across the term target disk mode on Mac, you might wonder what it means. Simultaneously, another question might pop up in your mind: can I use it?
We'll walk you through everything you need to know right here in this article, so sit back and get ready to discover how you can turn your Mac into an external hard drive and transfer large amounts of data with ease.
What is Mac target disk mode?
Unknown to many, the Mac target disk mode is a unique startup or boot mode that allows almost any Mac to act as an external hard drive. Connect two Macs via USB, USB-C, or Thunderbolt cables, and start data transfer. Shocking, right?
This cool Apple feature with an easy setup allows quickly and effortlessly moving large files between two Macs. So, how can you do it? Jump to the next section to find out.
Boot your Mac in target disk mode
We need to ensure a few things are in place before we start.
Two Macs
It's an Apple feature, so naturally, this only works from Mac to Mac. You'll need to make sure the Macs you are connecting both have USB, USB-C, or Thunderbolt ports.
The right cables
Depending on the Mac models you're connecting, ensure you have the right cables. For instance, if one of the Macs has a Thunderbolt port and the other Firewire, you'll need to get an adapter to connect them.
Disable FileVault
FileVault is enabled automatically on our devices, so you'll need to disable this disk encryption program first. Here's how:

-
Select the Main Apple menu > System Settings > Privacy & Security.
-
Locate FileVault and turn it off.
Don't forget to turn this back on later when you're finished transferring files.
Now when the prep is done, time to boot up in Mac target disk mode. Head to the next step.
How to transfer files with target disk mode?
-
Connect two Mac devices using the correct cables. Then turn off Mac that will act as the external disk. Reboot and immediately press and hold down the T key.
-
Once rebooted, a disk icon will now be available on the Desktop of the other Mac. You can transfer files by dragging them to the disk.
-
To eject the disk, drag it over to the Trash.
-
Once finished, shut down the Mac used as the external disk by pressing the power button. Once switched off, remove the cable.
Here's how to transfer files between Macs using Apple silicon:

-
Ensure the devices are connected with the correct USB, USB-C, or Thunderbolt cable.
-
For the Apple silicon Mac, Shut Down via the Apple main menu, then press and hold the power button till you see "Loading Startup Options."
-
Select Options and click Continue. Your Mac should reboot in recovery mode.
-
Select Utilities > Share Disk. Locate the disk you want to share and click Start Sharing.
On your other device, do the following:
-
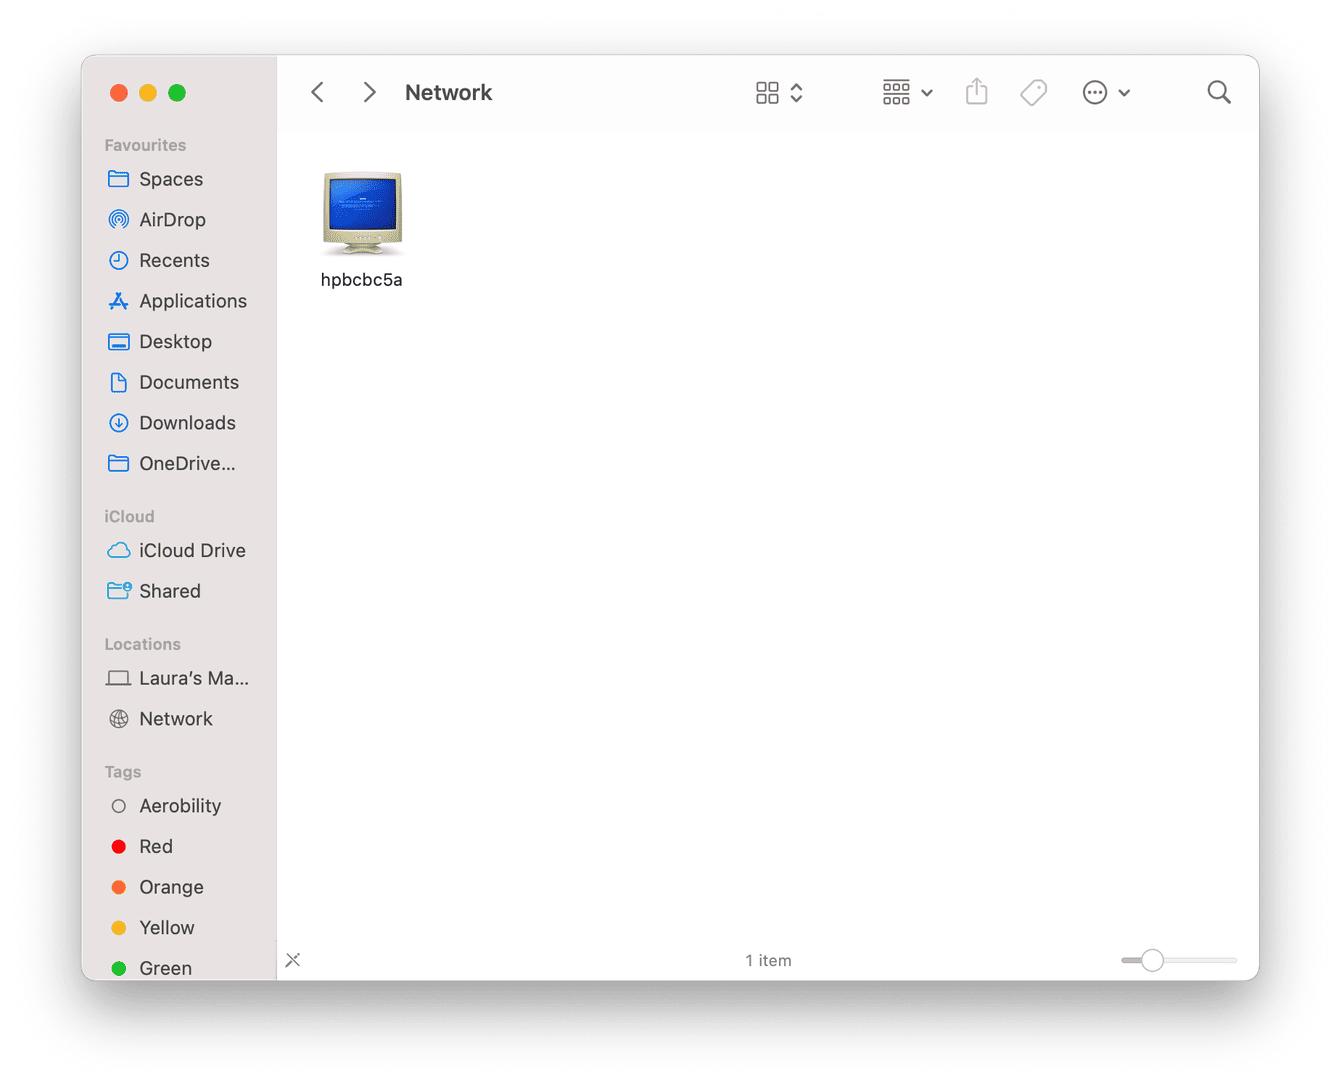
Open a new Finder window > Network.
-
Double-click the shared Mac disk. In the Connect As window, select Guest and click Connect.
-
Transfer your data and files.
-
Eject the disk once finished.
If you're using target disk mode to save or reclaim valuable space on your Mac, jump to the next step for an automated space-saving tip.
How to automatically remove large, old, and forgotten files
If you don't have the luxury of two Macs or the time to sort through your files for the target disk transfer, there's a more efficient way to sort and clean your files with CleanMyMacX.
The app has an intuitive Large & Old Files module that scans your entire device, automatically categorizing files and folders according to kind, size, and last accessed date. Now, you can not just easily visualize but also find and remove unnecessary files to save disk space and keep your Mac clutter-free.
Here's how you can automatically save space and organize your files:

-
Open the application — download the free version here.
-
Select Large & Old Files from the sidebar.
-
Click Scan.
-
Search through the categories, select items you want to delete, and click Remove.
How to get out of target disk mode?
Occasionally things go wrong, and you might find yourself stuck in Target disk mode, unable to eject the disk (the other Mac).
All you need to do is hold down the Power Button on Mac acting as the external drive, release it after Mac shuts down, and remove the cable. Switch on your Mac by pressing the power button as you would typically do.
Help! Target disk mode not working
If you've excitedly prepared two Macs to start transferring files and data and then discovered that target disk mode is not working, don't panic! Work your way through these simple hacks.
1. Ensure both Macs are up-to-date
Ensure that the Mac you want to boot into target disk mode is running the most up-to-date macOS. Here's how:

- From the main Apple Menu, go to System Settings > General > Software Update.
- Follow the on-screen instructions if an update is available.
2. Test your cables
If target disk mode seems to be working, but for some reason, you can't connect it to your other Mac, it could be a port or cable issue.
Try using different ports on your Mac and test different cables to ensure compatibility.
3. Dialog box showing a lock icon
If you've booted up in target disk mode and encountered a lock icon, don’t enter your administrator password, it won’t work. That's because it's requesting your firmware password. If you've forgotten your password, you can read Apple's official advice on setting up and disabling firmware passwords.
Hopefully, now you’re well aware of what target disk mode on Mac is and how you can use it to your benefit. Happy file sharing!

