4 ways to transfer data from Mac to Mac
If you want to know how to transfer data from Mac to Mac, I've recently been in your shoes. After upgrading my MacBook, I had no choice but to figure this out properly. Honestly, the process has changed a bit with recent macOS Sequoia updates, so what worked back in 2022 doesn't always hold up now.
There are a few different ways to get it done, some faster, some more reliable, and a couple I probably wouldn't try again. But first, let me quickly explain why prepping your Mac before a data transfer is just as important as how you actually move the files.
Before you learn how to migrate Mac to Mac
Upgrading to a new Mac is exciting, but it also comes with that tiny bit of dread, the "what if I lose something?" feeling.
When I recently upgraded my Mac, I had years' worth of photos, design projects, and, honestly, a ton of digital clutter built up over time. The last thing I wanted was to carry all that mess over to a clean, new machine.
The key takeaway in all of my research was that transferring data isn't just about moving files; it's a chance to reset your Mac, and that's why doing it right is really important. A smooth migration means less stress, fewer problems later, and a fresh start that actually feels like an upgrade.
I cannot stress this enough: don't transfer junk. If your current Mac is cluttered with old cache files, duplicate media, or apps you haven't touched in years, that all gets carried over, and suddenly, your brand-new Mac doesn't feel so new.
Before doing anything, run a full system scan using the Smart Care feature in CleanMyMac. This tool bundles up multiple maintenance tasks like clearing system junk, optimizing performance, and freeing up space in one click.
How to run Smart Care before migration:
-
Get your free CleanMyMac trial — enjoy unlimited app functionality for 7 days.
-
Open the app and select Smart Care from the sidebar.
-
Click Scan and wait while it checks for system clutter, app updates, and background issues.
-
Once the Scan is complete, review the results and hit Run to clean everything up.

It only took a few minutes. For more tips on freeing up storage, check out this detailed guide on how to free up space on Mac.
Once you've done this, you're ready to learn how to transfer data from one Mac to another.
How to transfer MacBook to MacBook
There are a few different ways to move your data, some Apple-endorsed, some more DIY. Here's what I tried and what worked best.
1. Migration Assistant (best all-around)
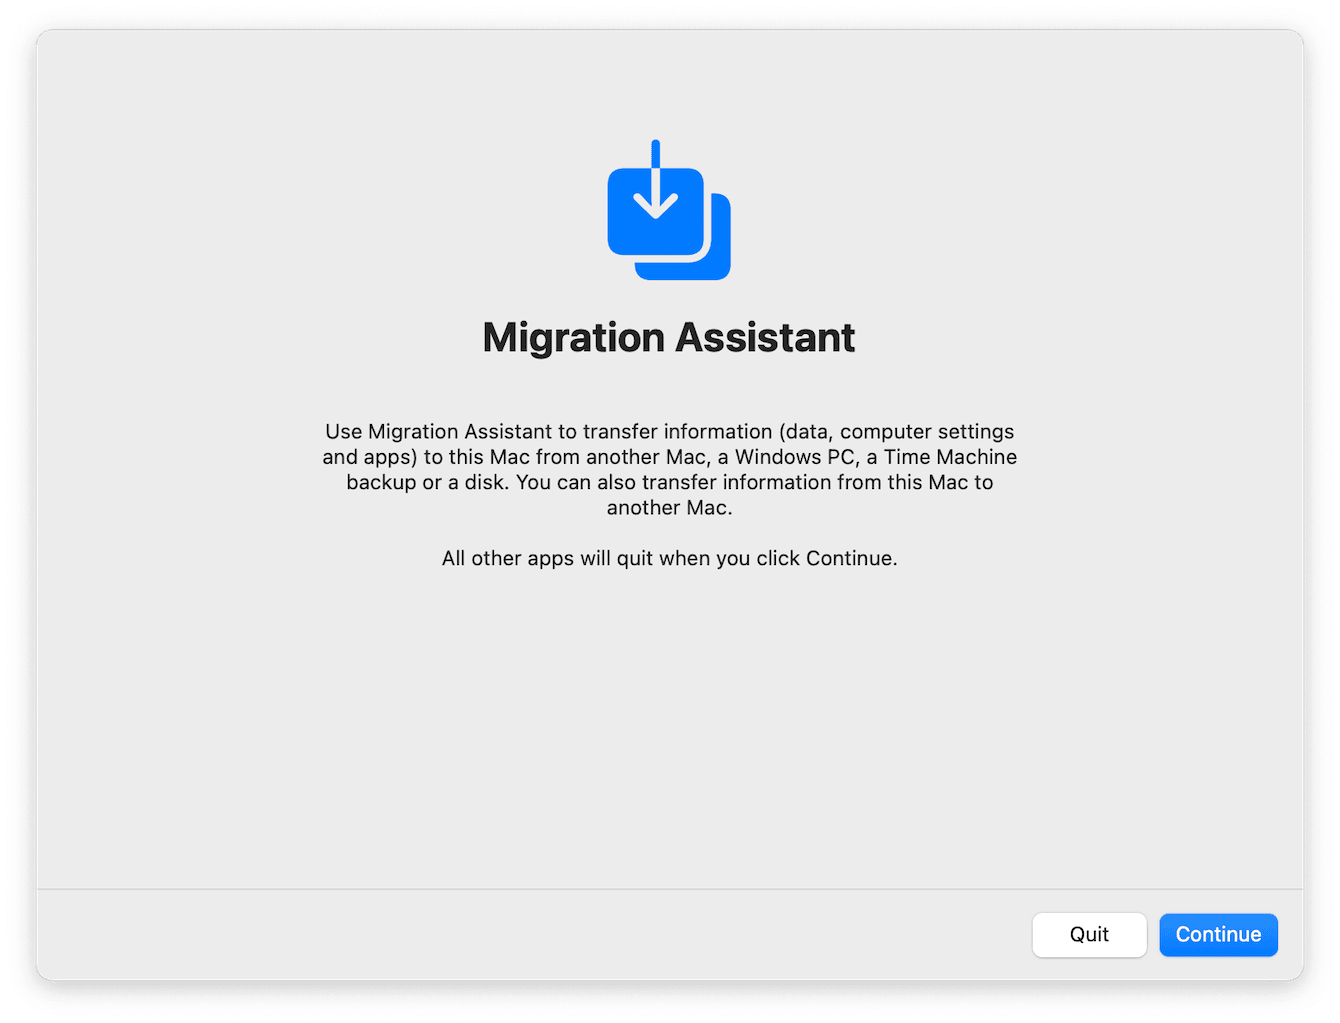
This is Apple's official method, and honestly, it worked surprisingly well for me. You'll need both Macs, side-by-side, and connected to Wi-Fi or a Thunderbolt cable (which is much faster). Just follow these steps:
-
On a new MacBook, open Migration Assistant (Applications > Utilities).
-
Choose From a Mac, Time Machine backup (more on this later) or startup disk.
-
On your old Mac, open Migration Assistant and select To another Mac.
-
Follow the on-screen instructions to choose what you want to transfer (apps, settings, user accounts, etc.).
-
Let the transfer run (mine took around 45 minutes via Thunderbolt).

Tip: If your Mac has been slow lately, give it a malware check before transferring. You don't want to bring problems to your new system. Read how to remove malware and viruses on Mac.
2. iCloud (slow but convenient)
If you're already using iCloud Drive, syncing is automatic and safer than it used to be. Just make sure you're signed into the same Apple Account on both Macs.
What you can transfer:
-
Files stored in iCloud Drive
-
Notes, Safari bookmarks, Reminders, Photos, Calendar, etc.
What doesn't transfer:
-
App preferences
-
Local-only files
-
Large media folders outside of iCloud

If you've only really got a media library to transfer over, this could be a good option.
3. AirDrop (great for small batches)
This is what I use when I just need to move a few files, not an entire system. It's definitely not ideal for large folders, but if you've only got small items to move over, this could be a handy option.
-
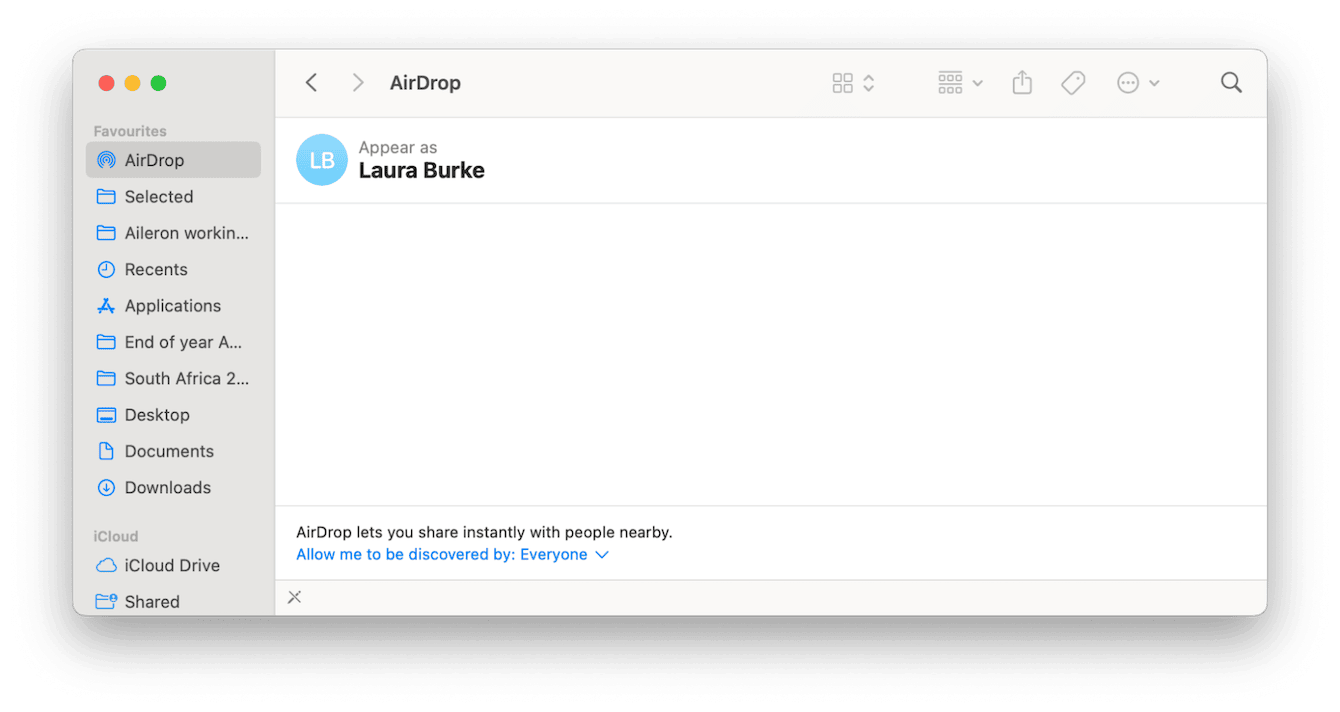
Open Finder on your new Mac.
-
Click AirDrop in the sidebar.
-
On your old Mac, select the files and choose Share > AirDrop.
-
Accept the transfer on your new Mac.

It's great for last-minute stragglers you forgot to include in your main transfer.
4. External hard drive or USB-C drive
Sometimes, the old-school way is best, especially if your Wi-Fi is slow or the two Macs are in different places. You can use Time Machine to create a complete backup of your Mac, which you can then transfer over to your new Mac. It let me restore not just my files but also apps, system settings, and even Wi-Fi passwords, all without needing both Macs in the same room.
Step 1: Prepare your external drive
You'll need a USB-C or Thunderbolt external drive, preferably with more storage than what's currently used on your old Mac, and this needs to be obviously formatted in APFS or Mac OS Extended (Journaled). Time Machine will offer to do this when you plug it in.
Step 2: Create a Time Machine backup on your old Mac
-
Plug the drive into your old Mac.
-
Go to System Settings > General > Time Machine.
-
Click Add Backup Disk, then select your external drive.
-
Click Back Up Now or wait for the automatic backup to begin.

Depending on how much data you have, this might take anywhere from 15 minutes to a few hours.
Step 3: Set up your new Mac using the backup
Once the backup is complete:
-
Disconnect the drive from your old Mac and plug it into your new one.
-
If you're setting up a new Mac from scratch, you'll see the Migration Assistant option during setup. Choose From a Time Machine backup and follow the on-screen prompts.
-
If your new Mac is already set up, no problem; just open Migration Assistant manually (Applications > Utilities > Migration Assistant).
-
Choose From a Time Machine backup, select the drive, and pick what you want to transfer (everything or just specific users/files).
Let your Mac do its thing. Once the process finishes, you'll find all your files, apps, and settings waiting for you as if nothing had changed.
Once you know how to transfer data from an old Mac to a new Mac, you'll see that it's not complicated, but doing it well takes a little more prep.

