How to turn off ringer on Mac
Don't let notifications disturb your flow. Do you know how to turn the ringer off on a MacBook? We've got you covered.
With so many apps installed and actively in use on our Macs, it's easy to get lost in the constant noise and familiar sounds of incoming calls, messages, emails, calendar appointments, and more.
If you need a notification break, some focus time, or just some peace and quiet, we'll walk you through all the various ways of silencing your MacBook, including how to turn your Mac notifications off from your iPhone or iPad. So, let's get started, shall we?
Sound settings: How to turn off the ringer on a Mac
When it comes to learning how to silence your MacBook, there are actually quite a few different ways to do it, from keyboard shortcuts to controlling your notifications from a connected device. But first, let's start by covering how to access your main system sound settings:
- From the main Apple menu, go to System Settings.
- Click Sound.
There's quite a lot you can do here; let's take a closer look:
- Adjust your main alert volume
- Select the main notification alert sound
- Select input and output devices

Now that you know how to access the main Sound settings on your Mac, let's focus on all the various ways to mute or silence sounds.
How to turn off the ringer on a MacBook
There are plenty of methods here. Hopefully, you'll learn a few new tricks and also find a way that suits your needs.
1. Control Center
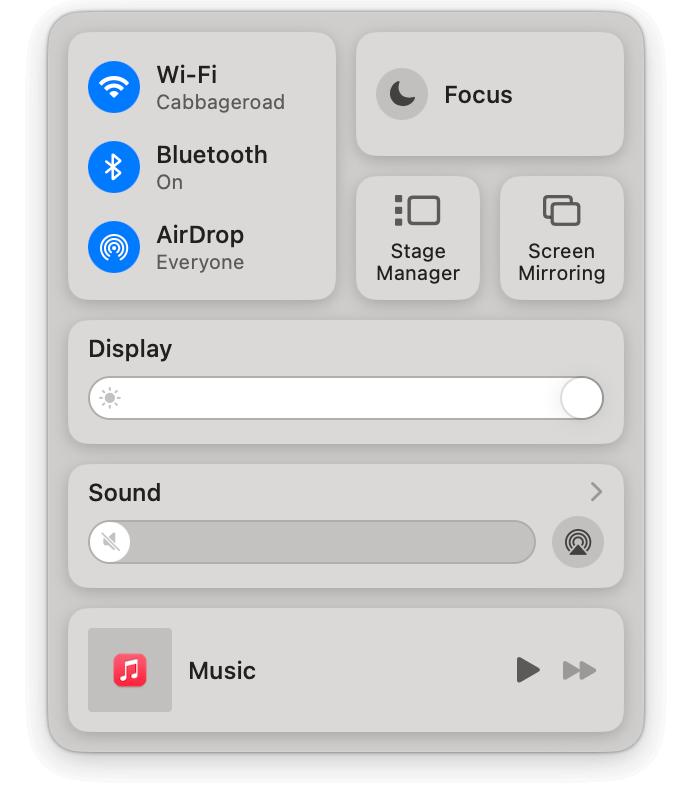
Want some quick quiet? You can access your Mac's main sound control from the Control Center (which is found in your top menu bar).
Simply slide the volume control all the way off to silence all sounds and notifications on your device. When you're ready for distractions, just slide the volume bar back up.

2. Keyboard shortcut
Who doesn't love a keyboard shortcut? When it comes to knowing how to silence MacBook notifications, this has to be one of the easiest ways.
- Simply press F10 on your keyboard to instantly mute all sounds and alerts.
- Then, press F11 to cancel it. Or you can use F11 and F12 to adjust the volume.
While we're on the subject of keyboard shortcuts, you can also hold down the Option key - F10 to open up your main Sound Settings.
Customizing your sound preferences and having quick access to settings is vital for the overall experience, but there is a lot more you can do to keep your Mac optimized.
How to optimize other aspects of a Mac's performance
When was the last time you cleared out all your Mac's digitally built-up clutter, like broken login items, cache, cookies, and language files? Or flushed your DNS cache or purged some RAM? If you're unsure or answered never, it's time to spring into action.
Don't worry; this isn't one of those impossible-to-do manual tasks; it actually only takes a few quick clicks when you use a dedicated tool, like a Mac cleaner app CleanMyMac; here's how to use it:
- Install the app on your device (test here for seven days free).
- Select Smart Scan from the sidebar and click Scan > Run.

Yes, that is seriously it! Ok, let's get back to muting annoying notifications.
3. Turn off app-specific notifications
If it's just one or two applications that are constantly disturbing your peace and quiet, you can turn off app-specific notifications; here's how:
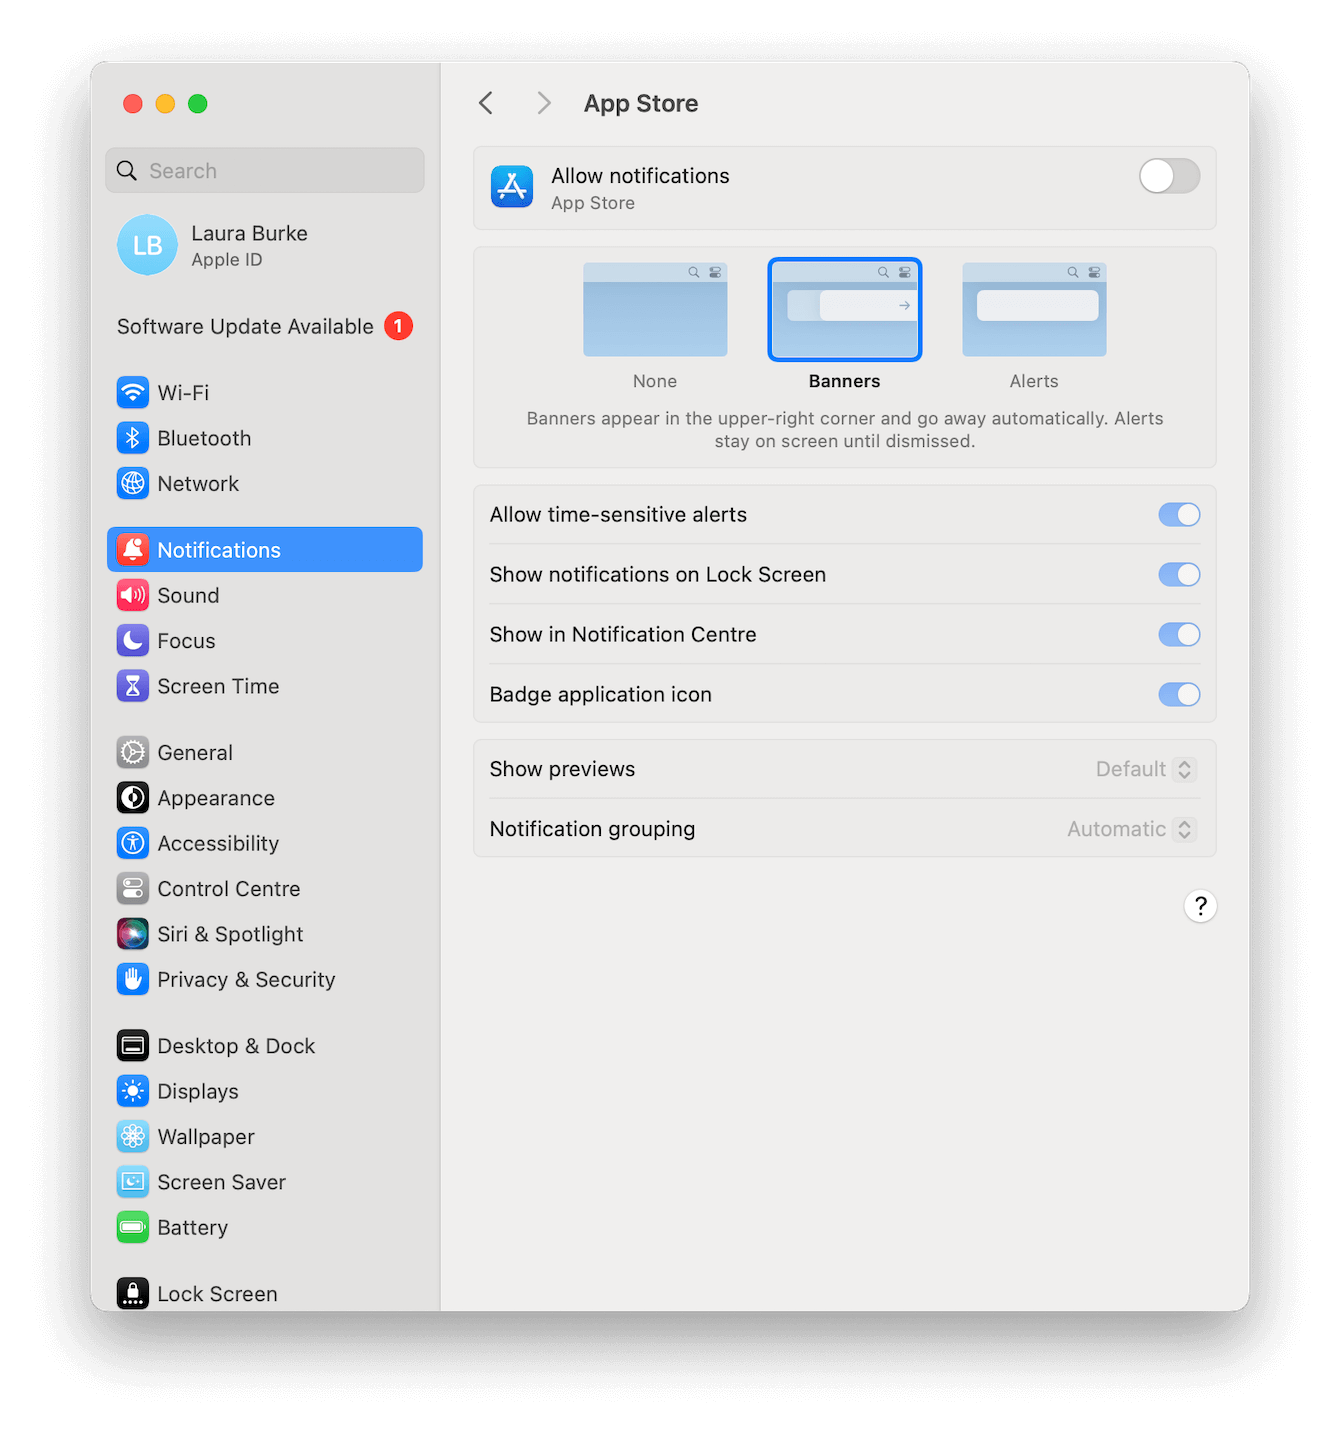
- Open System Settings from the main Apple menu.
- Go to Notifications.
- In the list of installed apps on your Mac, select the ones that are keeping you distracted.
- Toggle off, Allow Notifications.
- To reverse this action, toggle Allow Notifications back on.

Repeat this process for as many apps as you want to mute. This is a good option if it's just a couple of sounds that are distracting.
4. Customize the Focus feature
Focus is a really handy feature on our Macs that lots of users don't utilize to its full potential. It's built to help us limit distractions, just like ringers and notification alerts. But what a lot of users don't realize is it's fully customizable, so you can choose to either silence all notifications for a set time or scheduled time or opt to allow only certain notifications — like ones from colleagues or a specific app. Let's take a look at how to set it up:
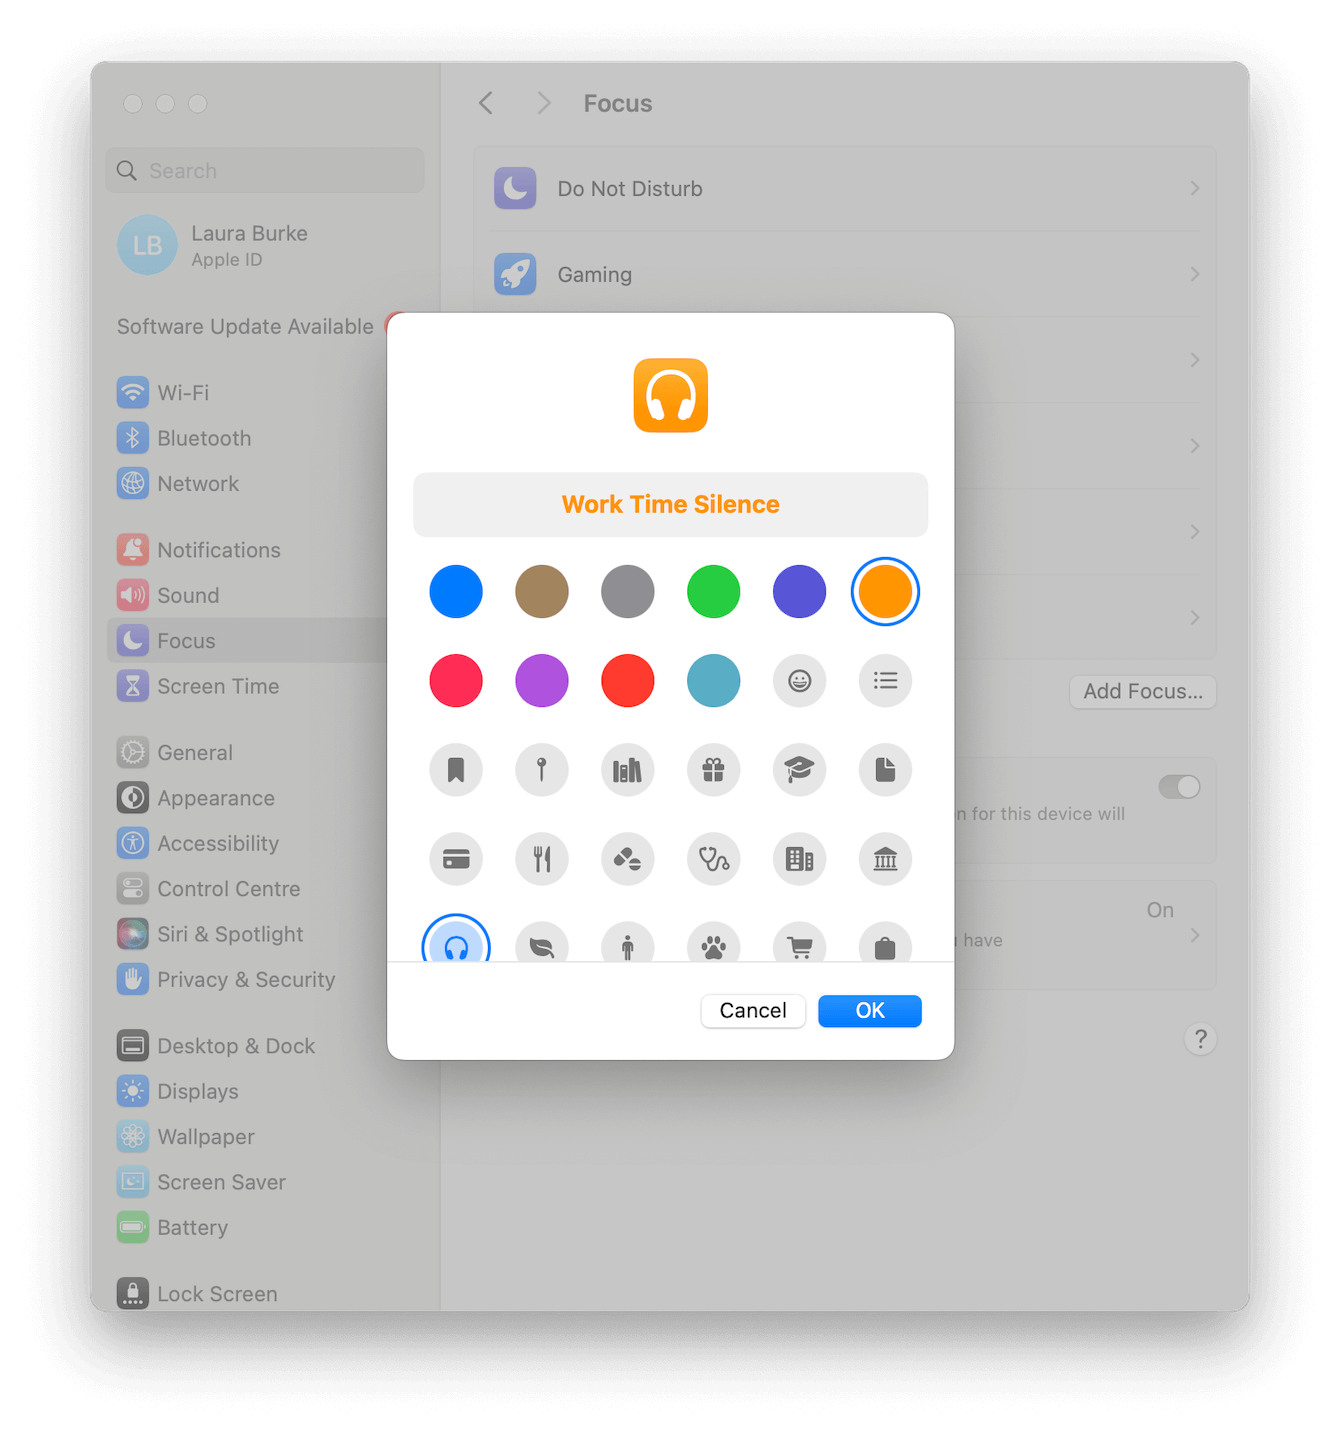
- Open System Settings again and select Focus. Here, you've got a list with some standard default types of focus; these are all customizable, but for this example, we'll create a new one.
- Select Add Focus > Custom and give your focus a name and icon.
- Under Allow Notifications, select which apps or contacts you will allow interruptions from.
- Under Set a Schedule, pick times and days you want this focus to activate.
- Customize any application filters required.

Now, if you set this focus to a schedule, it will activate automatically.
Moreover, the Focus feature is great if you have any other devices and are logged in with your Apple ID. If you set a focus on your iPhone, it will also trigger on your Mac, and vice versa. This means you can control your Mac's ringer from your iPhone, which is pretty cool.
5. Disable FaceTime calls on Mac
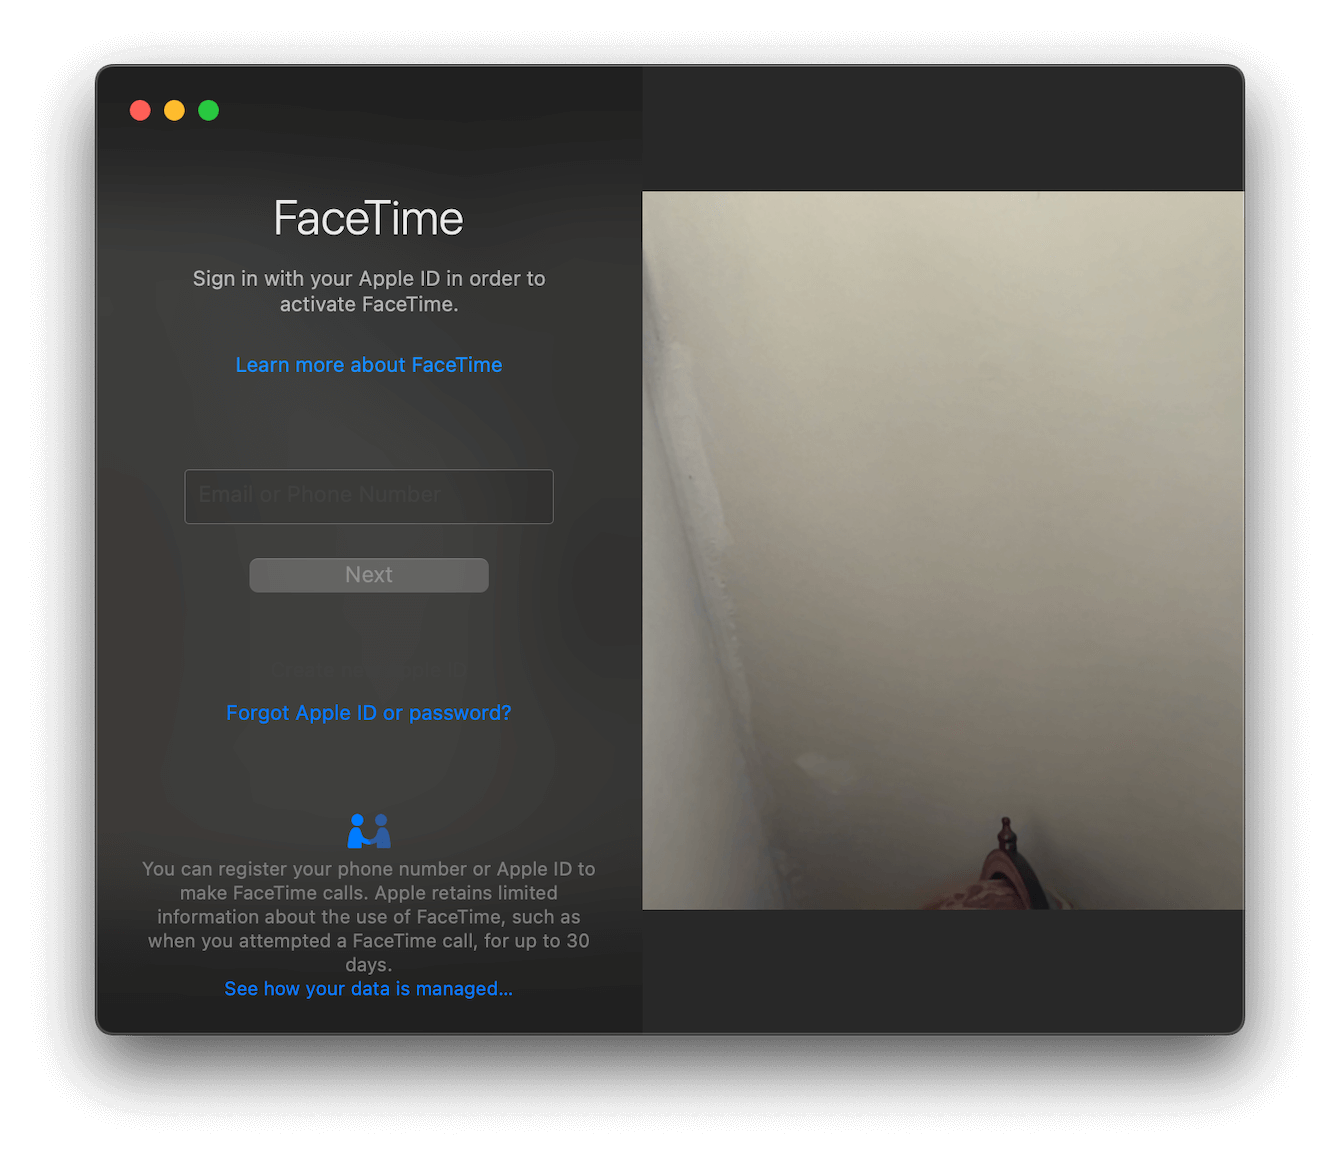
Finally, if you're just fed up with FaceTime calls on your Mac, then the quick thing to do is to disable them by logging out of FaceTime. Once you've signed out, calls will no longer come through on your MacBook. You can always log back in with your Apple ID if you change your mind.

So, there you go, five different ways to keep the constant notifications to a minimum. You now know how to turn off the ringer on a MacBook and how to customize various sound settings. Bookmark this handy blog for later.

