How to uninstall JDK and Java on Mac
No longer need Java? Then you're probably wondering how to uninstall Java on a Mac properly.
While Java is still undoubtedly useful for running specific applications, many users find they no longer need it, especially as modern software moves away from Java-based dependencies.
It's always worth considering that keeping outdated or unnecessary software on your Mac can lead to security vulnerabilities, performance slowdowns, and wasted storage space.
One common misconception about uninstalling Java is that it will break your Mac's core functionality. This isn't true — macOS does not rely on Java for any of its essential processes. If you ever need it again, you can simply reinstall it. So, don't be put off by the discussions across our favorite forums; they're not accurate.
Another thing to note is that some applications bundle Java within their installation. If you use software that depends on Java, check the app's documentation before uninstalling it to make sure your apps work correctly. Let's get this article started.
What is JDK and Java
What is Java?
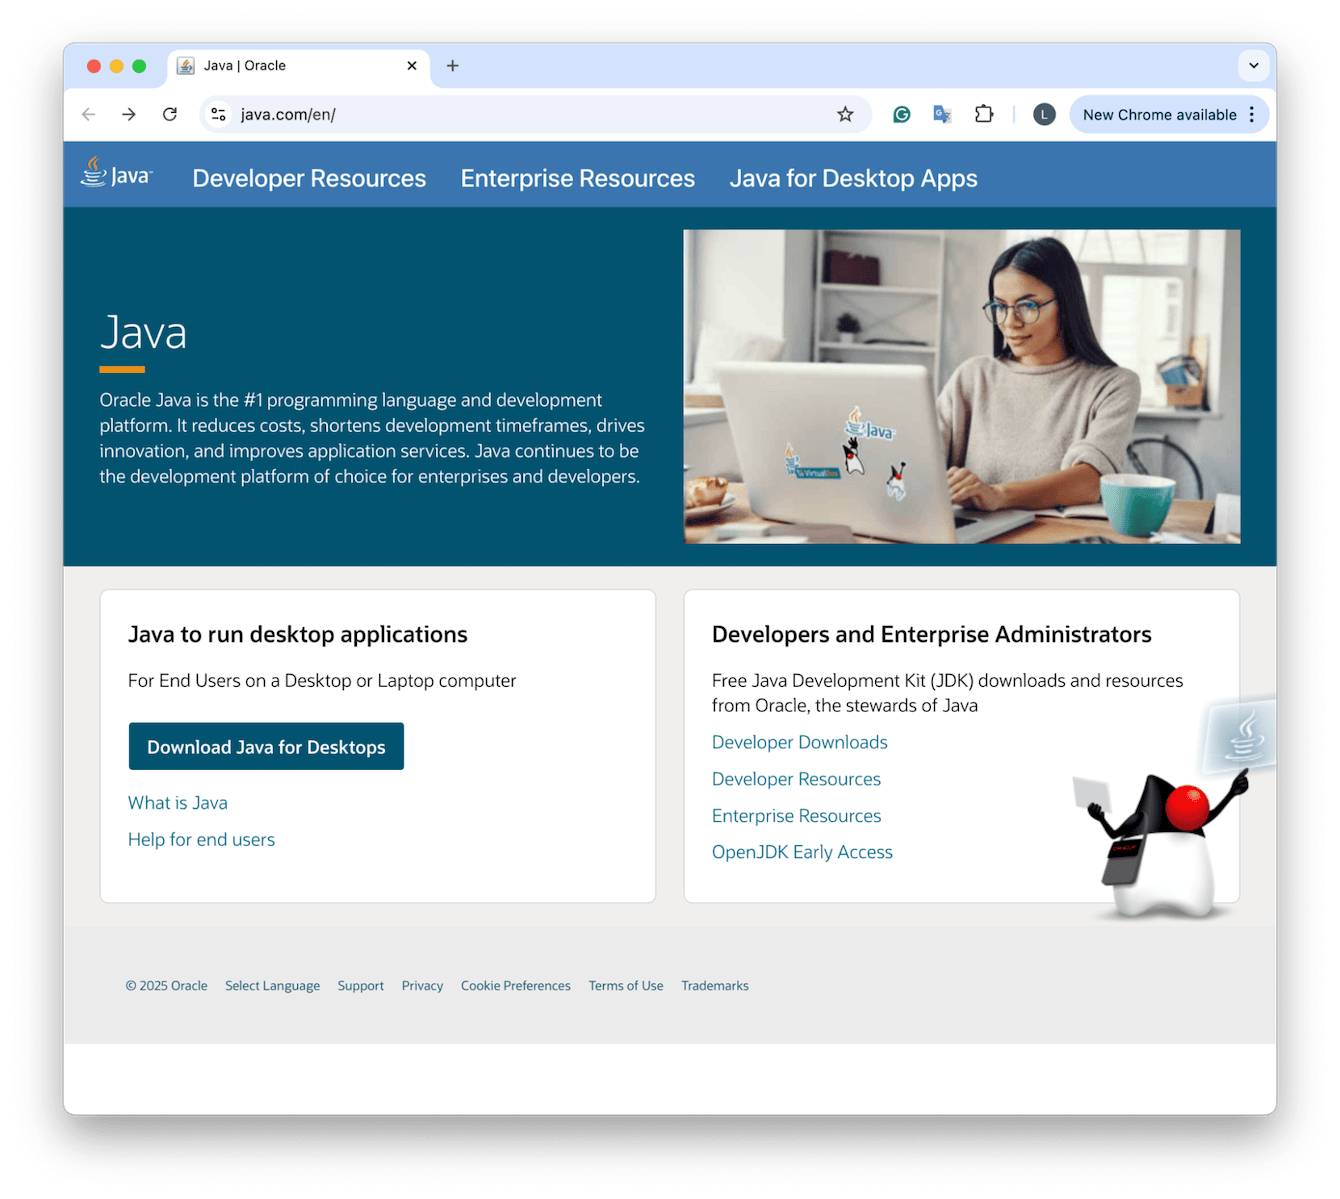
For those who need some clarification, Java is a programming language and software platform that allows certain applications and websites to run on your MacBook. Many older web applications and enterprise software rely on Java, but most modern macOS applications no longer require it.
What is JDK?
The Java Development Kit (JDK) is a set of tools that allows developers to write, compile, and run Java applications. If you installed JDK for development purposes but no longer need it, uninstalling it can free up space and improve system security.
So, why do people want to remove Java from their Macs?
While Java can be useful, there are several reasons to remove it; let's take a look:
-
Security risks. Java has historically been a target for malware and security vulnerabilities.
-
Performance improvements. Background Java processes may consume system resources.
-
Reduced clutter. If you no longer need Java, it just ends up taking up valuable disk space.
Another common thing we see is Java compatibility issues with new macOS updates, leading to unexpected errors or annoying app crashes. So, If you're not actively using any Java-based applications, it's best to remove them to keep your Mac optimized and secure.
Ok, so we've covered all the basics; let's get to the main event: how to remove Java properly.
How to uninstall Java on a MacBook
If you've been searching like mad for an app icon, unlike most installed applications and software, Java doesn't appear in your Applications folder.
While you can delete Java manually, the process involves searching for system files and ensuring all traces are removed. Below, we'll show you how to uninstall Java on Mac using a built-in removal method, a manual cleanup, and a much easier alternative method.
Remove Java using the installer
If you still have the Java installer, you can use it to remove Java from your Mac in just a few clicks.
-
Open Finder and locate the Java installer (if you don't have it, download it here).

-
Double-click the Installer to open it.
-
Enter your Mac's admin password when prompted.
-
Click Remove and wait for Java to uninstall.
Once the process is complete, Java will be removed from your system. However, some leftover files may still remain, so a manual cleanup may be necessary. Here's how:
Step one: Check System Settings
-
Open System Settings from the main Apple menu.
-
Scroll down and look for Java in the sidebar.
-
If you see Java Settings, Control-click it and choose Remove Java Settings Pane.
Step two: Delete Java-related files
Java stores files in multiple system directories, so you'll need to manually search for and delete them.
-
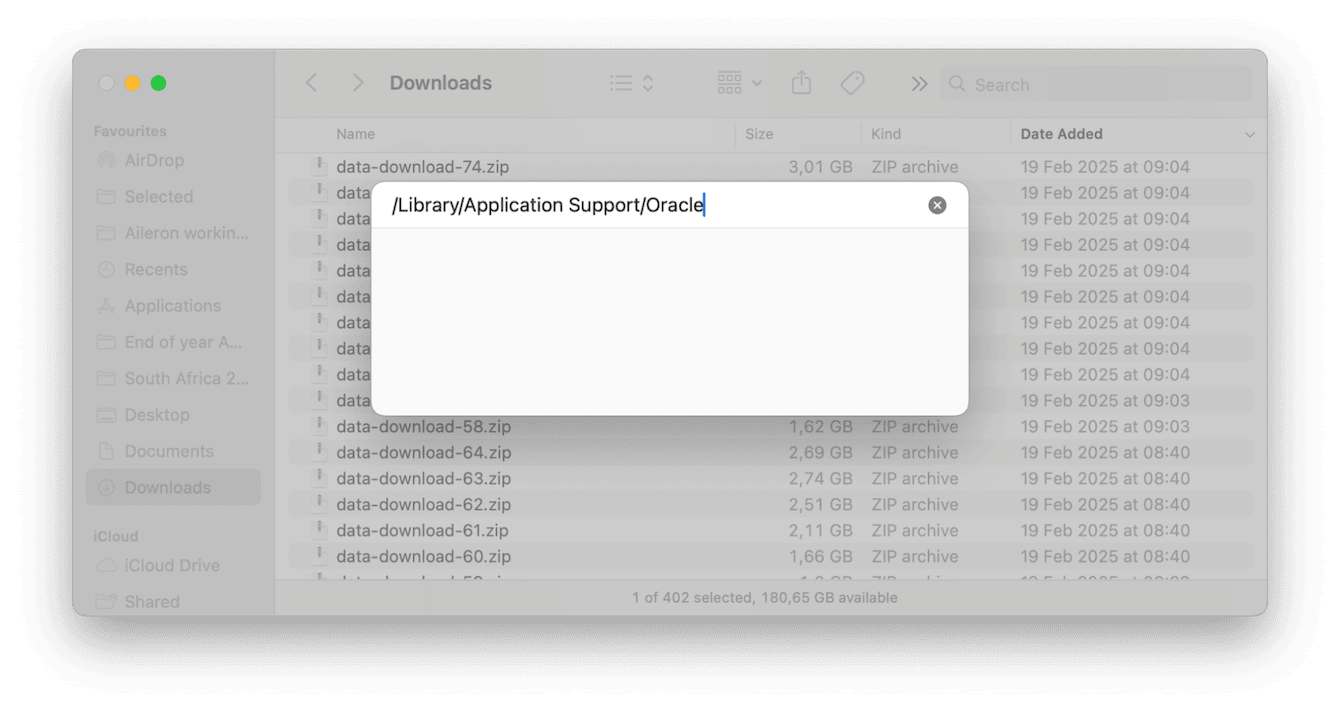
Open the Finder and click Go (in the menu bar) > Go to Folder.
-
Copy and paste each of the following file paths one at a time, pressing Return after each:
/Library/Application Support/Oracle
/Library/Java/
/Library/Internet Plug-Ins/
/Library/PreferencePanes/
-
If you find Java-related files or folders, drag them to the Trash.

Once you've finished the manual search, empty your Trash to permanently delete the files. This makes sure no leftover Java files remain on your system.
As you can see, this process is a little time-consuming, especially if you're unsure whether you've removed every trace of Java. If you're looking for a quicker way, try the next method.
Use a dedicated application removal tool
While manually uninstalling Java works, managing multiple applications on your Mac can be time-consuming. If you want an easier way to remove apps and leftover system files, you can use the Applications feature from CleanMyMac; here's what it does:
-
Quickly uninstalls apps in bulk
-
Finds and removes leftover system files that manual deletion might miss
-
Helps manage outdated and rarely used applications to free up storage
Here's how to use the Applications feature:
-
Open the app and select Applications from the sidebar > Scan.
-
Click Manage My Applications and go to Uninstaller from the sidebar.
-
Select any applications you no longer need and click Uninstall.

Using this tool, you'll soon discover that managing installed apps and removing outdated software is much easier than manual methods.
If you'd like to know more about safely removing applications, check out this guide on uninstalling programs on Mac.
Final thoughts: How to delete Java on Mac
Now that you know how to uninstall Java Mac, you can remove unnecessary Java files and improve your Mac's security and performance.
Whether you use Java's built-in Uninstaller, manually delete leftover files, or manage your apps with CleanMyMac's Applications feature, keeping your Mac free from unused software ensures better performance and storage management.
If you ever need Java again, you can always reinstall it from Oracle's official website.

