How to uninstall Loom from Mac manually and automatically
Want to know how to uninstall Loom on Mac? If you've ever recorded a quick tutorial or walkthrough using Loom, closed it afterward, and then noticed it's still quietly running in the background, you're definitely not alone. I thought the same thing: quit the app, and it's gone. But Loom isn't that simple.
I thought removing Looms would be a quick cleanup task, but it actually turned into a bit of a rabbit hole. I found leftover processes, background permissions, and even system files I didn't expect to see when I tried to delete them.
It's an important reminder to say, you can't just drag apps to your Trash and expect all the leftover files to be removed; the cleanup process is a bit more complex.
I recently went through the entire uninstall process on my Mac running macOS Sequoia, and I learned a few important (and slightly frustrating) lessons along the way.
In this guide, I'll walk you through everything I figured out, step by step: what works, what doesn't, where the sneaky files hide. And how to make sure Loom is truly, completely gone. If you're cleaning up your system or switching to a different tool, this is the uninstall guide I wish I had when I started.
What is it, and why might you want to uninstall Loom?
Loom is a pretty popular screen recording tool, but it tends to get very involved with your system settings.

If you're using the full Mac desktop app or just the Chrome extension, Loom sticks around. It launches at login, often runs quietly in the background, and, even after you remove it, it can still retain permissions, background processes, or files you don't see.
I've seen loads of threads on forums of people asking why Loom keeps opening when I start my Mac. And what I've come to discover is that Loom installs a background agent that tells macOS to auto-launch it on startup. Even if you close the app manually, it may still launch again unless you remove its login items or launch agent files.
For me, I knew it was time to switch to native Mac screen recording tools when Loom kept reappearing after restarting my Mac.
How to uninstall Loom
OK, so let's get into the good stuff, actually removing Loom from your Mac. The tricky part? Loom exists in two different forms: the desktop app and the Chrome extension, and the way you uninstall each one is completely different.
When I first tried to remove Loom, I assumed it would be a one-click job: drag it to the Trash and move on with my day. But nope. It turns out that each version of Loom has its own quirks, leftover files, and hidden settings. And unless you remove it properly, you'll probably still see Loom launch at startup or notice it lurking in your system settings.
To keep things simple (and prevent any frustrating repeats), I've broken the steps down into clear sections, so that you can go straight to the part that applies to you and make sure Loom is fully, completely, no-trace-left-behind gone.
Let's walk through each version in detail, starting with the desktop app, which tends to be the more persistent of the two.
How to remove the Loom Desktop app
-
Before you do anything, make sure you've fully quit Loom.
-
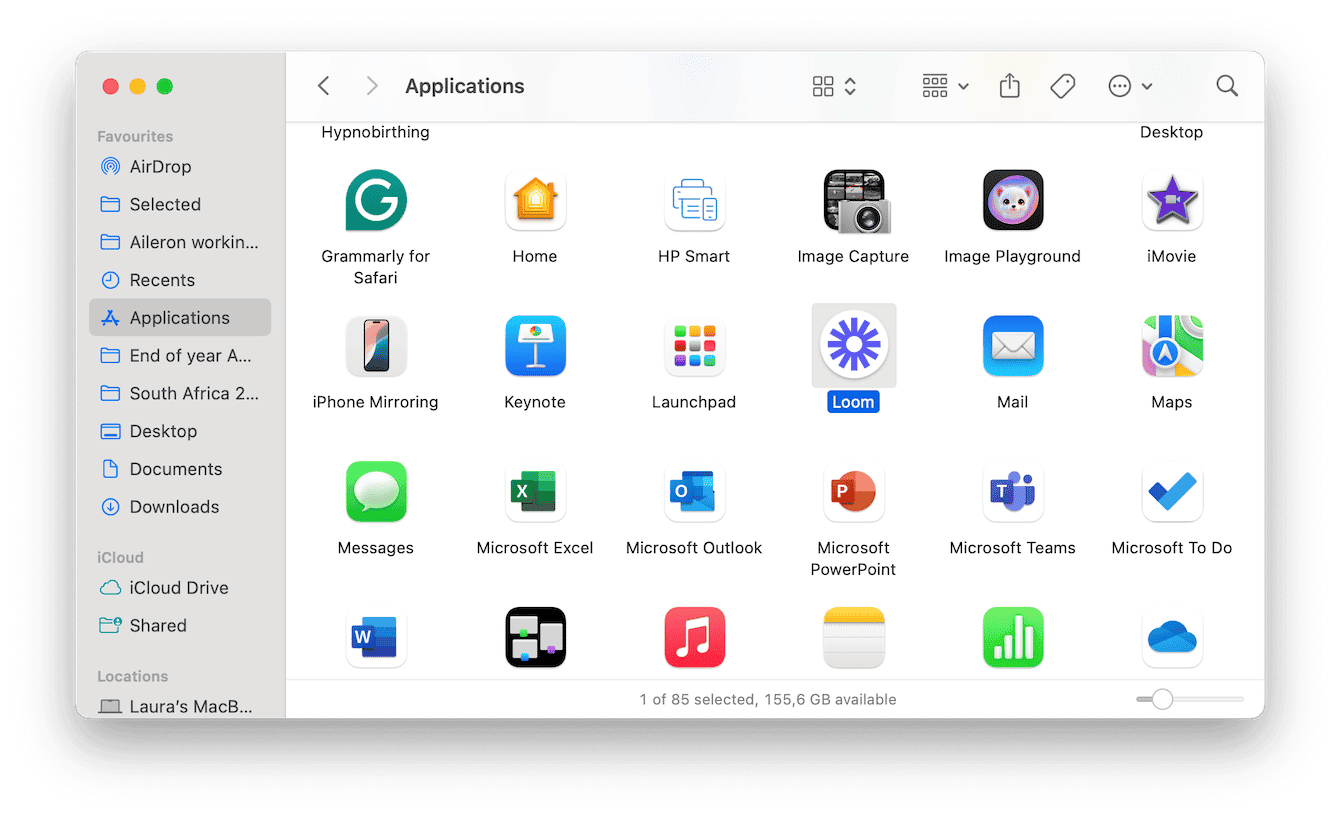
Open the Finder > Applications and drag Loom to the Trash.
-
Empty your Trash.
-
In the Finder, press Shift - Command - G and type in these pathways one by one. You'll need to check each location manually for any Loom files. Put them in your Trash and then empty it:
~/Library/Application Support/
~/Library/Preferences/
~/Library/Caches/
~/Library/Logs/
~/Library/LaunchAgents/
Finally, you'll now need to remove Loom manually from your login items. Here's how:
-
Go to System Settings > General > Login Items & Extensions.
-
Under both Open at Login and Allow in Background, remove anything related to Loom.

Removing apps manually is surprisingly more work than you think. If you're looking for a quicker way, I've got you covered.
Uninstall Loom on Mac automatically
Instead of hunting through Library folders manually, use a dedicated app like CleanMyMac, which comes with an Applications feature and its Uninstaller tool. This can quickly and, more importantly, find every single app component, from support files, login agents, and hidden folders, and remove them all in one go; here's how:
-
Open the app and click Applications > Scan.
-
Next, click the Manage My Applications button and under Uninstaller, locate and select Loom.
-
Click Uninstall.

Extra points because CleanMyMac is Apple-notarized, looks native on macOS, and I've used it long enough to trust its cleanup capabilities, especially for stubborn apps like Loom.
How to uninstall the Loom Chrome extension
If you're using only the Chrome extension, you won't find Loom in your Applications folder, but it can still hog browser permissions, and sometimes even linger in your mic/screen settings.
Here's how to clean it up:
-
Open Google Chrome.
-
Click the three-dot menu > Extensions > Manage Extensions.
-
Locate Loom, click Remove, and confirm.
Loom has been known to keep its mic and camera permissions, even after being removed; here's how to check:
-
In Chrome, select Chrome from the main menu bar.
-
Select Settings > Privacy & Security > Site Settings.
-
Check the Microphone and Camera.
-
If you find Loom in there, hit the Trash icon to remove permissions.
Well, now you know how to uninstall Loom on Mac, regardless of if you had Loom installed as a Desktop app or a Chrome extension, these tips will help you successfully and, more importantly, completely remove all traces of it.