Mac fixes: “Some updates could not be installed automatically” error
Confused by “some updates could not be installed automatically” notification on your Mac?
Apple's periodic software updates contain useful improvements, application updates, bug fixes, and security enhancements, and as most Mac users know, keeping your device up to date is recommended and beneficial.
Although many users opt to update their Macs manually, if your software updates are set to automatic and you're operating macOS Ventura or Monterey, you might be bugged by an annoying pop-up message in your Notification Center.
Try these simple fixes to solve the glitch and get your macOS up to date.
Why the error pops up
The automatic updates feature is great when it works — it checks and seamlessly installs any available updates for you in the background without interrupting your workflow for approval.
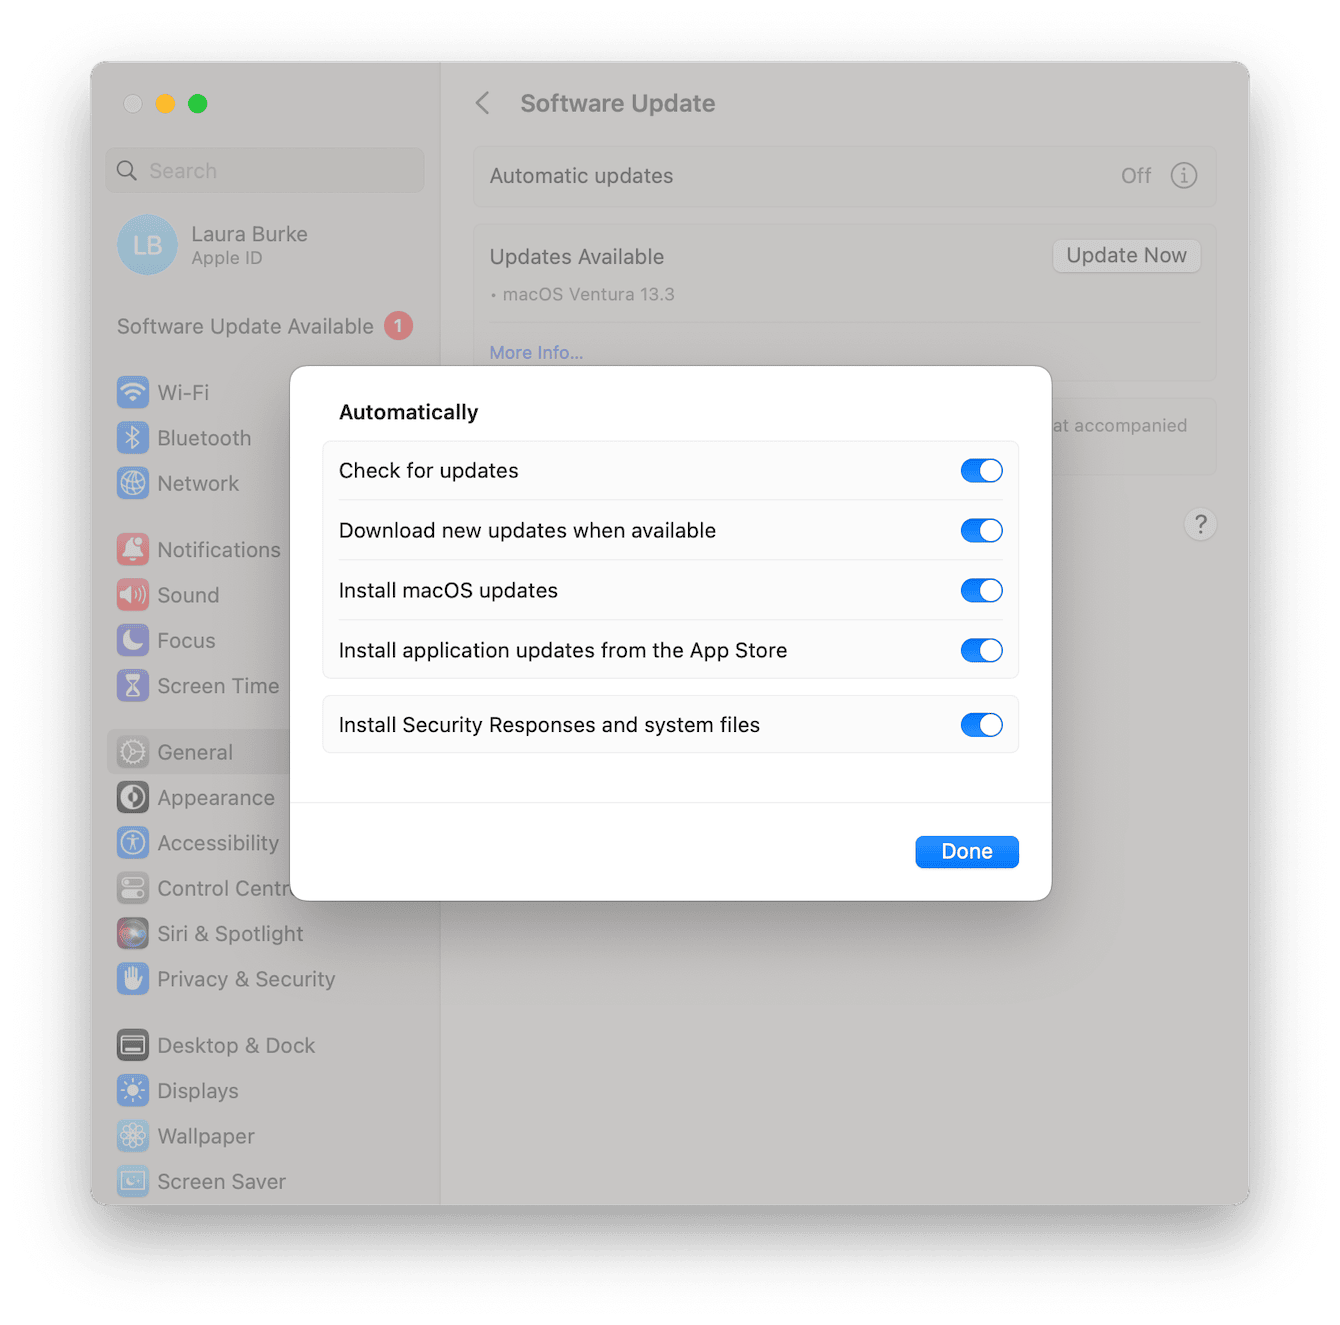
Here's a quick reminder on how to activate automatic updates:

-
Select the main Apple menu > System Settings > General > Software Updates.
-
Click Automatic Updates and toggle everything on from the list.
-
Click Done.
While we are on the subject of keeping your Mac up to date, the Updater module from CleanMyMac is a great option if you're looking for a smart way to keep all your system and device apps updated in one place.
This clever tool manages all updates, including apps not downloaded from the App store, meaning you'll never miss an opportunity to enhance app and Mac performance again. Here's how to use it:
-
Open the app and select Updates from the sidebar.
-
Click View all Updates.
-
Select items from the list and click Update.

So simple! Download the free version here if you haven't tried this tool yet.
It can be challenging to isolate the cause behind the update error message. We've got five simple-to-follow steps below to rid you of the problem; let's take a look.
How to fix "some updates could be installed" error
1. Check your storage space
First on today's troubleshooting list is to check your available storage. If your Mac is running out of space, you simply won't be able to download and install software updates — you'll also likely receive other pop-up warnings that your disk space is low.
Here's how to check:
- Select System Settings from the main Apple menu.
- Locate and click General > Storage.
- Review your storage.

If you need to free up space, there's a lot you can do. Read this article called 9 easy ways to free up disk space on Mac for more tips.
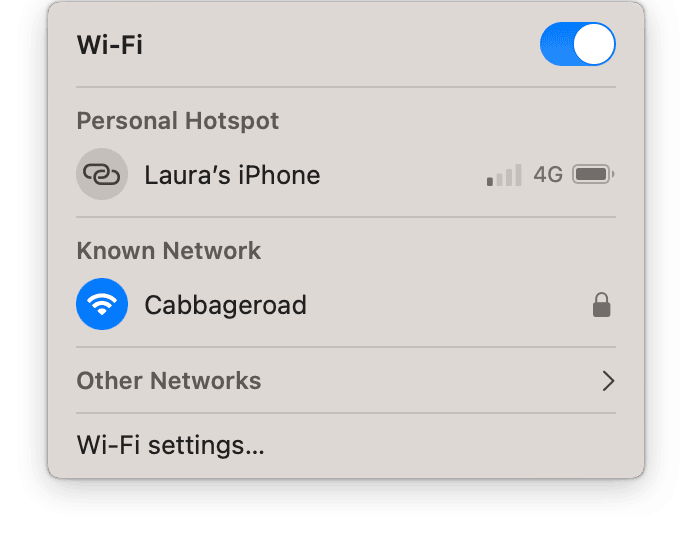
2. Check your internet connection
Sometimes users forget they need a stable internet connection to connect to Apple update servers and install system updates successfully.
Here's how to check:
The on-and-off trick

By clicking the Wi-Fi icon in your top menu bar, try toggling your Wi-Fi connection off and on.
Try a different network
Try connecting to a different network to see if the issue is with your network.
Check with your internet provider
Check for temporary service or network outages with your internet provider.
3. Check Apple servers
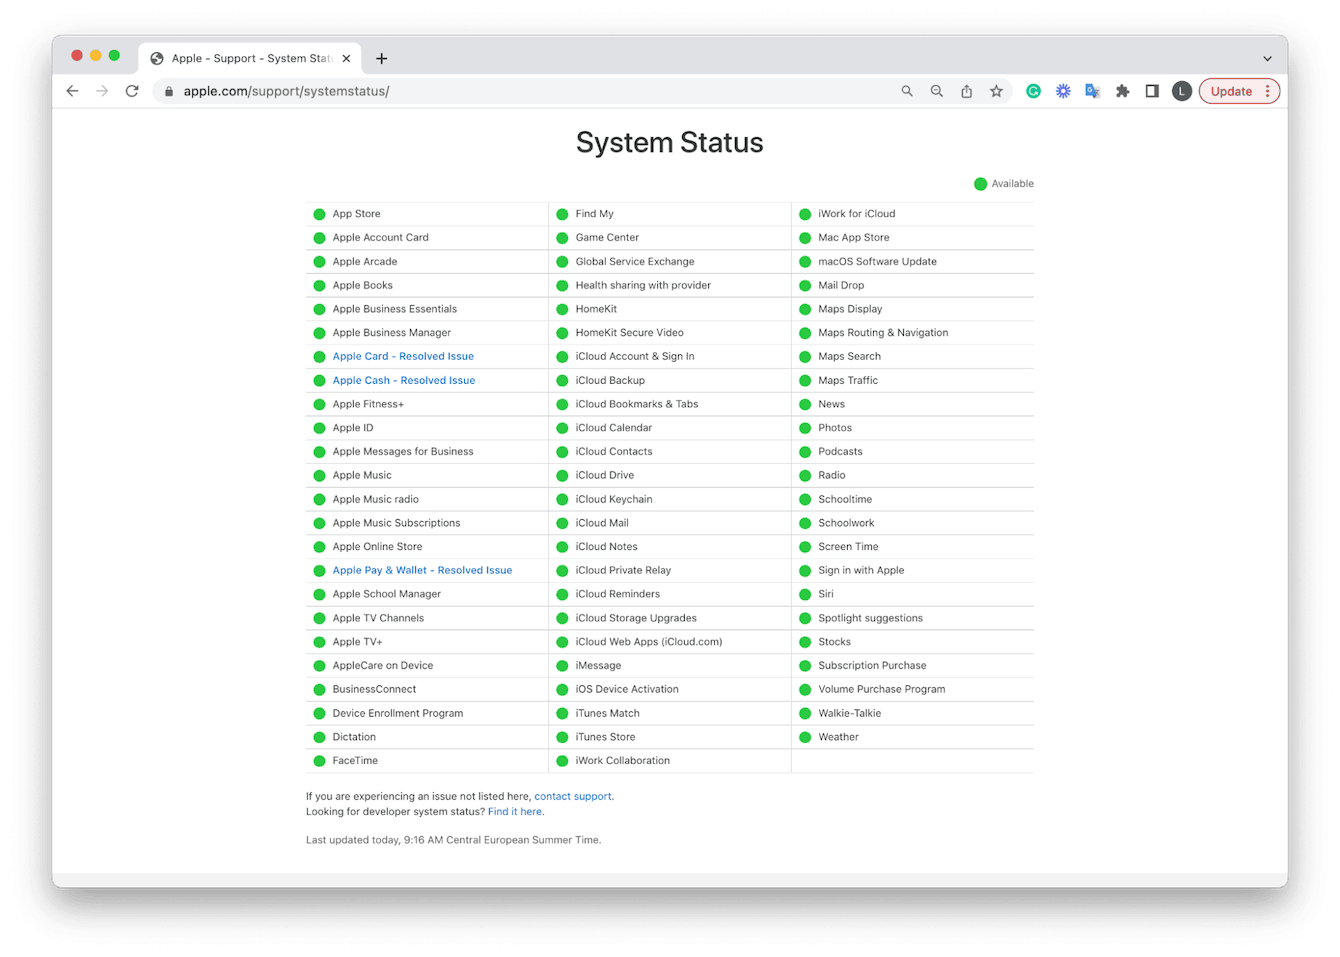
Apple sometimes has server problems, which can cause temporary download issues, so it's worth checking on the System Status page.

Take a look at the section named macOS Software Update — if it's marked green, there are no reported problems.
4. Reset your NVRAM
NVRAM (non-volatile random access memory) manages and stores many operating systems settings. Over time, data can get corrupted, and you'll start noticing strange glitches on your Mac, such as the sudden inability to download software updates automatically.
Luckily, you can quickly reset your NVRAM. Here's how:
On Intel-based Macs
Restart your Mac and then press the Command - Option - P - R keys simultaneously.
For Macs with Apple silicon
Just restart your Mac from the main Apple menu.
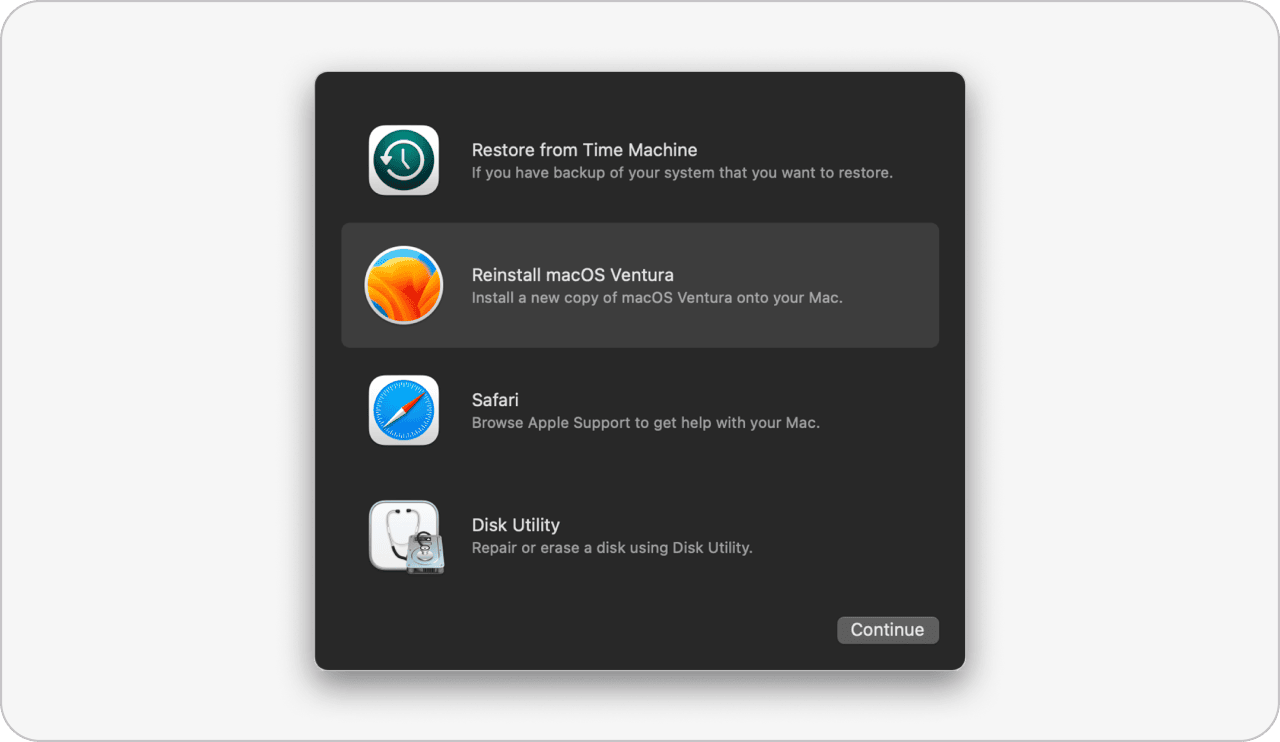
5. Install from macOS Recovery
If you're still having download issues and receiving this “some updates could not be installed automatically” message, it's time to consider reinstalling your macOS.
For Intel-based Macs, hold the Command - R keys during startup and wait for the Apple logo to appear.
For Macs with Apple silicon:
-
Press and hold the Power button when you turn your device on until you see the startup options.
-
Select the Gear icon (Options) and click Continue.
-
Follow the on-screen instructions and select Reinstall macOS.

Hopefully, one of these tips helped you solve the annoying some updates cannot be installed error message.

