How to download macOS Tahoe installer in 3 Steps
If you've been searching online for simple macOS Tahoe download instructions, you've landed in the right spot.
There's a lot of information and threads online that actually make the process a little more complex than it needs to be. Especially those that include Beta testing steps. I've put together this really simple three-step guide on how to get Tahoe installed on your Mac, without any unnecessary stages. So let's get started.
Step One: Where to get the macOS Tahoe installer
It goes without saying that the safest place is always through Apple's official channels. When Tahoe launched (September 15, 2025), Apple pushed it via Software Update in System Settings.

So go to the main Apple Menu > System Settings > General > Software Update.
If you're looking for a simple upgrade, this is the quickest and easiest way to get it downloaded and installed. But if you want the full installer (to make a bootable USB, for example), Apple doesn't make the full InstallAssistant.pkg that easy to access after release. It's hosted on their servers, but there's no public download page, and you won't find it in the App Store.
Instead, you can use Mr Macintosh's installer database, which links directly to Apple's CDN and gives you the full, untouched installer. You can grab it here: macOS Tahoe Installer – Mr Macintosh. It's the same file Apple uses, and it's just easier to find.
Before you update your system
Before installing macOS Tahoe, give your Mac some cleanup attention. This can really help to ensure you have a smooth OS transition. I personally use CleanMyMac, in particular, the maintenance tasks with the Performance feature and the Applications feature to uninstall and update apps before the upgrade; here's how.
-
Get your free CleanMyMac trial — you can test it for 7 days free.
-
First select, Performance > Scan > Review All Tasks.
-
Select recommended maintenance items to run.

- Now, click Applications > Scan > Manage My Applications.
- Take a look under Updater and Uninstaller. Remove and update what you can.

Step Two: How to use the macOS Tahoe Installer
Depending on which option you chose in Step One, you may already have what you need.
macOS Tahoe Via System Settings:
-
Go to Apple Menu > System Settings.
-
Navigate to General > Software Update.
-
Wait for macOS Tahoe to appear.
-
Click Upgrade Now.
This method is simple, and it works. But it doesn't give you a standalone installer file. Once it finishes downloading, the update starts automatically; no app or file gets saved to your Applications folder.
macOS Tahoe via Mr Macintosh
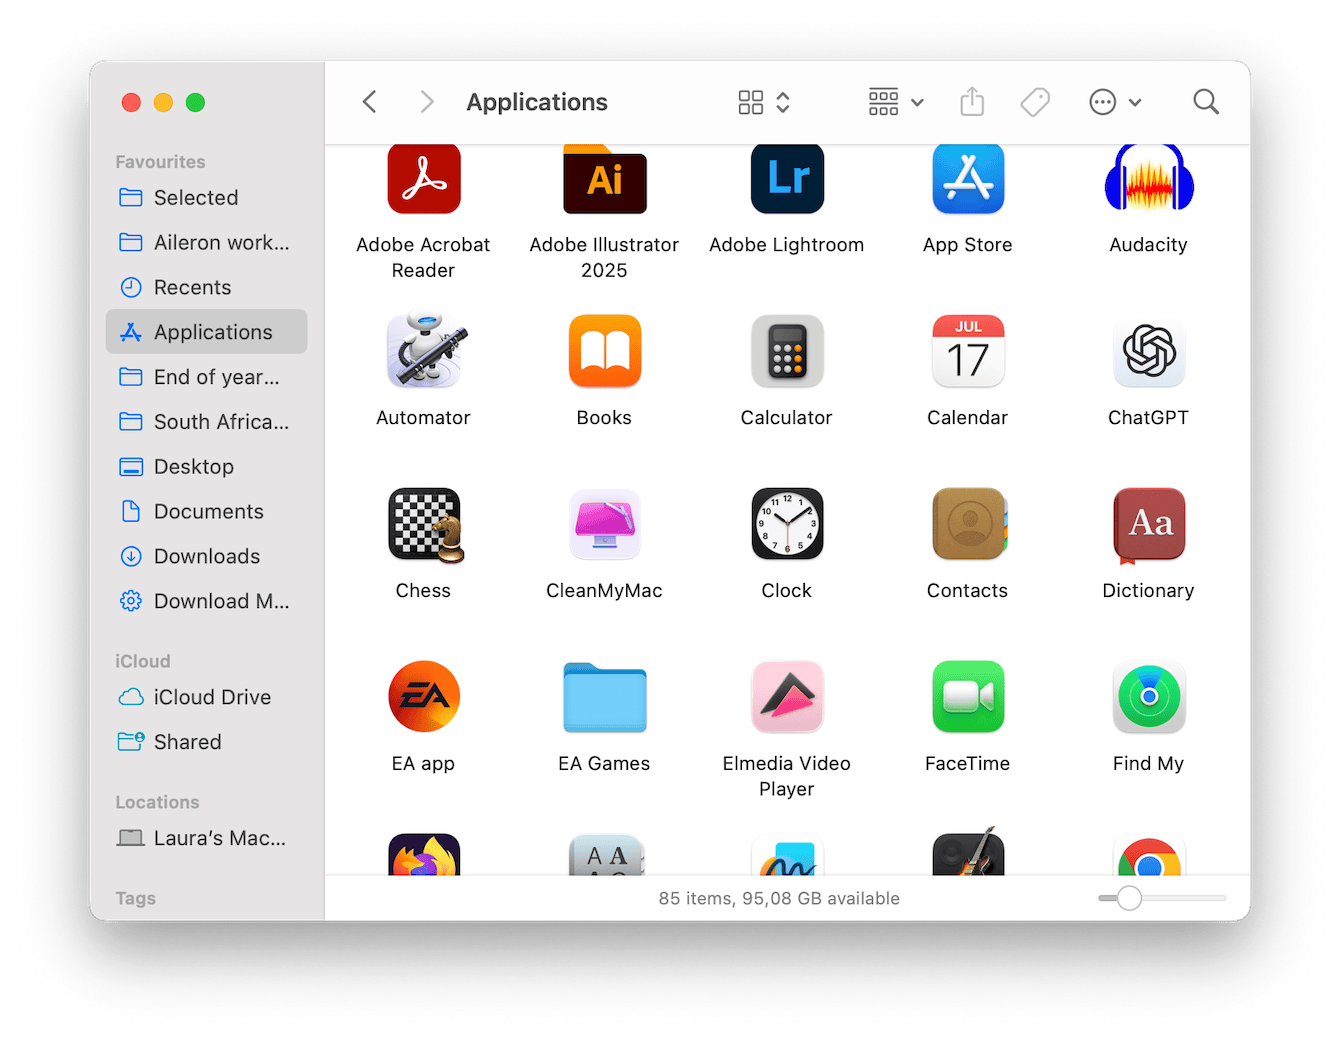
If you downloaded macOS Tahoe, Mr Macintosh, you now have the full Install macOS Tahoe.app in your Applications folder. That's the actual update file; you can use it for clean installs, recovery, or creating a bootable USB installer. Simply double-click it to start the process.

Step Three: Get the macOS Tahoe update file
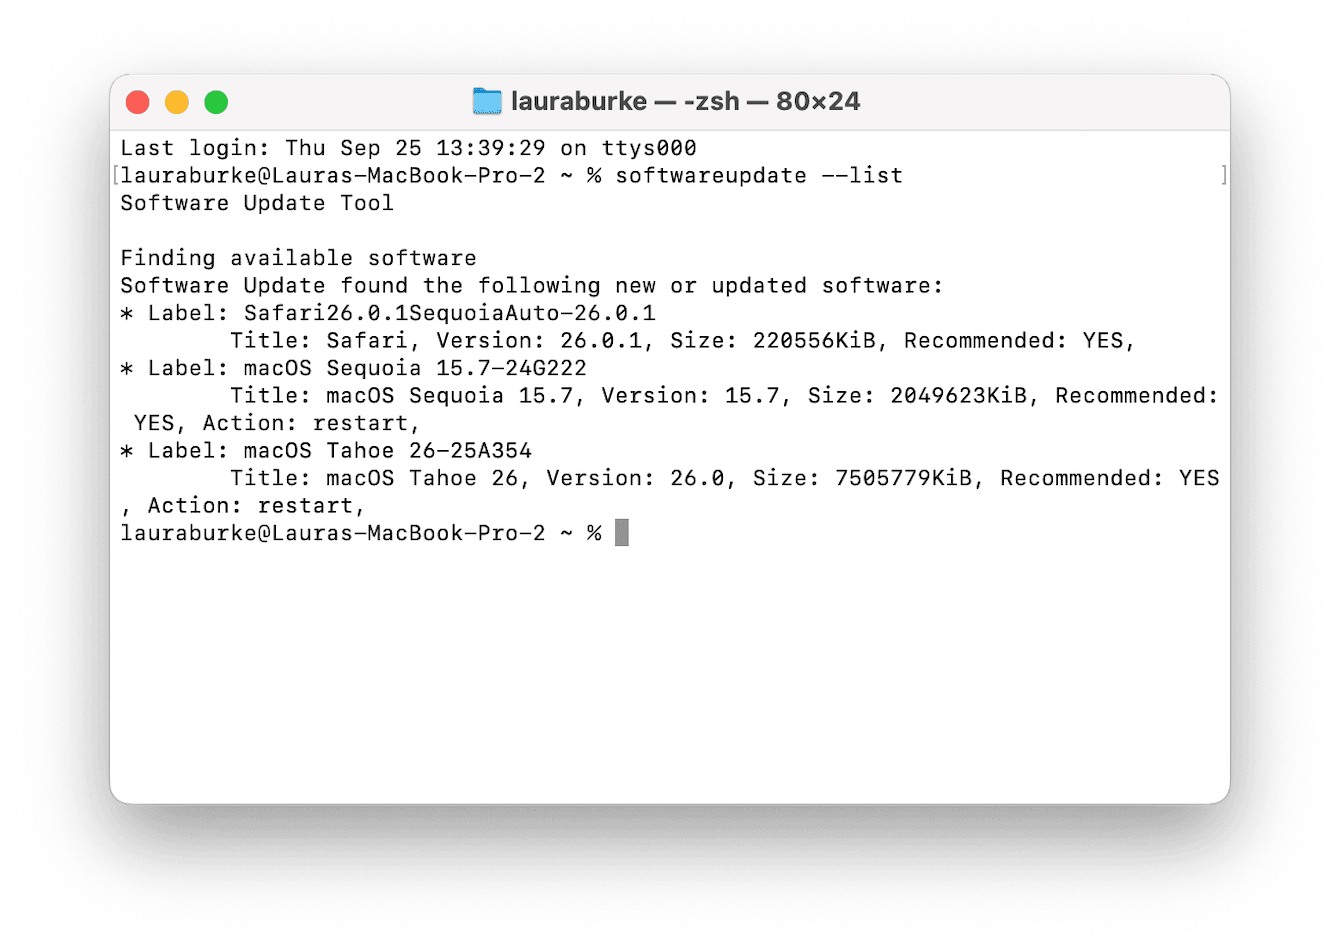
If Software Update isn't showing the latest build, or you just prefer a more direct method, you can grab the macOS Tahoe update file using Terminal.
This method doesn't give you the full installer app; it fetches the update package that macOS applies in place. Here's how:
-
Open Terminal.
-
Run this command to check available updates:
softwareupdate --list -
If macOS Tahoe appears in the list, you can go ahead and install it directly with this command:
softwareupdate --install --all -
Your Mac will download and apply the latest macOS update silently, just like Software Update would, but through Terminal.

This terminal-based method has saved me more than once when Software Update didn't cooperate.
These macOS Tahoe download instructions cover every method I've personally tested.

