How to run the wireless diagnostics on Mac
Wi-Fi issues? No problem, use Apple's built-in Mac wireless diagnostics application to solve Wi-Fi dilemmas quickly.
The Mac wireless diagnostics application can troubleshoot an annoying wireless network or help you tweak your connection for the best Wi-Fi performance.
Reasons to use Mac network diagnostics
-
Wi-Fi keeps disconnecting
-
Slow transfer speed
-
Wi-Fi interference
Here's how to find the Mac network diagnostics tool:

-
Make sure you're connected to the network you want to diagnose.
-
Close all applications.
-
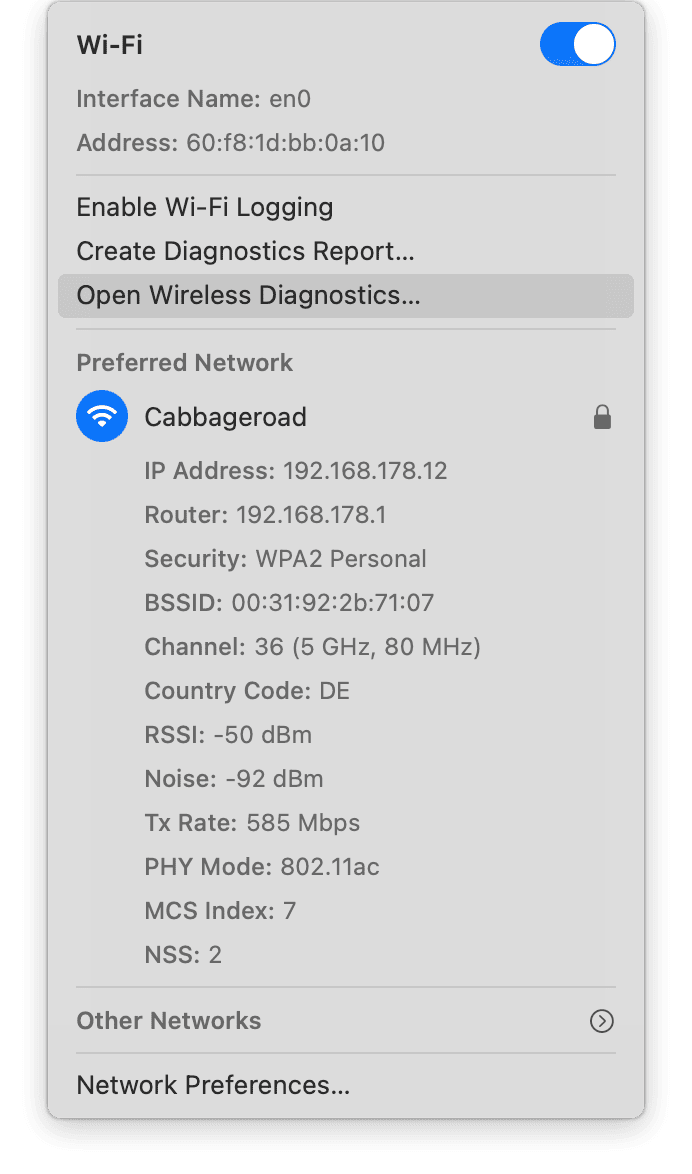
Pressing the Option key, in the top menu bar, select the Wi-Fi icon.
-
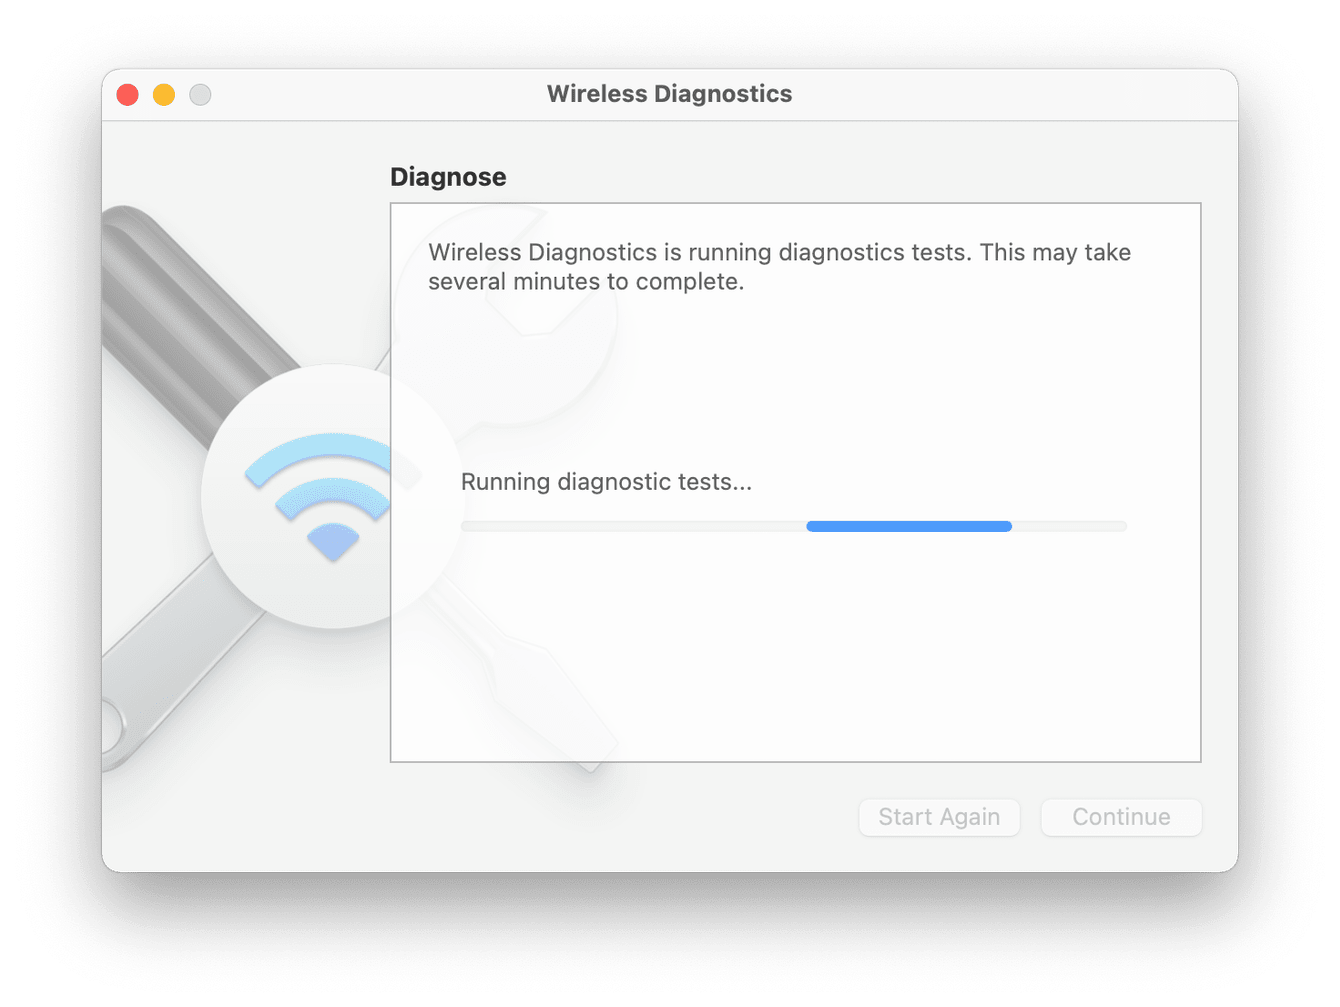
Select Open Wireless Diagnostics, and when the diagnostics window appears, press continue.

Follow on-screen instructions. If diagnostics doesn't find anything, here's what to do:
-
When the diagnostics scan is finished, press Monitor my Wi-Fi connection.
-
This can take several minutes to generate the report, follow any on-screen instructions.
-
Once complete, press Continue to summary for more details.
How to scan for Wi-Fi Networks
The scan function within diagnostics looks at all nearby Wi-Fi networks and gives valuable insight into strength, channels being used and noise levels. It also recommends the best channels for your own Wi-Fi network. Here's how:
-
Pressing the Option key, in the top menu bar, select the Wi-Fi icon.
-
When the diagnostics menu appears, press Window > Scan from the top title menu.
-
Toggle through the sidebar to see channel insight and details.
How to monitor performance levels
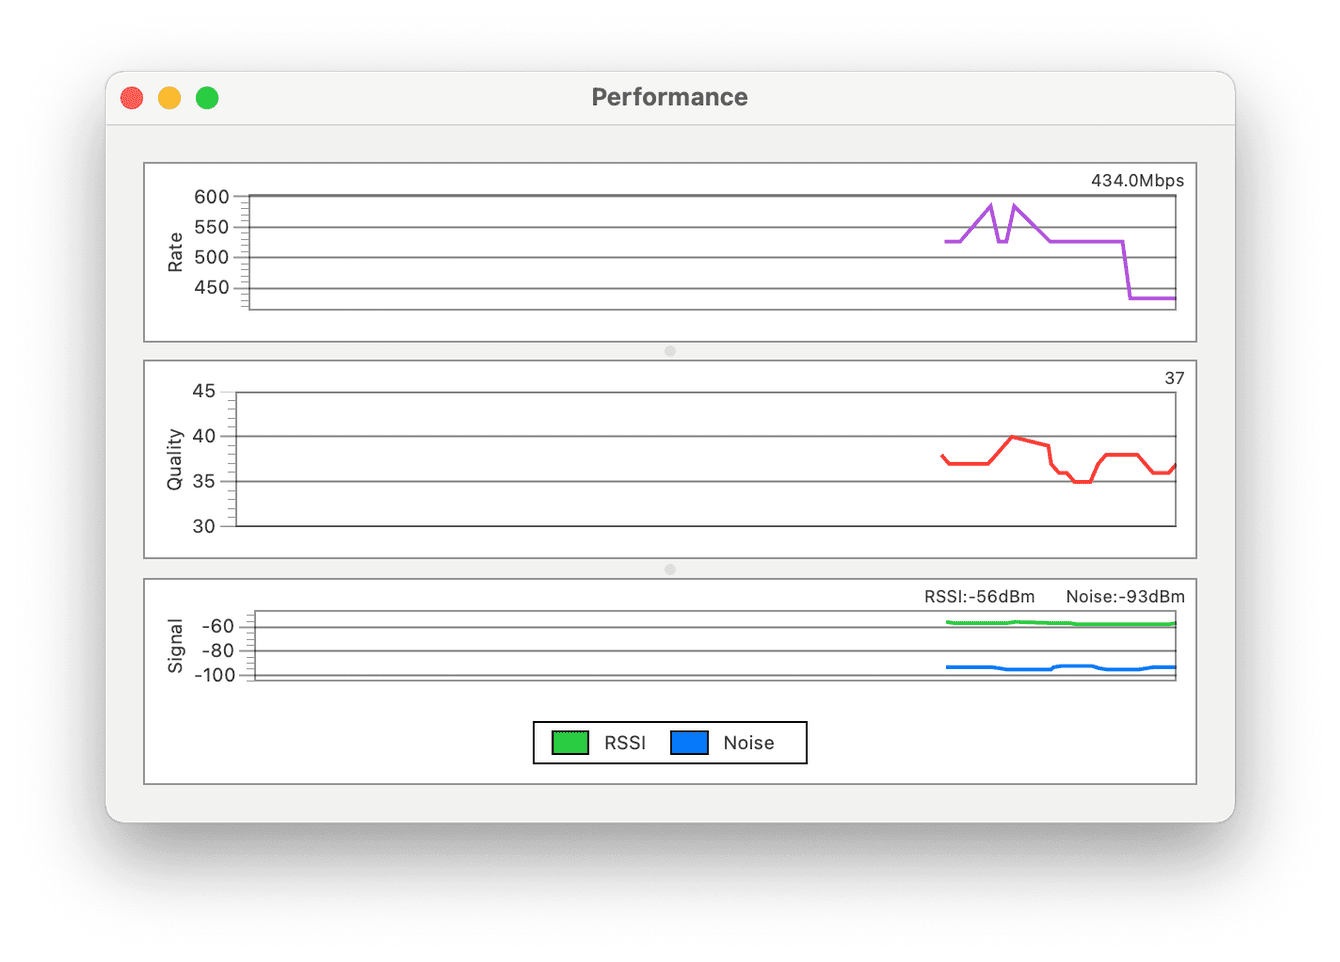
Use the Monitor Performance function within diagnostic to see real-time noise and signal strength graphs. here's how:

-
Pressing the Option key, in the top menu bar, select the Wi-Fi icon.
-
Select Open Wireless Diagnostics; when the diagnostics window appears, press Window > Performance from the top title menu.
One more fix when your Wi-Fi drops off
If you're not 100% sure what you're looking at or how this can help you tweak your Wi-Fi connection, use a dedicated Mac-troubleshooting tool. The popular app that is notarized by Apple, CleaMyMac X, will troubleshoot your Wi-Fi issues for you; here's how.It has a feature to forget old Wi-Fi networks so you can refresh your Wi-Fi settings. Here's how to do it:

-
Open CleanMyMac X — download the free version here.
-
Select Privacy from the sidebar and press Scan.
-
Once the scan is finished, select Wi-FI networks and Remove.
Another good tip from the same app is to try and flush your DNS-cache. Flushing your Mac DNS can solve issues like slow or random network and inability to connect to websites, sometimes a quick DNS flush is all you need.
-
Open CleanMyMac X
-
Select Maintenance from the sidebar and press View All Tasks.
-
Select Flush DNS and then Run.

So, we've reached the end of this quick Mac wireless diagnostics guide, complete with helpful tips and tricks, happy diagnostics people!

