The best ways to safely erase free space on Mac
Globally, we generate 62 million tons of electronic waste per year. That's like throwing away around 110,000 largest passenger airplanes. Every year. Can you reduce this waste? No, unless you securely clean your free space or wipe your hard drive.
It's more than just e-waste; it's your privacy. Data privacy has never been more important, but surprisingly, not everyone realizes that your Mac is not entirely erasing that data when you delete a file, meaning there's potentially a lot of recoverable personal data floating around. But how to deal with it? Keep on reading and learn how to safely erase free space.
What do we mean by erase
On macOS, secure erase means your data is replaced with a random set of zeroes and ones. In this way, files are "shredded" digitally.
Let's take a look at how to erase free space and securely erase the hard drive on your Mac.
Why erase free space on your Mac hard drive?
Here's a quick look at some top reasons to erase your Mac's free space:
-
You're selling an old Mac or a used hard drive.
-
You work with top-secret non-disclosure agreements.
-
Your Mac has become too expensive to repair, and it's time to recycle.
-
You want to be sure your deleted data is really gone.
Sometimes, emptying your trash just isn't enough; We need to remove files securely.
If your Mac has an SSD, Apple claims that erasing free space on your Mac's hard drive is unnecessary because a standard erase makes the recovery of data difficult.
Not everyone wants to take Apple's word for it. Standard erase doesn't make me entirely comfortable that my data can't be recovered. Luckily there are some options if you'd prefer to take your Mac's deleted data fate into your own hands.
You can both easily and safely wipe the free space on your Mac to prevent future recovery of deleted files and data.
How to find out if you have an HDD or SSD disk:
- Press and hold the Option key on your Mac.
-
Click the Apple icon top left and select System Information.
- Click Storage in the left sidebar.
-
Now, select the drive from the list at the top and look for Medium Type.
-
Here, you'll discover if you have an HDD or SSD.

No matter which drive your Mac has, let's look at how to erase your Mac's free space.
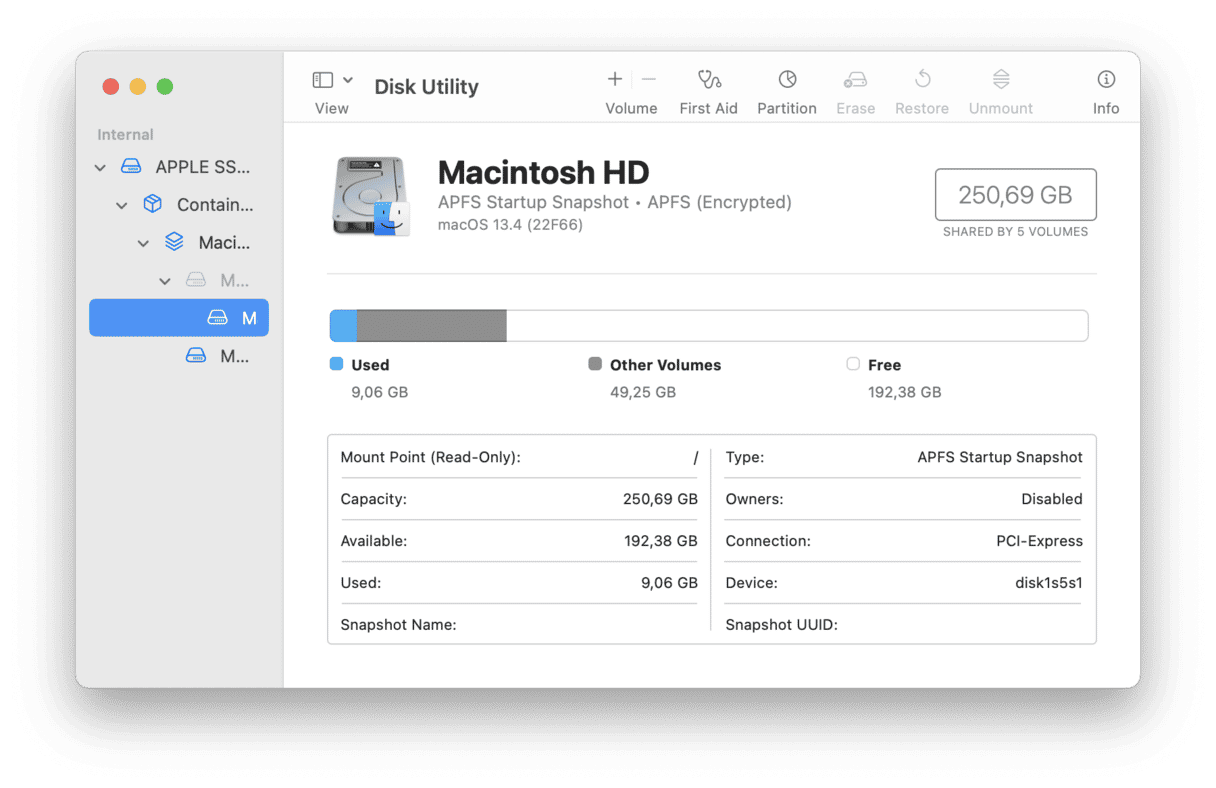
Erase a drive using Disk Utility
If you're planning on transferring ownership of your Mac, Apple recommends erasing the entire disk; this protects you from any standard erased files or data being rebuilt or recovered.
Disk Utility can feel like a scary place to be clicking around. This powerful and notoriously tricky to locate feature can securely erase your Mac hard drive, ultimately preparing your Mac for new ownership.
Tip: Don't forget to back up any important files you want to keep before erasing a disk.
If you're trying to erase your Mac's startup disk, you will need to start up from macOS Recovery first. On your computer, the startup disk is the main hard drive, and your Mac is using it to run macOS, so it would be unlikely you would be able to erase it without following the next steps.
Start up from macOS Recovery on a Mac with Apple silicon
- Mac with Apple silicon: Turn on your Mac and press and hold the power button until startup options appear. Click the icon labeled Options and then Continue.
- Intel-based Mac: Turn on your Mac and press and hold Command + R. Release when the Apple logo or other image appears.
- If prompted to enter a password, this will be the primary admin account password. The macOS utilities screen will appear, select Disk Utility.
- Once open, select View in the top menu and choose Show All Devices. The disk your Mac started up from will be at the top of the list.
- Select the disk that you want to erase, and click Erase at the top.
- Give your device a new name, select a format (Disk Utility shows a compatible format by default), and finally, choose GUID Partition Map and click Erase.
- When it's finished, quit Disk Utility.
If you're not erasing your Mac's main hard drive, then follow these steps:
- Select the Finder icon from the Dock on your Mac and select Applications.
- Now, scroll down to Utilities and then select Disk Utility. You can now follow the same steps as above from point 5.
Alternative way to erase the drive
If you're operating macOS Monterey or later on a MacBook with Apple silicon or the Apple T2 Security Chip, you can use the simple Erase All Content and Settings feature; I'll show you how below:
For macOS Ventura or later

-
Select the main Apple menu > System Settings > General > Transfer or Reset.
-
Click the Erase All Content and Settings button.
-
Enter your admin credentials.
For macOS Monterey
-
Select the main Apple menu > System Preferences.
-
From the top menu bar, select System Preferences > Erase All Content and Settings.
-
Enter your admin credentials.
Once you've accessed the Erase All Content Settings feature, there are a few more steps to follow.
Step one

You'll be asked to back up your device, which, in my opinion, is always a good idea. It might feel counterintuitive when you're trying to erase data, but if it's your first time erasing a hard disk, this could be worthwhile in case something goes wrong.
You can select Open Time Machine to carry this out or proceed without it by clicking Continue.
You'll be asked to sign out of your Apple ID if you're still synced. Once you've done this, click Erase All Content & Settings to verify and confirm you want to proceed.
Your MacBook will now restart and display a black screen or progress bar. At this point, you might be requested to connect to a Wi-Fi network; if so, select the Wi-Fi icon within the top menu bar and connect to an available network.
Step two
Your Mac will finally activate; now, click Restart.
-
After your device restarts, the setup assistant will appear and help you through the setup process, just like when you start a brand-new Mac. Follow the steps on the screen.
-
If you're selling your Mac, don't use the setup assistant; simply turn your Mac off by pressing down the power button. The new owner can complete the Mac setup for themselves.
This method is really easy, thanks to the new Erase All Content and Settings feature. But if you're running an older Intel-based Mac, the process is very different; Mac Disk Utility erase (described above) will be the way forward.
Final option: If you only need to free up space
There is a difference between "erase" and "free up" when we talk about disk space. If you only need to free up a few gigabytes removing the junk on your drive, that's much easier to do.
You have 2 options:
1) Use the Optimized Storage feature (a default macOS feature)
This feature is found under Apple menu > System Settings > General > Storage.

2) Use a dedicated junk "destroyer"
I recommend CleanMyMac. It is a smart and effortless Mac care app that lets you tidy up your entire drive, leaving no place for clutter. The Cleanup feature in CleanMyMac helps remove unneeded junk, such as system cache, log files, universal binaries, and other items, freeing up space for what matters most.
Here's how to reduce electronic waste easily:
- Get your free CleanMyMac trial — you can use all app's tools for 7 days at zero cost.
- Click Cleanup and run a quick scan.

- Click Clean and see how much space you can reclaim by removing unnecessary files.


When getting rid of junk, do not forget about your cloud storage, not only your Mac. Whether you use iCloud Drive, Google Drive, or OneDrive, CleanMyMac can help you out. It has a smart Cloud Cleanup feature that lets you scan your cloud storage once you connect it and remove unnecessary stuff with a few clicks.
It's up to you to select which option suits your needs. Whether you want to erase free space on your Mac by selecting which files to remove with a handy tool like CleanMyMac or opt for the complete drive erasure treatment, it's always good to know your options.
Thanks for reading. Come back soon for more useful Mac tips.